This is a week that I already have a decent amount of experience with. I've done a lot of sandcasting work, and one thing that I like so much about this work is the surface heterogeniety that working with the earth affords. This idiosyncrasy is produced by analog means, but for this week I was wondering how I might pull off a similar heterogeniety using digital fabrication methods.
This sent me down a rabbit hole studying how noise generation works in computer graphics, which I know is used in terrain simulation and photoshop filters and things like this. Which led me to a mathematician named Ken Perlin, which lead me to a whole reservoir of noise-based digital assets for my viewing and using pleasure.
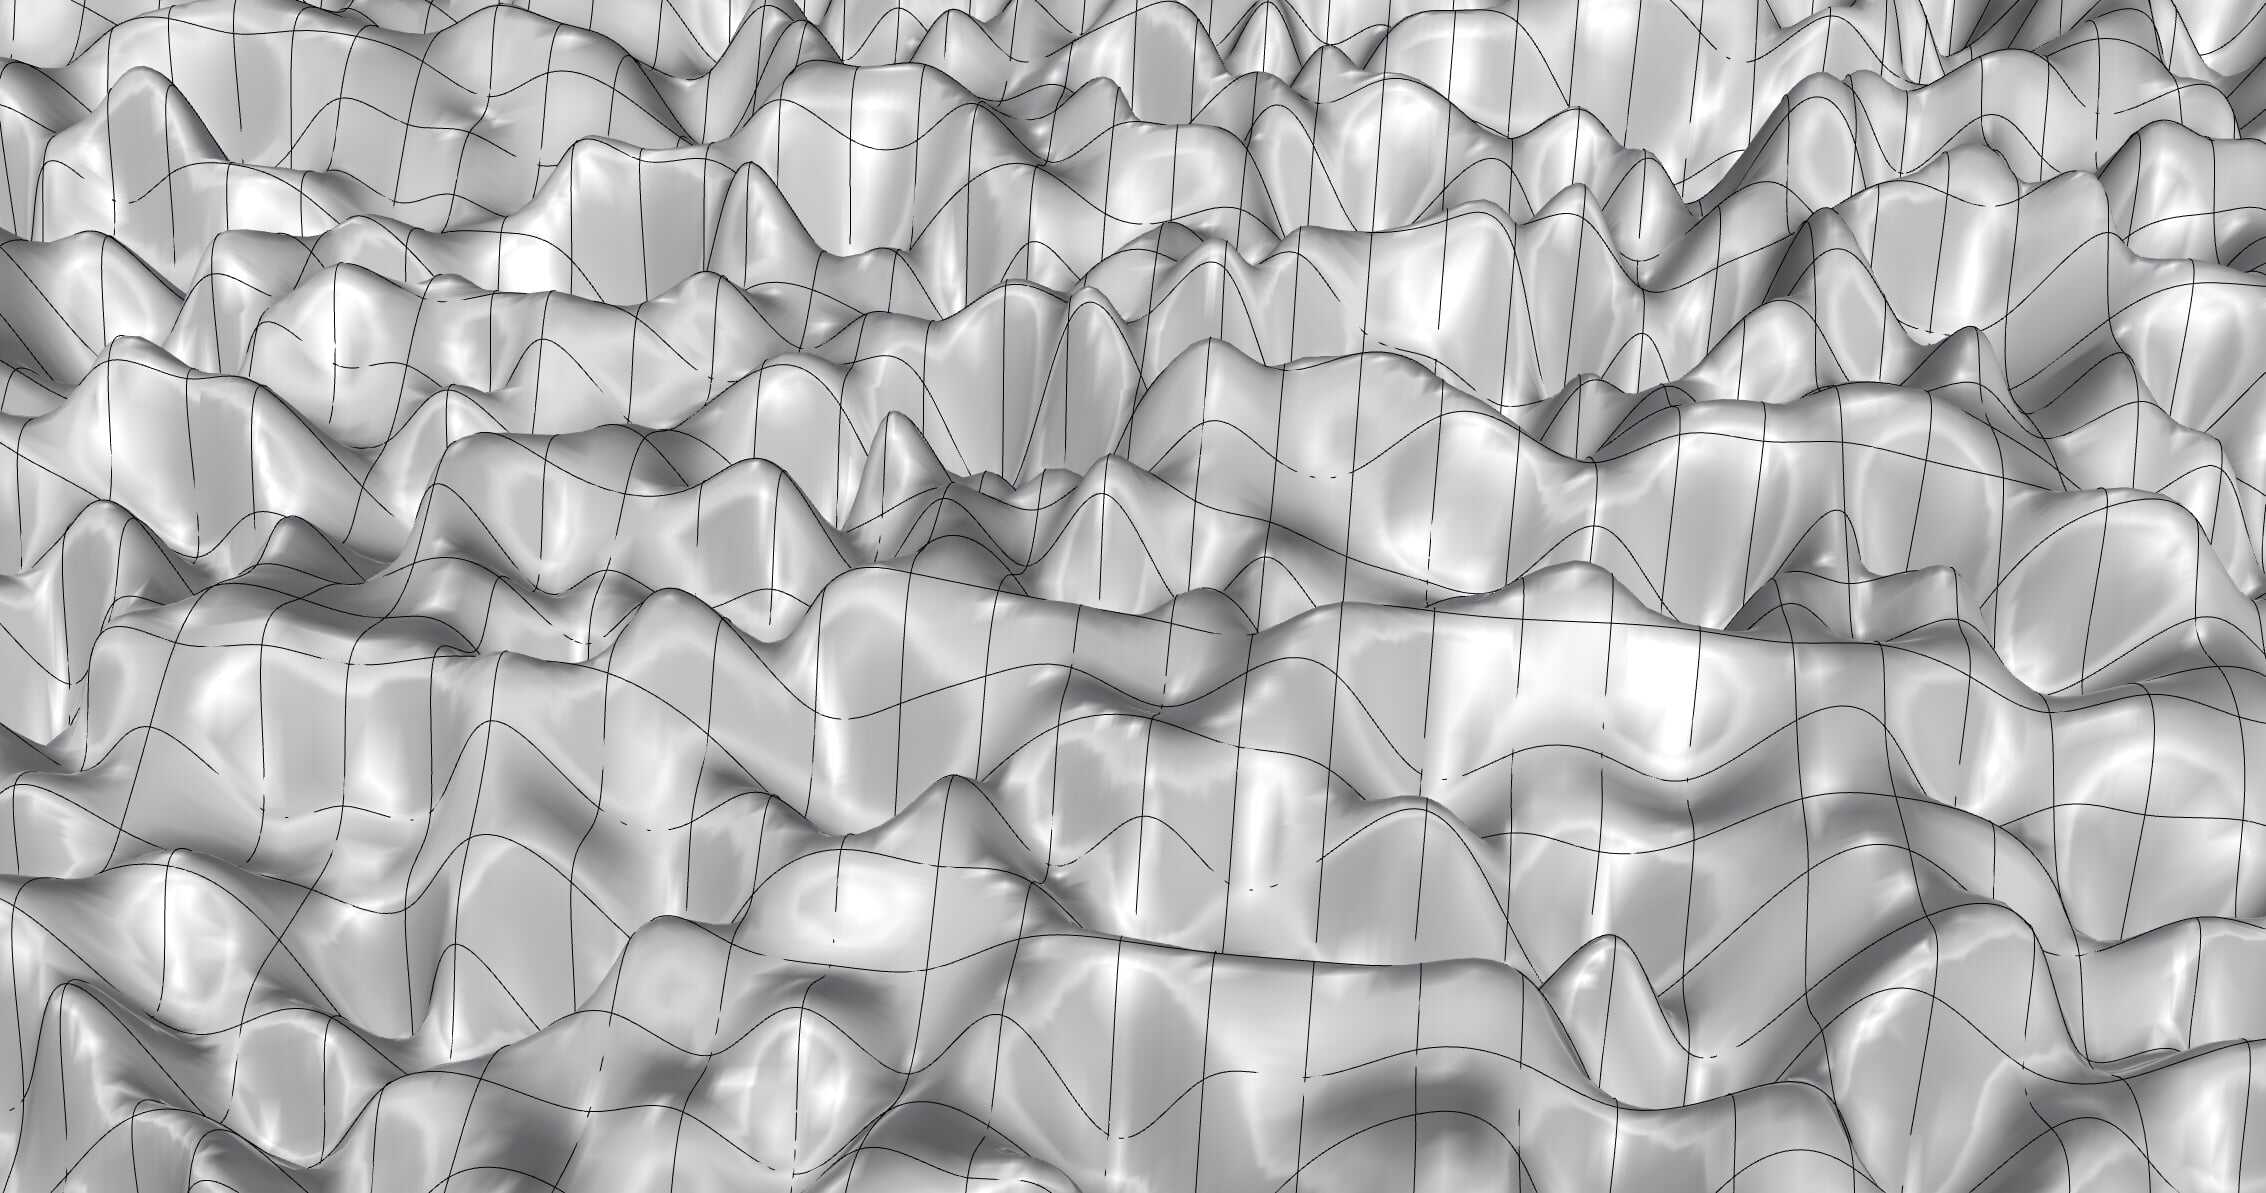
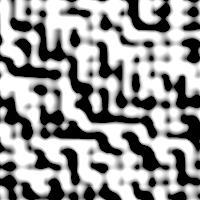
I used height maps in rhino, which basically just pairs z-axis data with gradations of black and white. This enabled the generation of a 3-dimensional noisy surface in digital space.
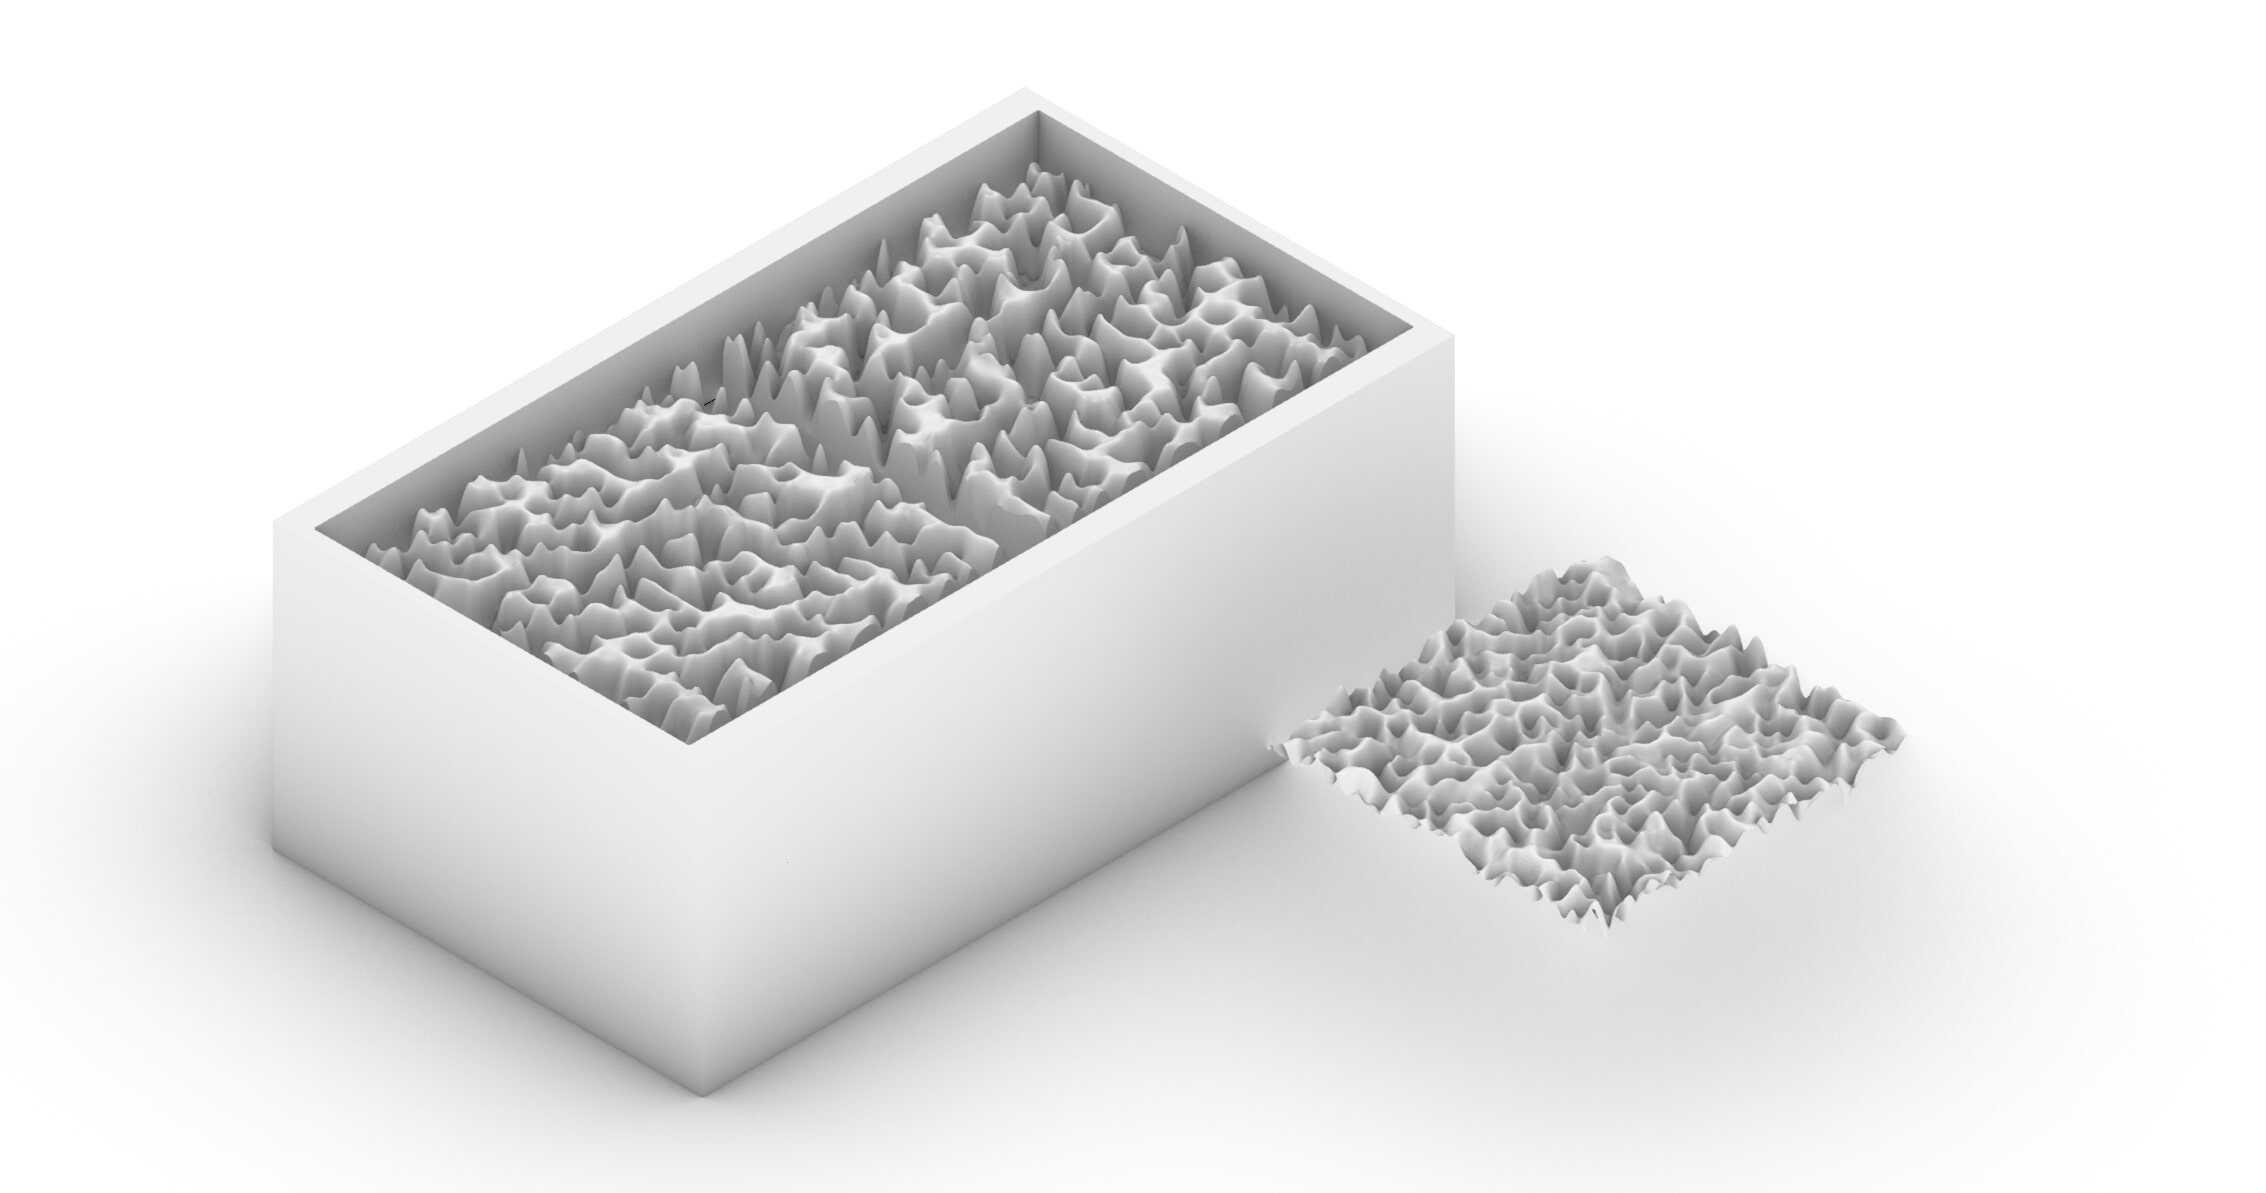
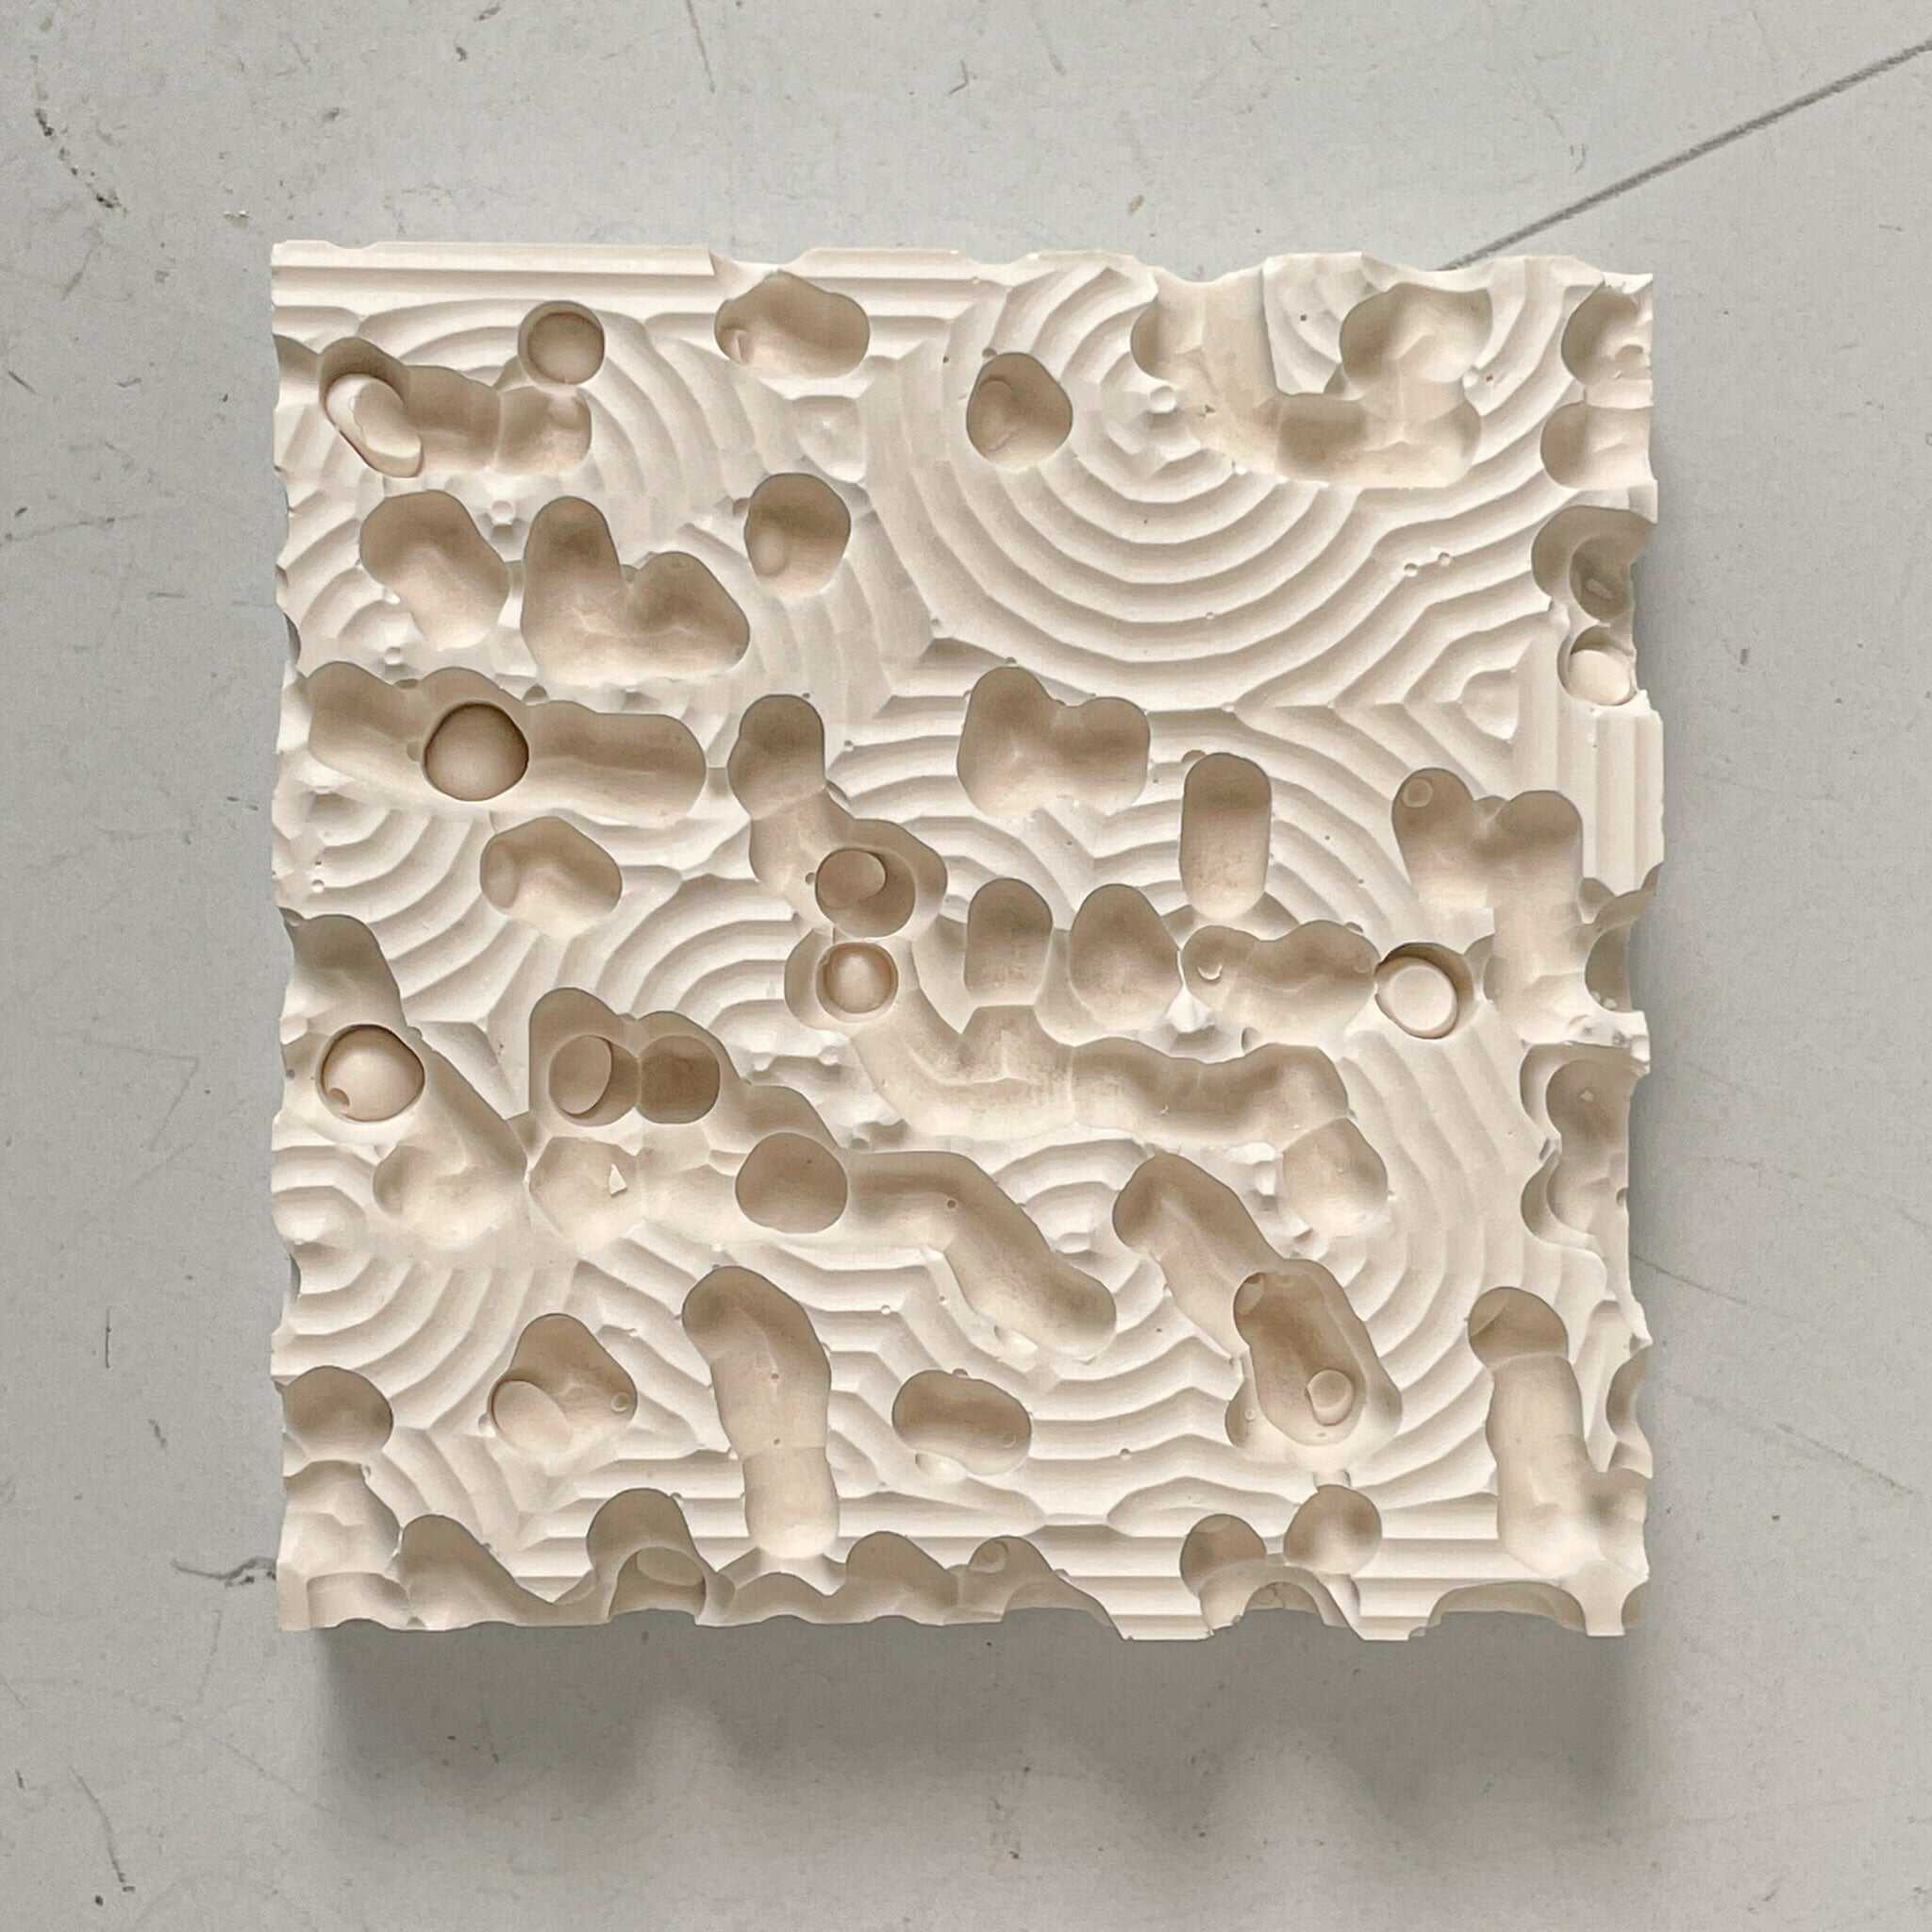
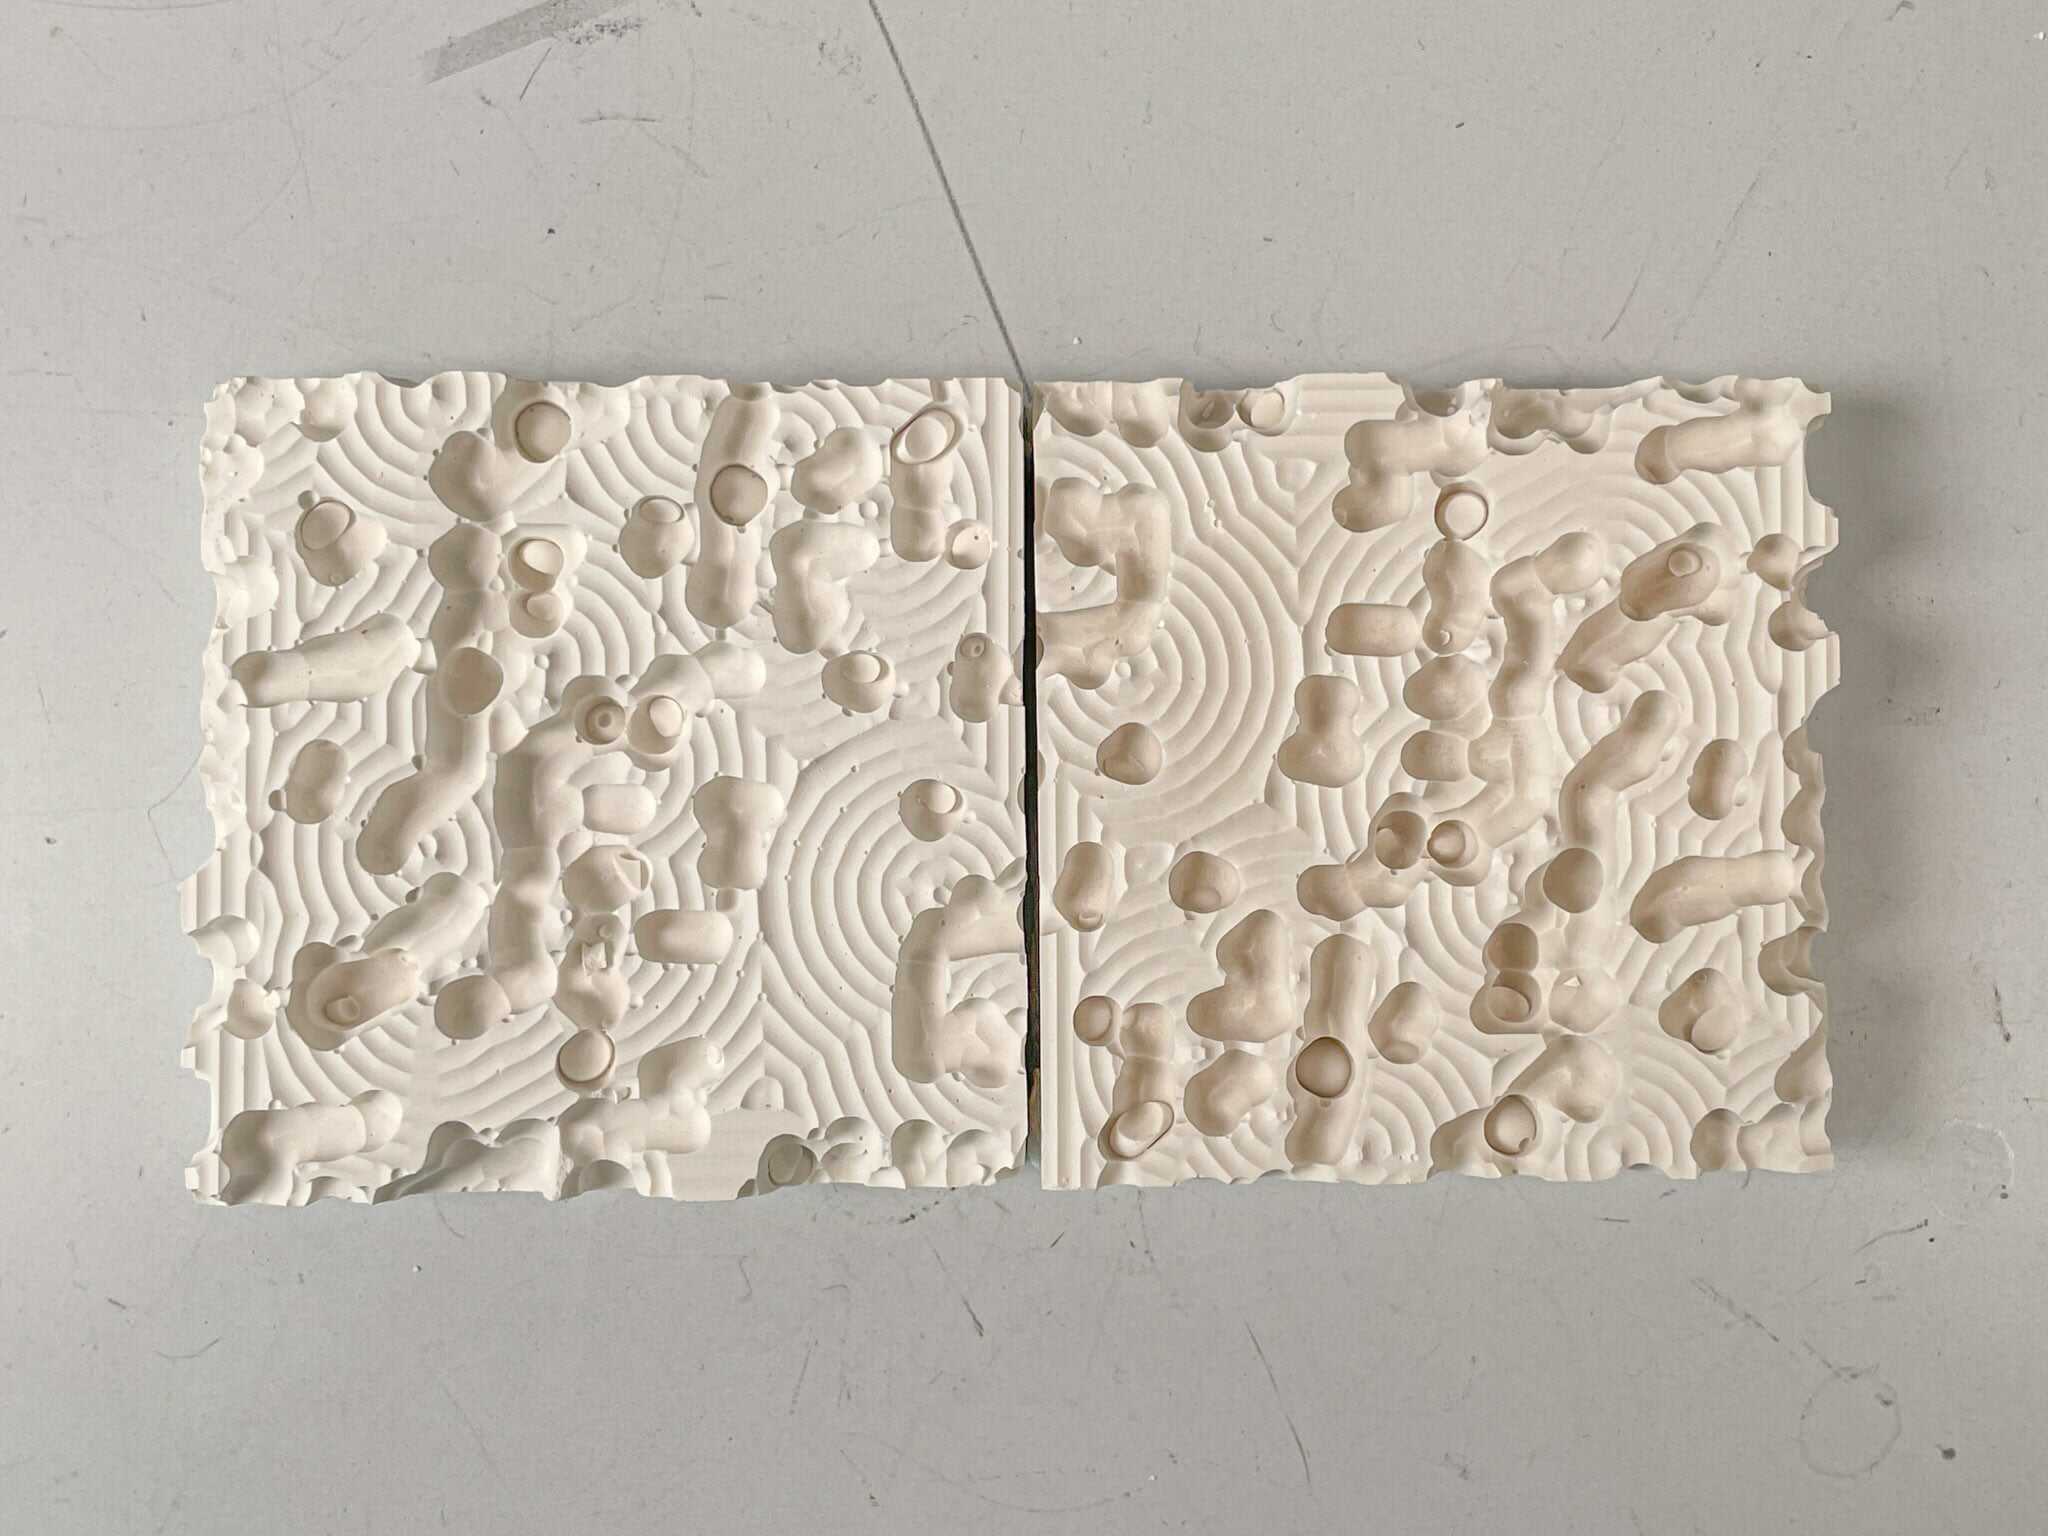
From this I set up a mold based on the dimensions of my machinable wax brick. I wanted to create tiles, so that I can the pieces could aggregate together and form a field. I also wanted to have two separate tiles based on the same geometry. The idea here would be that the machine by necessity will fail to fully capture the data of this surface, so each tile will be the incomplete physical approximation of the mathematically described surface. Both will get a roughing pass, but only one will get a finishing pass, to compare resolutions of both the mold and potentially different cast materials.
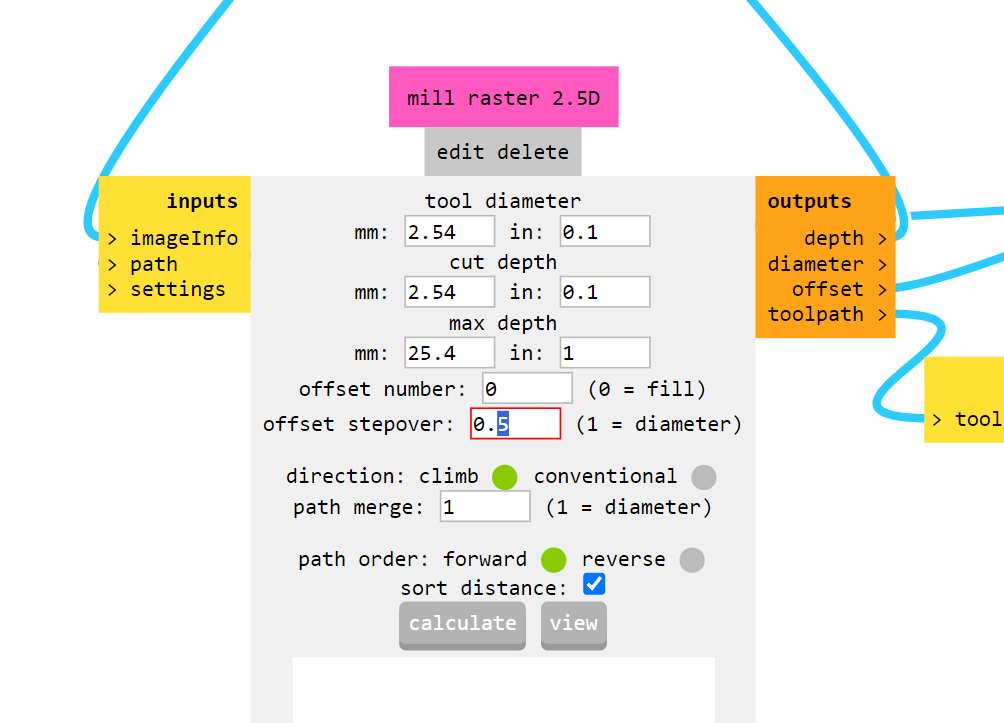
Once this was designed I exported it as a .stl and exported it. I opened mods on the desktop attached to the local SRM-20 machine and uploaded the .stl. These are the presets for the roughing (2.5 D) pass
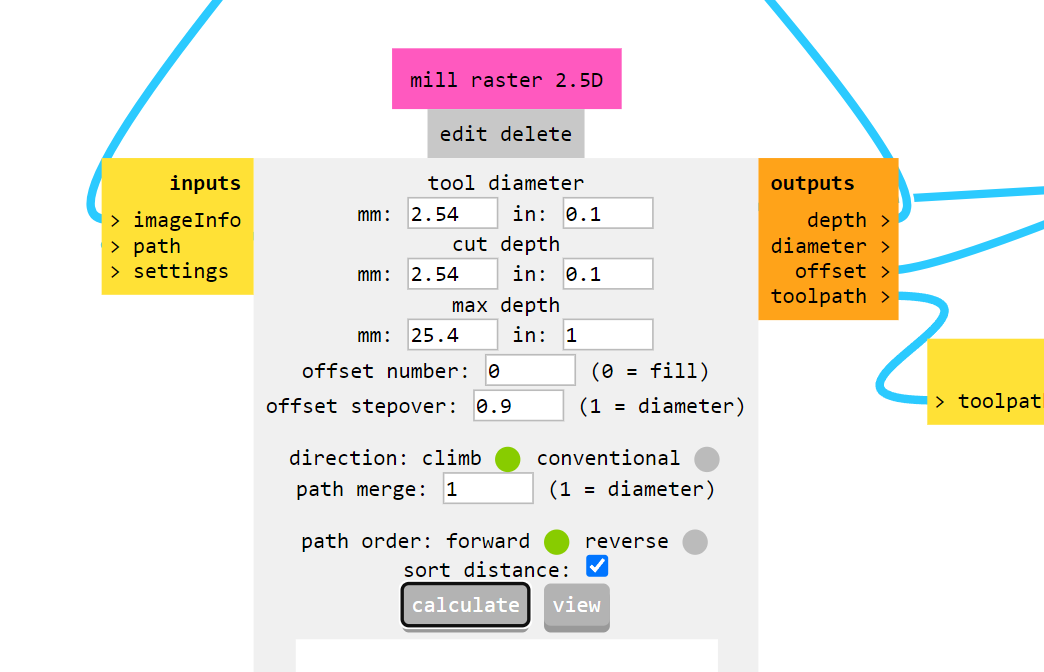
I wanted to change the stepover value to produce a lower resolution approximation of the surface. I'm thinking it will be best to use a ballnose, since there will be a number of pocket geometries scattered about the surface, and my guess was that it would be easier to remove the oomoo if that undersurface wasn't able to produce a moment force in addition to all the friction.
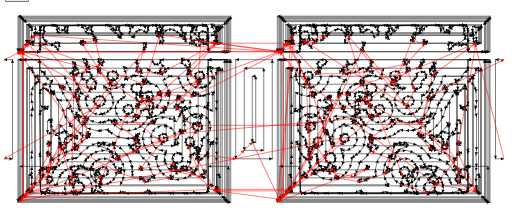
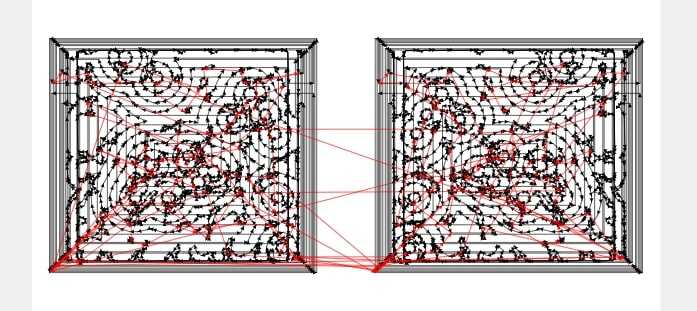
This was the toolpath I was able to generate. I thought it was a bit strange that there was a horizontal band cutting across the top of the geometry, but I convinced myself this wasn't an issue.
It was. But fortunate for my own self-esteem, there was an even greater issue the superceded this mistake, to which I had no premonition of--the block came loose from the bed! I felt like I was super deligent about laying my tape down even and covering the entire bottom surface with it, so I asked Claire the TA. She advised that I wash the buildplate with isopropyl alcohol and try again. Since I had to try again anyways, I decided to try and see if I could get rid of that horizontal band since that's not really supposed to be in the toolpath generation.
I fixed it. How you ask? I rotated the model in my rhinofile 180 degrees and re-exported it. I have no idea why this helped mods not bug out, but it did.
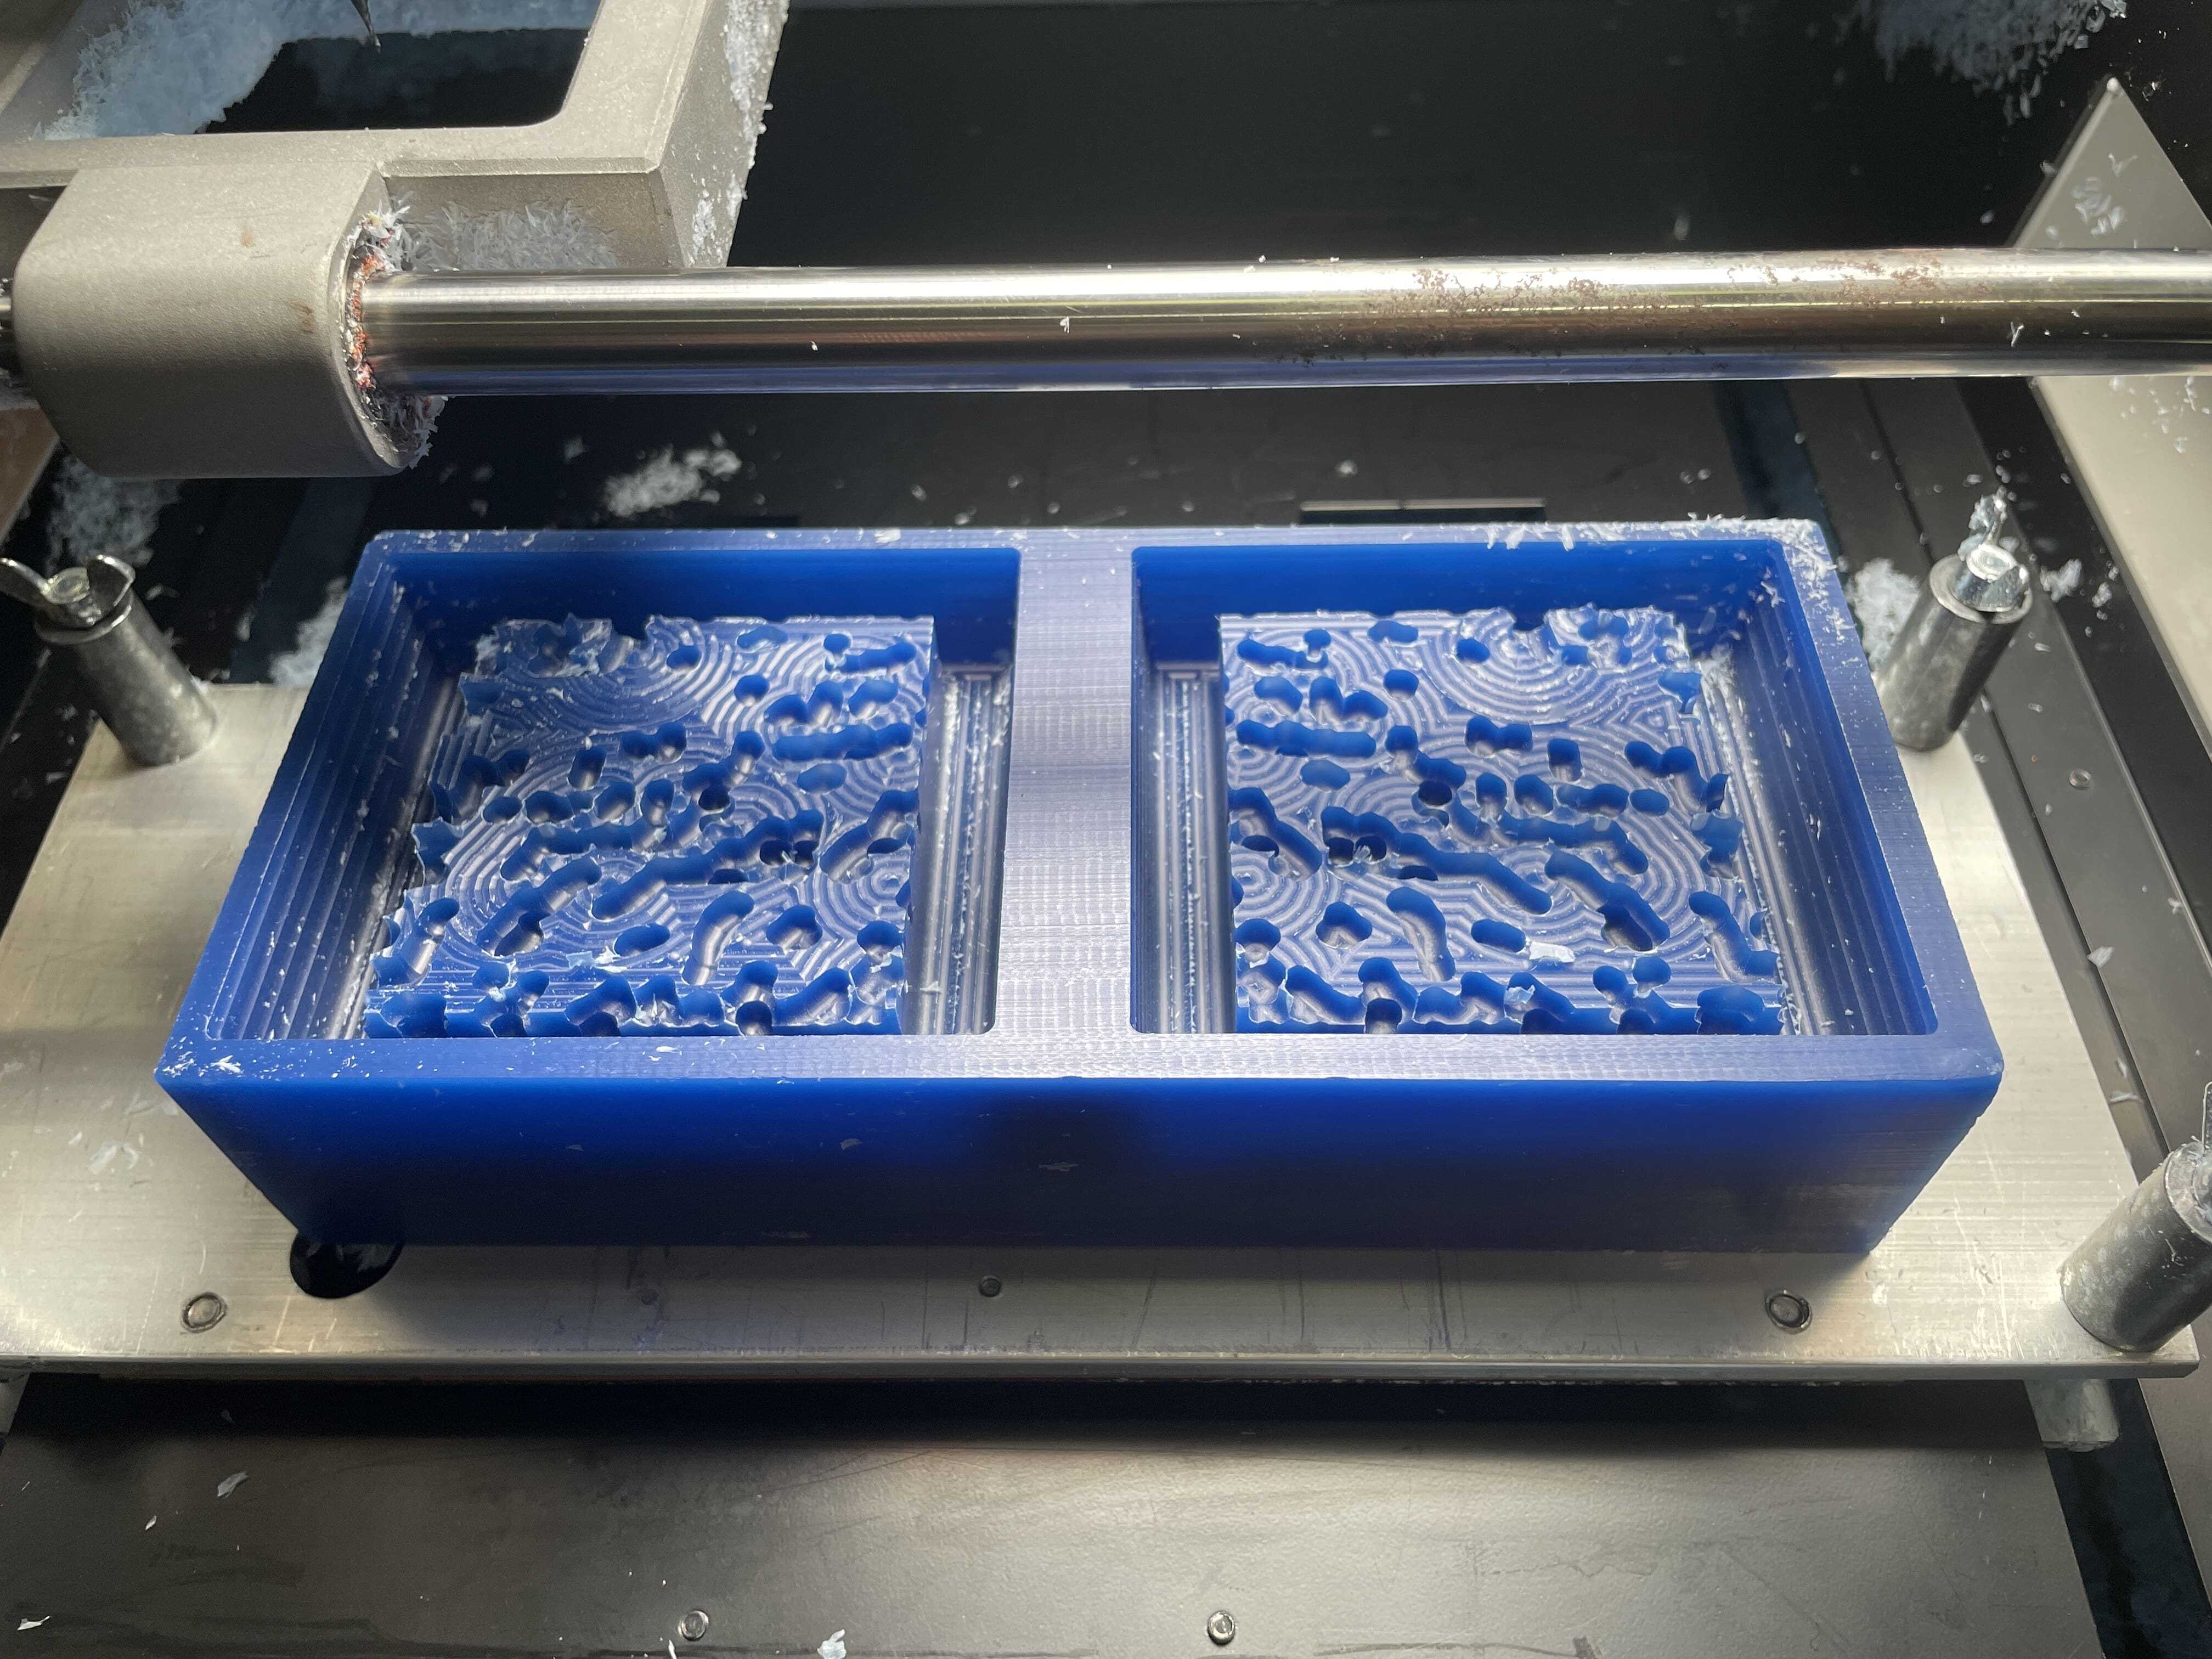
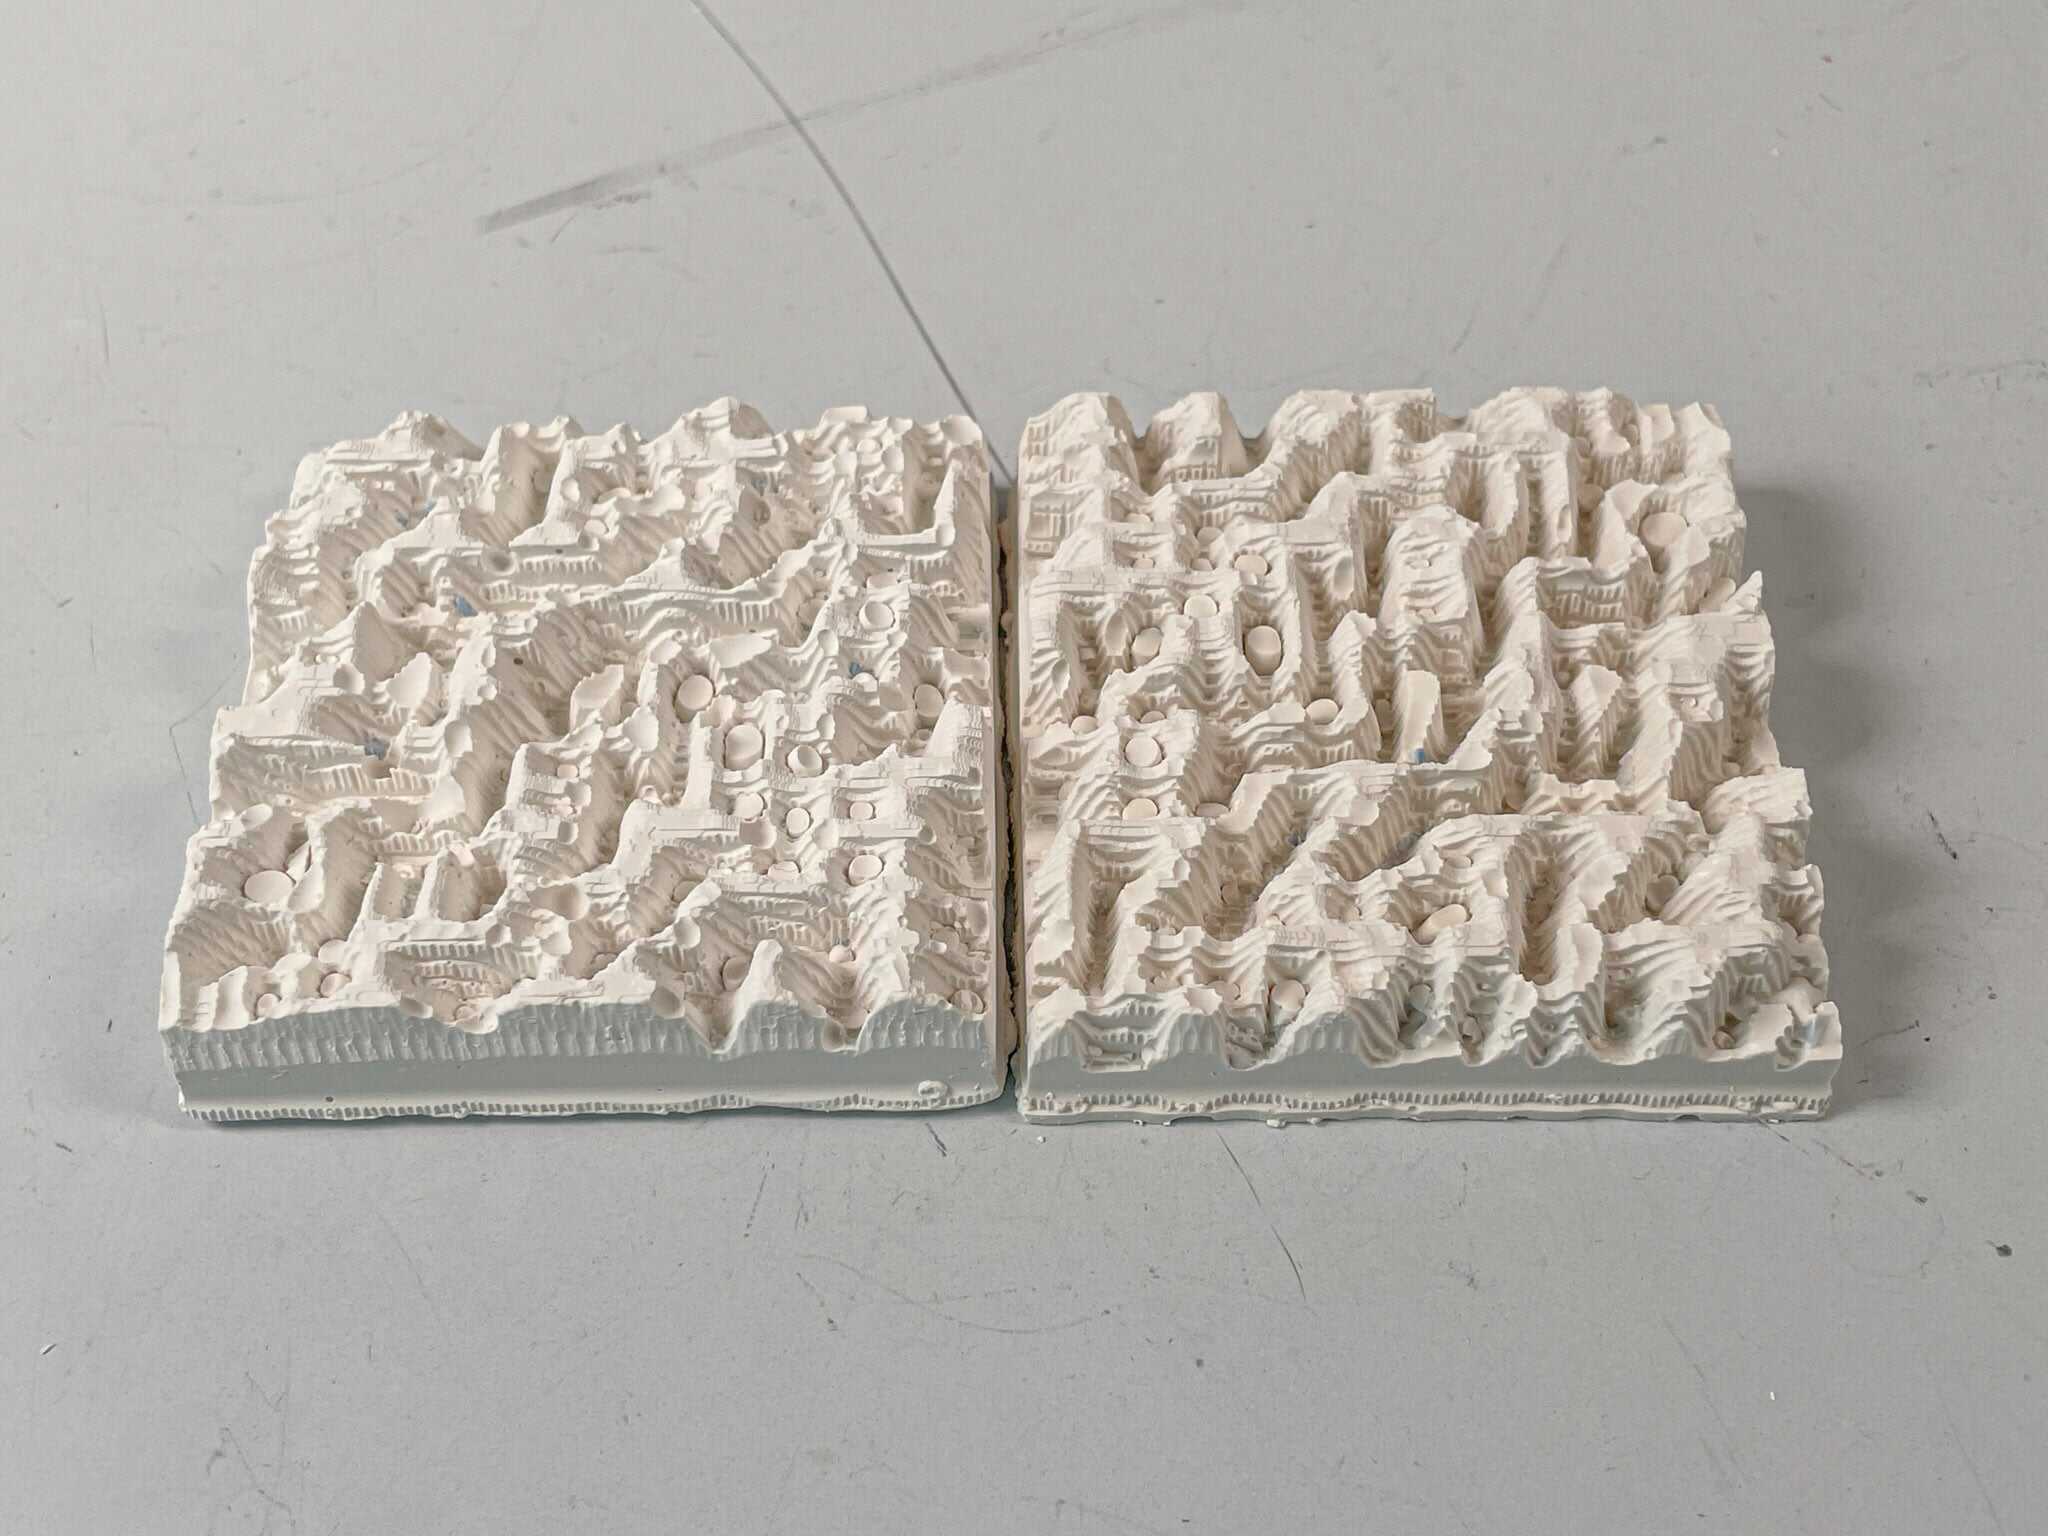
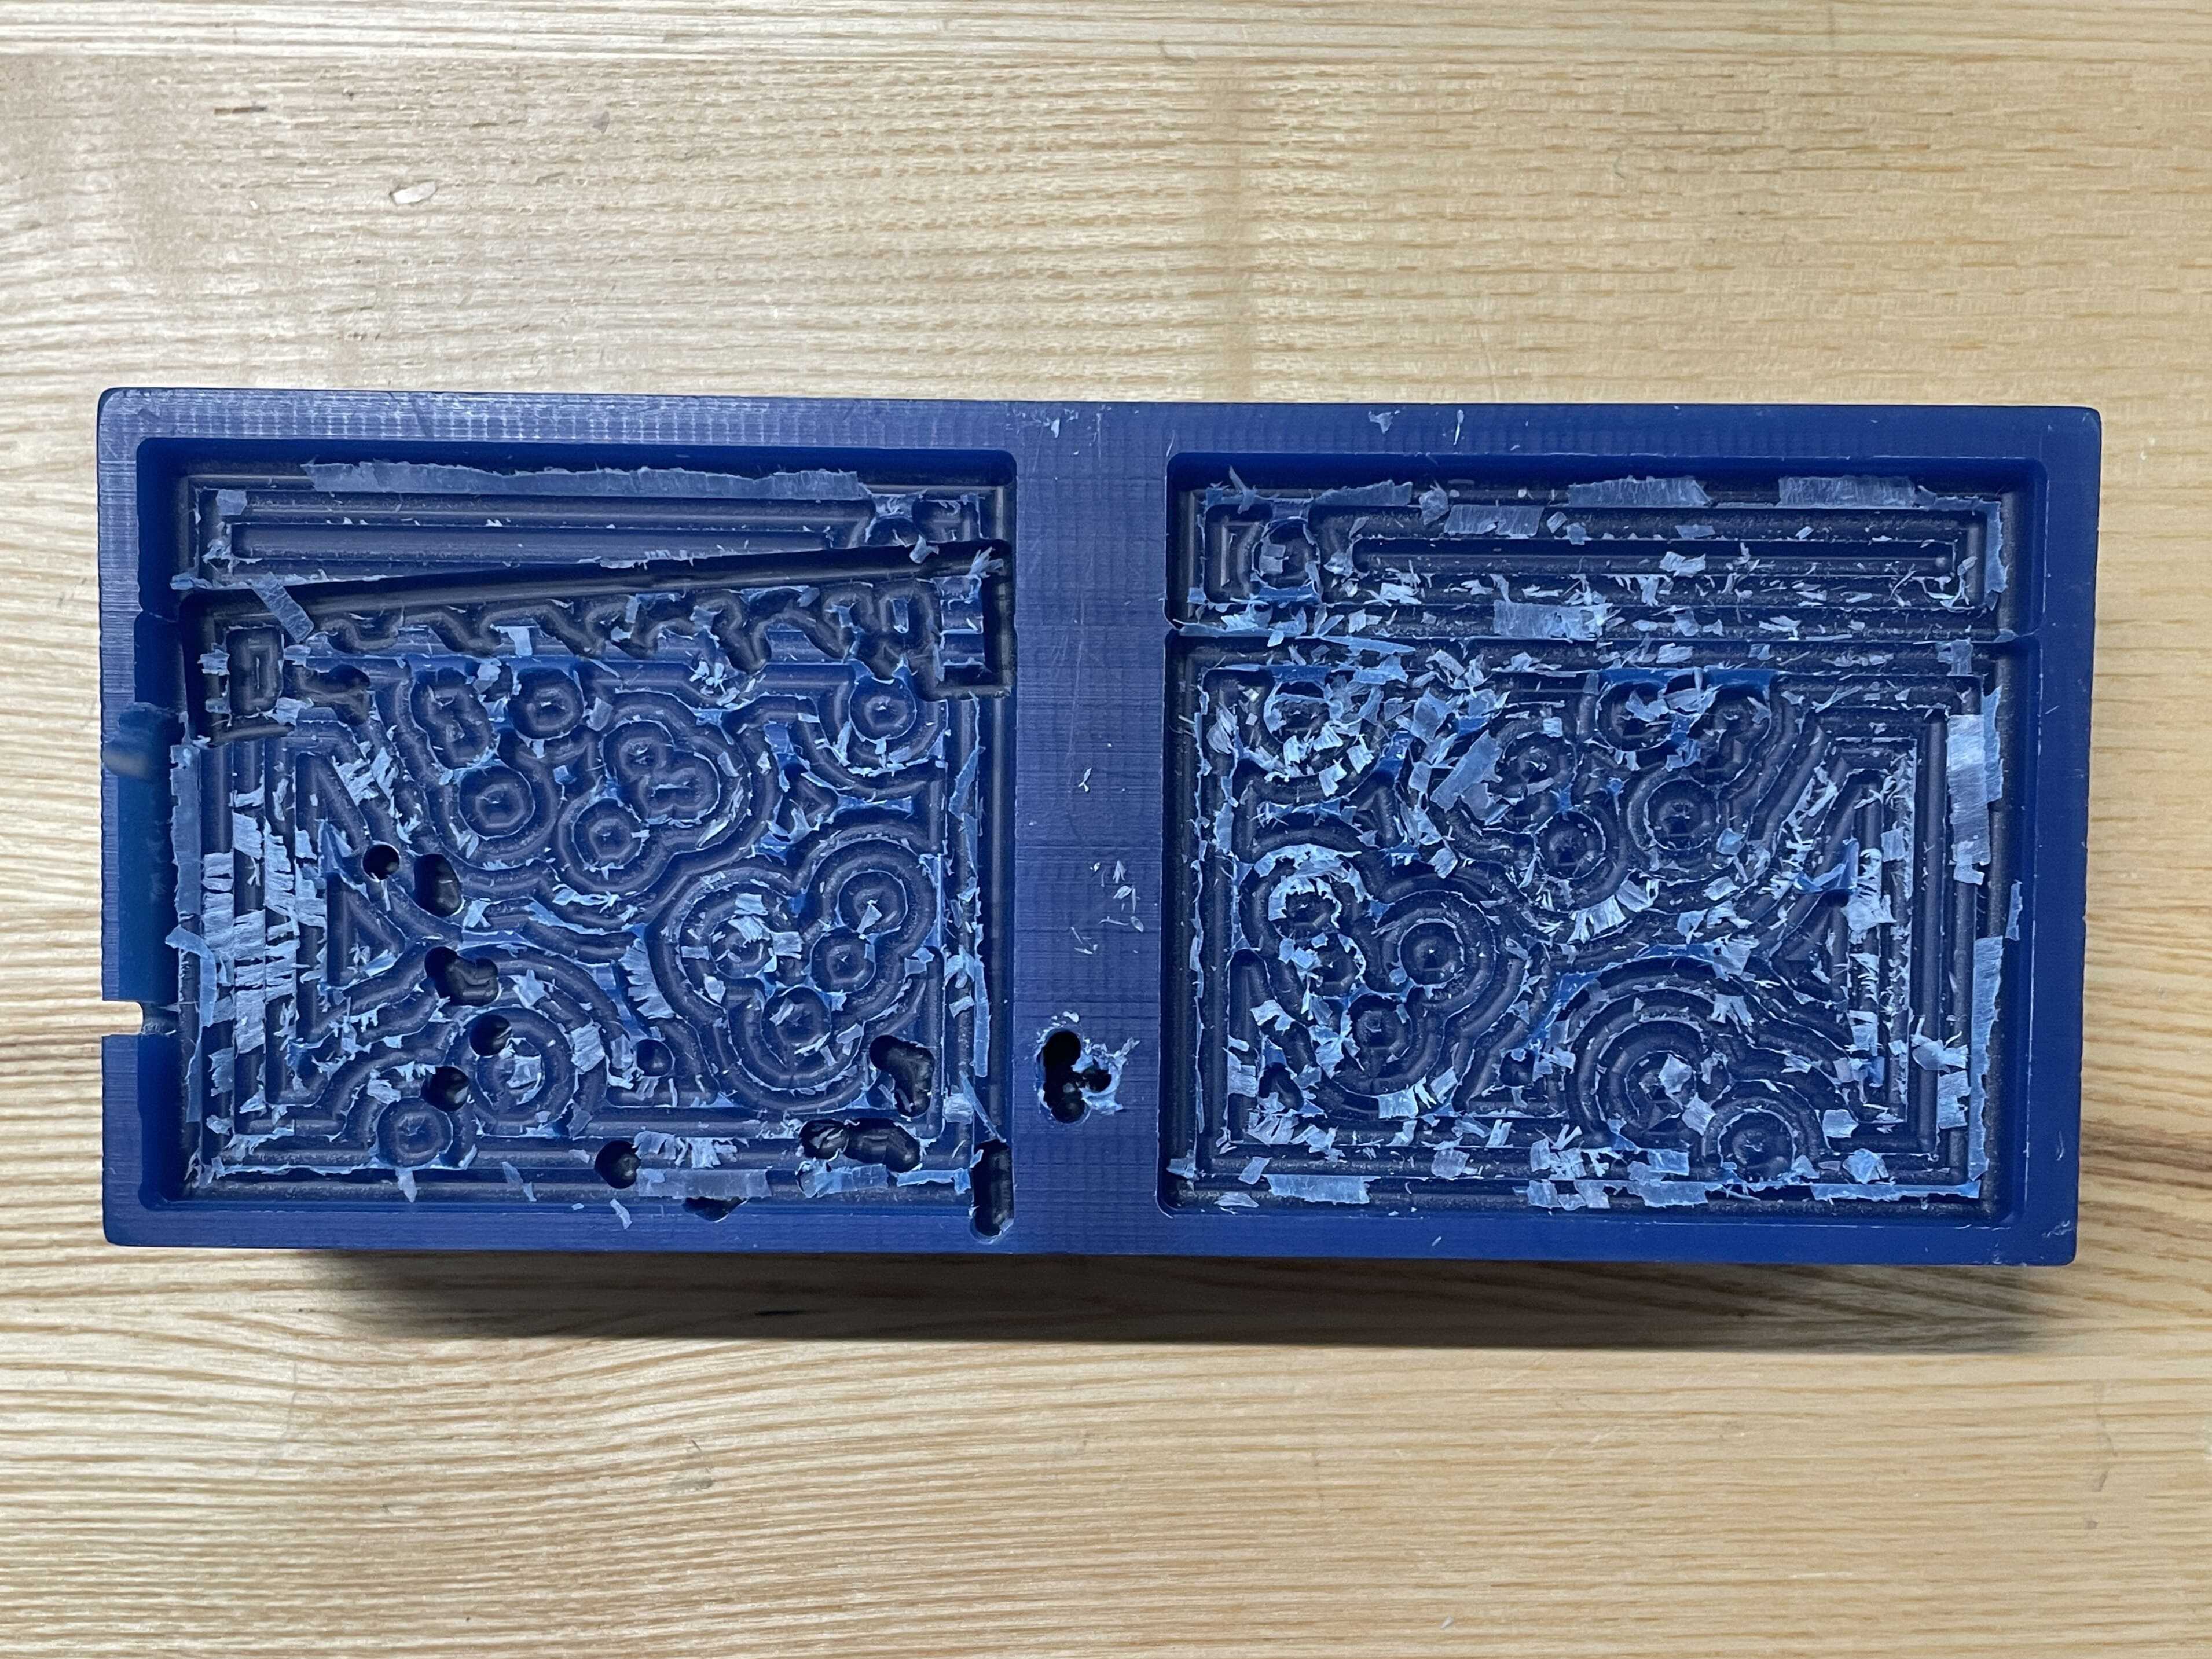
Second time around was a success, roughing pass for both tile molds. I guess the wax from a previous job had made dust on the buildplate that prevented the tape from getting a proper grip, so the alcohol wipedown helped. Notice the slightly canted incline on the outer edge of each mold, which will eventually help remove your oomoo.
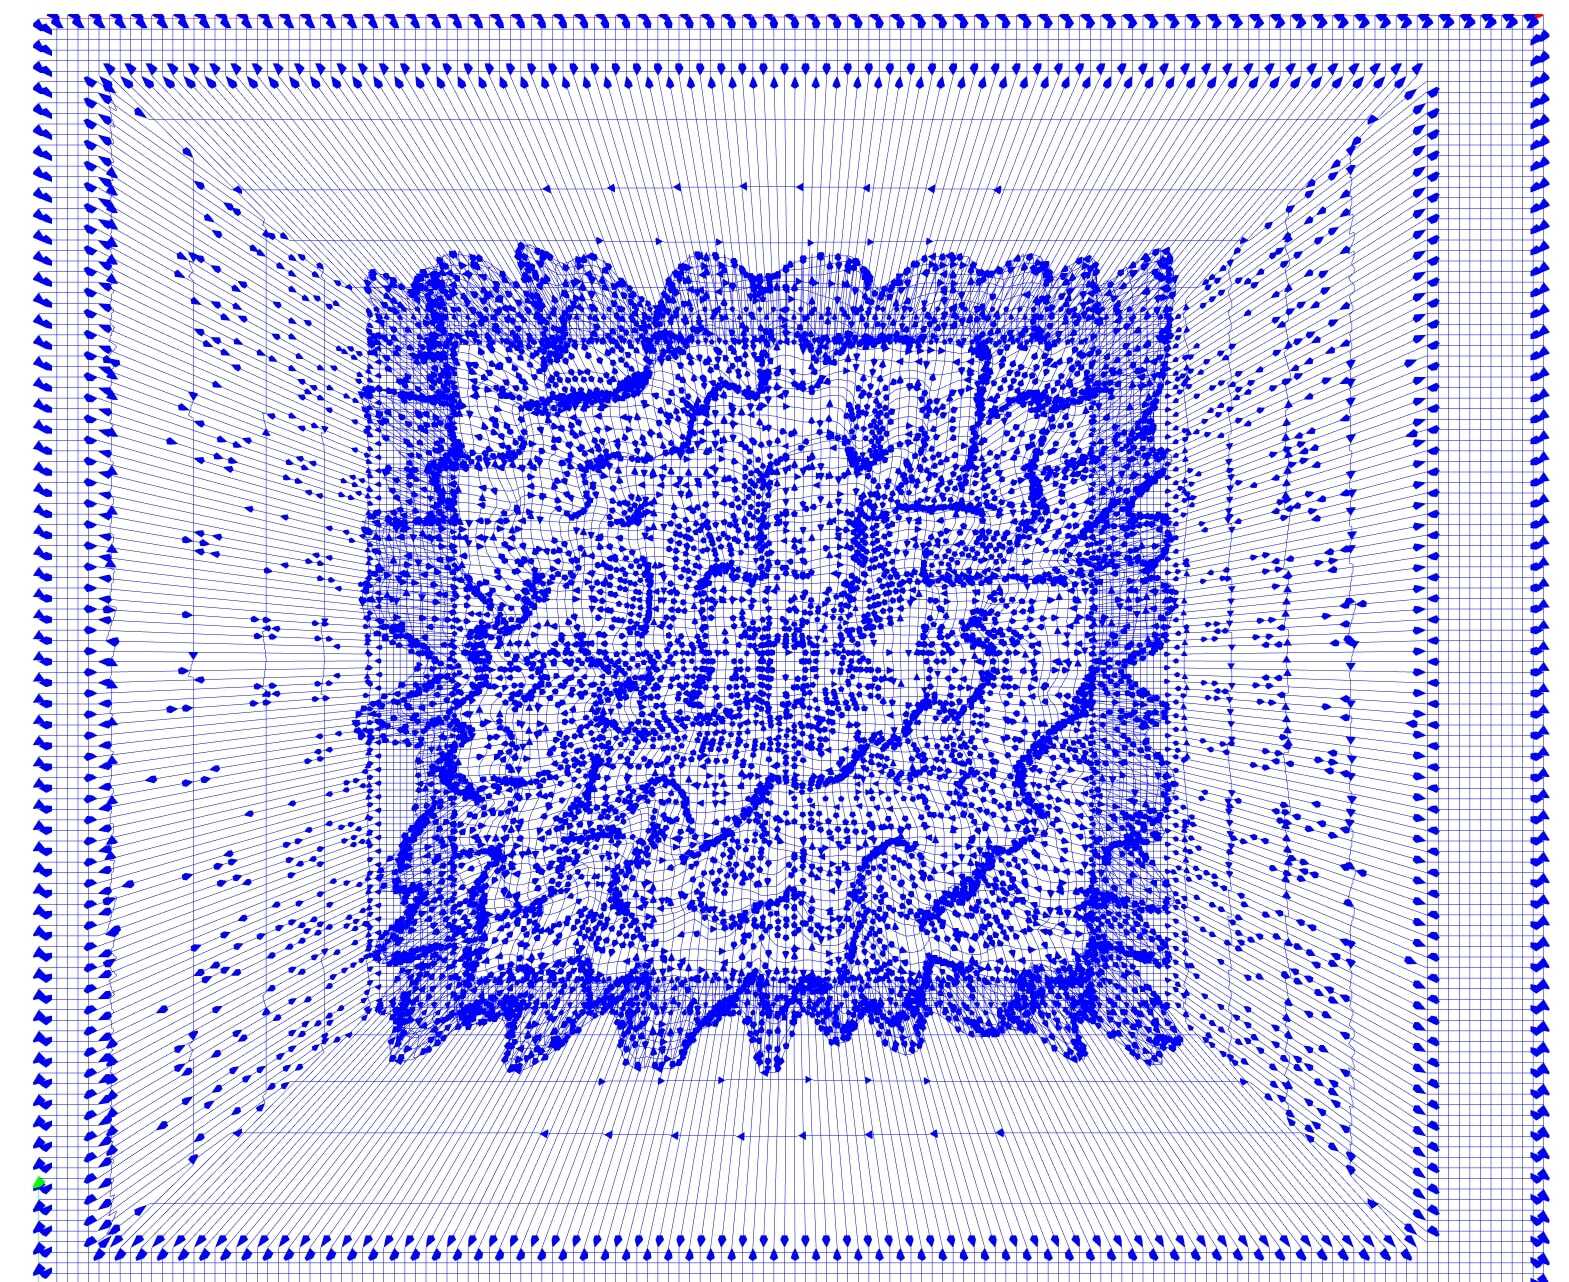
I re-exported just half of the model, making sure my origin points within rhino were identical. I uploaded this .stl to mods' (3D) workflow panel to generate a toolpath for my finishing pass, and pressed play.
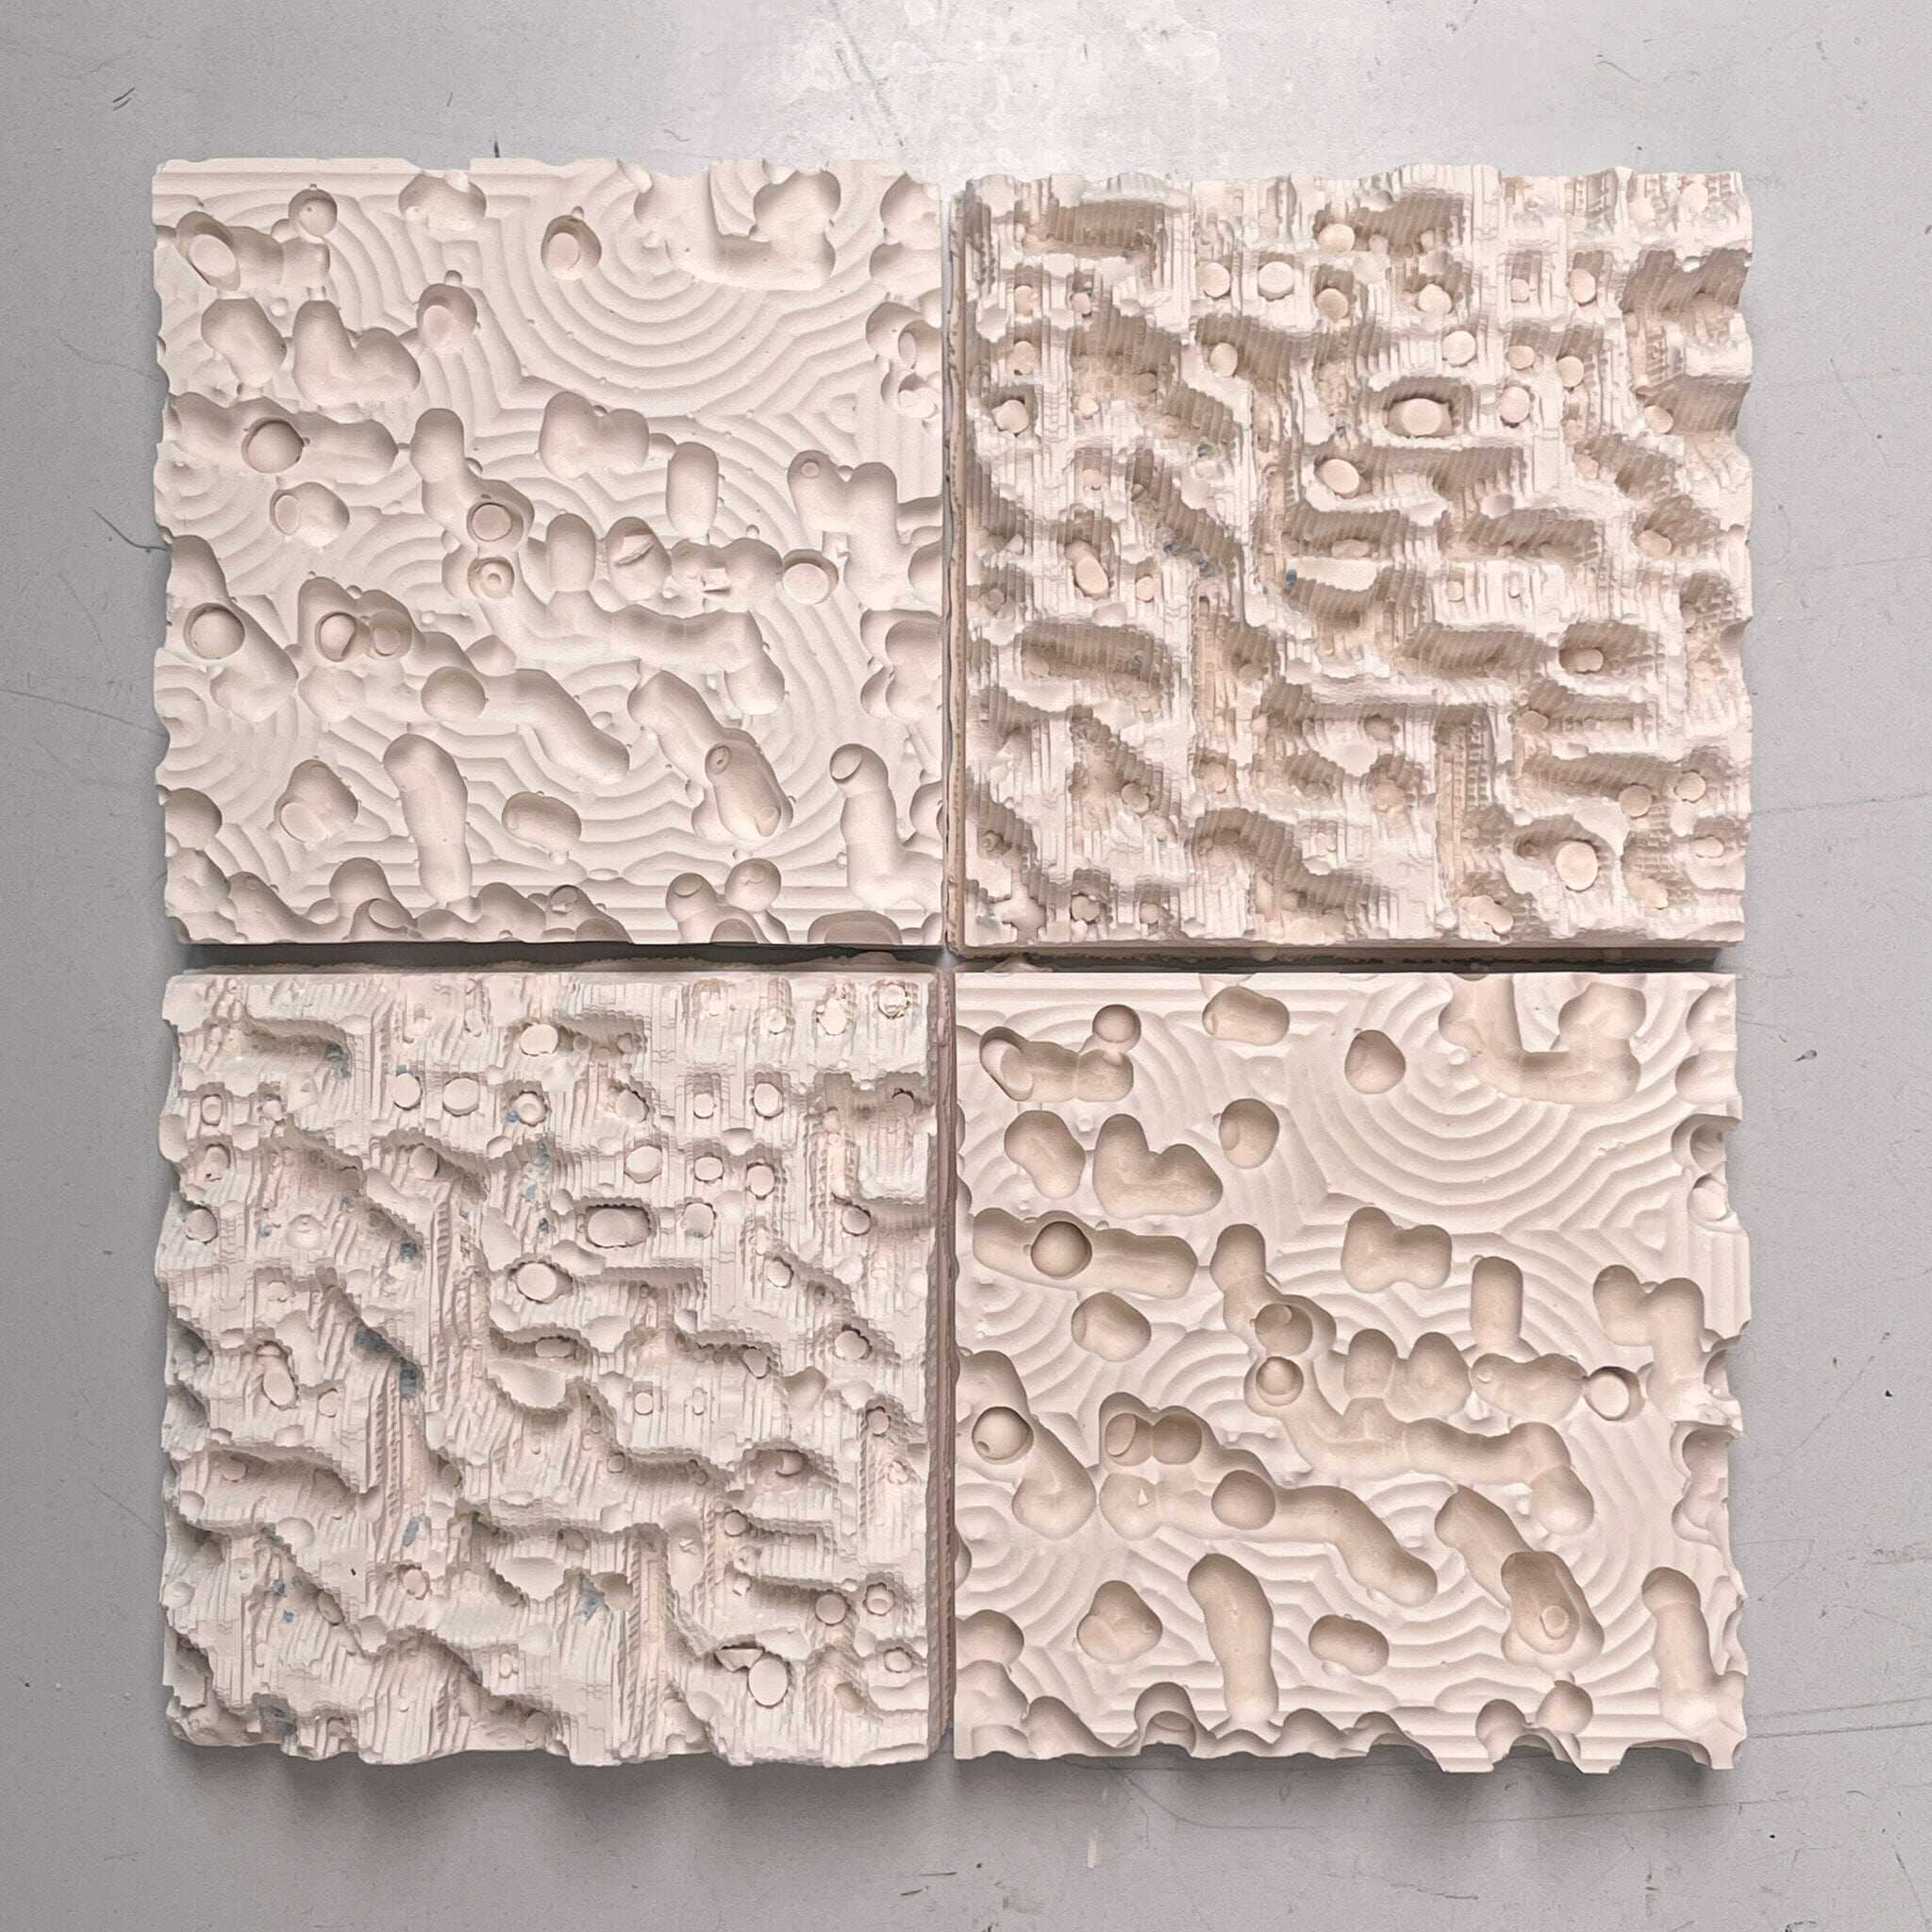
The finishing pass was a success (in my eyes granted, because for whatever reason the REEFs SRM-20 was bugging and would only run a x-z, and not a y-z finishing pass. This was a big issue for some peoples projects, but given that the whole design of mine is incomplete approximations I kinda preferred the effect). One challenge I ran into with the oomoo, even after stirring for like a good 12 minutes, stirstick always perpendicular to the mixing cup's surface, was bubbles! The bubbles had appeared to dissipate over time during the mixing process until they were no longer. My guess is that I didn't have the best pouring technique, or that this geometry is simply difficult for the oomoo to fully inhabit. On many of the low points of the mold the oomoo never reached, which surprised me because I had tapped the mold against the table like 5 dozen times, hoping to vibrate the liquid into all the cracks, but maybe this substance isn't as susceptible to that as plaster or concrete would be.

I think I had maybe poured a bit too gregariously, and this bubble in particular was big and in an unhelpful place. I used a hotglue gun to give it surgury ^.^
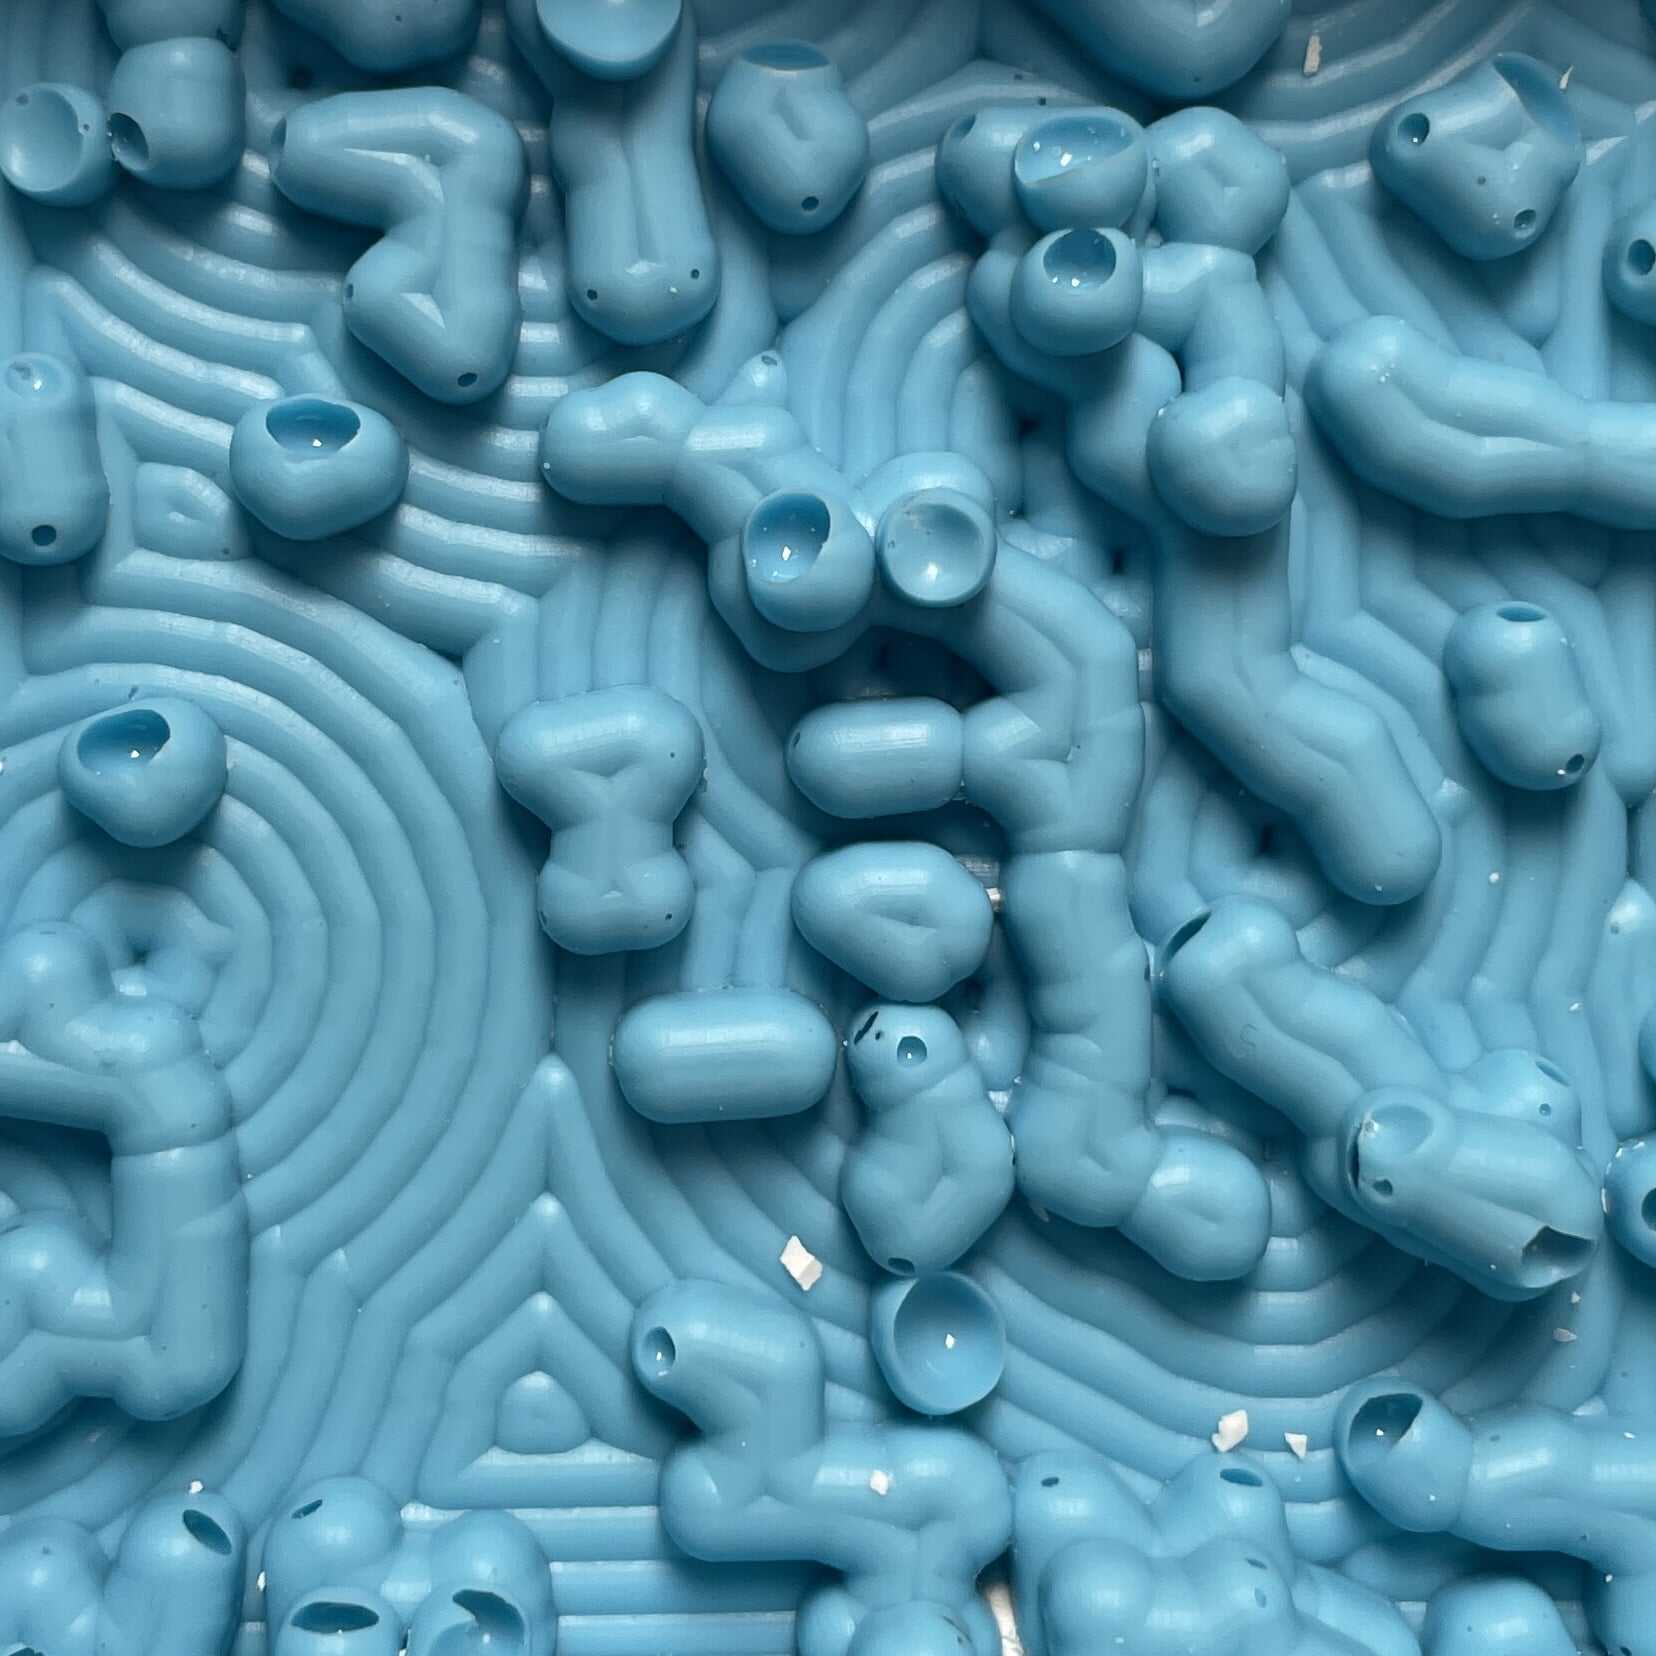
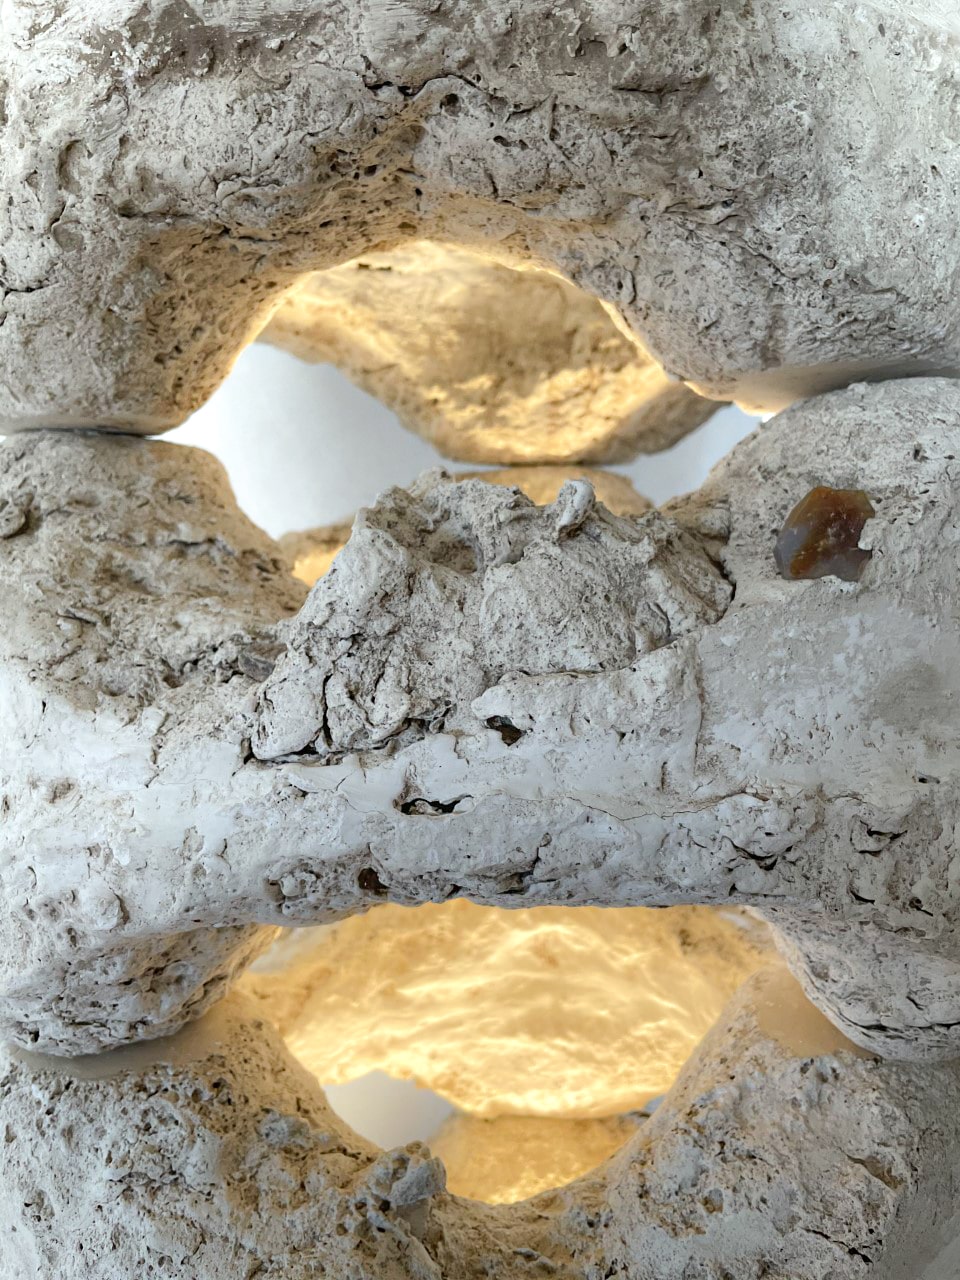
This is the most disgusting thing I have ever made. I love it.
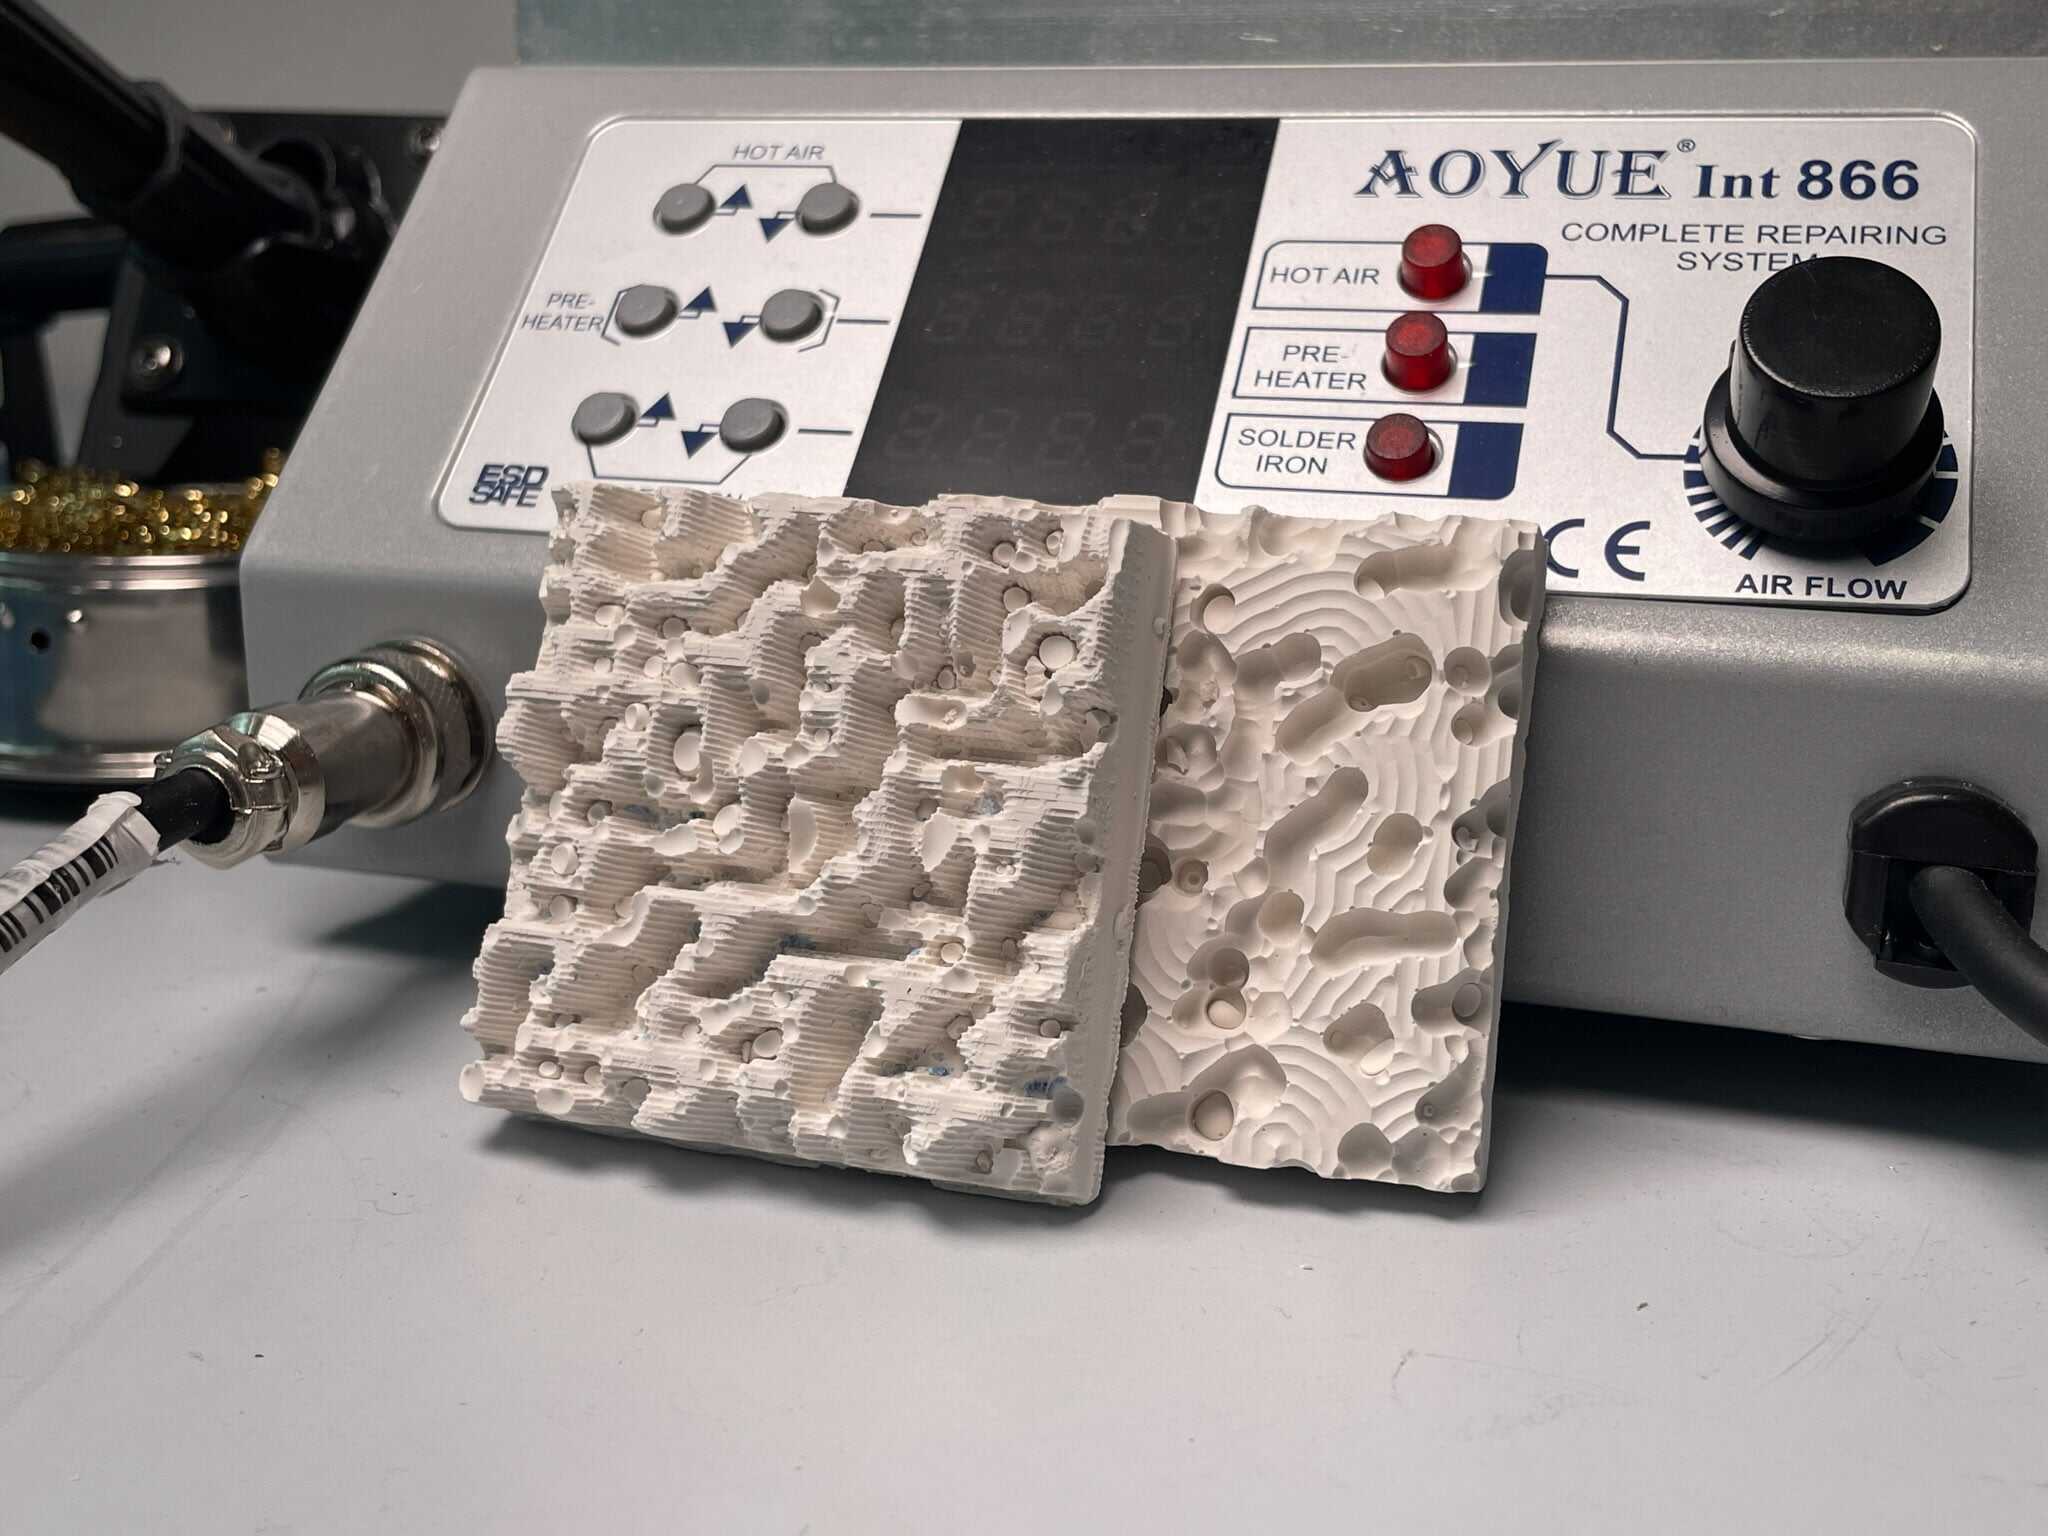
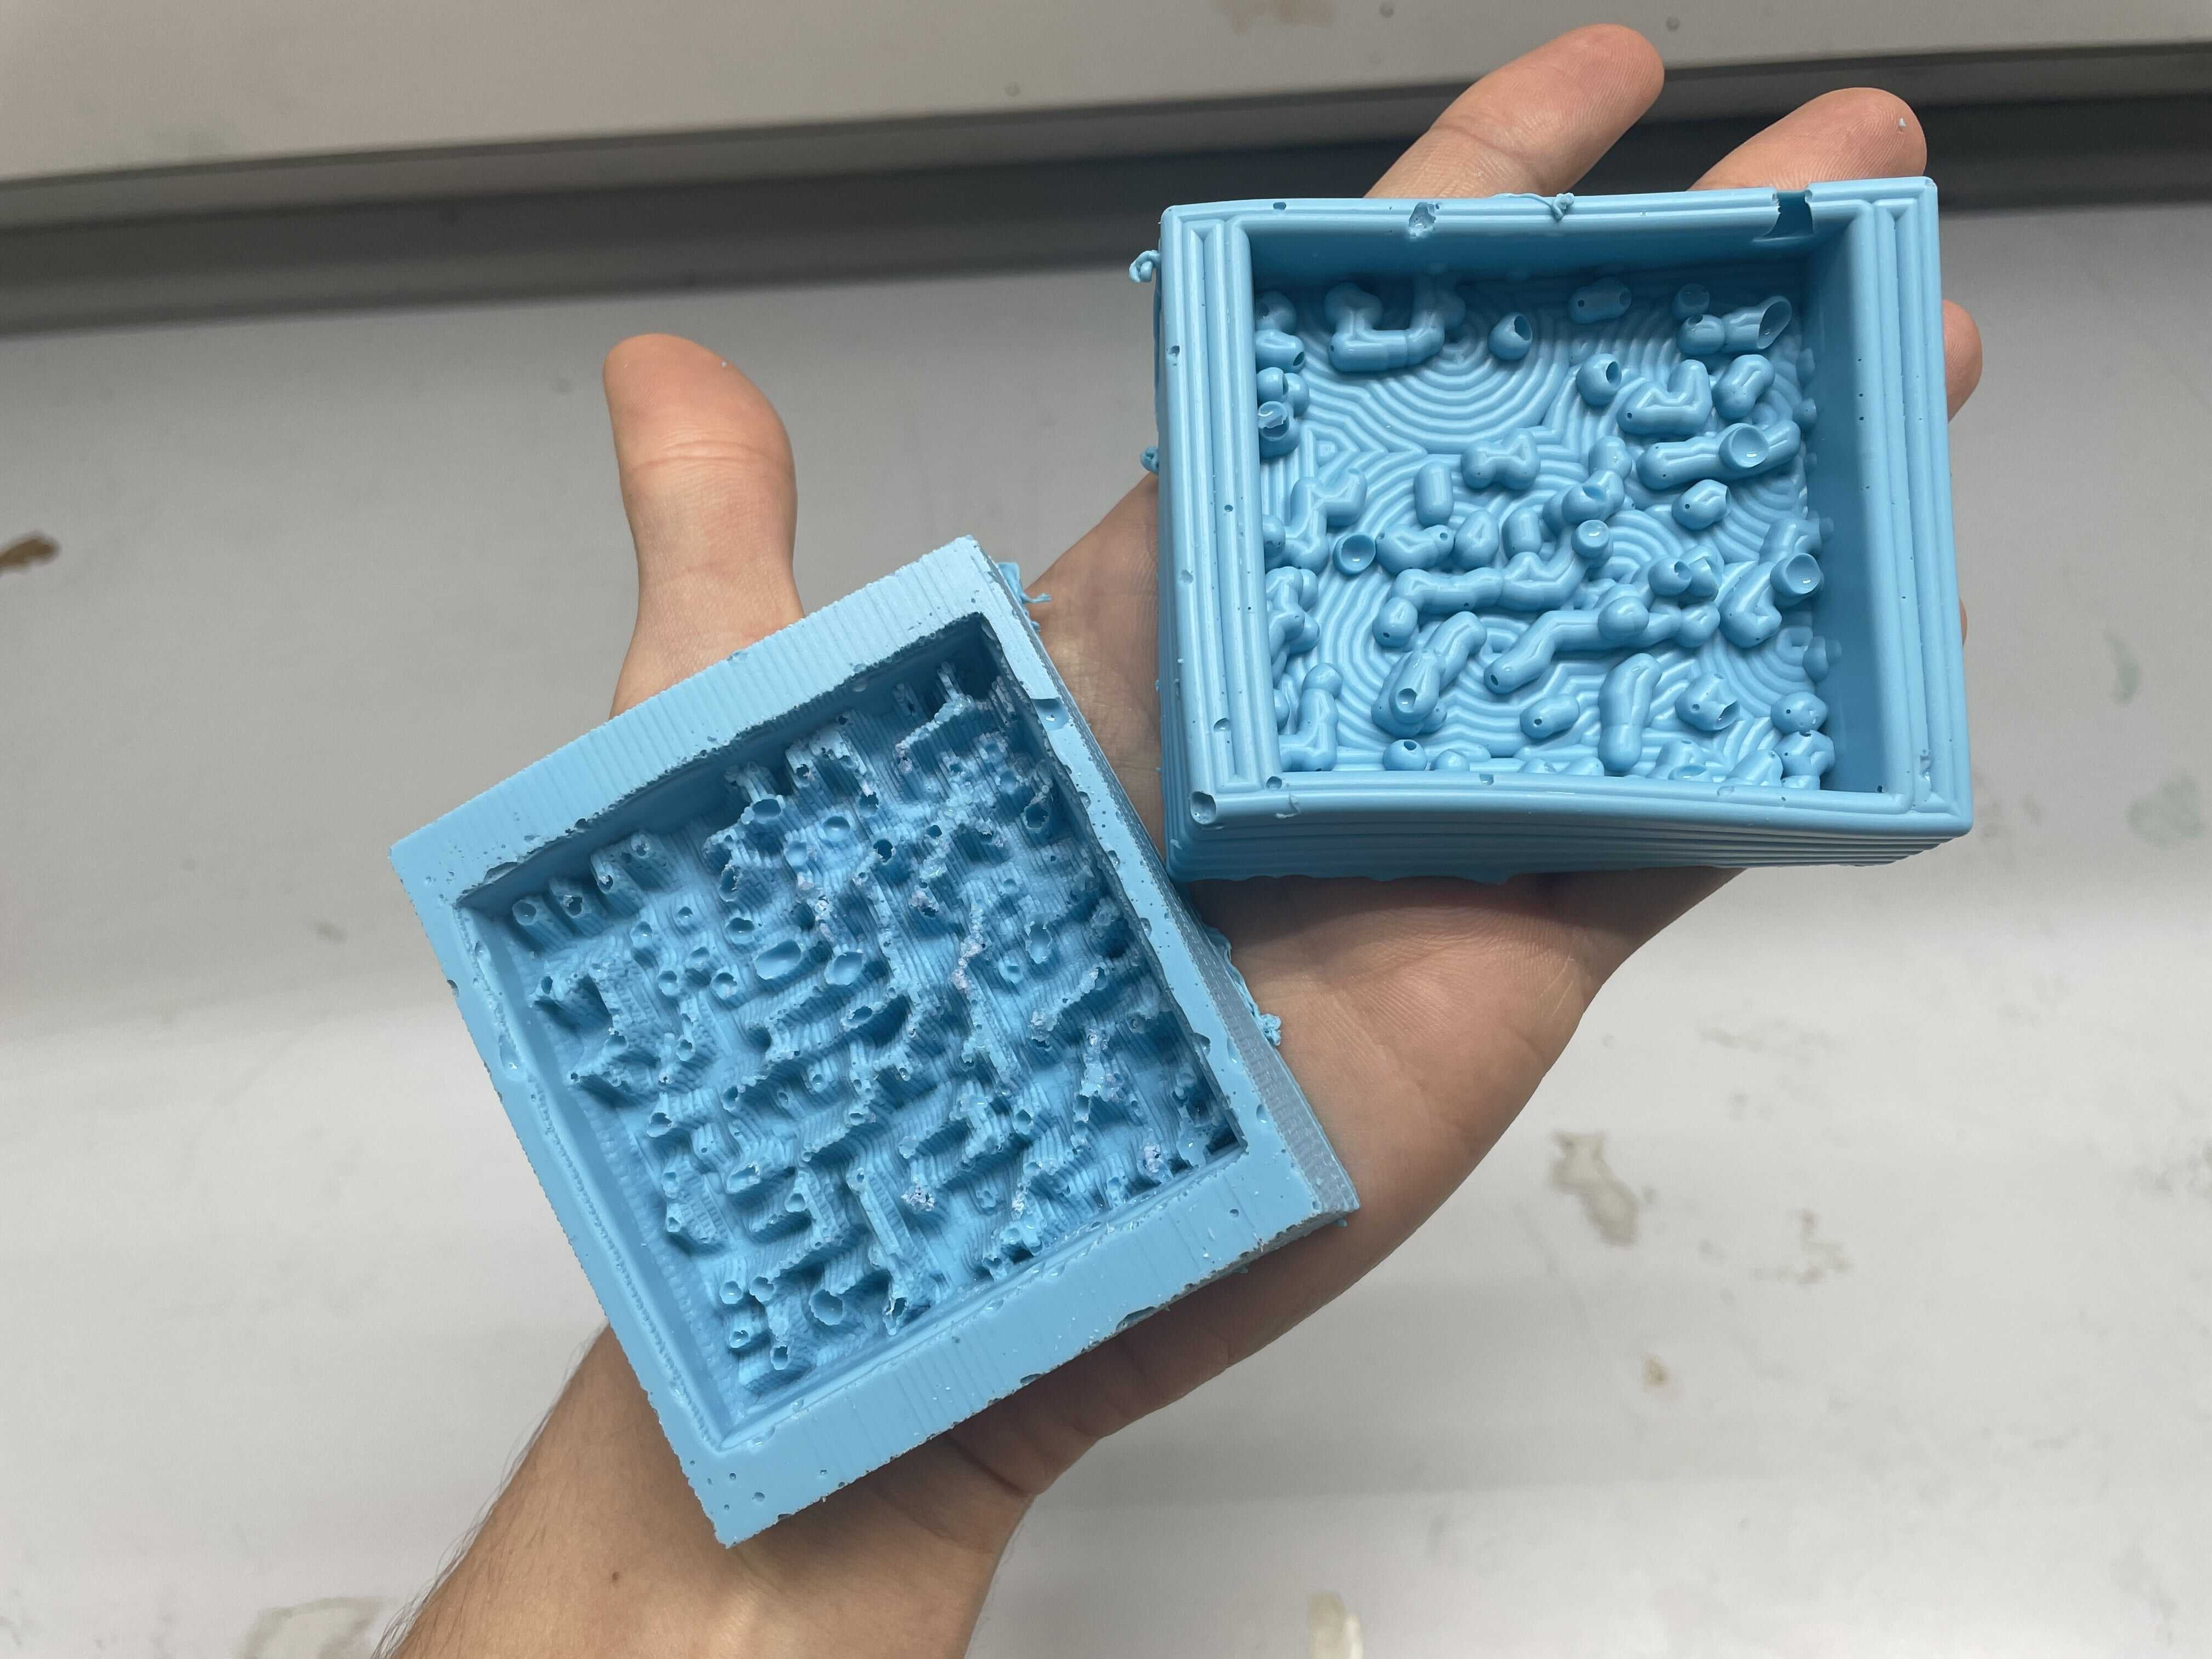
The first material I tried out in the molds is the drystone. I checked out its datasheet to see that it gave a ratio to water based on weight. I measured out 100ml of water and 100ml of drystone to get a ratio that I could use to translate the weight ratio into a volume ratio. This is a lot more helpful to me. I ended up having a volume ratio of about 1water:4drystone.
I tried the same molds over using the hydrostone, which ended up having a ratio closer 1water:3hydrostone. I noticed that because the hydrostone was more liquid, it was able to fill the cracks better than the drystone, but it ended up having a slightly sepia tone to it after drying. I wonder if this will eventually dissipate as it dries out more.