How to Grow (almost) Anything 2021
Remote Robot Edition
Before doing anything, make a personal copy of this notebook (File > Make a Copy)
In this exercise we are going to go through the basics of remote controlling a liquid handler robot - OpenTrons OT-2
The goal is to get familiarized with Jupyer Notebooks, the OpenTrons API and automatic liquid handling.
Before we start, this tutorial assumes you are connected to the OpenTrons robot and the labware is calibrated. Labware cannot be calibrated remotely right now.
Useful links:
- API Documentation - all the commands you can execute
- Protocl Library - existing protocols, you can download each one as a Python file, mostly for inspiration, as each protocol requires specific labware. This tutorial is based on the OpenTrons Logo Protocol
# First, we load the OpenTrons library and call home.
# Re-run this cell will reset the protocol!

import opentrons.execute
protocol = opentrons.execute.get_protocol_api('2.9')
protocol.home()

# If you get a warning while running this cell, go to ther OpenTrons app
# and disconnect from the robot. Try re-running this cell and you should not
# get a warning
Load labware
Labware are the physical components mounted on the OpenTrons deck. Labware can include tips, wells, racks, etc.
We can see which labware is already part of the OpenTrons Labware Library, or we could create a custom labware.
Each labware is assigned to one of the following deck slots:
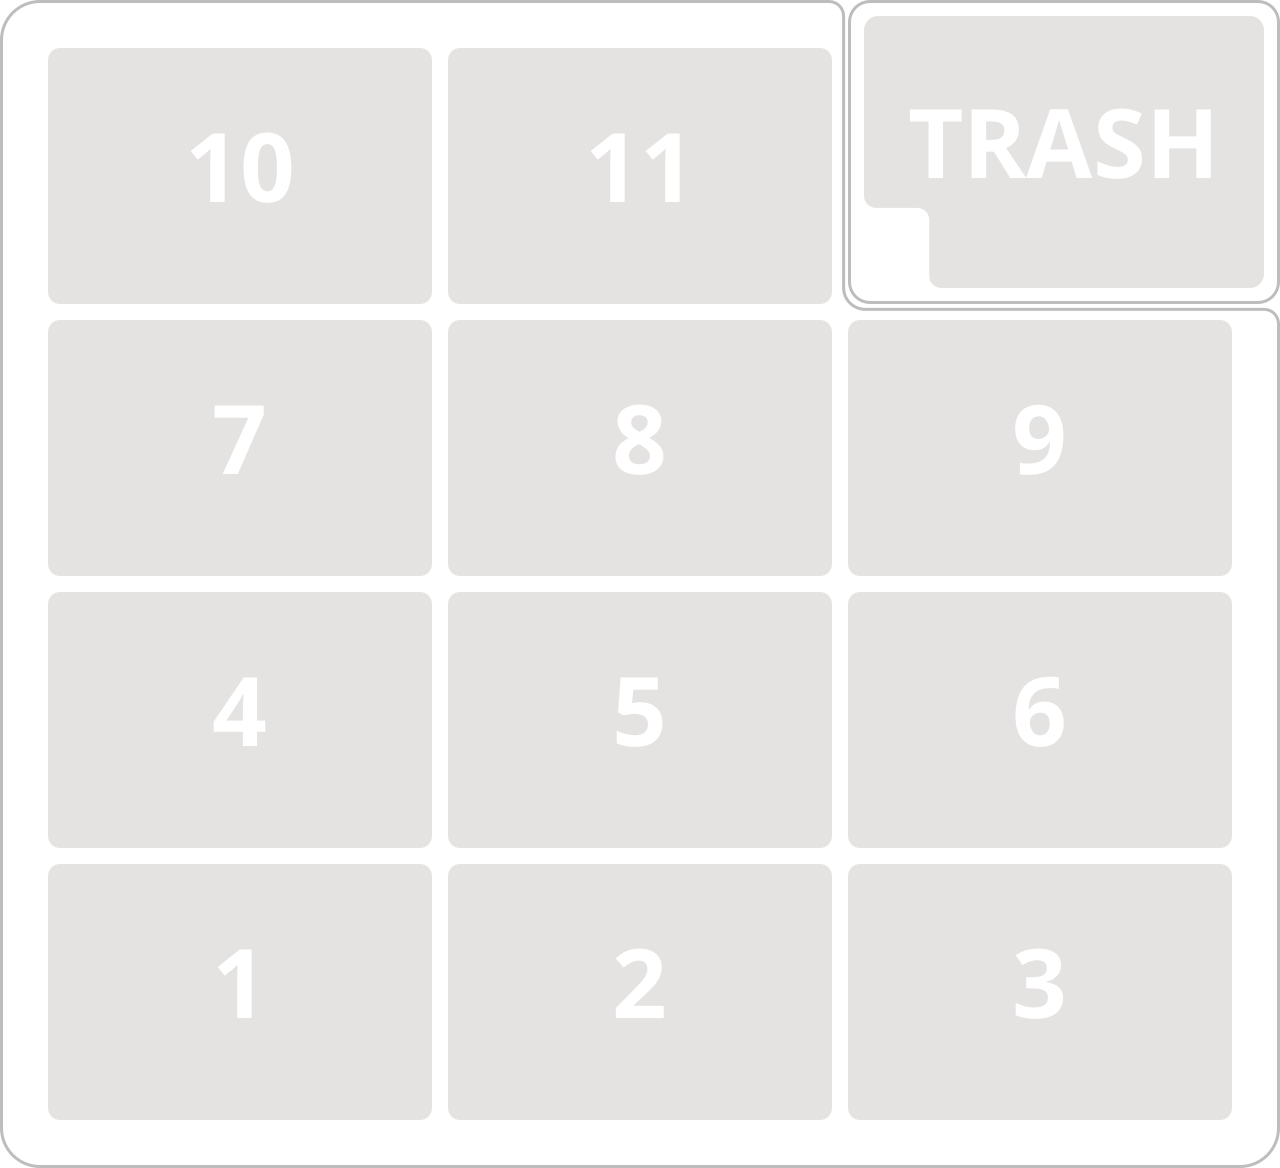
For this tutorial, we will be using the following labware:
Tips:
- Opentrons 96 Tip Rack 300 µL in slot 1
Reservoir:
- USA Scientific 12 Well Reservoir 22 mL in slot 2
- each well holds 10-15mL of various food dyes (look at the camera to see which colors). If you see a dye has run out please contact Eyal
Well Plate:
- NEST 96 Well Plate 100 µL PCR Full Skirt
- Actually, we're using a totally different labware: AXYGEN Clear Plastic 500µL 0.5mL V-Bottom 96-Well Assay Plates Microplate. The wells are located in the same XY positions BUT have different volume/height. Since we are JUST going to dispense this will work fine, but DON'T try to aspirate from the well. Bonus points if you want to create this custom labware ;)
- There are many plates scattered around the deck so all students can experiment without messing each other's work. Please make sure you select an empty plate when you start. The plate in slot 3 is for everyone to test their first few commands. If there are no empty plates please contact Eyal
# Tips
tips = protocol.load_labware(
    'opentrons_96_tiprack_300ul',
    '10',
    'Opentrons Tips')

# Reservoir
dye_container = protocol.load_labware(
    'usascientific_12_reservoir_22ml',
    '11',
    'Dye Source')

# Plate
test_plate = protocol.load_labware(
    'nest_96_wellplate_200ul_flat',
    '3',  # test plate
    'Destination Plate')
Load pipette
Don't let anyone fool you, labwork is all about transferring liquids from one container to another. Pipettes are the tool of the job, and they differ in how much liquid they can handle. Some biology work requires moving millilitres of fluid, sometime hunderds microliters and often a few microlitres.
We always have to make sure we have the right pipette for the volume we woulkd be handling (and that the pipette was recently calibrated!). Small mistakes in volumes can make the whole experiment fail.
For this tutorial we will be filling up 50uL of dye in each well. So a 300uL pipette would work fine.
You can see which pipette are installed and in which mounts (right/left) in the OpenTrons app
pipette = protocol.load_instrument(
    "p300_single",
    "right",
    tip_racks=[tips])
Test pipette
First, lets move the robot around a bit and make sure we are starting from the right pipette tip.
Look at the camera and find the first slot on the pipette tip rack that has a tip. Rows are marked from A to H (top to down) and columns are marked from 1 to 12 (left to right).
IMPORTANT: while running this cell, look at the live cameras. Continue only if the tip was properly lifted and dropped.
If the tip is there but is not lifted, contact Eyal
# First, look at the camera and see which tip is available
pipette.starting_tip = tips.well('X') # CHANGE ME to an available tip

# Pick it up
pipette.pick_up_tip()

# Return it
pipette.return_tip()
Transfer liquids
To transfer liquids, we usually have to pick up a tip, aspirate, dispense, and drop tip to the trash can (the trash can will be thrown out by the TA... why can't this be automated?)
Before we design out logo, let's try to follow these steps once
pipette.pick_up_tip()

dye_blue = dye_container['A1']
dye_red = dye_container['A2']
dye_yellow = dye_container['A3']
dye_green = dye_container['A4']
dye_orange = dye_container['A5']
dye_black = dye_container['A6']
dye_purple = dye_container['A7']

# Aspirate
pipette.aspirate(150, dye_orange)

# Dispense
pipette.dispense(150, test_plate['A']) # CHANGE ME to an ampty well!

# Throw the tip away
pipette.drop_tip()
Congratulations!!
You are one of the first to have performed remote robotic liquid handling as part of an online class. Very exciting. Once you relax, it is now time for this week's homework:
Your goal is to design a personal/HTGAA logo (or anything else you can do in a 96 well plate) using the given food dyes. The design can be done in any platform you prefer (pen and paper is my favorite) but you have to code an OpenTrons protocol that will create the design. Feel free to experiment, but notice the following guidelines:
- If you are unsure of anything - ASK. There are NO stupid questions, and we don't want to mess up the robot.
- Only use the commands shown above along with .distribute() (see API)
- We care about the enviornment, so extra points will be given for smart tip usage - use the same tip for a single dye and dispose it when you are done. Do not use a tip per well.
- Be careful not to dispense into the reservoir
- Again, if you're unsure - ASK. Extra points for every question
When you are finished, you can save this notebook as HTML (FIle > Download As > HTML) and post it on your blog. Also, take a picture using the cameras of your design. I will also stop by and take nice pictures and send it to you.
### YOUR CODE GOES HERE. GOOD LUCK
IMPORTANT: Wrap-up your session
When you finish your session, make sure you do the following steps so your fellow students can jump right into remote robot handling:
- Close any windows/tabs you might have opened, including you personal notebook
- Leave two windows open side by side - on the right, the Chrome browser with the live feed, and on the left, the template Jupyter notebook.
- Close the Remote Desktop session window (do NOT shut down the computer, please)