Week 2 - DNA Extraction and Gene Design
DNA Extraction & Sequencing
We are going to be extarcting and sequencing our DNA this week in order to determine our blood type. We will follow this steps:
- Extract DNA from saliva.
- Run PCR to amplify our extracted DNA.
- Run gel elecrophoresis to deternmine how good our expression was after the PCR.
- In parallel, sequence DNA through Sanger Sequencing.
- Align our DNA sequence results and look into nt467, nt703 and nt1096 to determine our blood type.
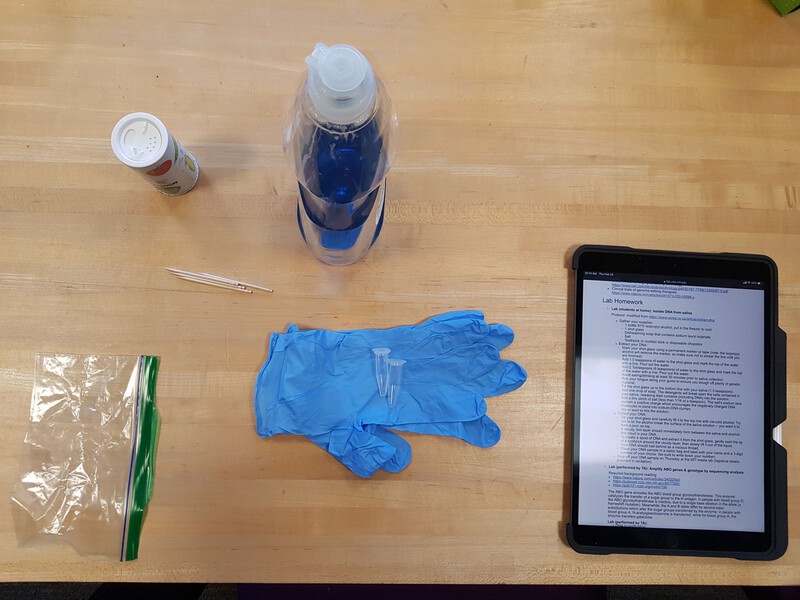
This are all the supplies you need. Its a very nice experiment to do because we only use common ingredients that can be found in a home. It would seem like the golden standard for DIY bio hacking.
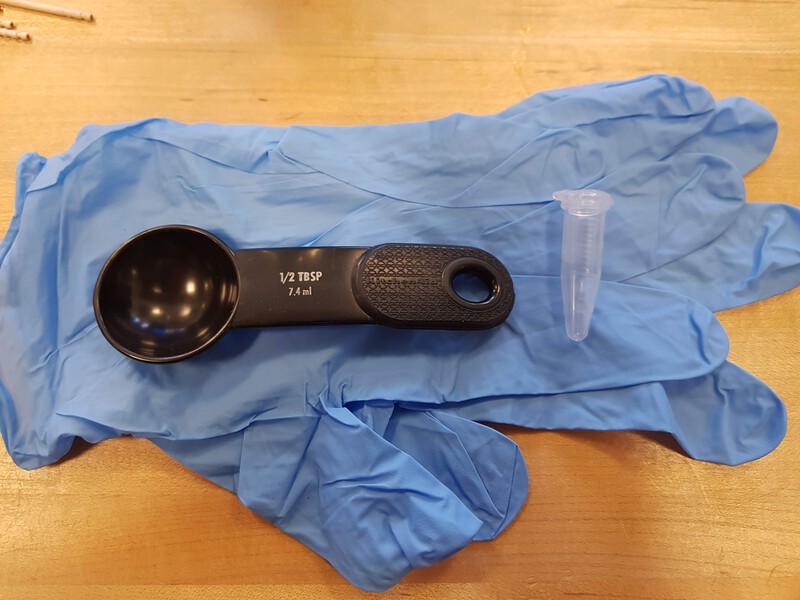
The longest part of the experiment was accumulating 1.5 teaspoons of saliva. It was not my favvorite part of my day but I eventually managed...
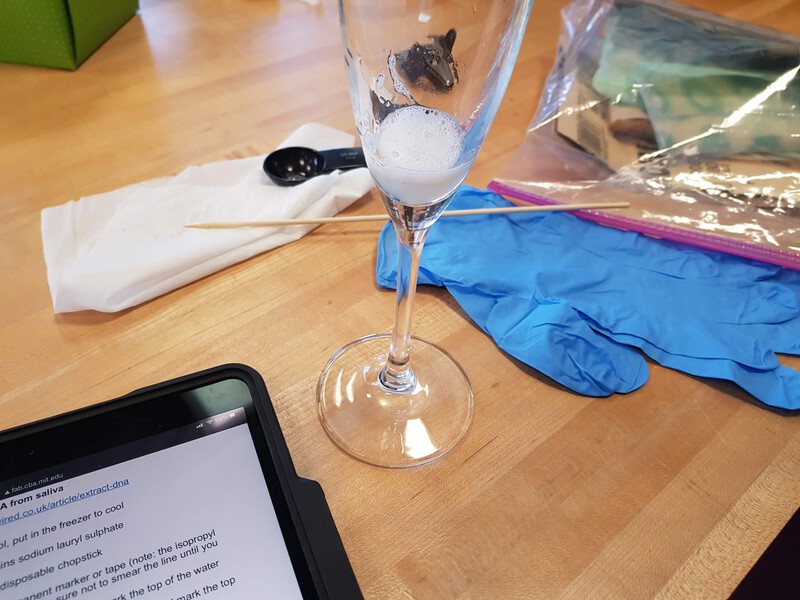
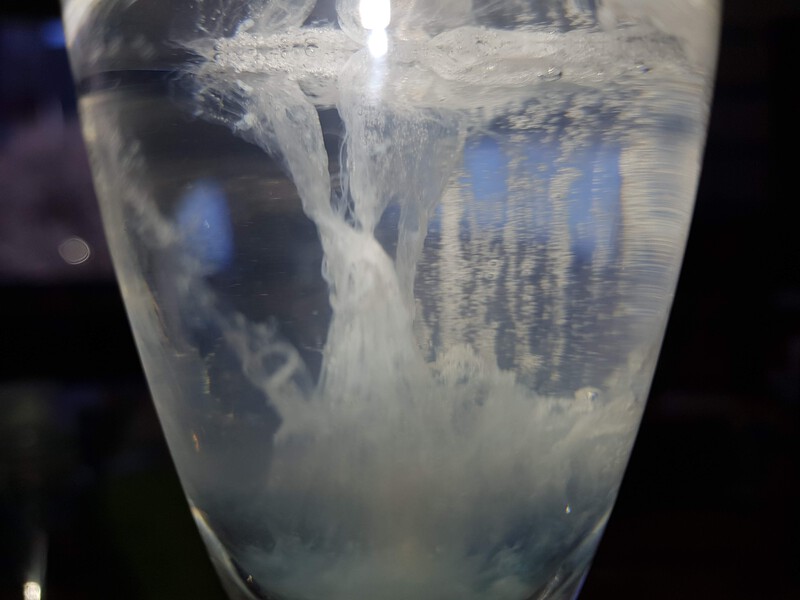
And after mixing the saliva with salt and soap I pured cold alcohol onto it and saw how the 'cloud' of DNA formed succesfully. The material was easy to remove with a toothpick. Off to the lab it goes! Hope it works!
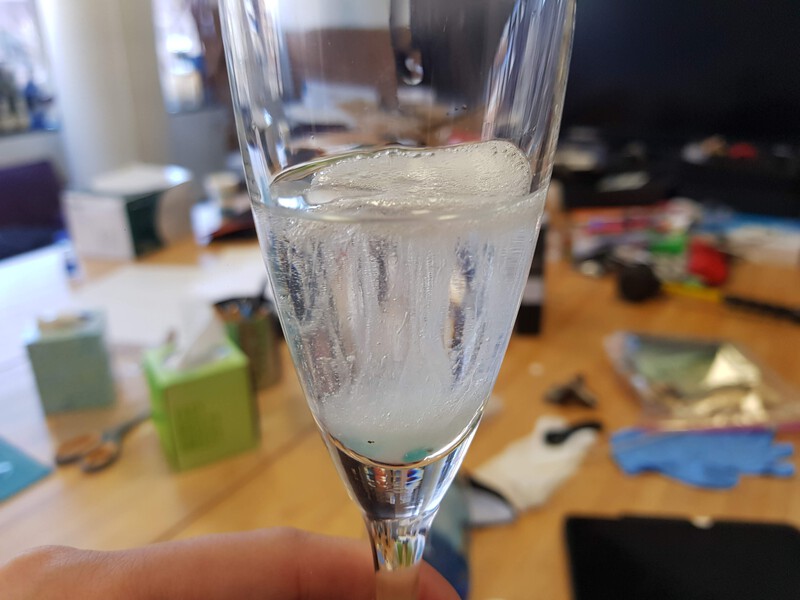
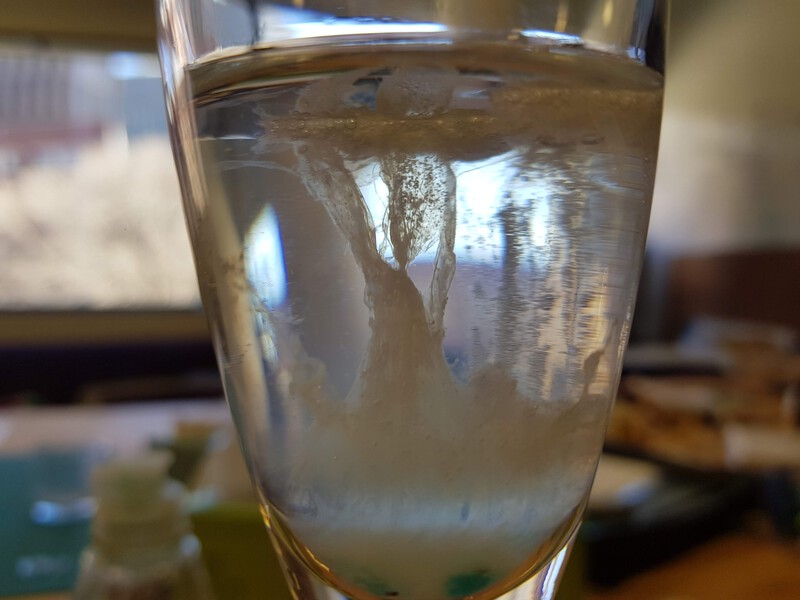
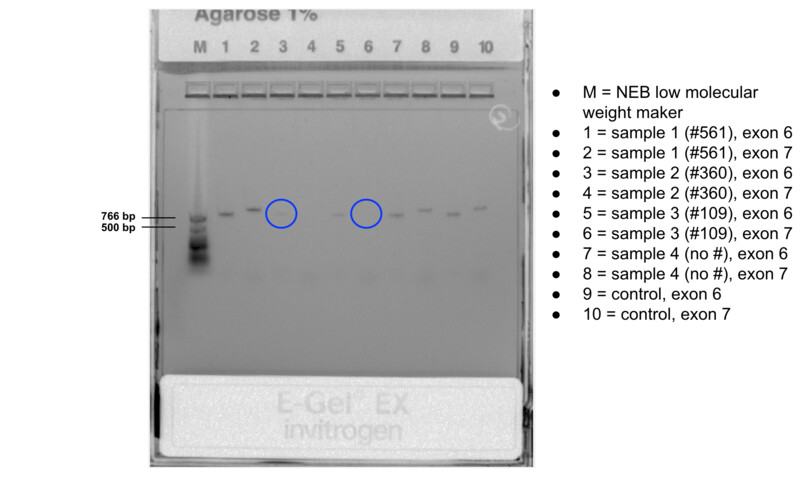
The results came back from the lab but my extraction was not too good. =( We can see, right away, from the results of the gel elecrophoresis that my samples did not have as good expression as expected.
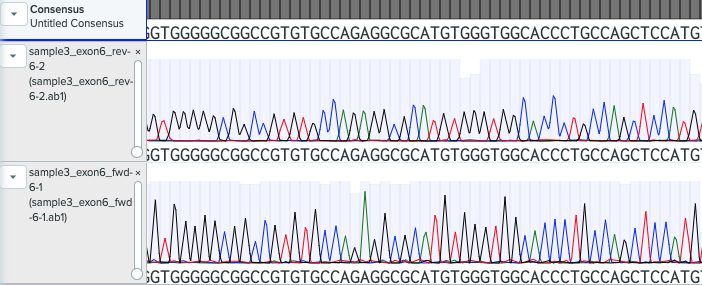
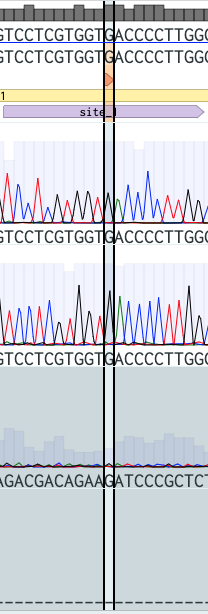
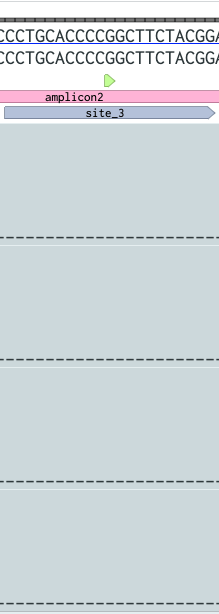
I opened my files with a little hope and as expected from the image above, the sequence for exon 7 is not possible to see and the one for exon 6 has many errors.
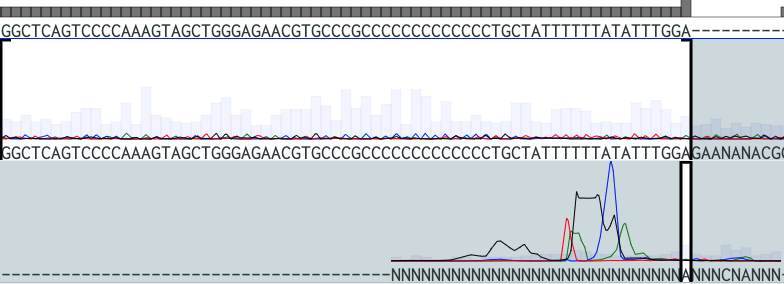
Nevertheless, I still had just a little hope that when I alligned the results with the reference, I would be able to at least extract something but I was only able to identify nt467 which is a G! I managed to visualize a G at site one, so that means that I can discard an O blood type! This is good news because I am not within the O type. Bad news was that the rest of the sites were not sequeced properly.

Gene Design
This was an intense week. It was my first time using Benchling and my first time doing any type of work invlolving genes. The recitation was extremely helpful in helping me understand
what we are doing with this assignment, why its relevant and the different methods that can be used to do so (along with pros and cons). I started my assigment by taking a look at the readings offered in the course,
the readings helped me to understand the different tupes of genome editing techniques (ZFN, TALEN and CRIPSR) along with the steps that have to be taken to excecute them.
This week also helped me to futher understand some of the basics of synthectic biology, genetics and classic biology. Some new words and concepts for me were:
- Genome
- Genotype
- Phenotype
- gRNA
- Nucleotides
- Locus
- Gene Knockout
- Gene Expression Modulation
- PAM Sequence
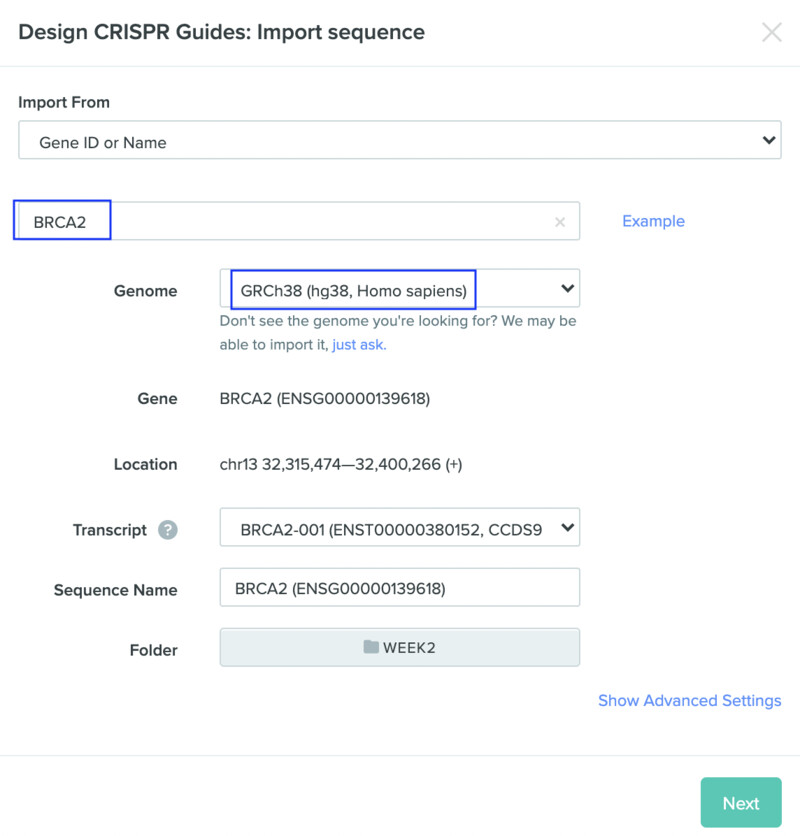
Next, I selected my design to be made with a single guide, with a guide length of 20 and an NGG PAM. These selections are standard and default in many of the tutorials that I saw.
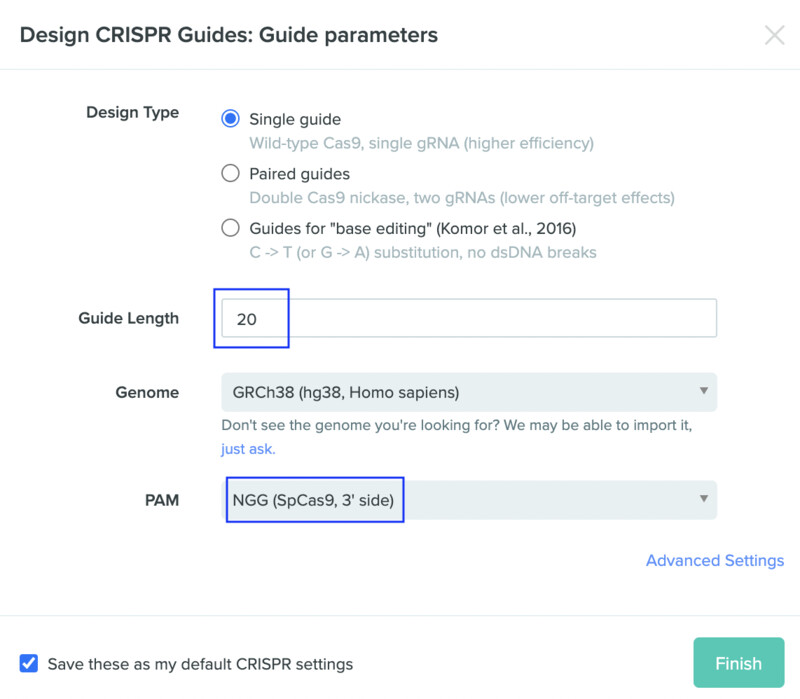
I selected Exon 1 (as intructed in recitation) to test if I could find a good on target and off target efficiencies on it and it turned out to have many great ones, I even saw some that were up to 97!
I chose the ones that had the highest off target along with the highest on target. Below is the sequence extracted from Exon 1.
GGGCTTGTGGCGCGAGCTTCTGAAACTAGGCGGCAGAGGCGGAGCCGCTGTGGCACTGCTGCGCCTCTGCTGCG CCTCGGGTGTCTTTTGCGGCGGTGGGTCGCCGCCGGGAGAAGCGTGAGGGGACAGATTTGTGACCGGCGCGGTTTTTGTCAGCTTACTCCGGCC
AAAAAAGAACTGCACCTCTGGAGCGG
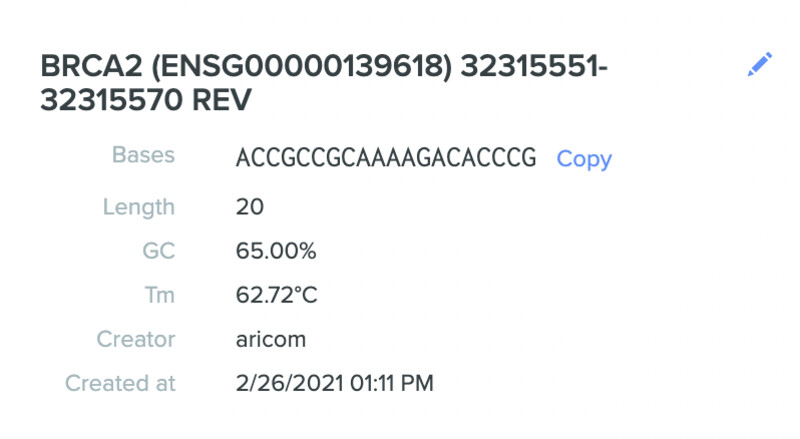
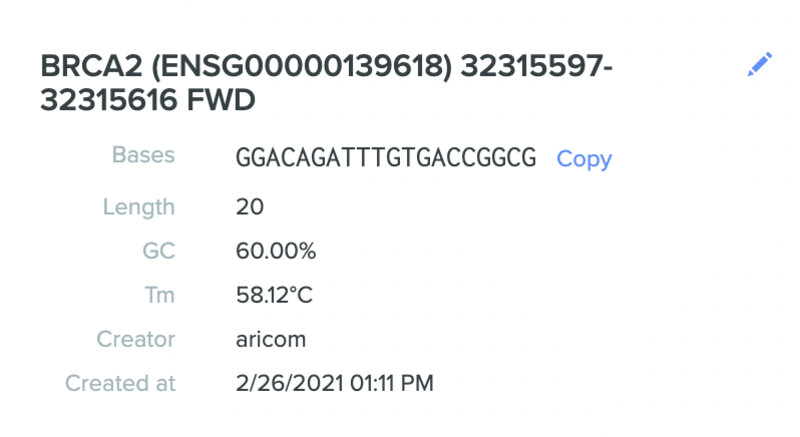
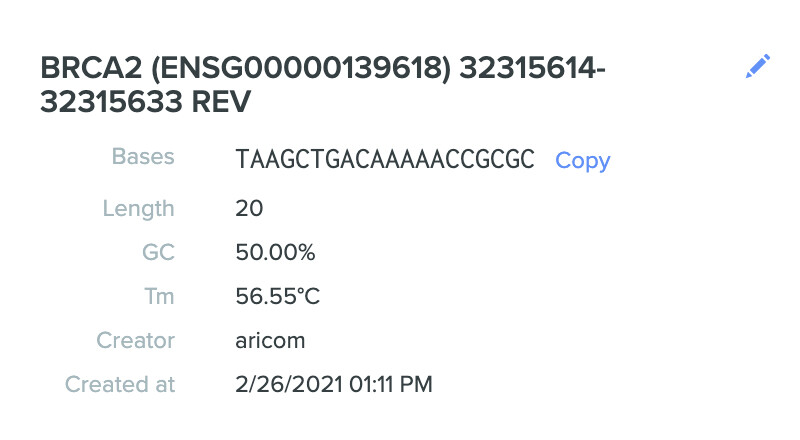
Here are my three selected gRNA sequences along with characteristics:
- ACCGCCGCAAAAGACACCCG
- GGACAGATTTGTGACCGGCG
- TAAGCTGACAAAAACCGCGC
