Week 4 - Next Generation Synthesis
Primer Design and Fragment Assembly
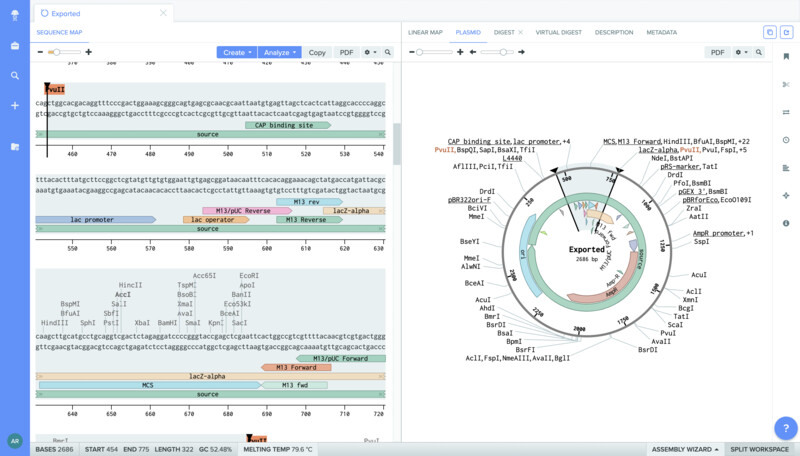
This week, I will attempt to desigbn primers that will allow me to fit a gene that encodes for a fluorescent protein. I will be using Benchling to design the primers 'in-silico'. I began by getting my pUC19 plasmid sequence from Adagen.
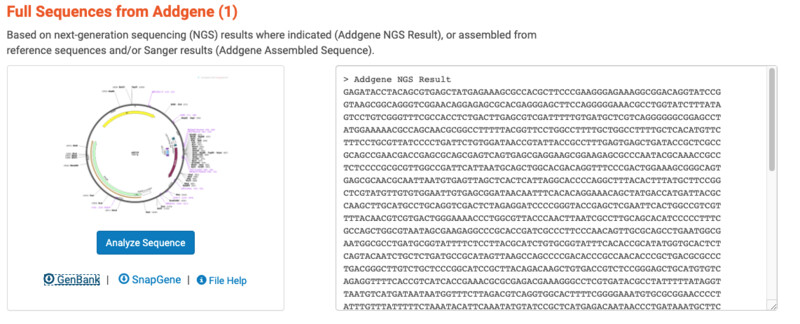
I then imported it into a new project in benchling. Using the + DNA command. The sequence that I downloaded comes very well anotated and documented so it makes my life much easier.
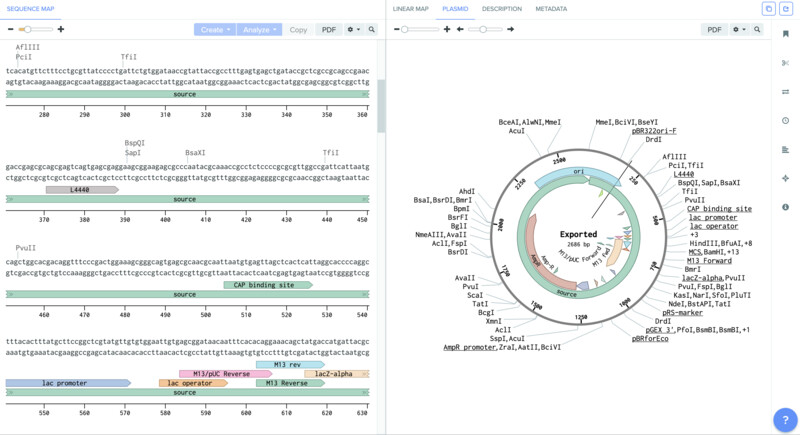
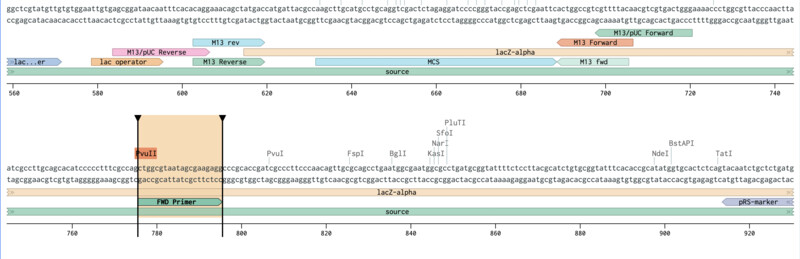
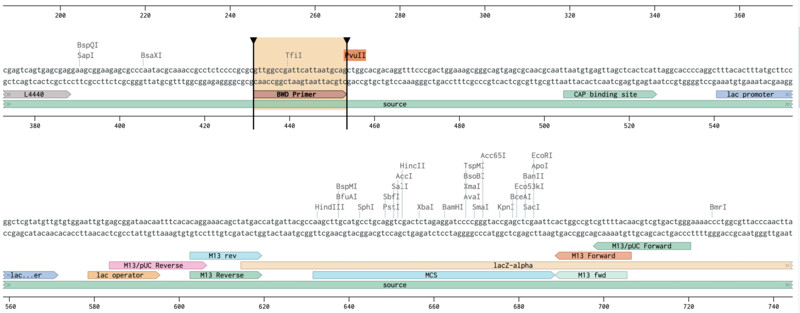
Next, I looked for the site within my plasmid that can be cut by the enzyme that I am using, which is PvuII. This is the enzyme that will recognize the specific CAG sequence and cut it. Once it cuts the sequence it opens the plasmid so that we can inser the desired gene within it.
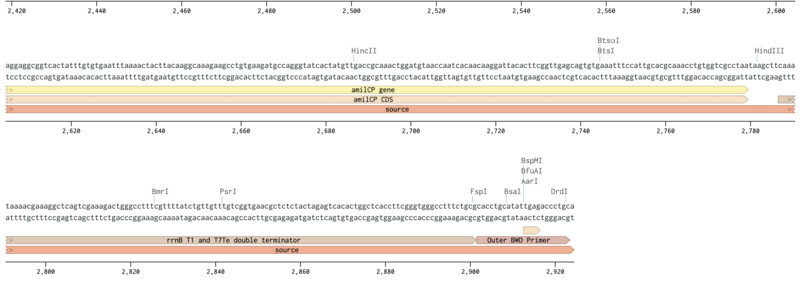
I also opened up the sequence for the plasmid that contains the amilCP gene.
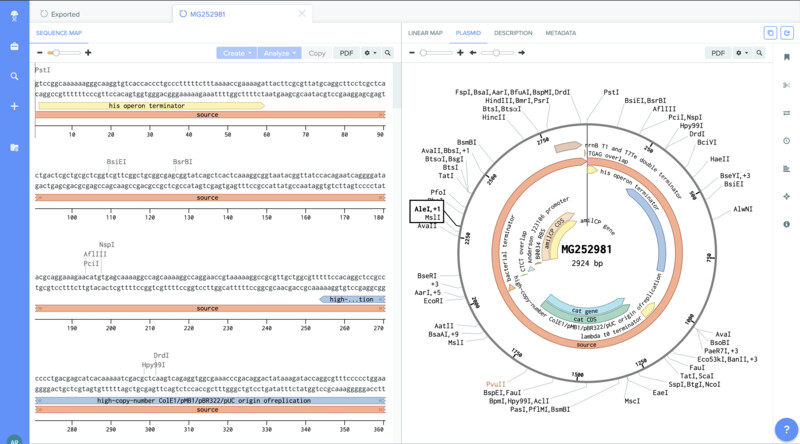
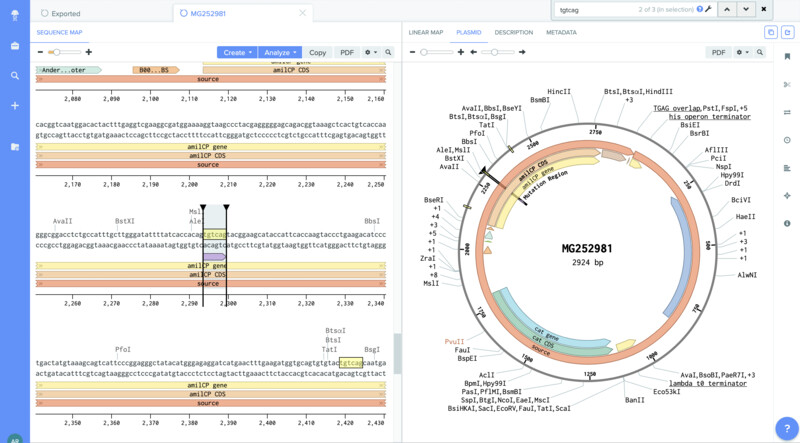
I was then able to localiza the mutation region (TGTACG) and annotate it.
Outer Forward Primer slection (mUAV / pUC19):
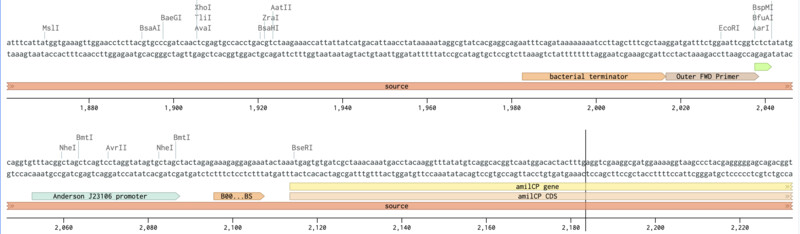
Outer Reverse Primer slection (mUAV / pUC19):
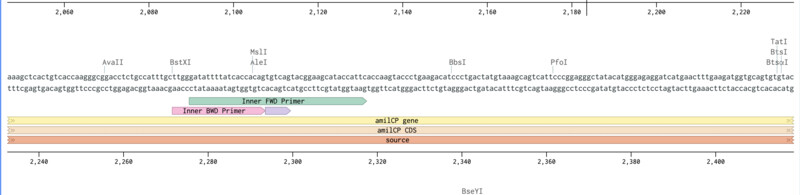
Inner Forward and Reverse Primer slection (mUAV):
Finally here are my final primers. I've sent them out for sequencing and we'll see if they work with the Opentrons when they come back.
Outer FWD -
ctggcgtaatagcgaagagg - ggatgatttctggaattcggtc
Outer RVS -
ctgcattaatgaatcggccaac - gcagggtctcaatatgcaggtg
Inner RVS -
ctgtggtgataaaatatcccaa
Inner FWD - Original
gatattttatcaccacagtgtcagtacggaagcataccattc
Inner FWD - Random
gatattttatcaccacagnnnnnntacggaagcataccattc
Inner FWD - Pink (VL)
gatattttatcaccacaggttttttacggaagcataccattc
Inner FWD - Blue (VN)
gatattttatcaccacaggttaattacggaagcataccattc
In order to know what six letter combination will produce which color, I used a codon table to know the sequences that will produce the desired amino combination.
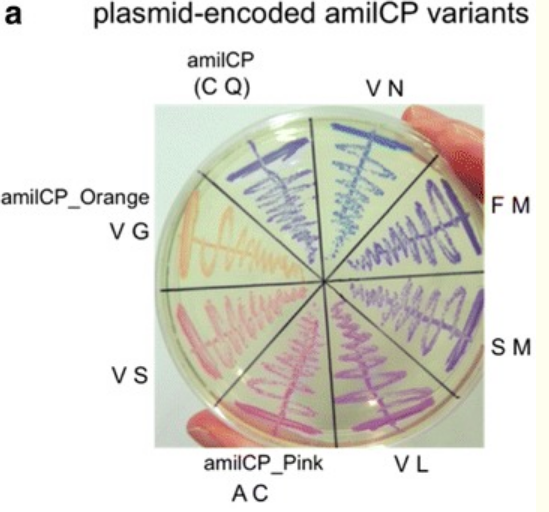
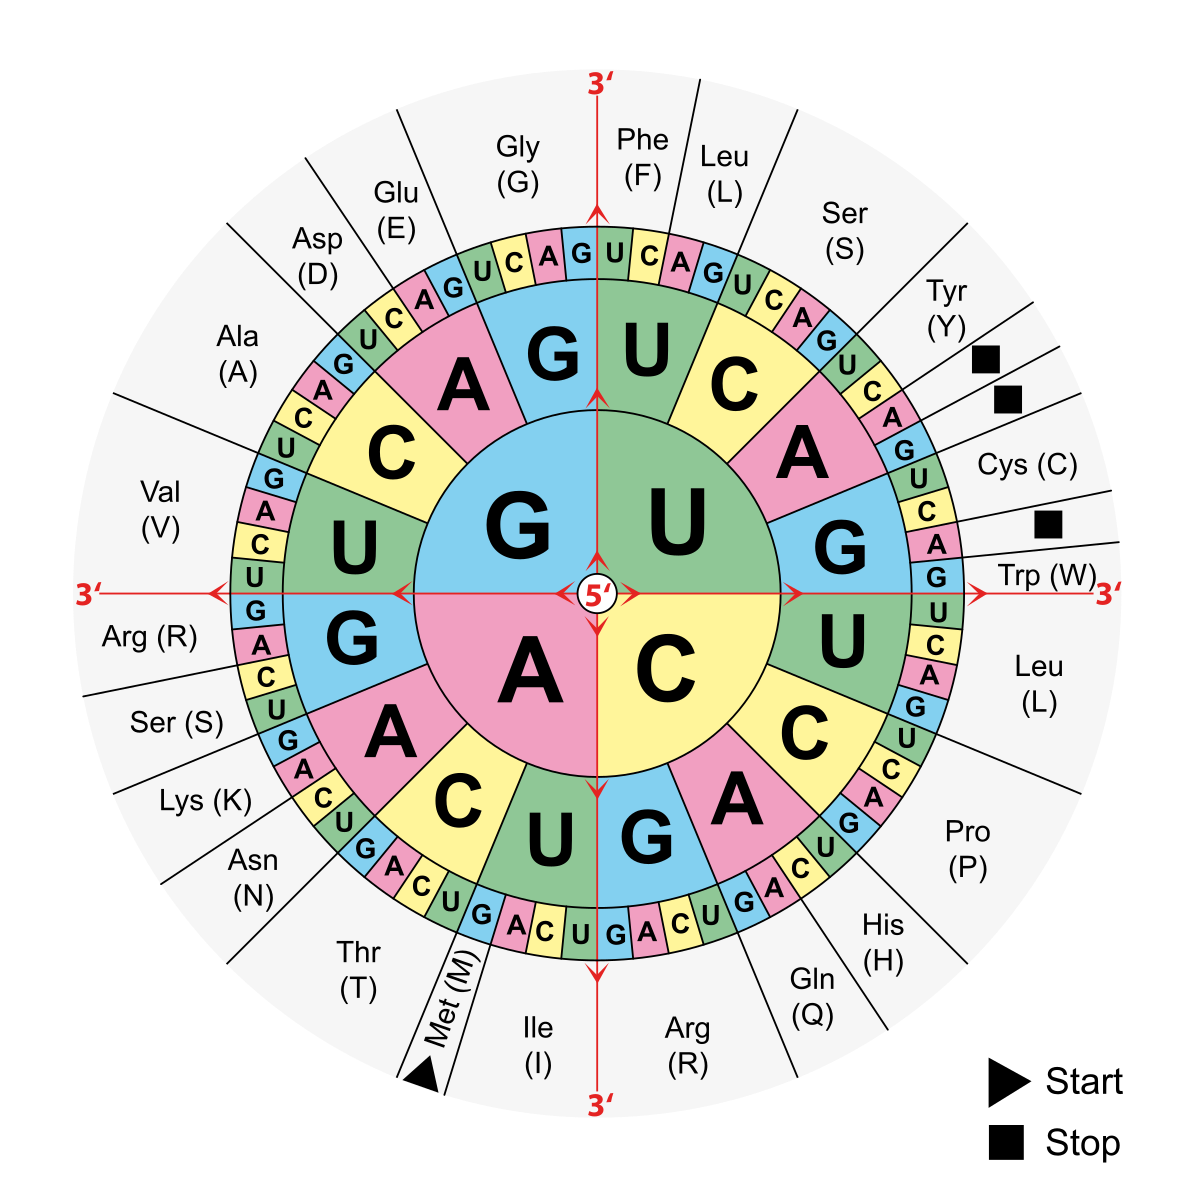
The way to use the table is to go through the three layers (from center to the outside). If I want to produce the aminoacid (Val) I would look for it in the ourtermost layer of the codon circle. Then I would see what sequence codes for it so starting from the center I would go G - U(T) - G/A/C/U(T). So the mutations for the 8 defferent colors would be as follows:
- amilCP(CQ) -> TGC CAG
- VN -> GTC AAT
- FM -> TTT ATG
- SM -> AGC ATG
- VL -> GTC TTG
- AC -> GCC TGC
- VS -> GTC AGC
- VG -> GTC GGG
Part 2: Remote Cloning
Part two was done by using this Google Collab notebook. Within the notebook, you can find all of the protocols that were ran remotely on the Opentrons. Apparently we are the first students in the world and history of our little beautiful planet to do remote cloning using lab automation tools as educational tools, thats quite cool! It was a 4 step process outlined below:- Isolate pUC19 with Restriction Enzymes.
- Amplify pimers through PCR.
- Assemble fragments usiing Gibson Assembly.
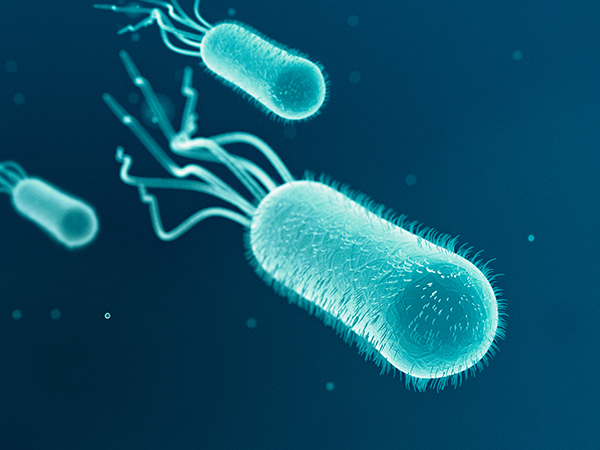
- Transfer plasmid into e.Coli cells.
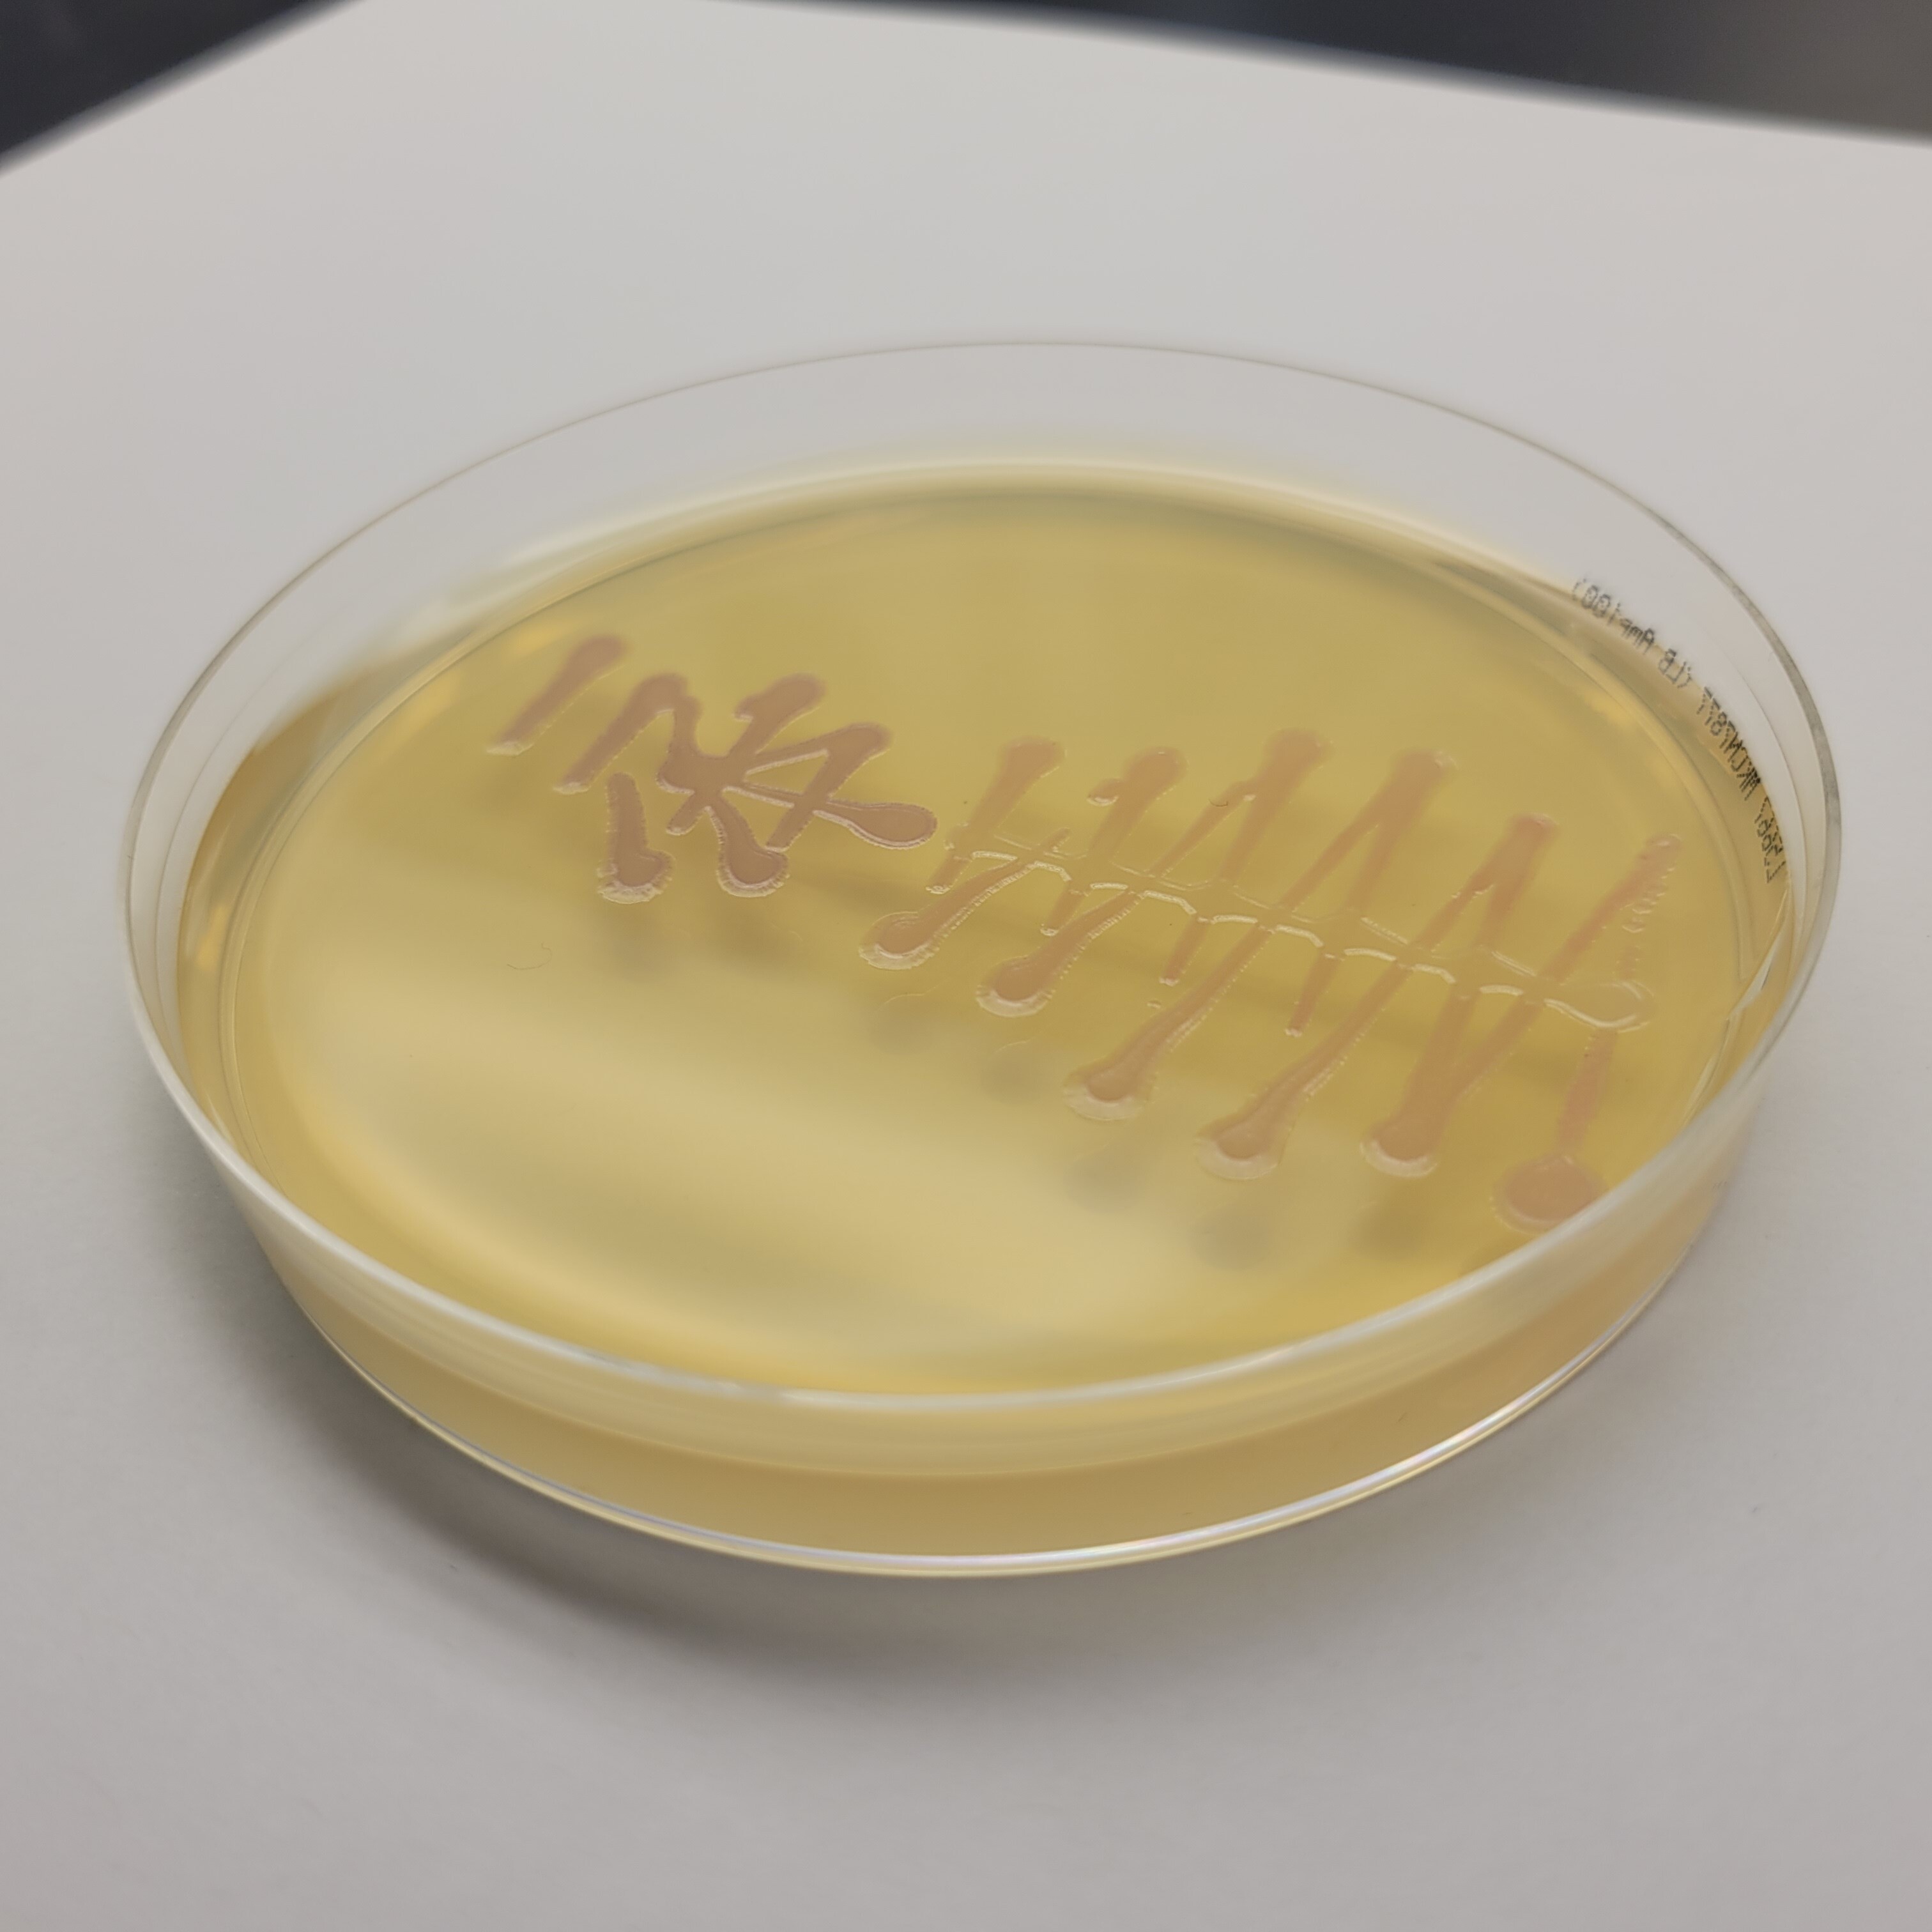
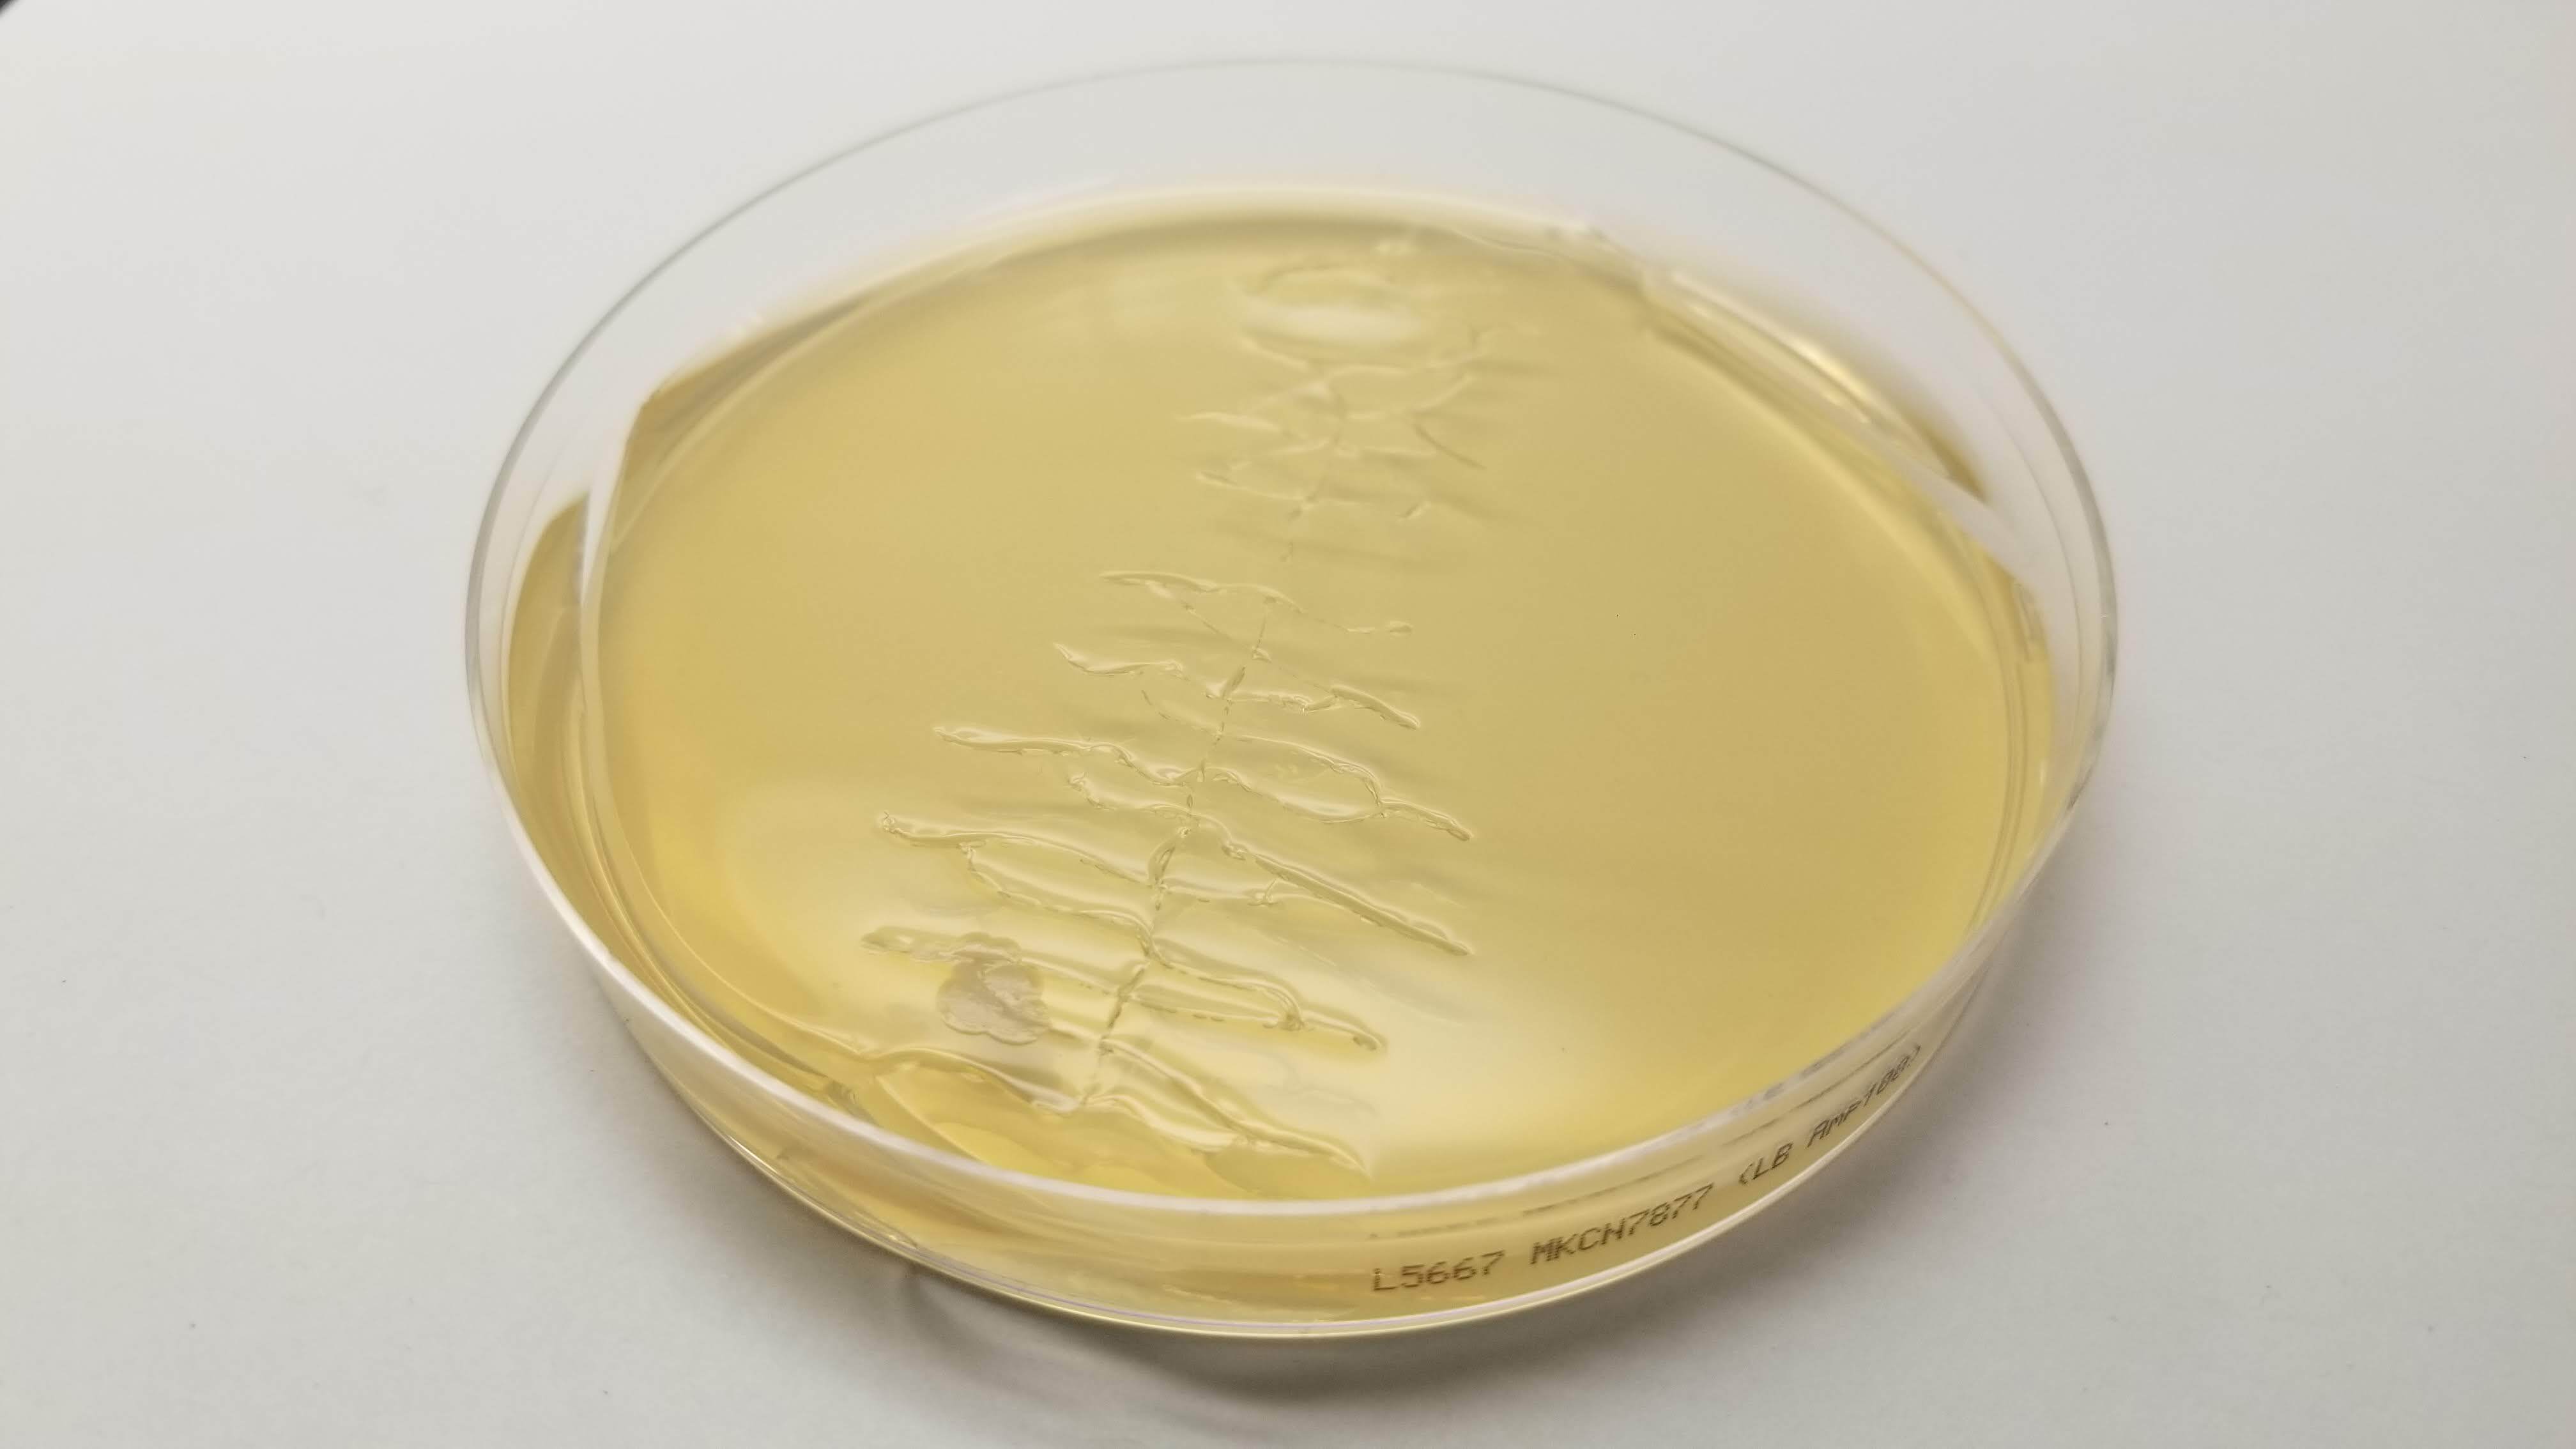
For my pattern, I wanted to do the form of an EColi cell but after running my drawing loops, the design started looking more like a bacteriophage or something between the two.
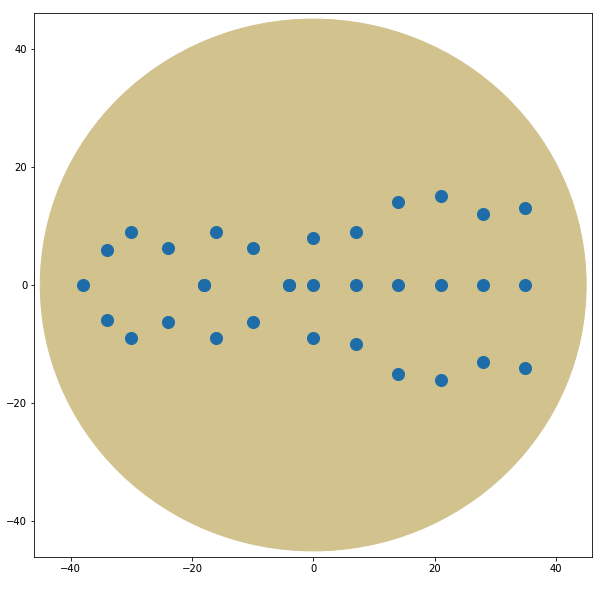
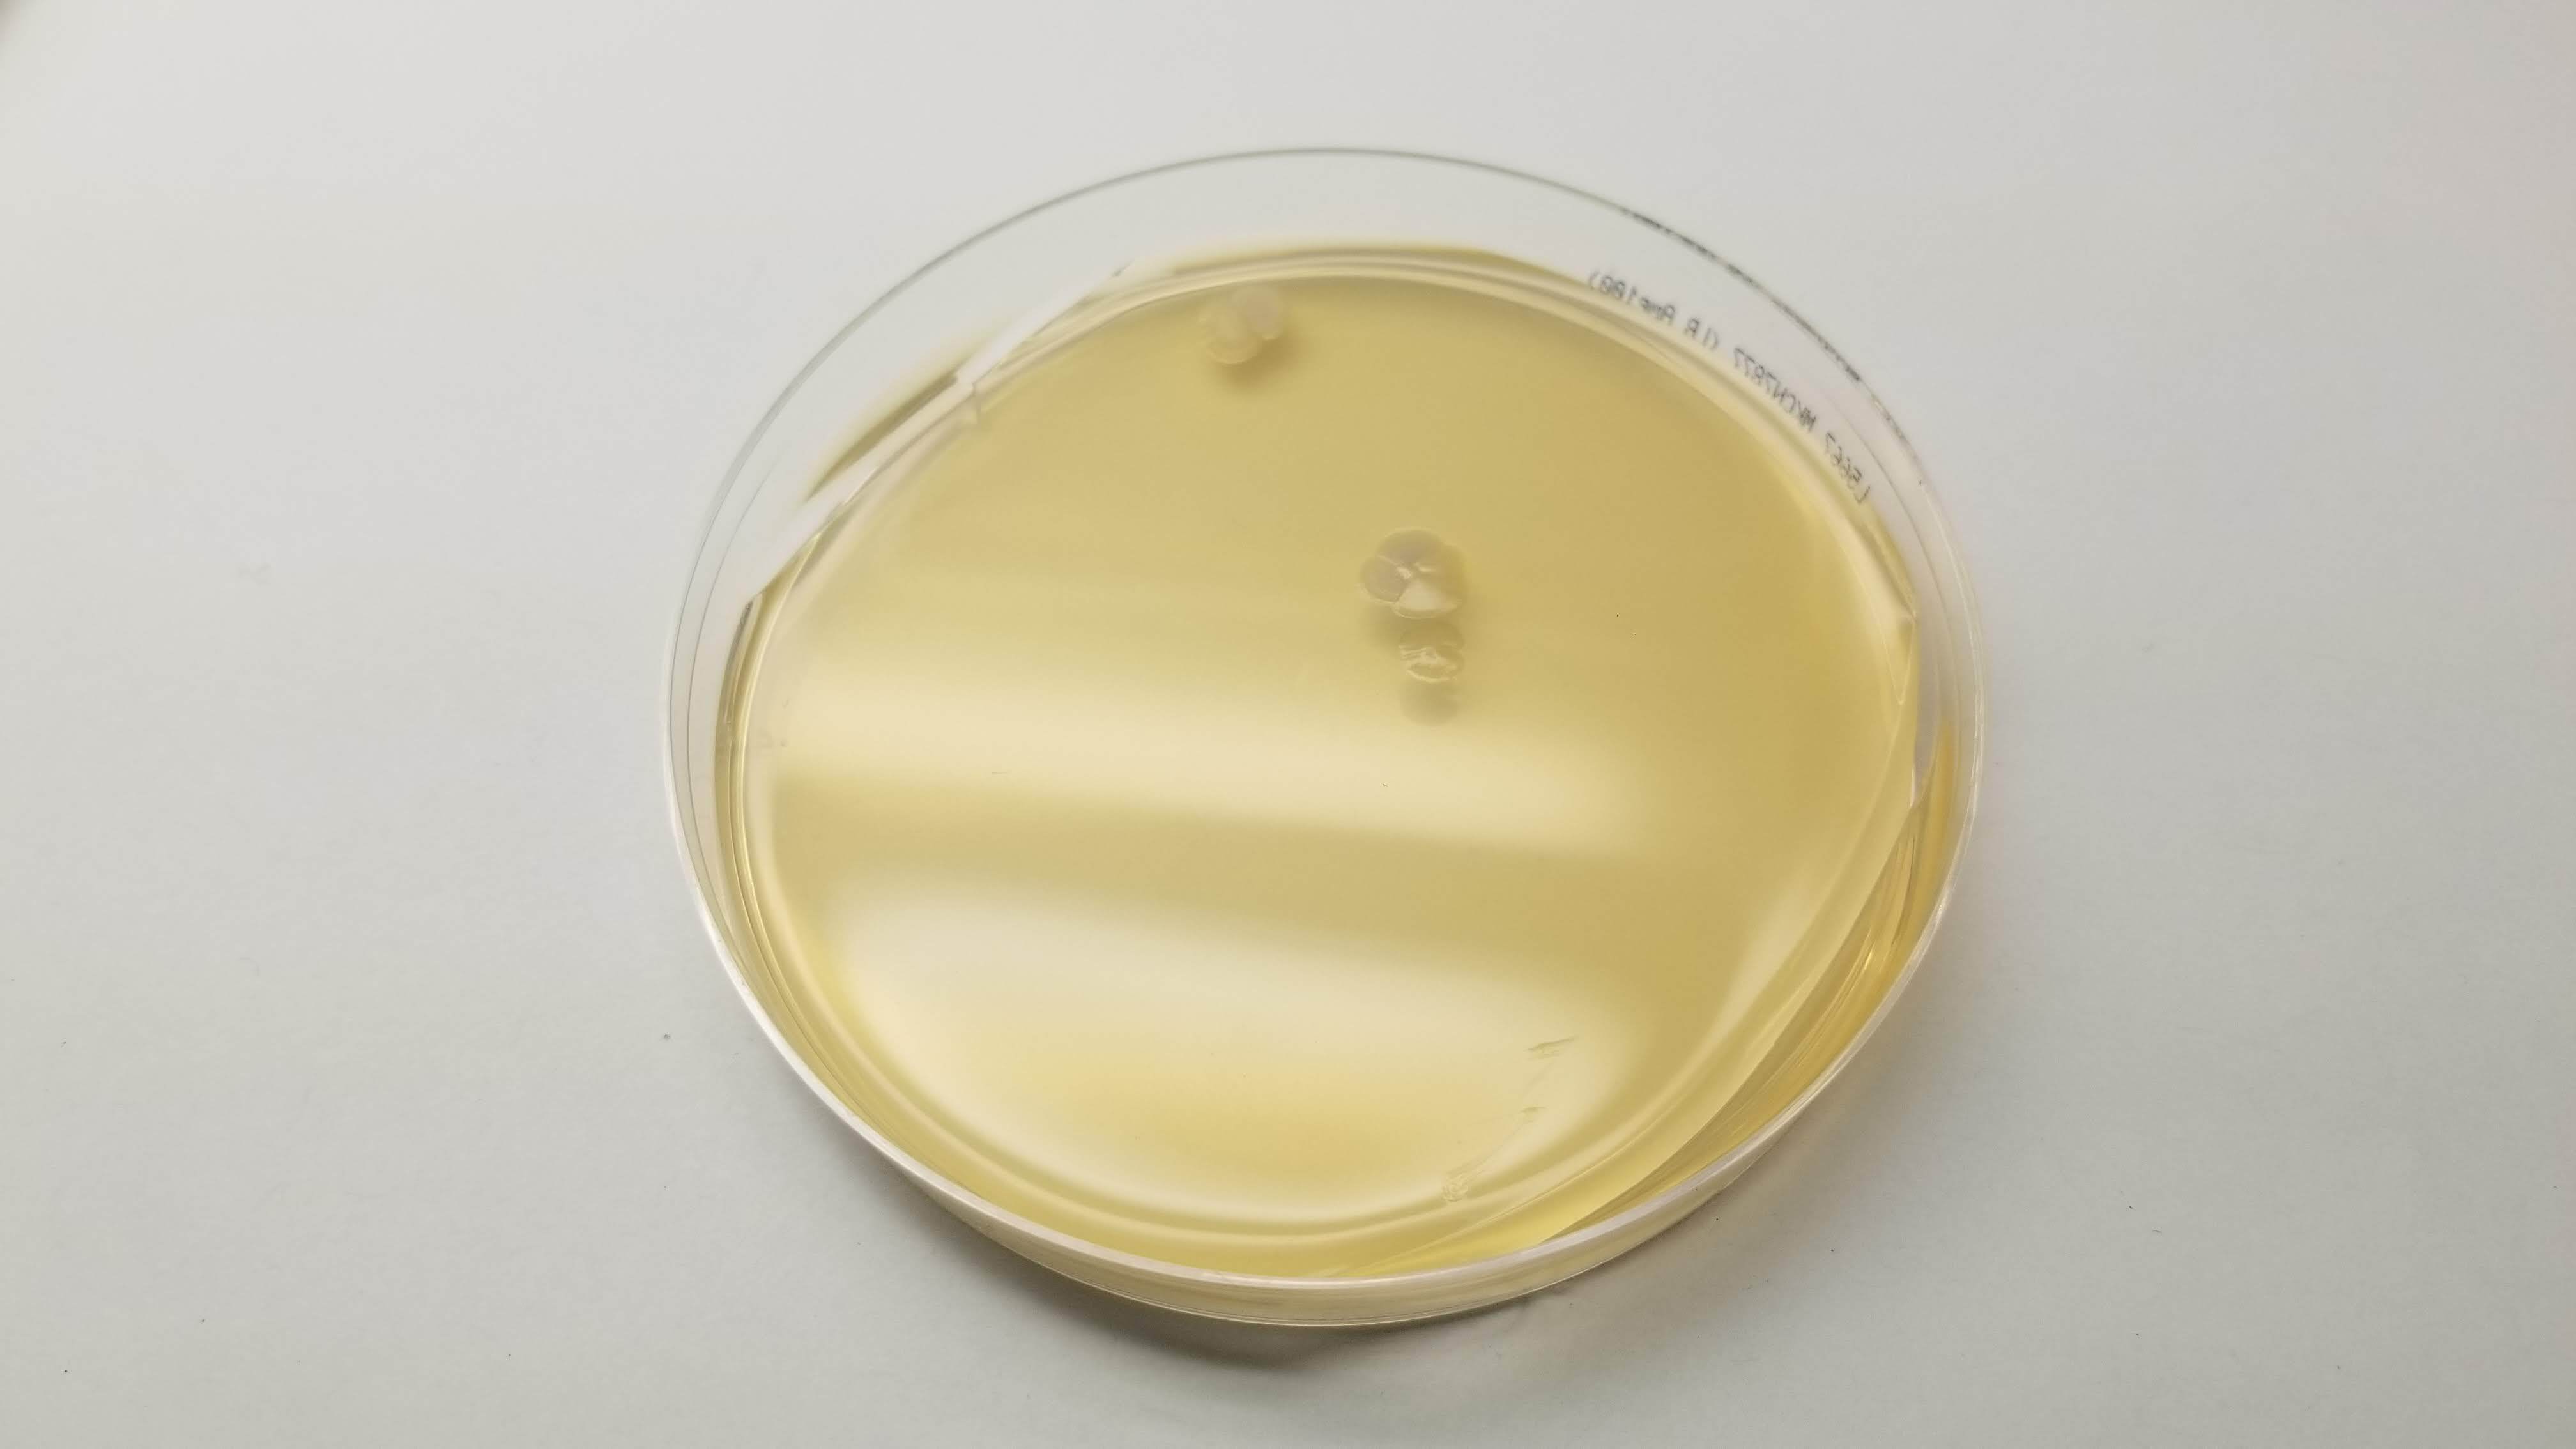
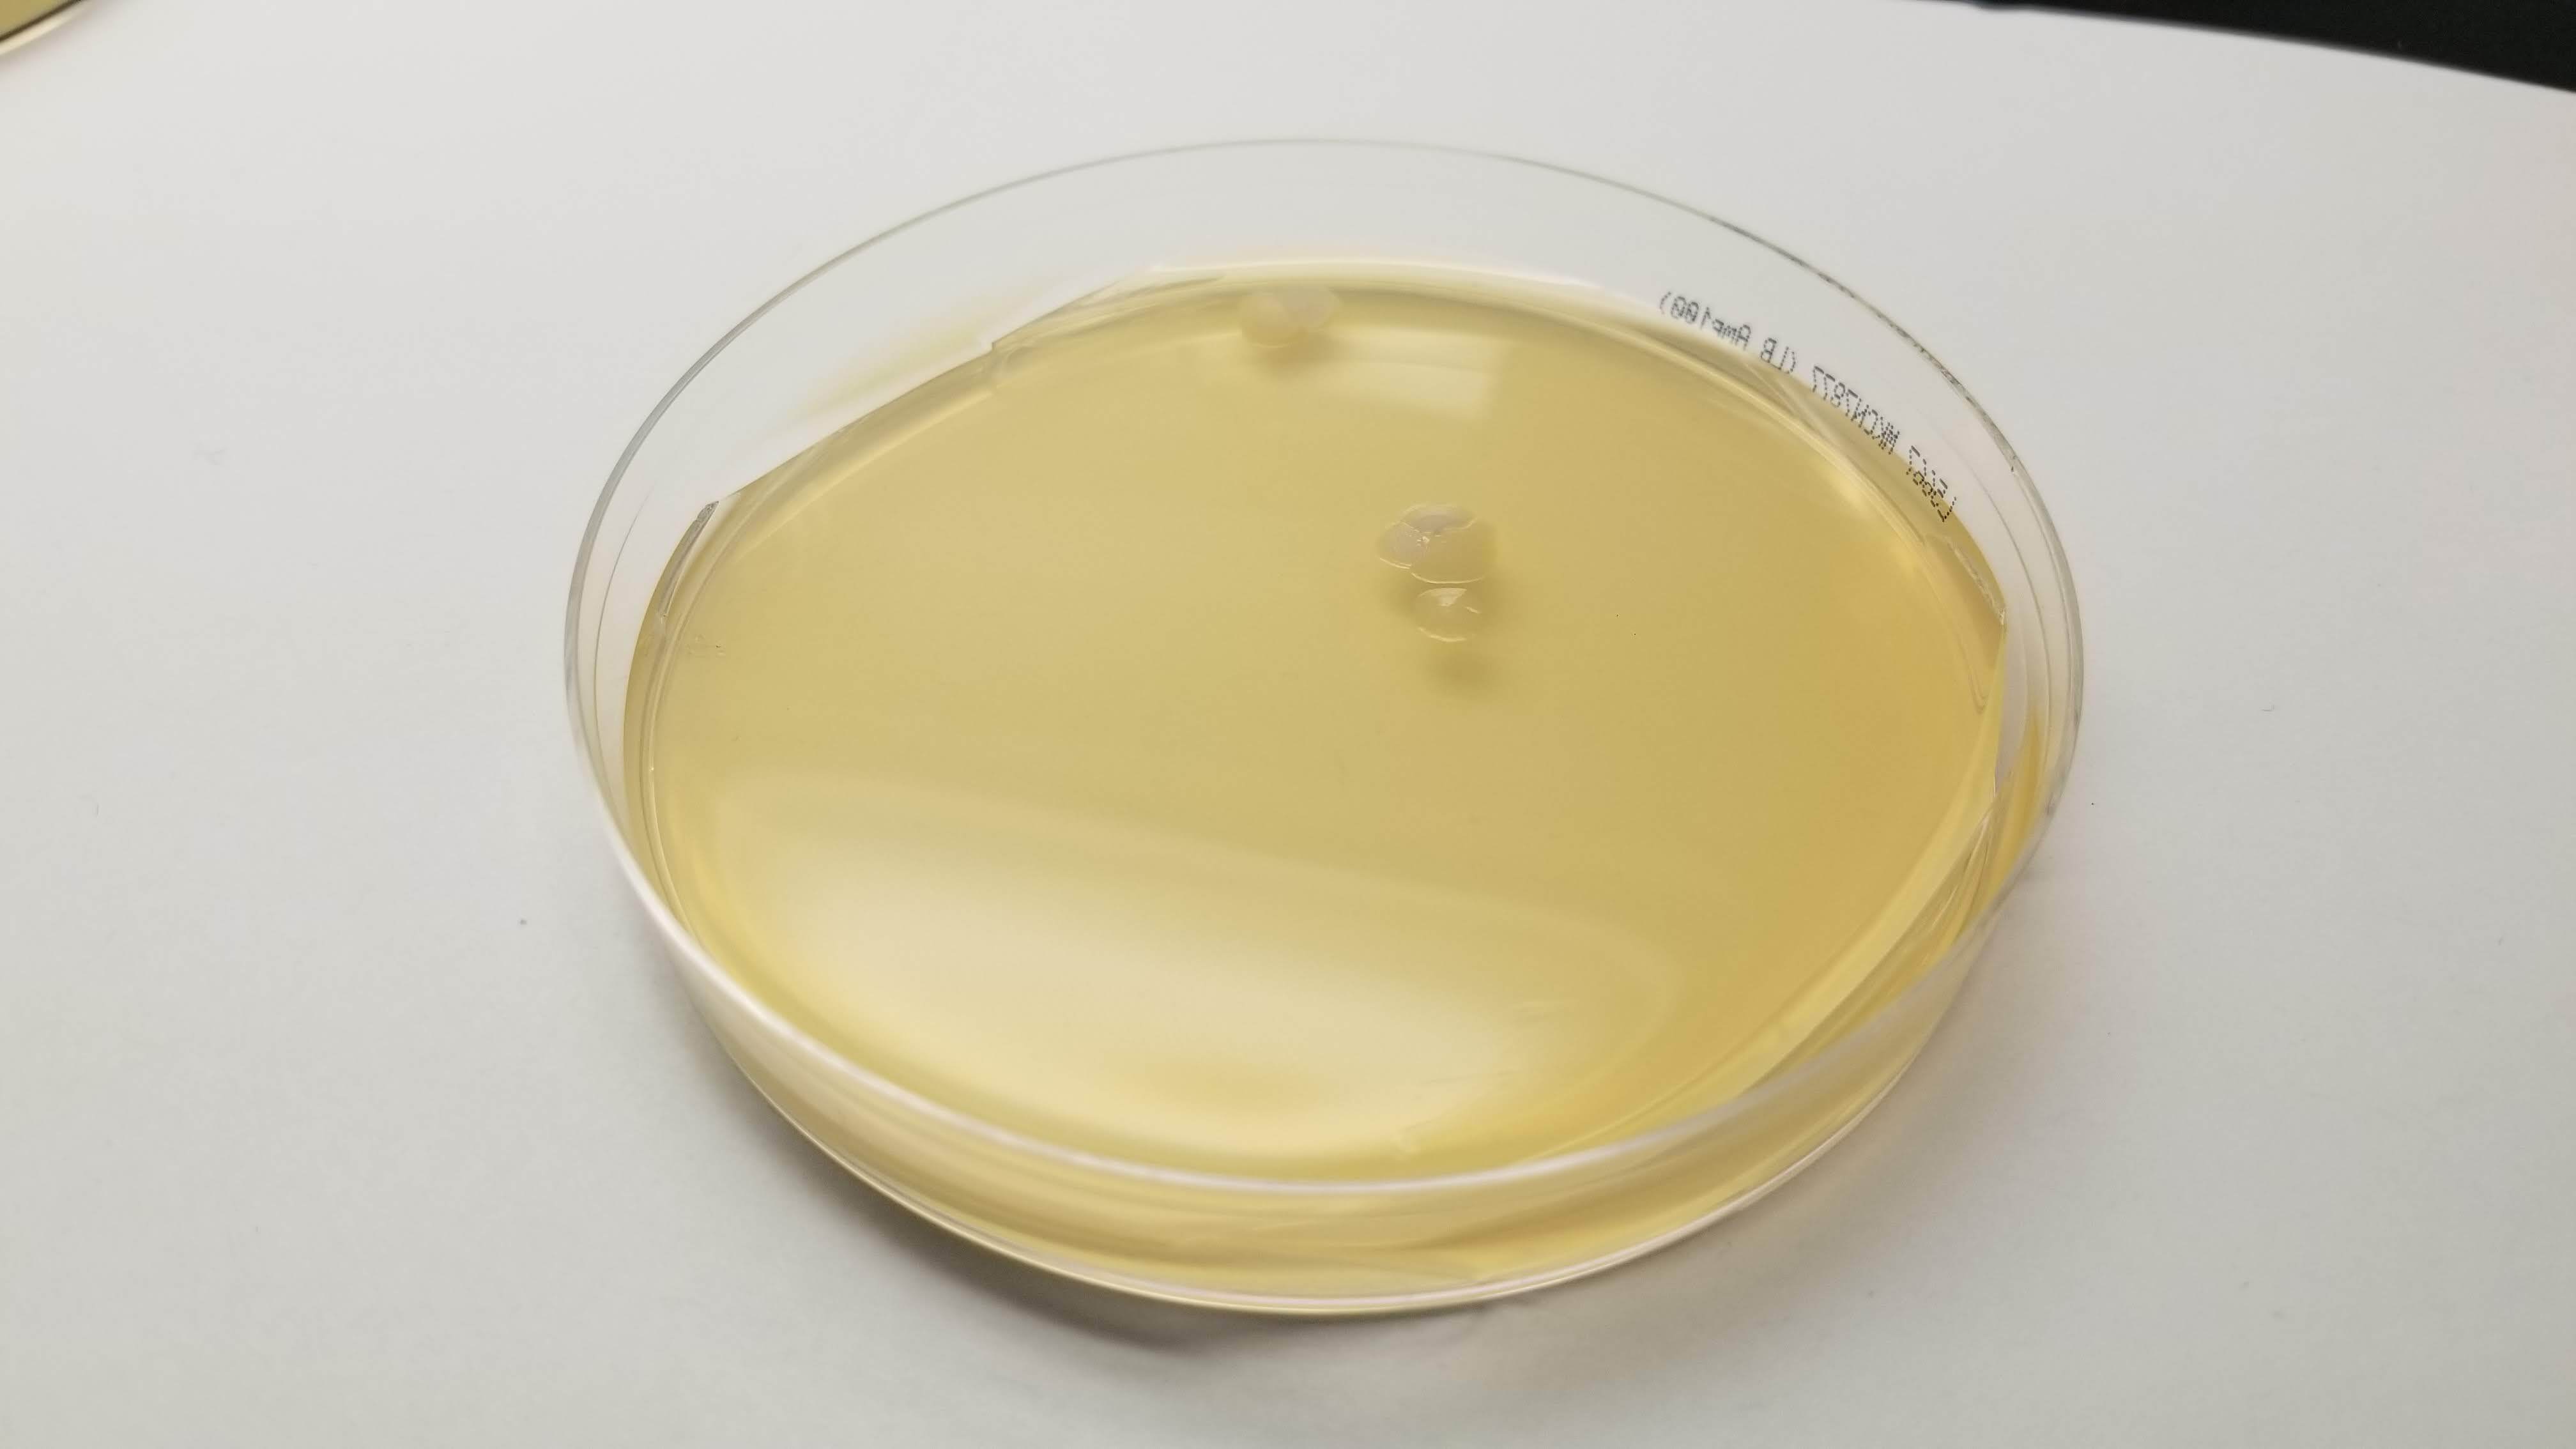
I ran three different drawing plates. We'll have to wait for 2 days for the colonies to grow to see if the whole process was succesful!
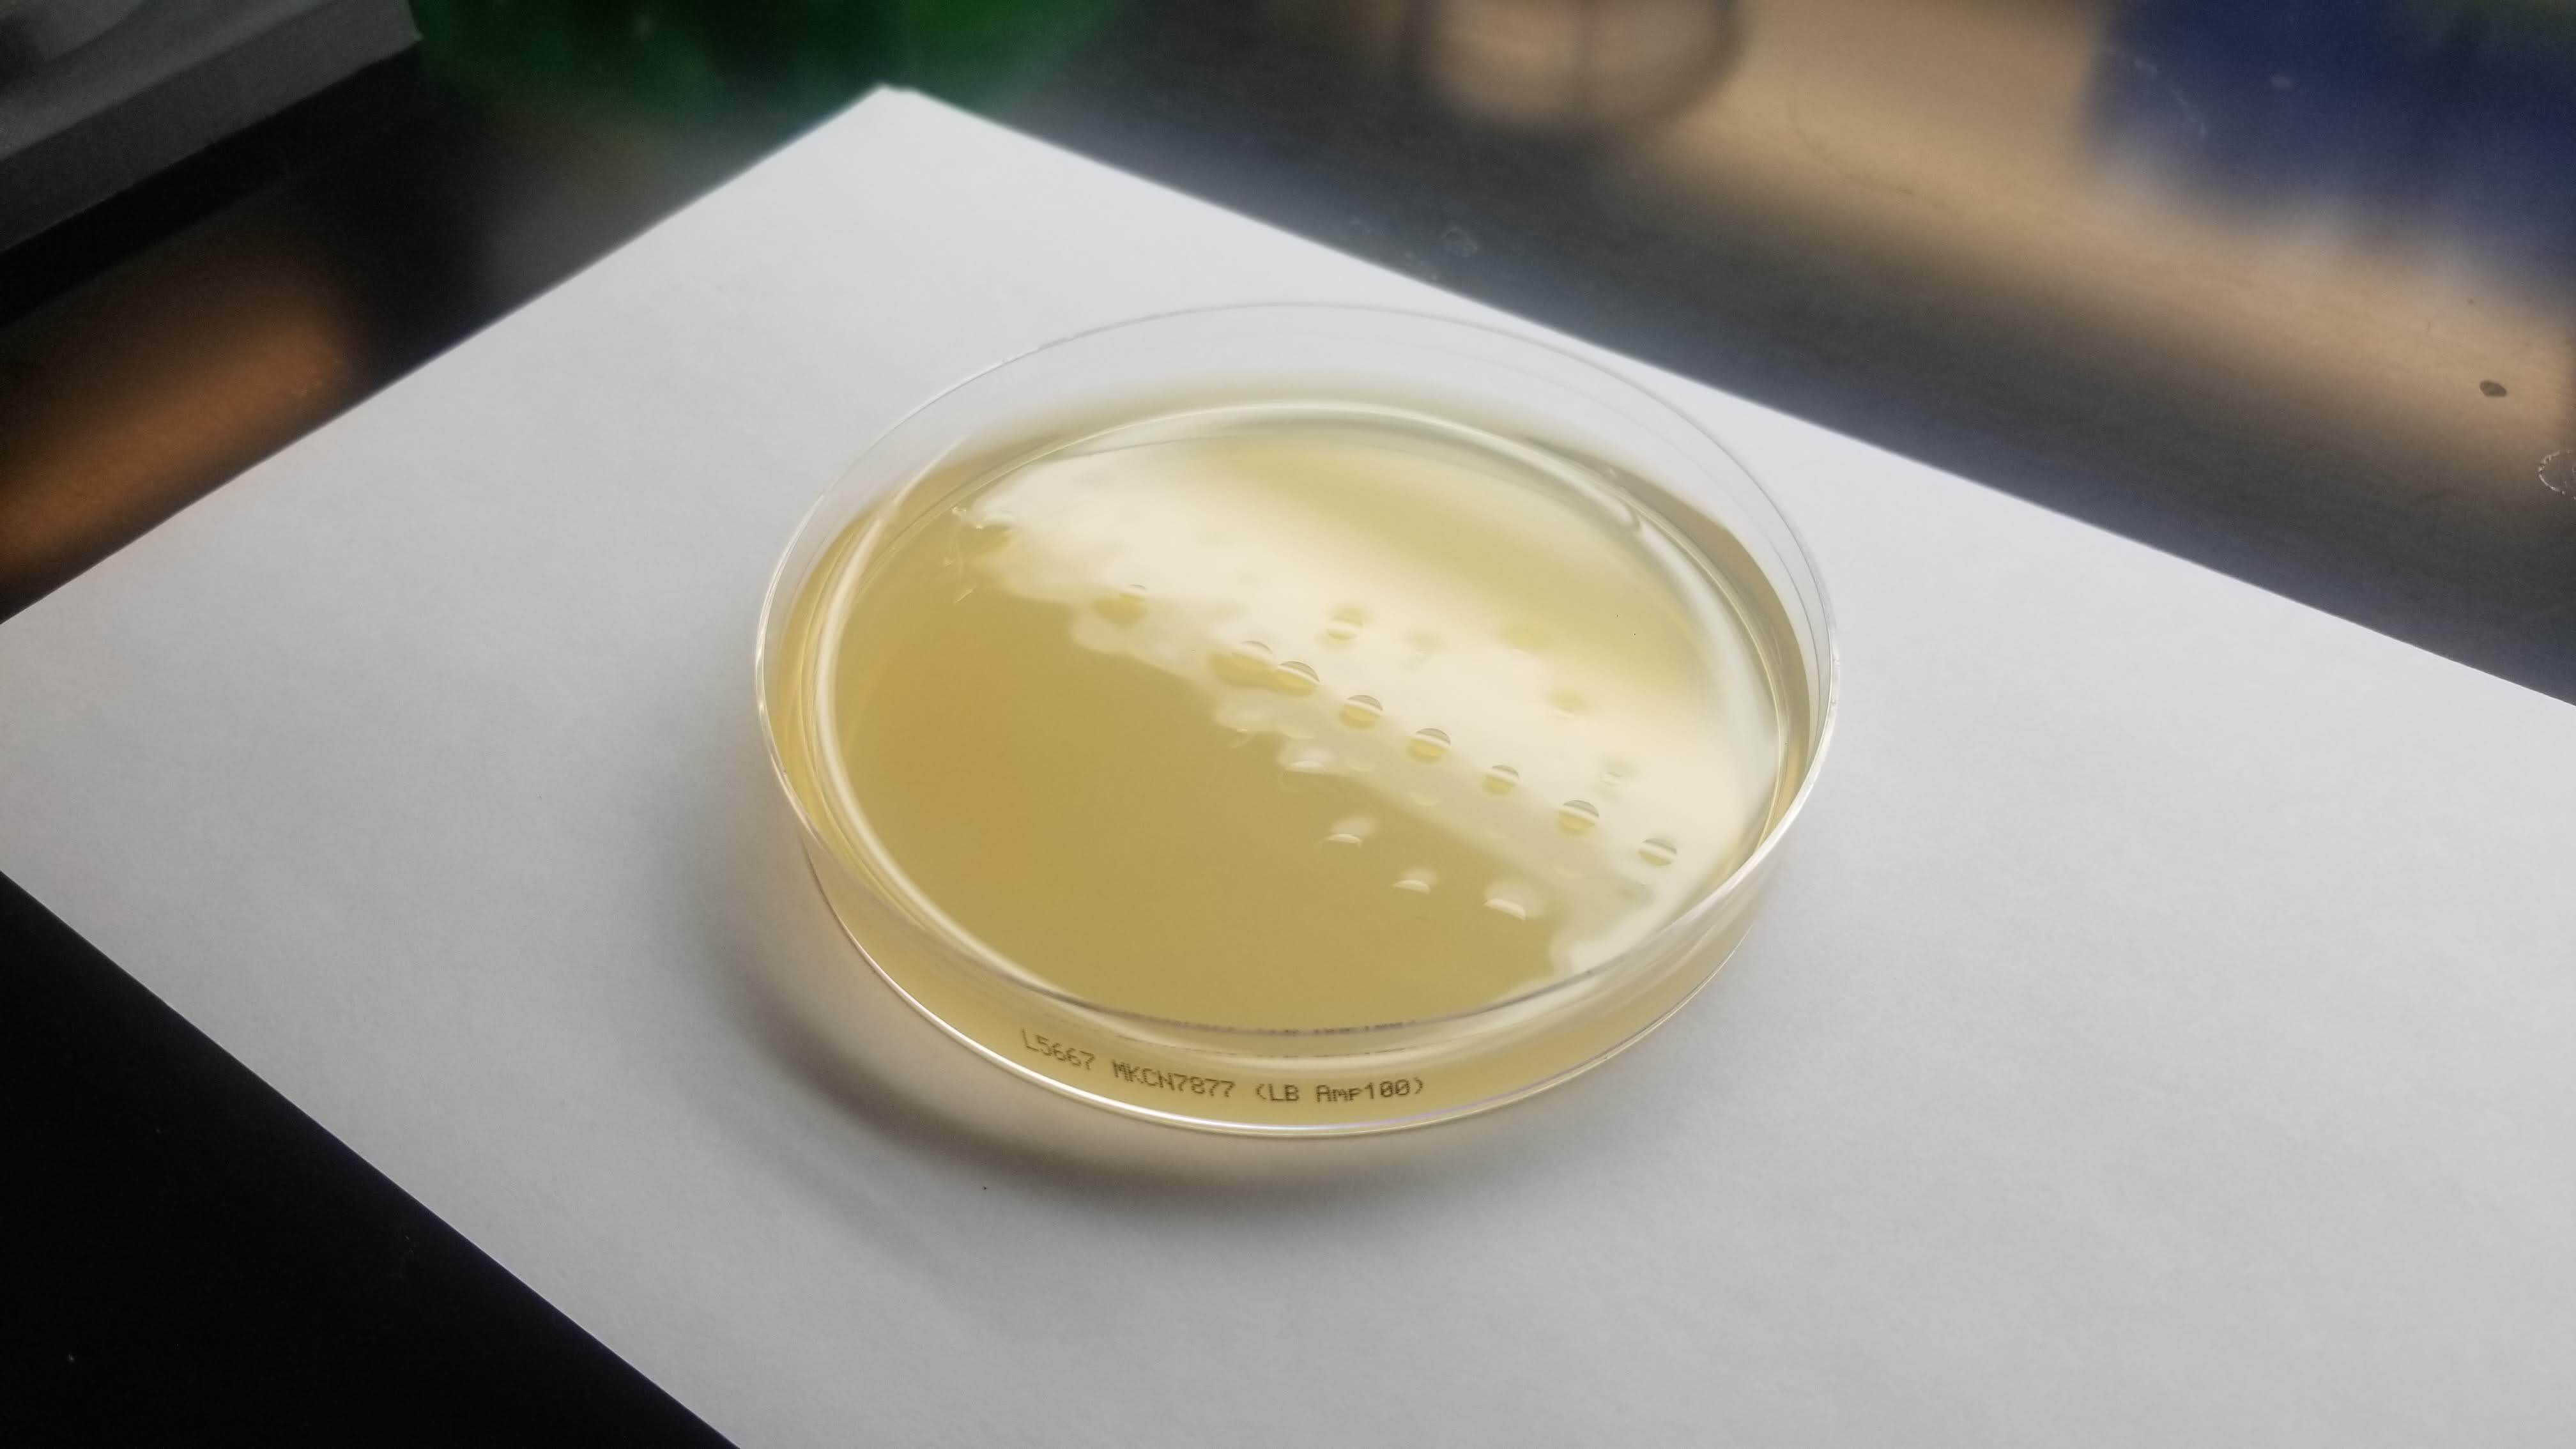
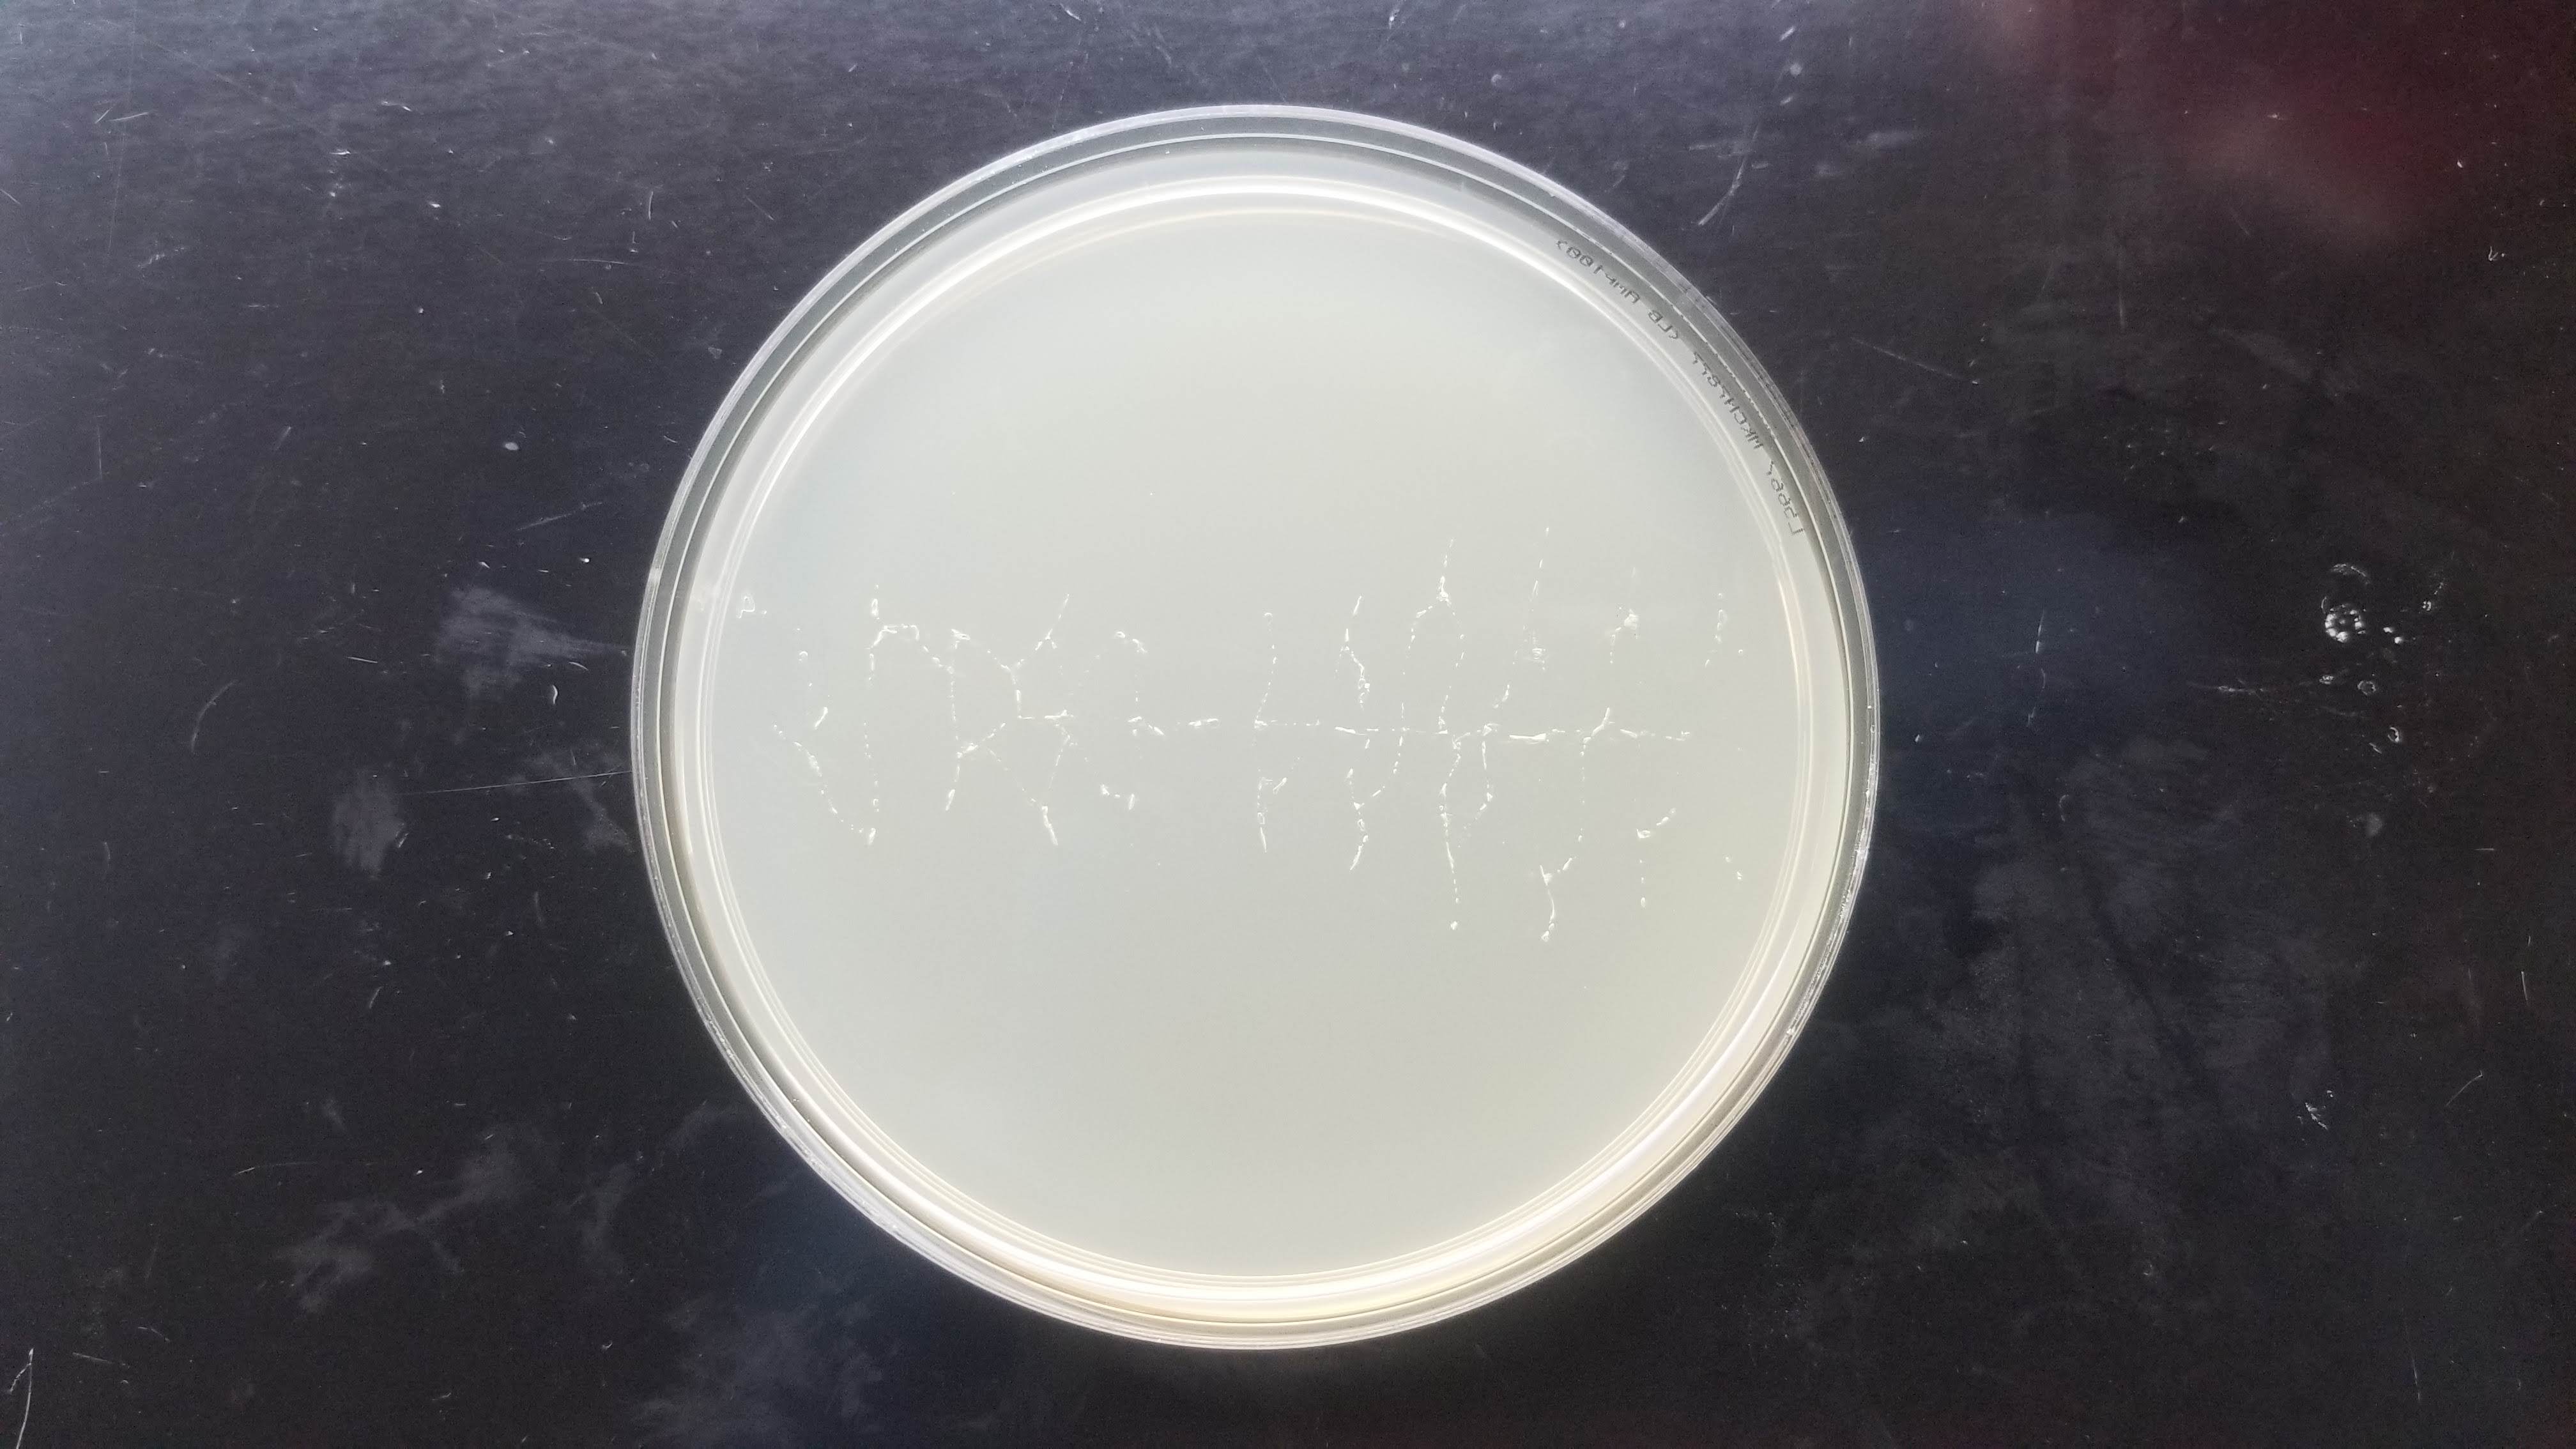
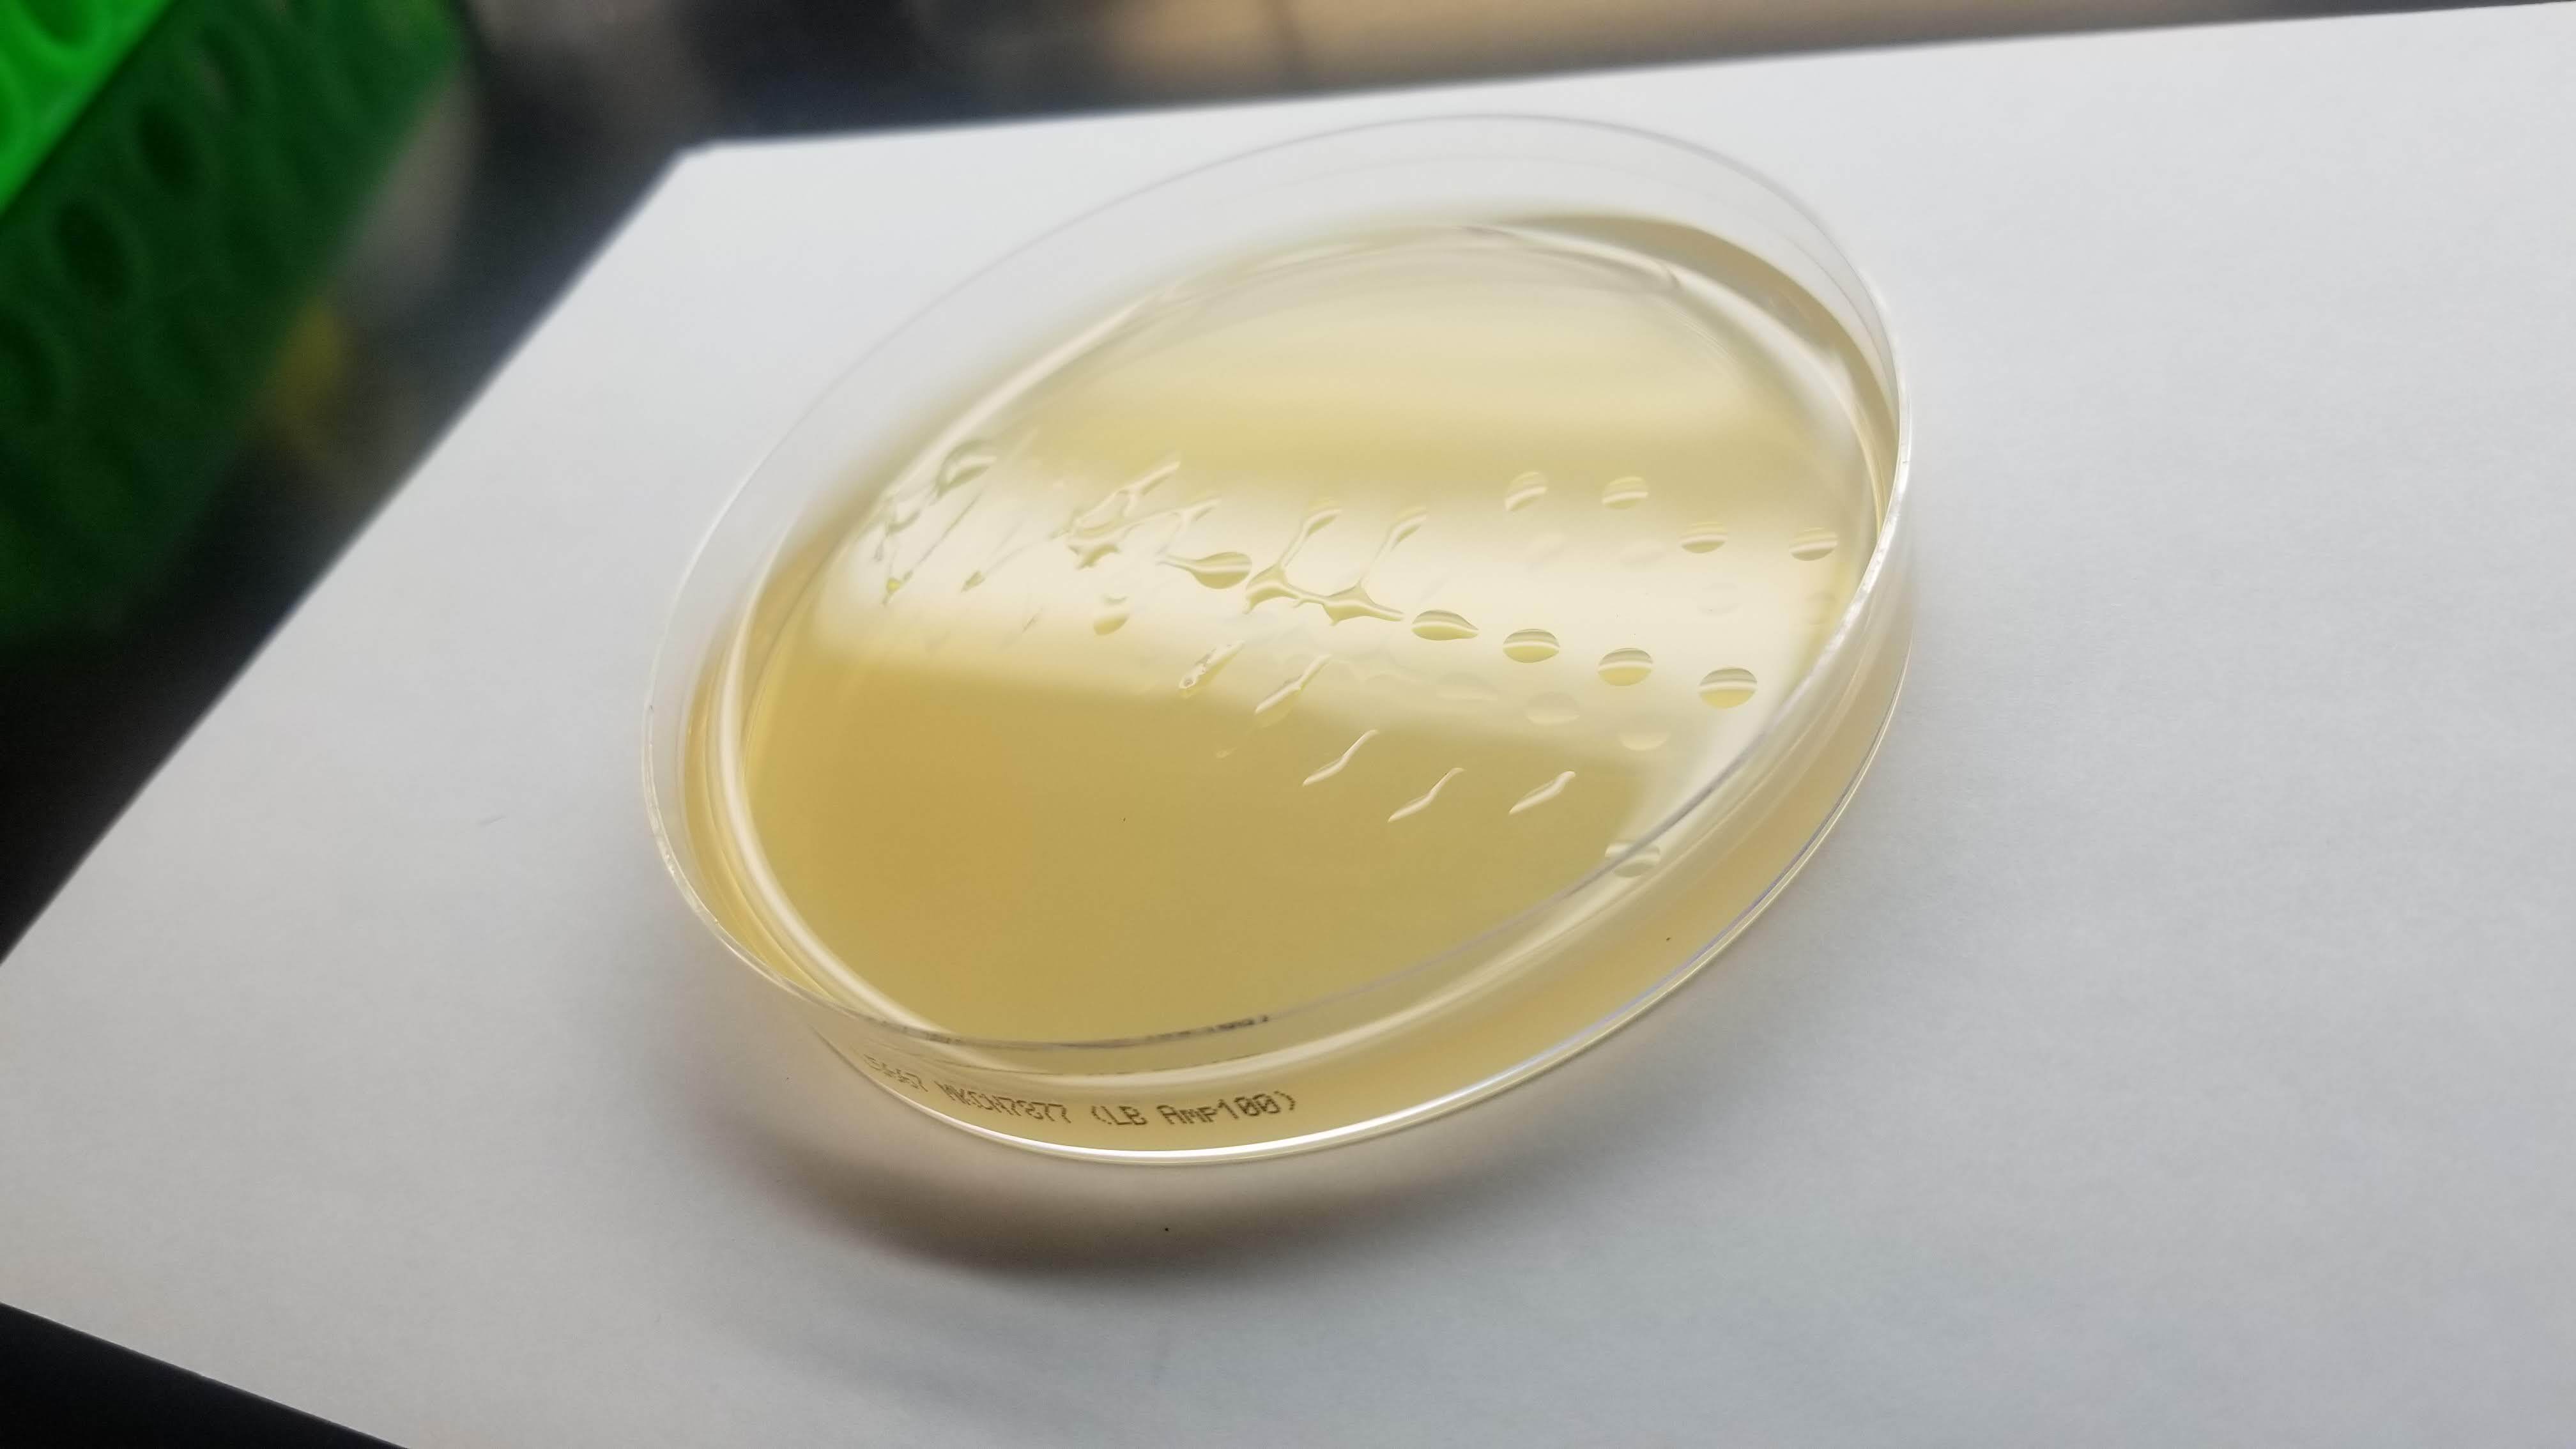
In the end, my little colonies did not manage to grow. One of my plates did have a very small colony of clear bacteria. I suppose that something could have gone wrong with my primer design. Another possible error source is the use of degenirate bases or having had my cells exposed to high temperature for too long before inserting my plasmid into them.
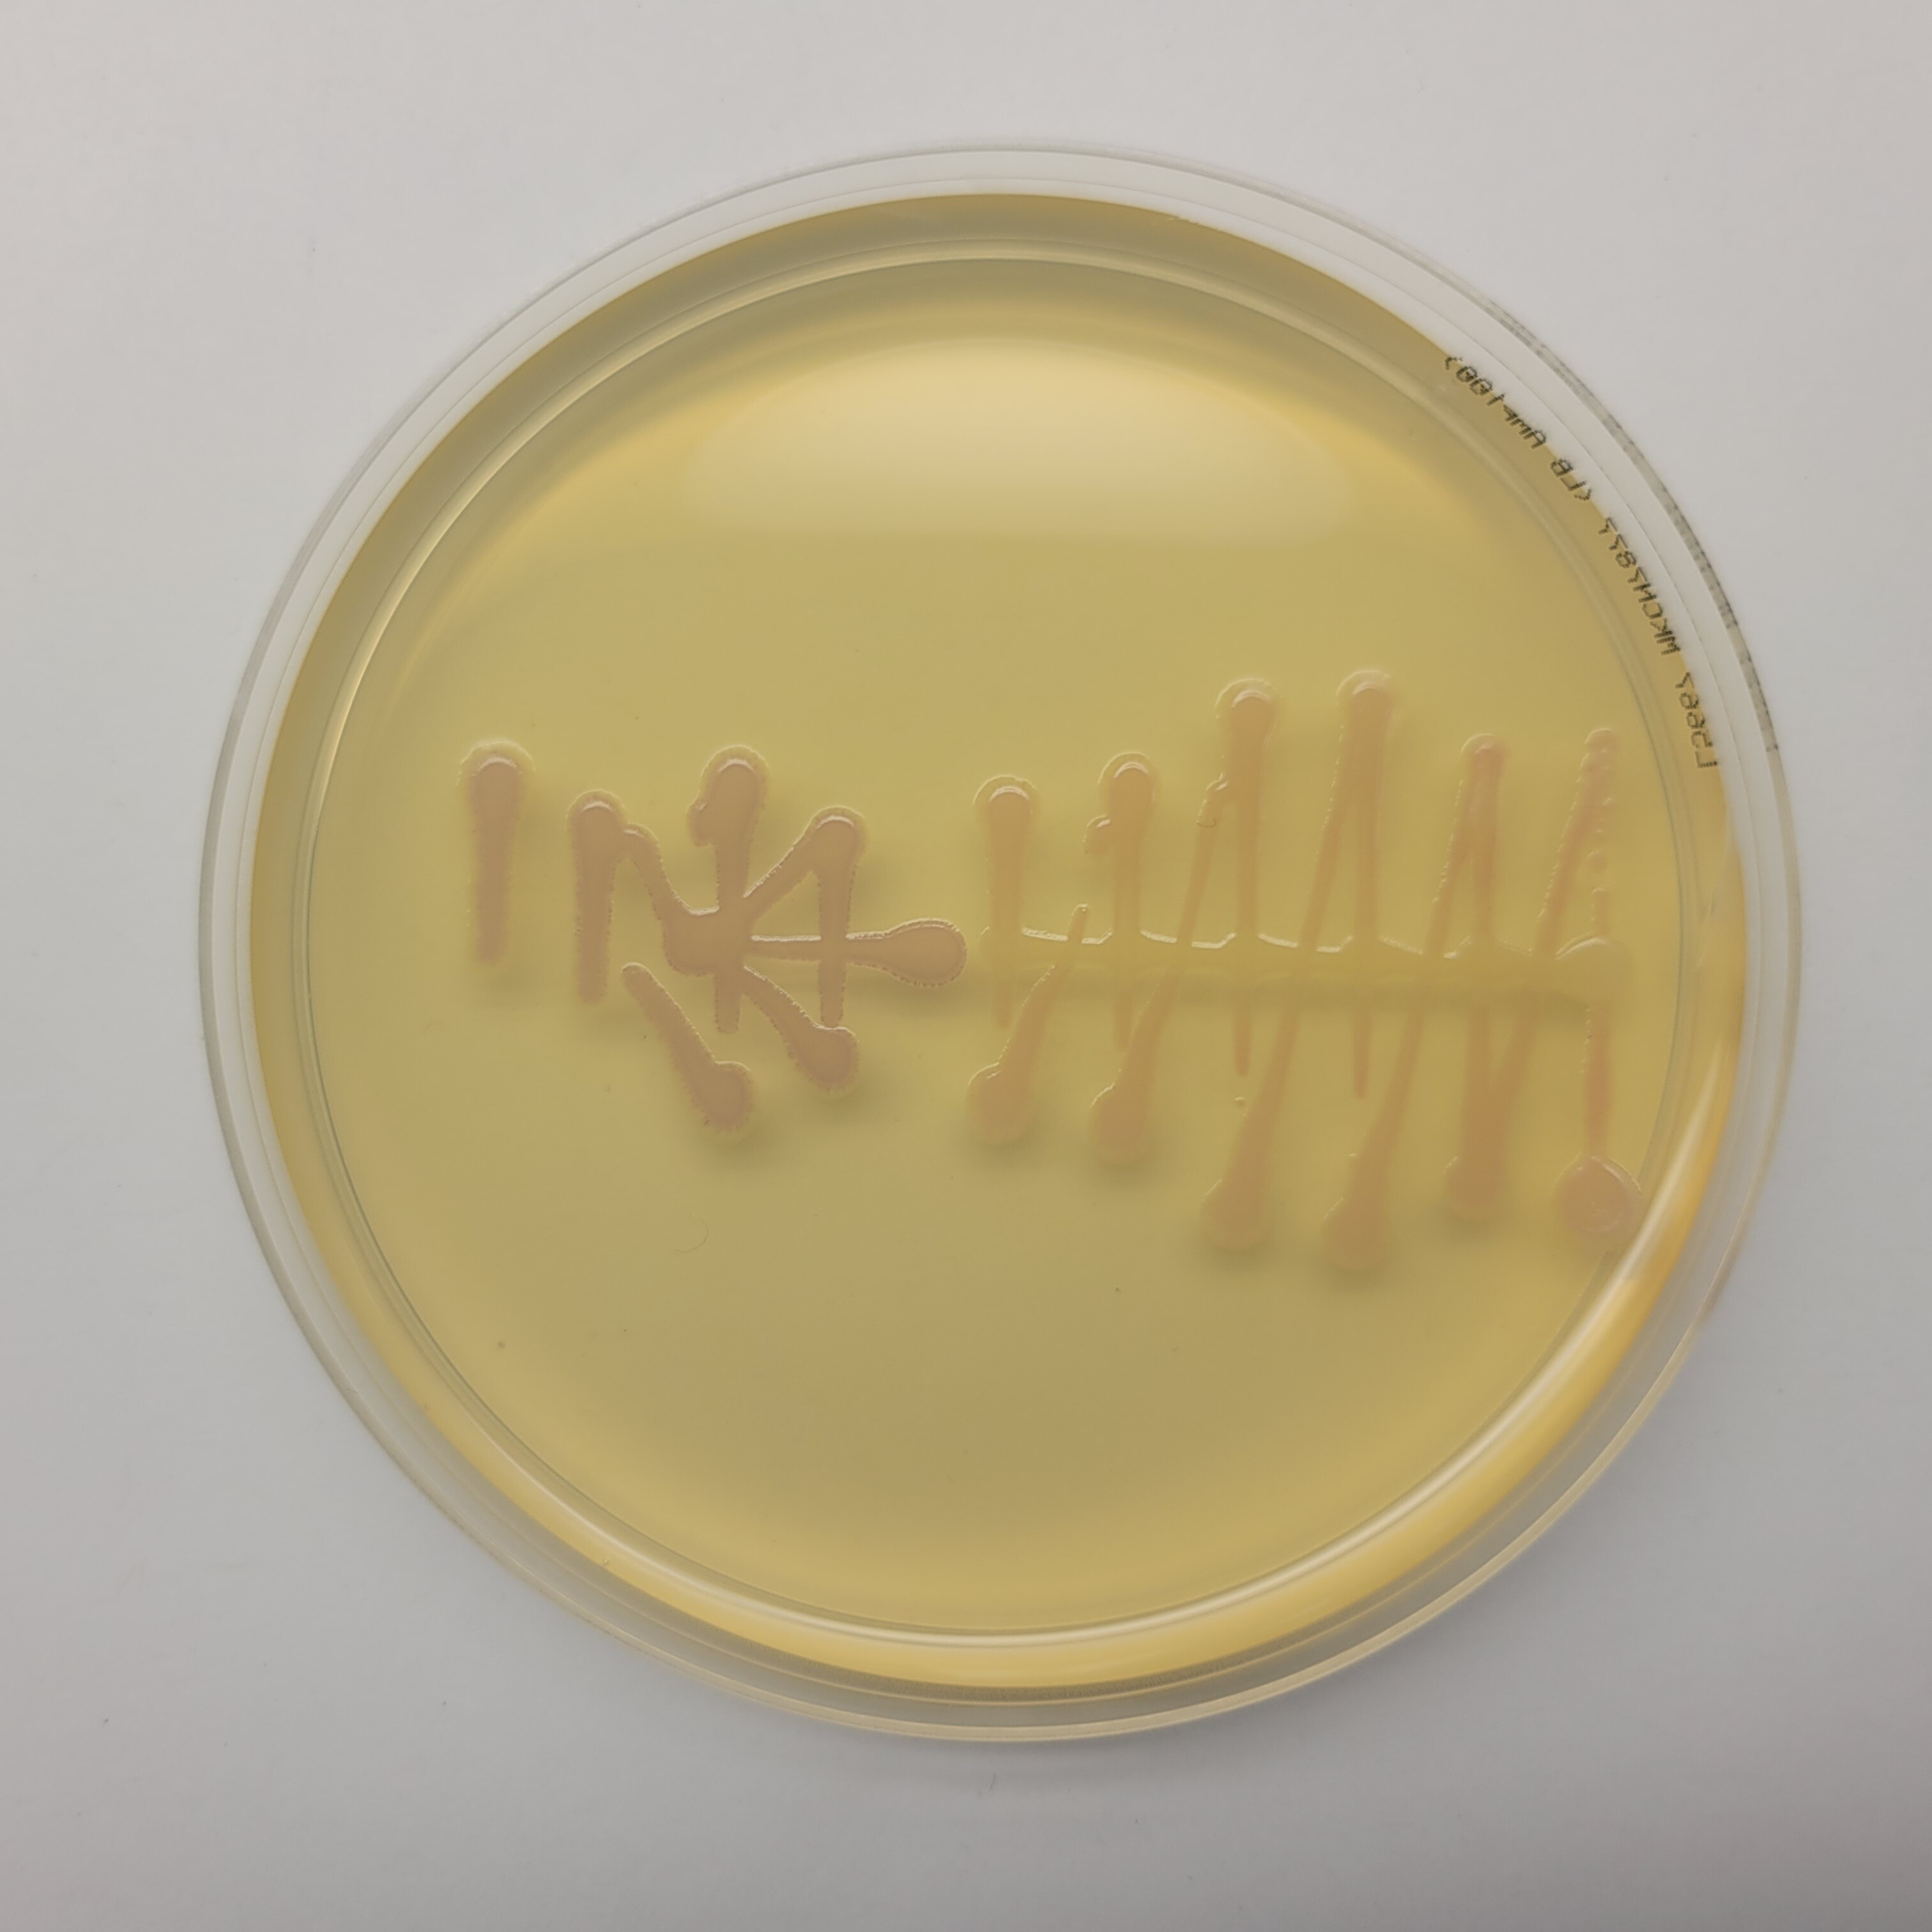
Good news was that some of Laura's did work properly. So Eyal isolated her colonies and re ran my pattern in order to see how it looked with colors. And here it is!