DAVID A. MELLIS
MAS.863: How To Make (Almost) Anything
Week 6: 3D Scanning and Printing
Stars and a Pepper
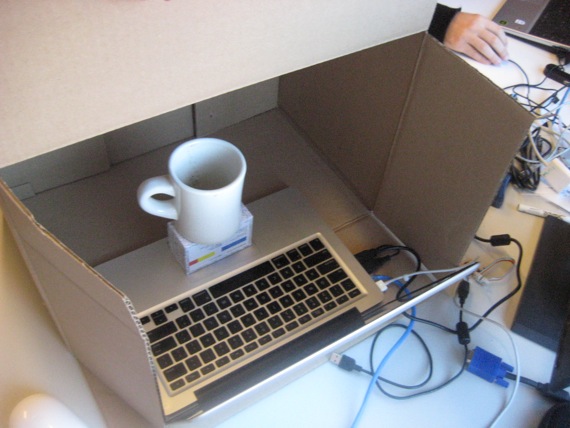
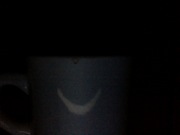
I toyed with the idea of building a 3D scanner using my computer's webcam and monitor. They provide a convenient structure with known dimensions that may be able to yield a low resolution scan. Here, I'm trying to scan a coffee cup - everything goes into the box so it's dark enough for the monitor to illuminate the subject.
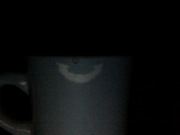
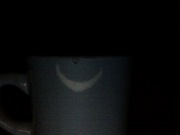
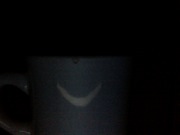
A simple Processing sketch draws a horizontal line that scans down across the screen. The resulting captures from the webcam suggest that it might be possible to extract 3D information.
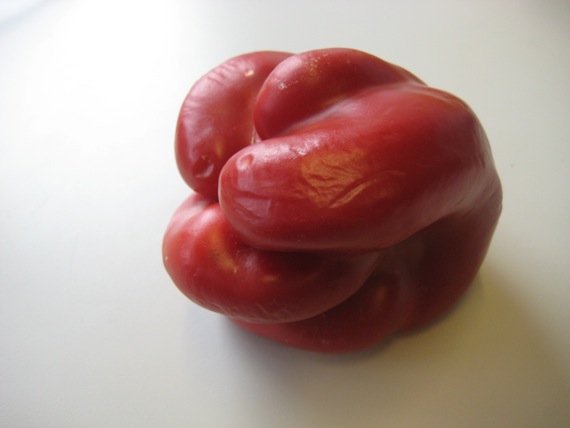
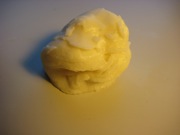
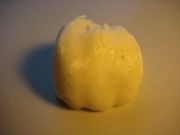
The red bell pepper that I scanned.
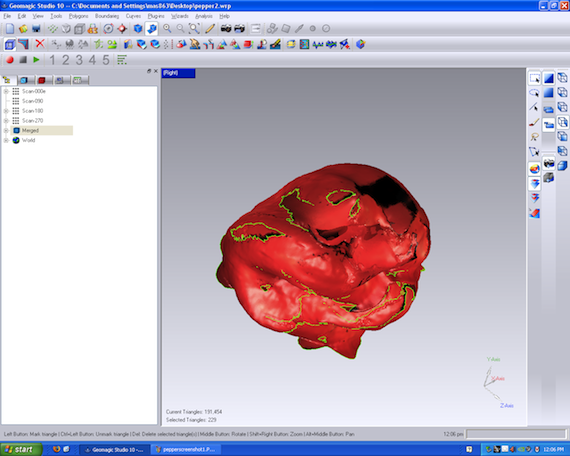
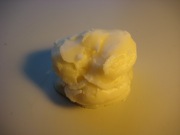
The merged scan in GeoMagic. I had trouble filling the bottom hole - the software said it would take 40 minutes. It seemed that while filling the other holes, I had created interior objects which complicated the shape of the bottom.
I tried cutting off the bottom of the pepper with a plane, but that didn't help. Then I used the sandpaper tool to relax some of the interior geometry. That simplified the hole enough to fill it.
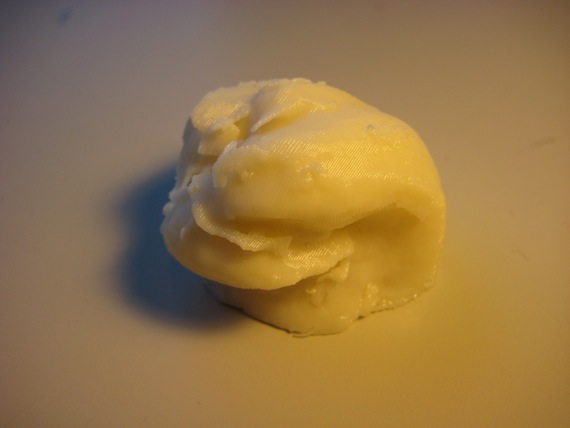
A 3D print of the pepper, generated directly from the SLT created in GeoMagic.
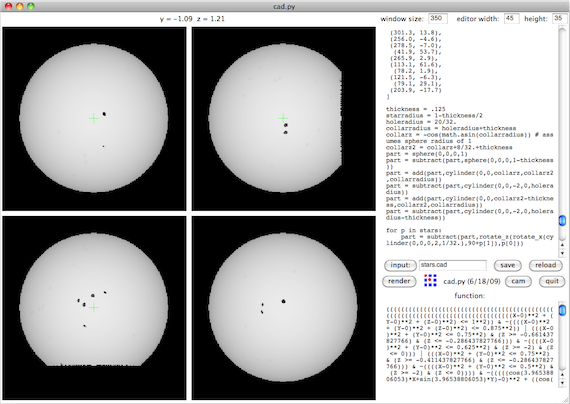
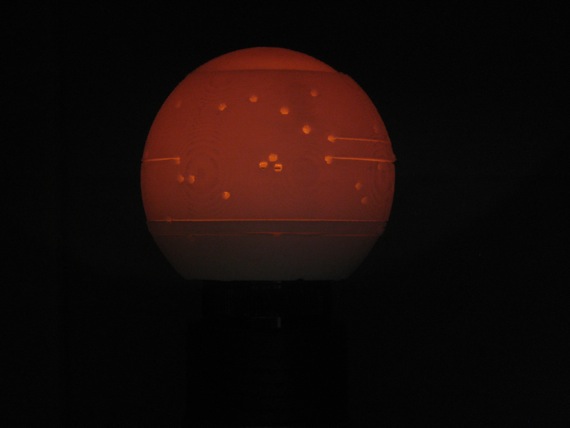
Creating a 3D model in cad.py (stars.cad). It's a planetarium: a sphere with holes that correspond to the positions of the 90 brightest stars. The bottom hole is for inserting a light.
I found a website listing the coordinates of the brightest stars. Unfortunately, when I tried to put them all in cad.py, I got an out-of-memory error. It would only work with up to 90 stars. I generated the STL at 100 and 150 DPI, which yielded files of 13 MB and 64 MB respectively. I would have gone higher, but it was taking forever.
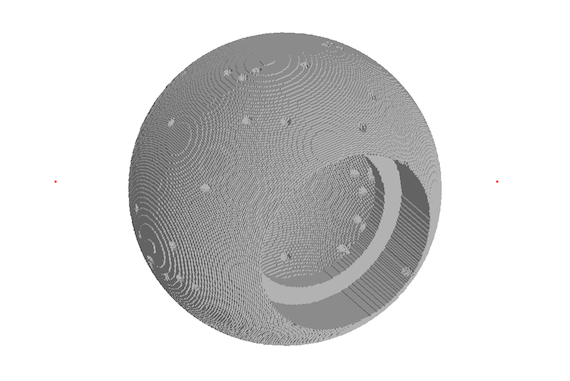
The STL that I exported from cad.py and opened in the Art of Illusion. It looks okay.
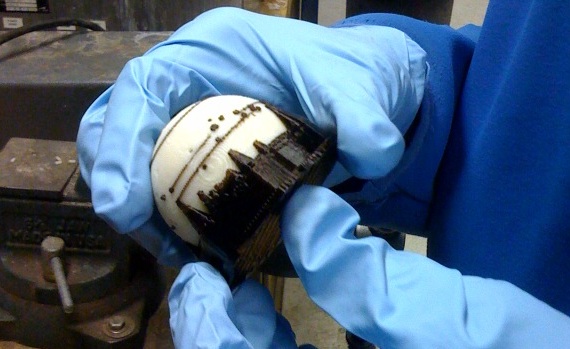
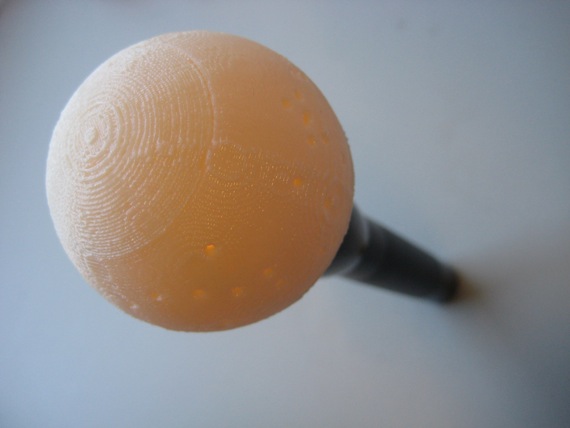
The 3D print, with support material. Notice the lines in the sphere. Apparently when Rhino opened the STL, it didn't see all the triangles as connected. This may have been because of the relatively low resolution of the model.
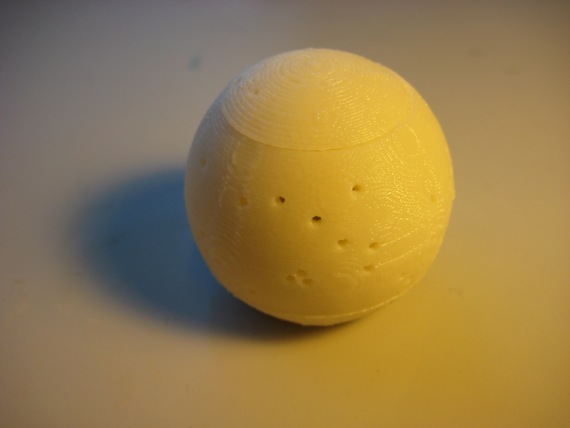
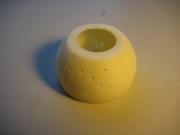
The model after dissolving the support material. It looks good, but it's in three parts.
The three pieces of the model. The one on the left has strange thin membranes on the top and bottom.
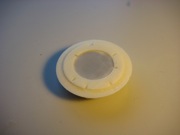
The original idea: placing the model on top of a light to shine out the holes.
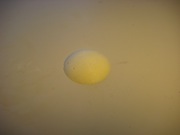
If it's dark enough, it sort of works.