00 | final project
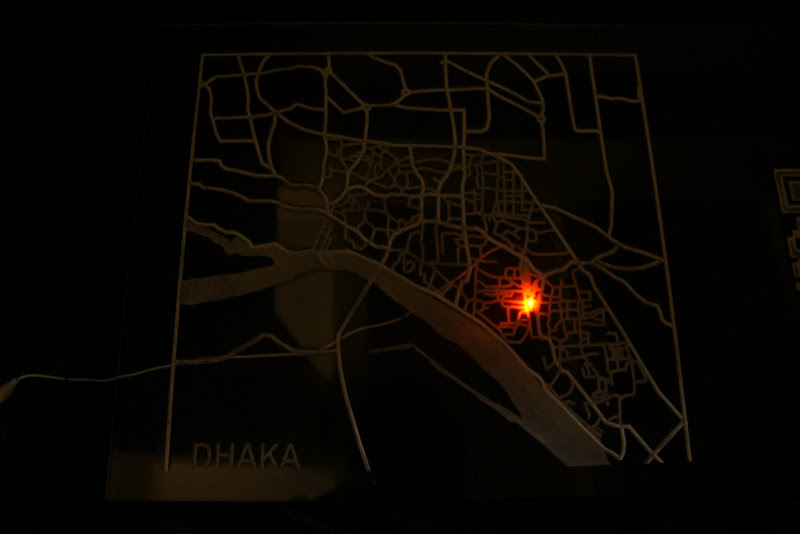
BLUETOOTH CONTROLLED LIGHT UP MAP OF DHAKA BY ALBERT CHING
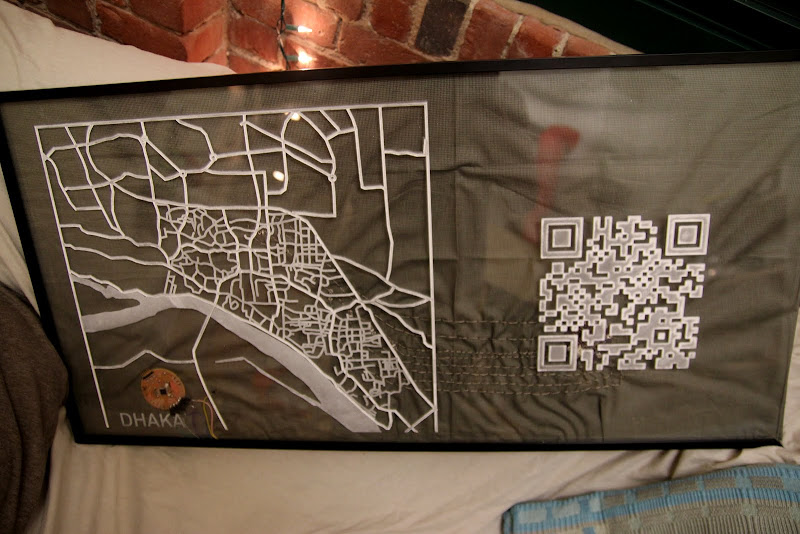
Original Design - Touch LED Matrix Map of Dhaka
I originally wanted to transform my acrylic map of Dhaka that I etched on the laser cutter into a capacitive touch surface but after consultation with Matt and Rob, realized that it was a much more difficult to do than I originally hoped. While LEDs can be set to be bidrectional as both inputs and outputs (super cool), they require some bright lights to be responsive, and only mildly so. There has been a sort of revolution in capacitive touch sensors with the ubiquitous tablets and smartphones but they embed a capacitive layer within the glass, which is a very expensive and precise process.
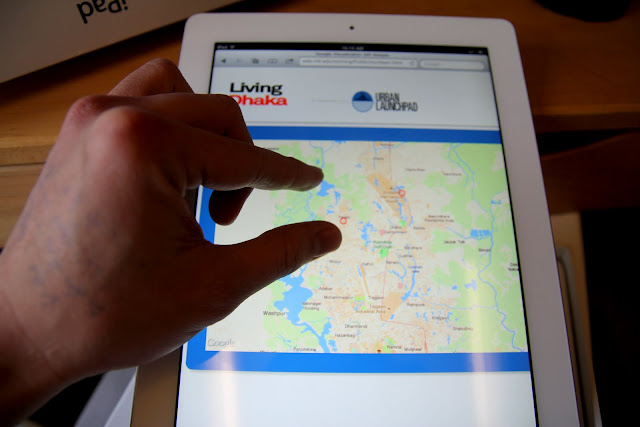
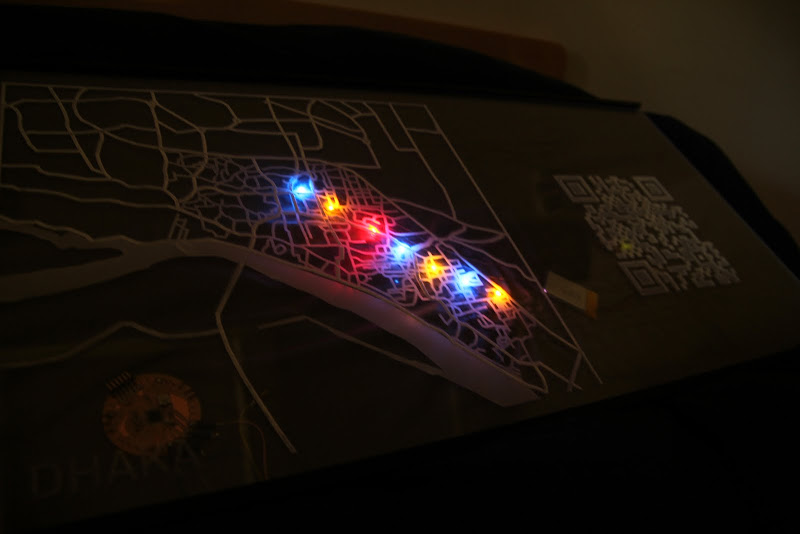
New Design - Bluetooth-controlled LED Map of Dhaka (using touch sensors in a Motorola Xoom tablet)
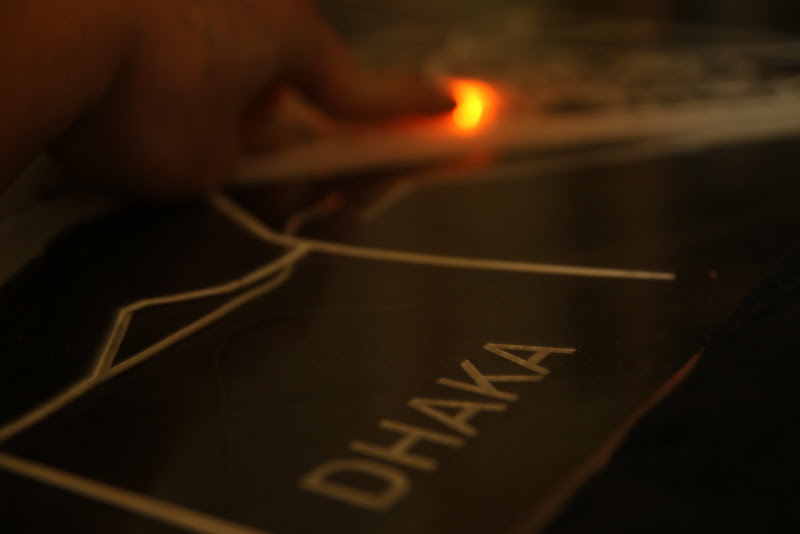
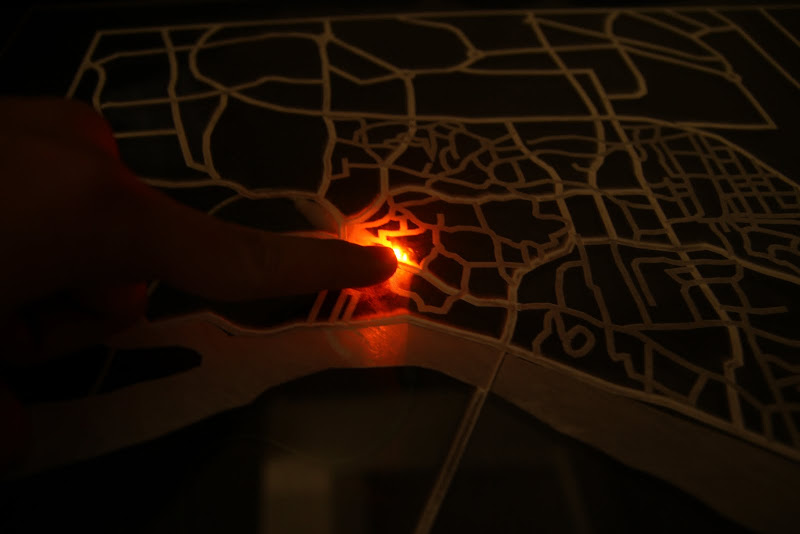
Since powerful touchscreens are now ubiquitous, I decided to have the LEDs underneath my map be responsive to the touchscreen on a tablet via bluetooth. Excitingly, there is a lot of momentum for Android controlled phones to start talking to Arduino, a development that might make smart home appliances a lot more possible.
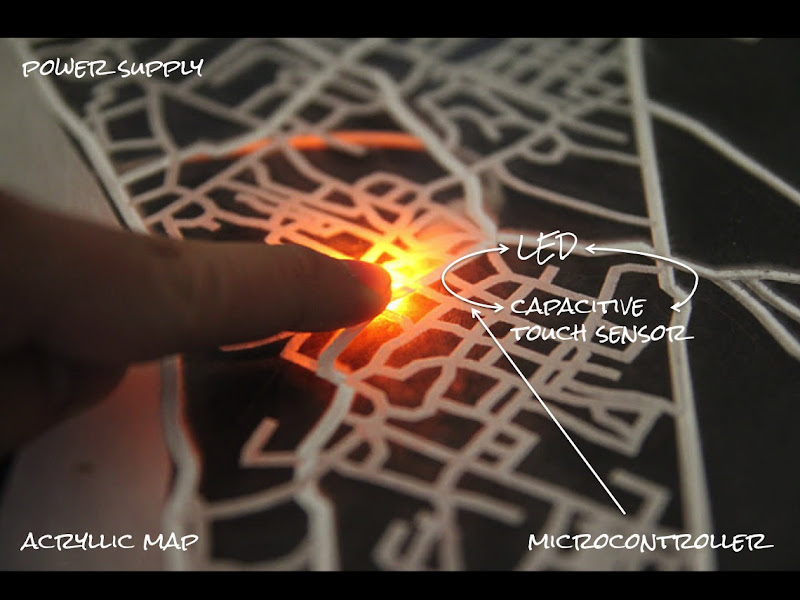
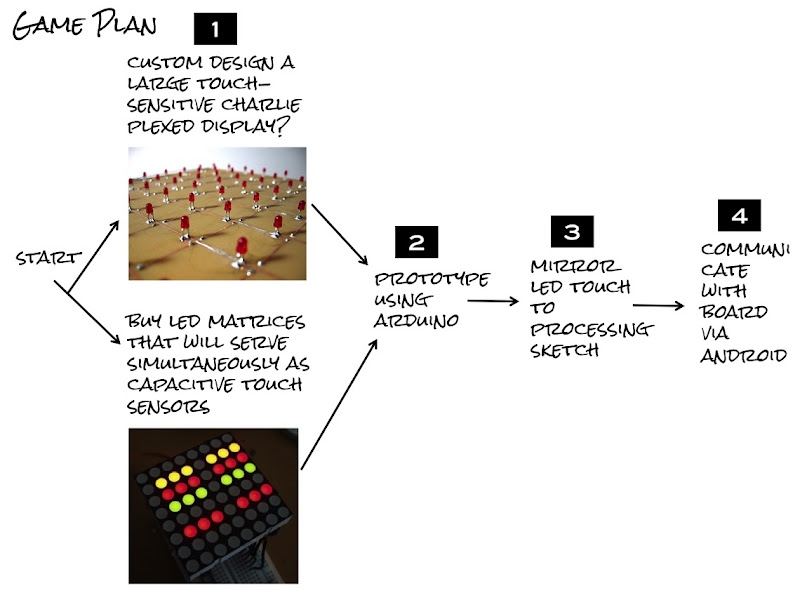
Step One - Building the Responsive Map
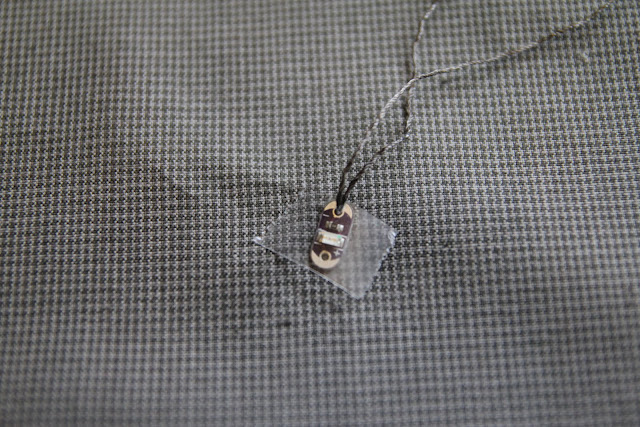
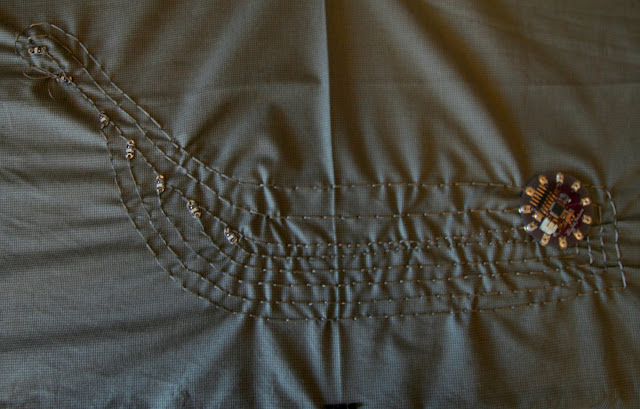
I already had the etched map of Dhaka from our computer-controlled machining week so I needed to find a way to create a circuitboard that could be layered underneath the transparent map. After taking Leah Buechley's New Textiles class last semester, I was very familiar with using conductive thread to sew a circuit onto a textile. I also liked the aesthetic of putting something soft behind all the hard of electronics. Sewing the threads was non-trivial and took maybe 10+ hours but was akin to the therapeutic process of soldering.
Step Two - Building the Circuitboard
I used Shelby Doyle's Round Fabudino guide to attempt to build a circuit to control these wires. The tutorial was great - although the holes and outline files did not line up with the traces so make sure to double-check that before you mill. I had trouble burning the bootloader onto the Fabduino I think in part because the reset button was missing and there was a couple of hacks that weren't clearly explained. Ed Baalfi did help me try a few things but I decided to triage the situation and use a pre-made Lilypad. The bluetooth module is a standard one that you can buy from Sparkfun.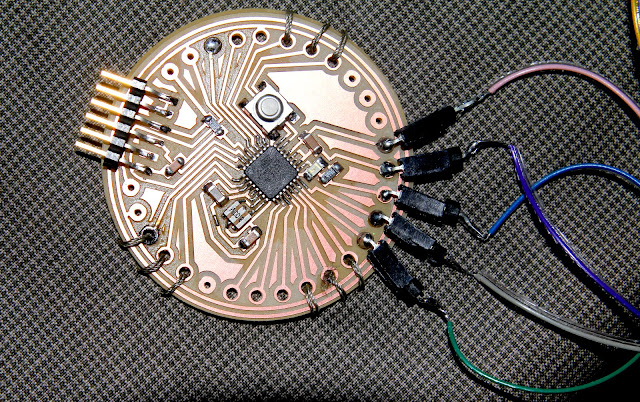
Step Three - Building the Android App using Google App Inventor
After taking Hal Abelson's building mobile apps class this semester, I wanted to take a crack at using the bluetooth functionality on Google App Inventor to directly communicate with an Arduino board. Bonifaz Kaufmann and his work on Amarino was very helpful in providing the proper libraries for the Arduino board to receive (and send) signals via bluetooth. Thankfully, the work to send signals via a custom Google App Inventor app was pretty straightforward. The most difficult part was figuring out how to control each light individually which happened at a moment of luminance at 3:30 am when I realized that you can send different letters rather than numbers. I also wanted to leverage the other input sensors on Android phones so I integrated the Speech Recognizer for the maximum effect. There are many other possibilities like the accelerometer and I was even thinking of using the barcode scanner to scan a QR code that would correspond to a particular response on the map.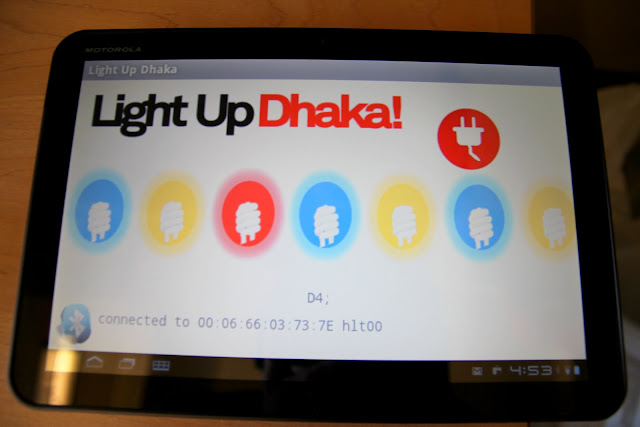
 Light Up Dhaka App Inventor source code
Step Four - Writing the Arduino code using the Amarino library
There isn't a whole lot of documentation on Amarino esp with Google announcing at its Developer conference earlier in the year of custom boards (now available on Sparkfun) for communicating with an Arduino. I thought it might be helpful for anyone wanting to see the code.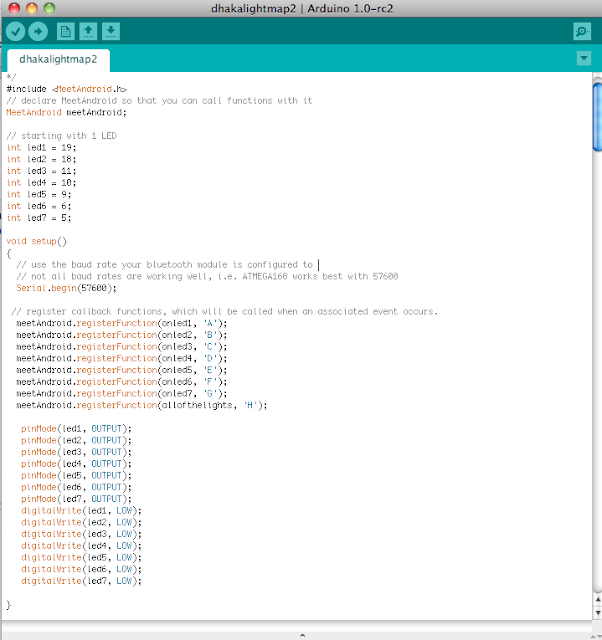 Light Up Dhaka Arduino source code