Playing with the Waterjet!
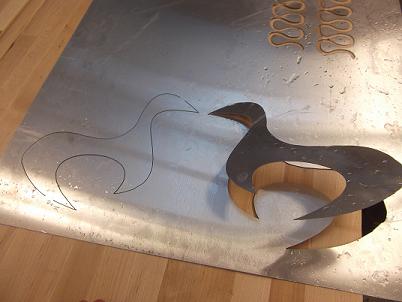
Since I didn't have time in Week 3 to play with the waterjet, I made time this week to play with it - thanks to May for helping me out! I made the decorative touches that I posted last week for my rowboat by cutting them out on a thin sheet of aluminum.
When designing the parts on OMAX Layout, I added tabs myself by leaving gaps in the cutting lines, although there is actually a tab function in Layout that I should have used instead.
The hardest part of this process was making sure that I had enough room on the table to cut the parts I needed. To do this, do NOT do a dry run first - move the nozzle up very high on the z-axis, and then move it to extreme points on the file to make sure that they are all within the material and the table boundaries. You want to avoid knocking the nozzle against the side of the table and potentially damaging it! Once you've found that all the extreme points (far x, y points) are within your boundaries, then you can run a dry run (where the nozzle traces the path without cutting) and then run the cut pass.
|
|
The parts after I've cut them out. You can see that the tabs are still holding the parts on - I folded the pieces back and forth to break the tabs. I could have made them smaller, then they would have been easier to break! |
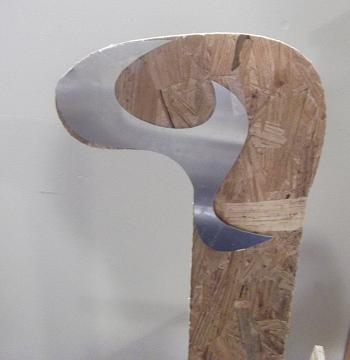
The completed pieces on the mast of my boat - I'm trying to channel a little elven artistic flavor! |