
contact // irina chernyakova
1 [0912] FINAL PROJECT PROPOSAL 2 [0919] COMPUTER CONTROLLED CUTTING 3 [0926] ELECTRONICS PRODUCTION 4 [1003] COMPUTER CONTROLLED MACHINING 5 [1010] FINAL PROJECT UPDATE 6 [1017] MOLDING / CASTING / COMPOSITES 7 [1024] EMBEDDED PROGRAMMING 8 [1031] 3D SCANNING + PRINTING 9 [1107] INPUT DEVICES 10[1114] INTERFACE + APPLICATION PROGRAMMING 11[1121] OUTPUT DEVICES 12[1128] MECHANICAL + MACHINE DESIGN 13[1205] NETWORKING + COMMUNICATIONS 14[1212] FINAL PROJECT DEVELOPMENT 15[1219] FINAL PRESENTATIONS
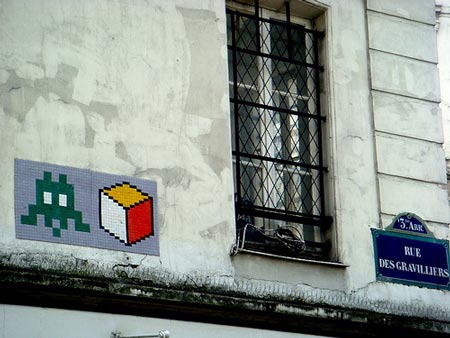
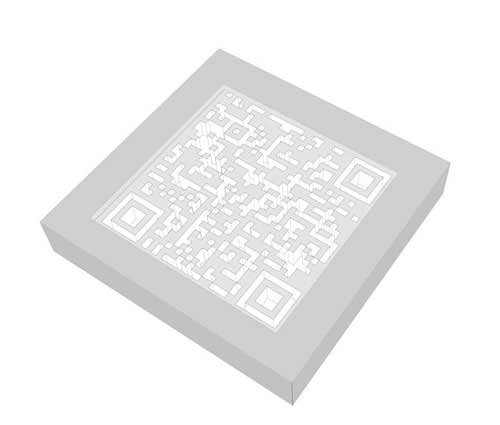
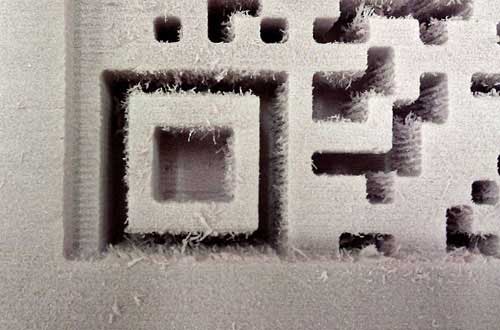
1 how to brand campus [vandalize] Inspired by last weeks' discussion of auto-graffiti, I decided to try and fabricate a 3D qr code/stamp for the class website.
 qr code for How
to Make
qr code for How
to Make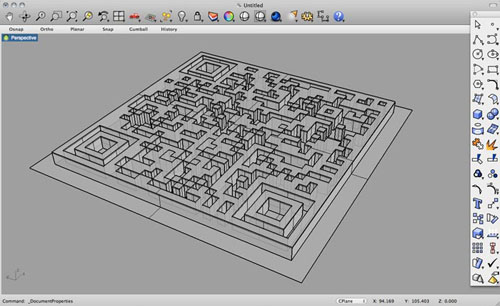
2
Partworks 3D
Import
your Rhino file as an STL. Make sure it is a single object, and as
clean as possible.
1/Surface
Properties
Make
sure your units are in inches, and rescale if necessary. The side to
be machined should be facing up – and if its not, reorient the
surface. Apply > Next.
2/Material
Properties
Zero
the X&Y to the bottom corner in the axonometric image,
double-check the material boundaries and thickness; zero the z to
top. Here you can add tabs – these are like puzzle pieces to help
keep your material in its place. Set the 'depth of model below
surface' to slightly below 0. Finally, adjust the cut plane.
Typically, use the center or bottom of the model, depending on the
depth. Apply > Next.
3/Roughing
Toolpath
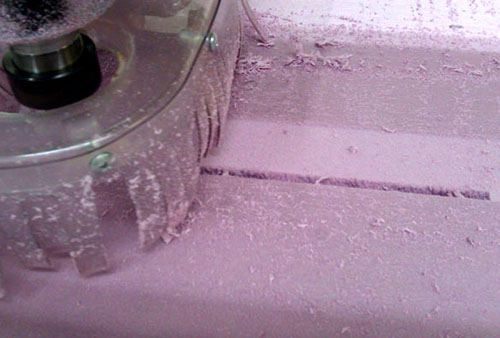
Since
I was cutting foam, no roughing toolpath necessary! If you are
cutting wood, mdf, any other material, then a Roughing toolpath is
necessary. It takes out the majority of the material and saves a lot
of time.
4/Finish
Toolpath Select
the correct bit, we used an 1/8” Ball nose bit.
Cutting
Parameters/ Stepover: .0625 @ 25%
Spindle Speed: 18000 RPM
Feed
Rate: 300 inches/min
Plunge Rate: 100 inches/min
Rapid
clearance gap: .02 inches
Raster
Angle: along X; choose an angle that is perpendicular the dominant
grain if using wood.
Calculate > Next
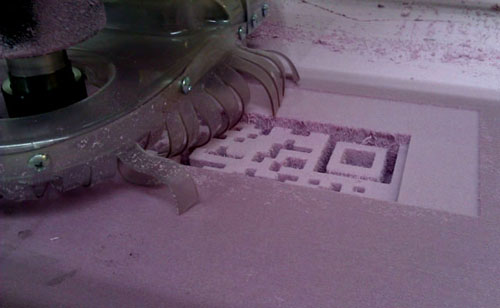
5/Cut-out
Toolpath Use
this to cut out the model from the material. We used the same bit,
and similar speeds to those listed above! Calculate >
Next
6/Preview
Machining Check
your toolpaths through animation. Calculate > Next
7/Save
your
toolpath files as an .SBP for the Shopbot, and as a .3DV to be able
to re-use the file with saved parameters.
This is a clear and simple PDF with step by step instructions from UT Austin.
3
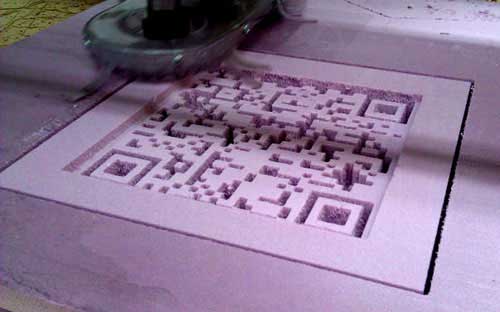
Shopbot
4
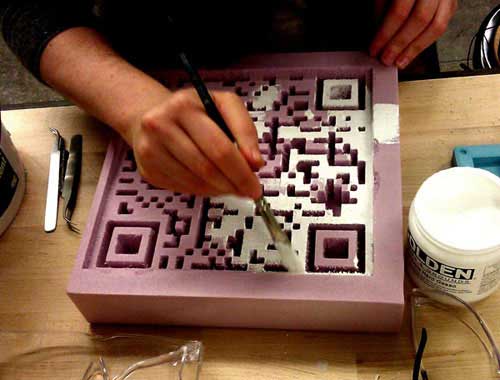
gesso/release agent
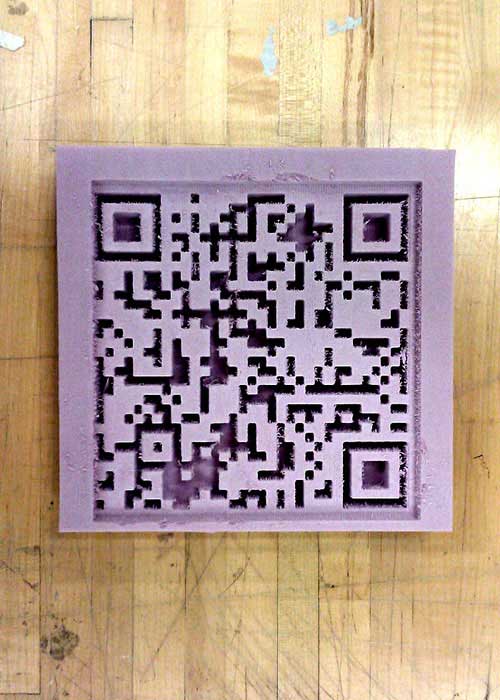
After
doing some research, I thought I would just use Hydrostone and cast
directly into the foam. Thus, I prepped the model with gesso to seal
all the holes. The original plan was gesso
> acrylic spray paint > spray oil and/or release agent >
Hydrostone..
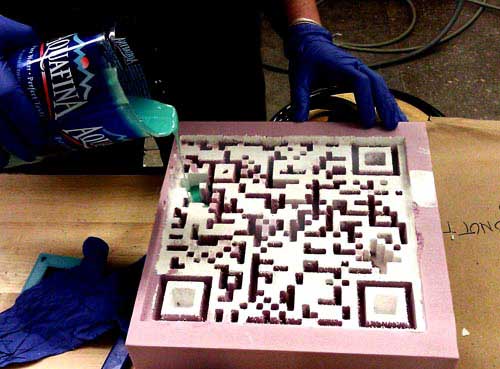
5
casting (or
how NOT to cast)
I
then saw that some people had cast the silicone mold into foam
directly, and last minute, decided to try that.. Big mistake given
the details of the model. Mix Parts A & B, equal parts. I did not
mix enough silicon on the first round, so I filled half of the model,
then the second half. The top was a little thin, so I tried a third
round, but by this time was using remainders of other bottles.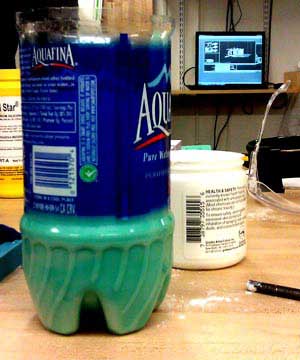
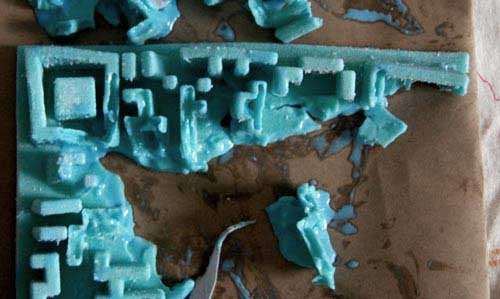
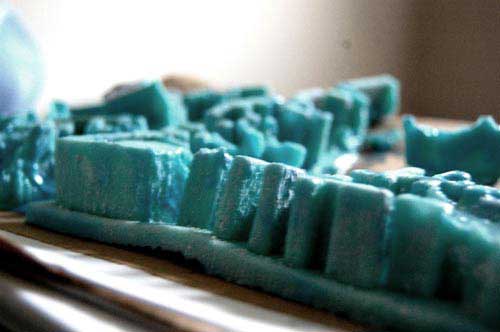
6
final, the life and death of the qr code
In
the end, the final mix of rubber was not precise. That is, not equal
Parts A & B. It seeped into the model and never dried, and
created a very strange pattern – separating the two rubbers.
Pulling it out was a nightmare – the mold itself too deep, the
rubber not consistent. Will add this to the long re-do list.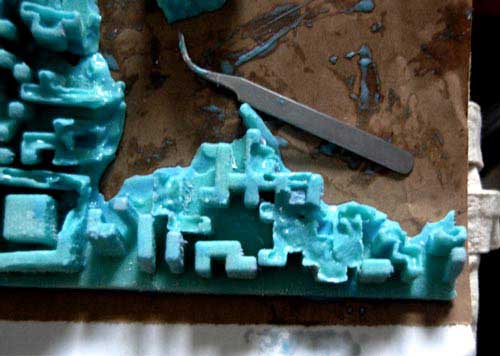
end
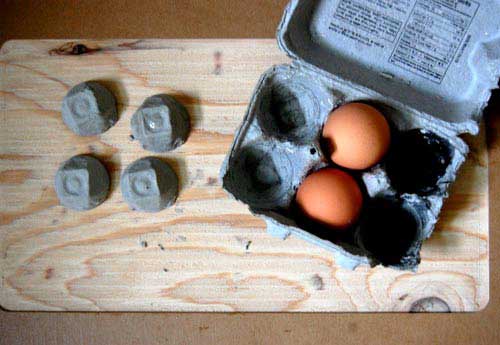
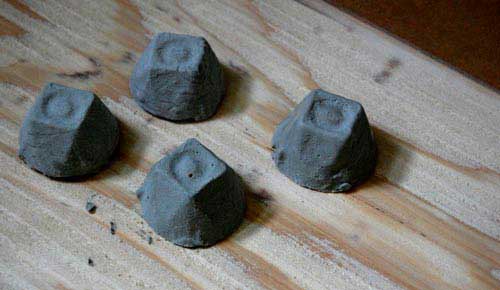
on a happy note: with
a little extra time, and no time to mill ..
rockite muffin paperweights from an egg carton..