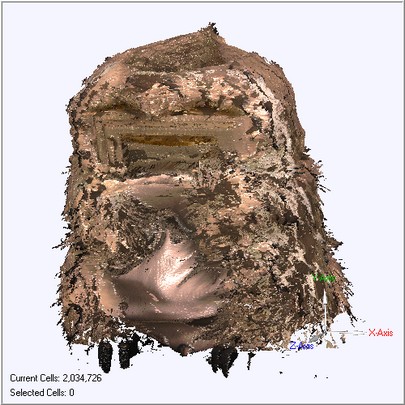
Two things were to be accomplished this week: 3D scanning, and 3D printing. I figured I'd kill two birds with one stone by doing the suggested plan of scanning, editing, and printing an object, and I knew just what to do. I wanted to try to scan and simplify a model of Kombusto, the DragonBot from Personal Robots. I knew that the Minolta scanner could easily do simple shapes, so I wanted to test its limits by scanning the robot. It was a difficult shape to scan, and after failing to scan Kombusto, I settled on a scan of a previous model of the robot. Due to its size, I had to move back the scanner, and had to vary the laser power and focal length of the scan. After a couple of attempts, I got a model that I could patch up using the "Fill Holes" command in the Geometric program.
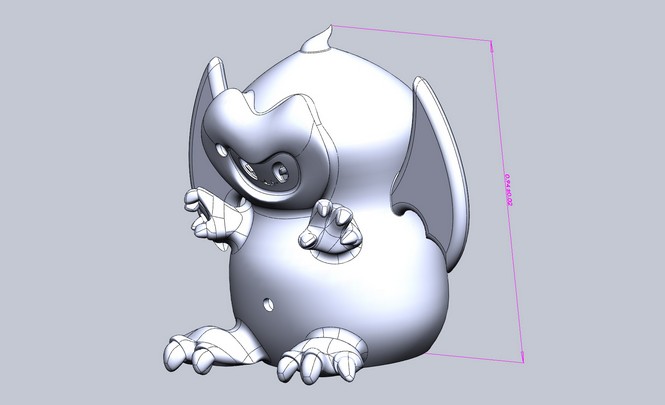
Above is the completed and cleaned scan. This wasn't what I wanted to use for porting into SolidWorks. Instead, I decided to make my own model for printing. I borrowed some of the specialized models from Adam Setapen (the faceplate, hands, and feet), and filled out the head, body, tail, and wings in SolidWorks.
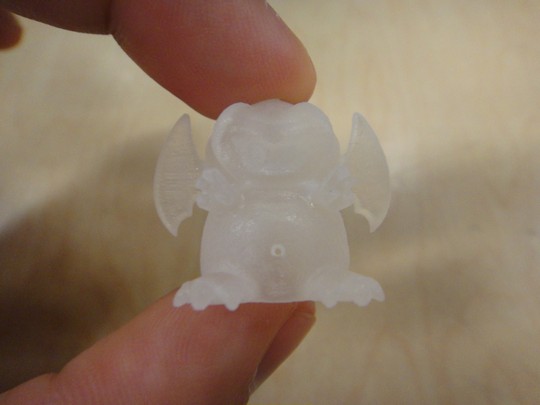
Then, I used a scaling feature to shrink the model down to the appropriate printing size. I also hollowed out the model for future LED use, which led me to print my job on the Invision printer. The semi-transparent acrylic would be good for shining light.
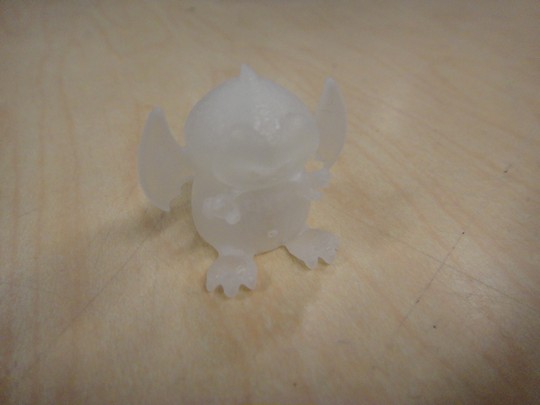
And that's all there is to it! The job printed quite nicely, and with some post-processing to remove excess wax, it'll look really clean!