M O L D I N G A N D C A S T I N G
Earrings and Beads
The idea was to make a mold and cast something in it. I decided to make jewelry based on non-planar geometries.
THE PROCESS:
1-Design something
2-Make a wax mold
3-Make a silicone mold from the wax
4-Make a drystone or hydrostone prototype in the silicone
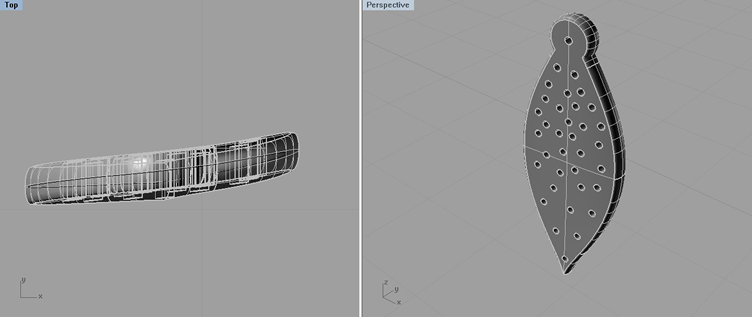
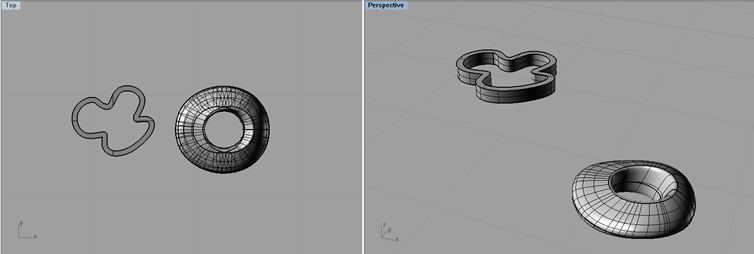
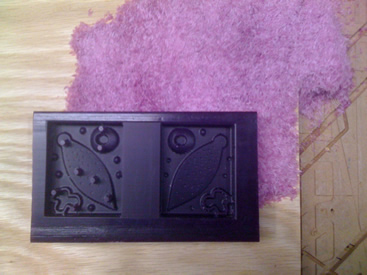
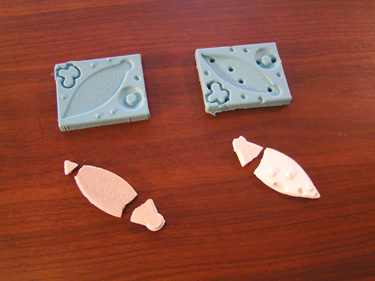
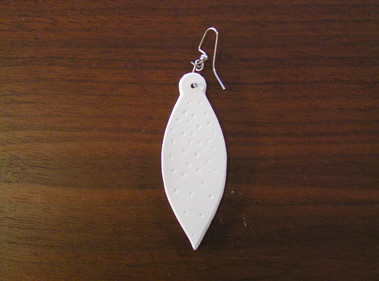
The main shape of the mold was a leaf-shaped, non-planar surface with small holes in it. In addition there were two other shapes, one of them non-planar and the other a planar figurative curve. Each of the shapes had a specific purpose, mostly to test the material properties of the final casting material. Originally, the design was made to be cast in resin and with a 1/16" tolerance, but I ended up using the drystone and the hydrostone and a 1/8" bit on the milling machine. This made for an interesting experience, since the tolerances and material properties for which the objects were designed were drastically different in the end.
This is the final model that was sent to the mill...
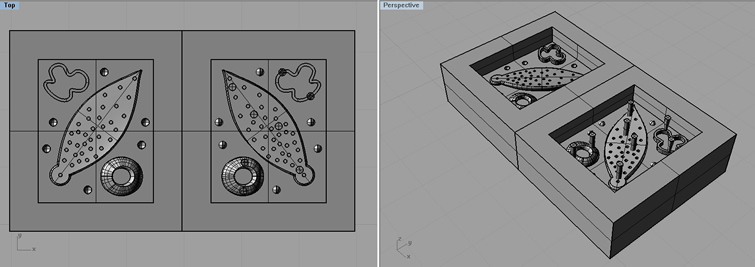
The rhino file with the design was exported as an .stl file that was then edited with Part Works 3D in order to make tool paths in the form of machine code for the Shop Bot.
MILLING...
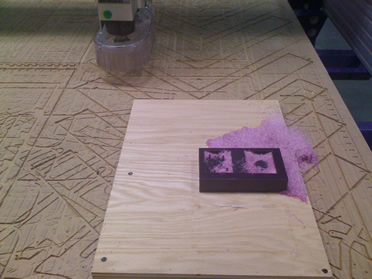
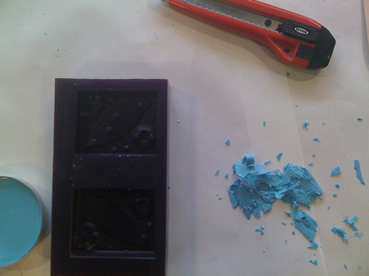
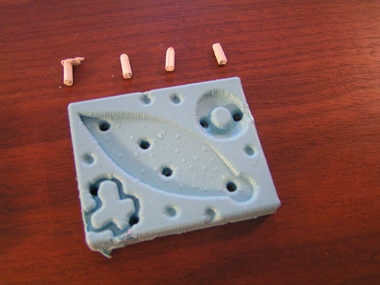
The wax was hot glued on to a scrap piece of plywood that was then screwed on to the Shop Bot bed. Once the milling was finished, it was time for the silicone!
OOPS!! - I poured the silicone over the sprues, so I had no way of getting the hydrostone inside my mold. I did some small surgery to the mold and it was all back to the plan. I decided to re-cast the silicone correctly so I could have a mold without surgery marks.
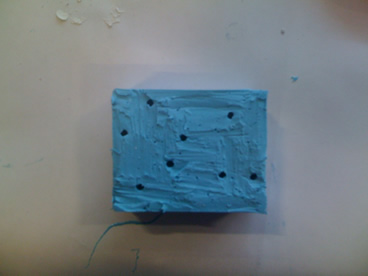
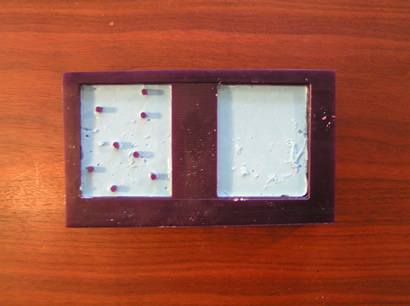
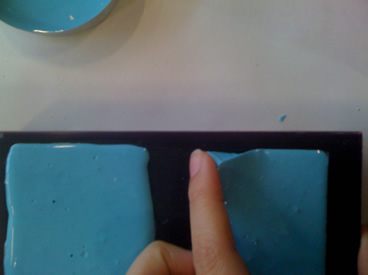
FINAL CASTING
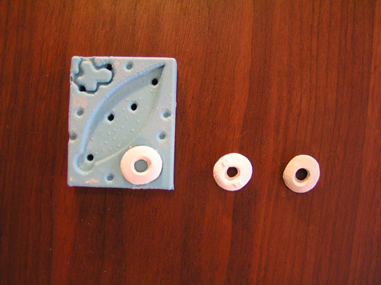
Once the silicone mold is finished, the final casting is done. I used drystone for the first two tests and then hydrostone for the last test, to see which of the two worked better for casting small things.

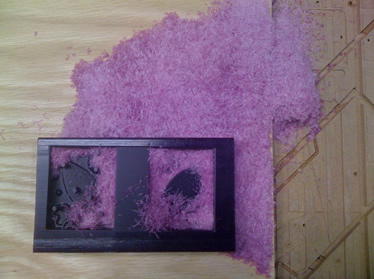
The initial casting was not very successful. The earring was full of bubbles and the figurative bead was immediately destroyed in the demolding. The non-planar bead worked the best out of the three and as a final test, I tried breaking the drystone cast to see how it would respond-- it broke very easily. The second try with the drystone was much better and yielded the most desirable effect regarding the earring. I did not even attempt the figural bead again. In the last test, I used hydrostone and it was much more brittle than the drystone. The large piece, which had been pretty resilient with the drystone shattered immediately after the silicone mold was taken apart.
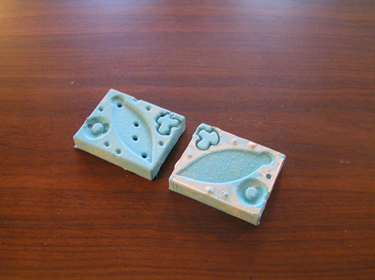
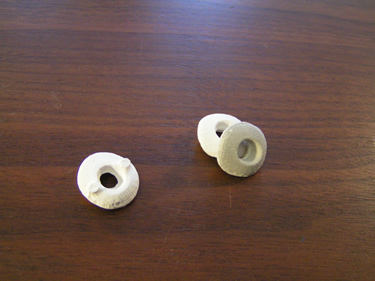
The Finished Products
The beads in drystone and hydrostone and a bead in drystone (front) with the sprues still visible (this is what the bead looked like as it came out of the mold). On the right is the set of earrings.
LESSONS LEARNED
Calcium sulfates and calcium silicates are not the best products to create finished jewelry; however they are pretty good to create jewelry prototypes as long as the smallest tolerance is larger than 1/8".
The hardest part of the process is to conceptualize the mold/negative mold process so that the sprues are designed from the beginning.
It is also important to design the individual pieces and the final milling model with a tolerance slightly bigger than 1/8" (about .27") when using the calcium silicates/sulfates. Whatever the material, you must take it into consideration during the whole process, beginning with the design-- this will inform all decisions regarding minimum tolerances (which will affect the final product design as well as the mold design).
Hydrostone and drystone are best suited to make something big and simple.