
Process:
1. Choose ISP Design: I chose Valentin's USB design because I found it to be the most convenient, it also seemed to be the most elegant because of both, the USB connector and the fact that you do not need to de-solder any parts after it is programmed, you just have to snap off a part of the board. (better explanation of the design on Valentin's page HERE)
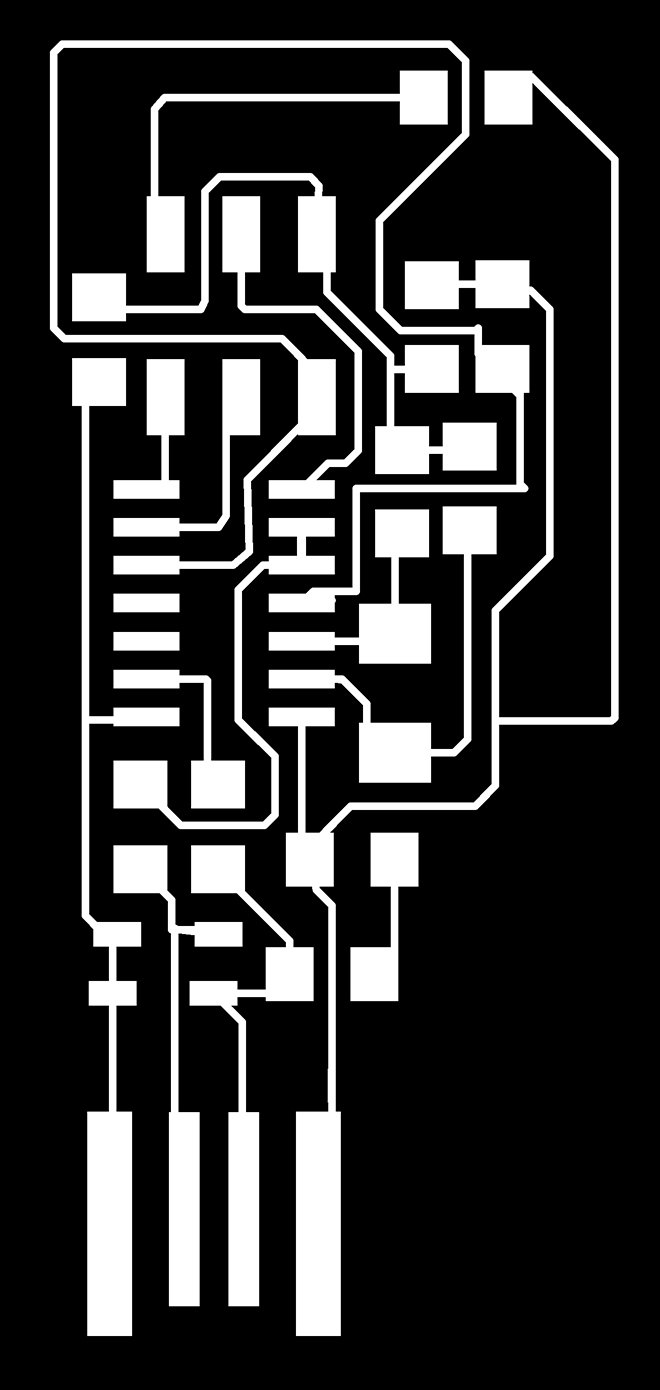
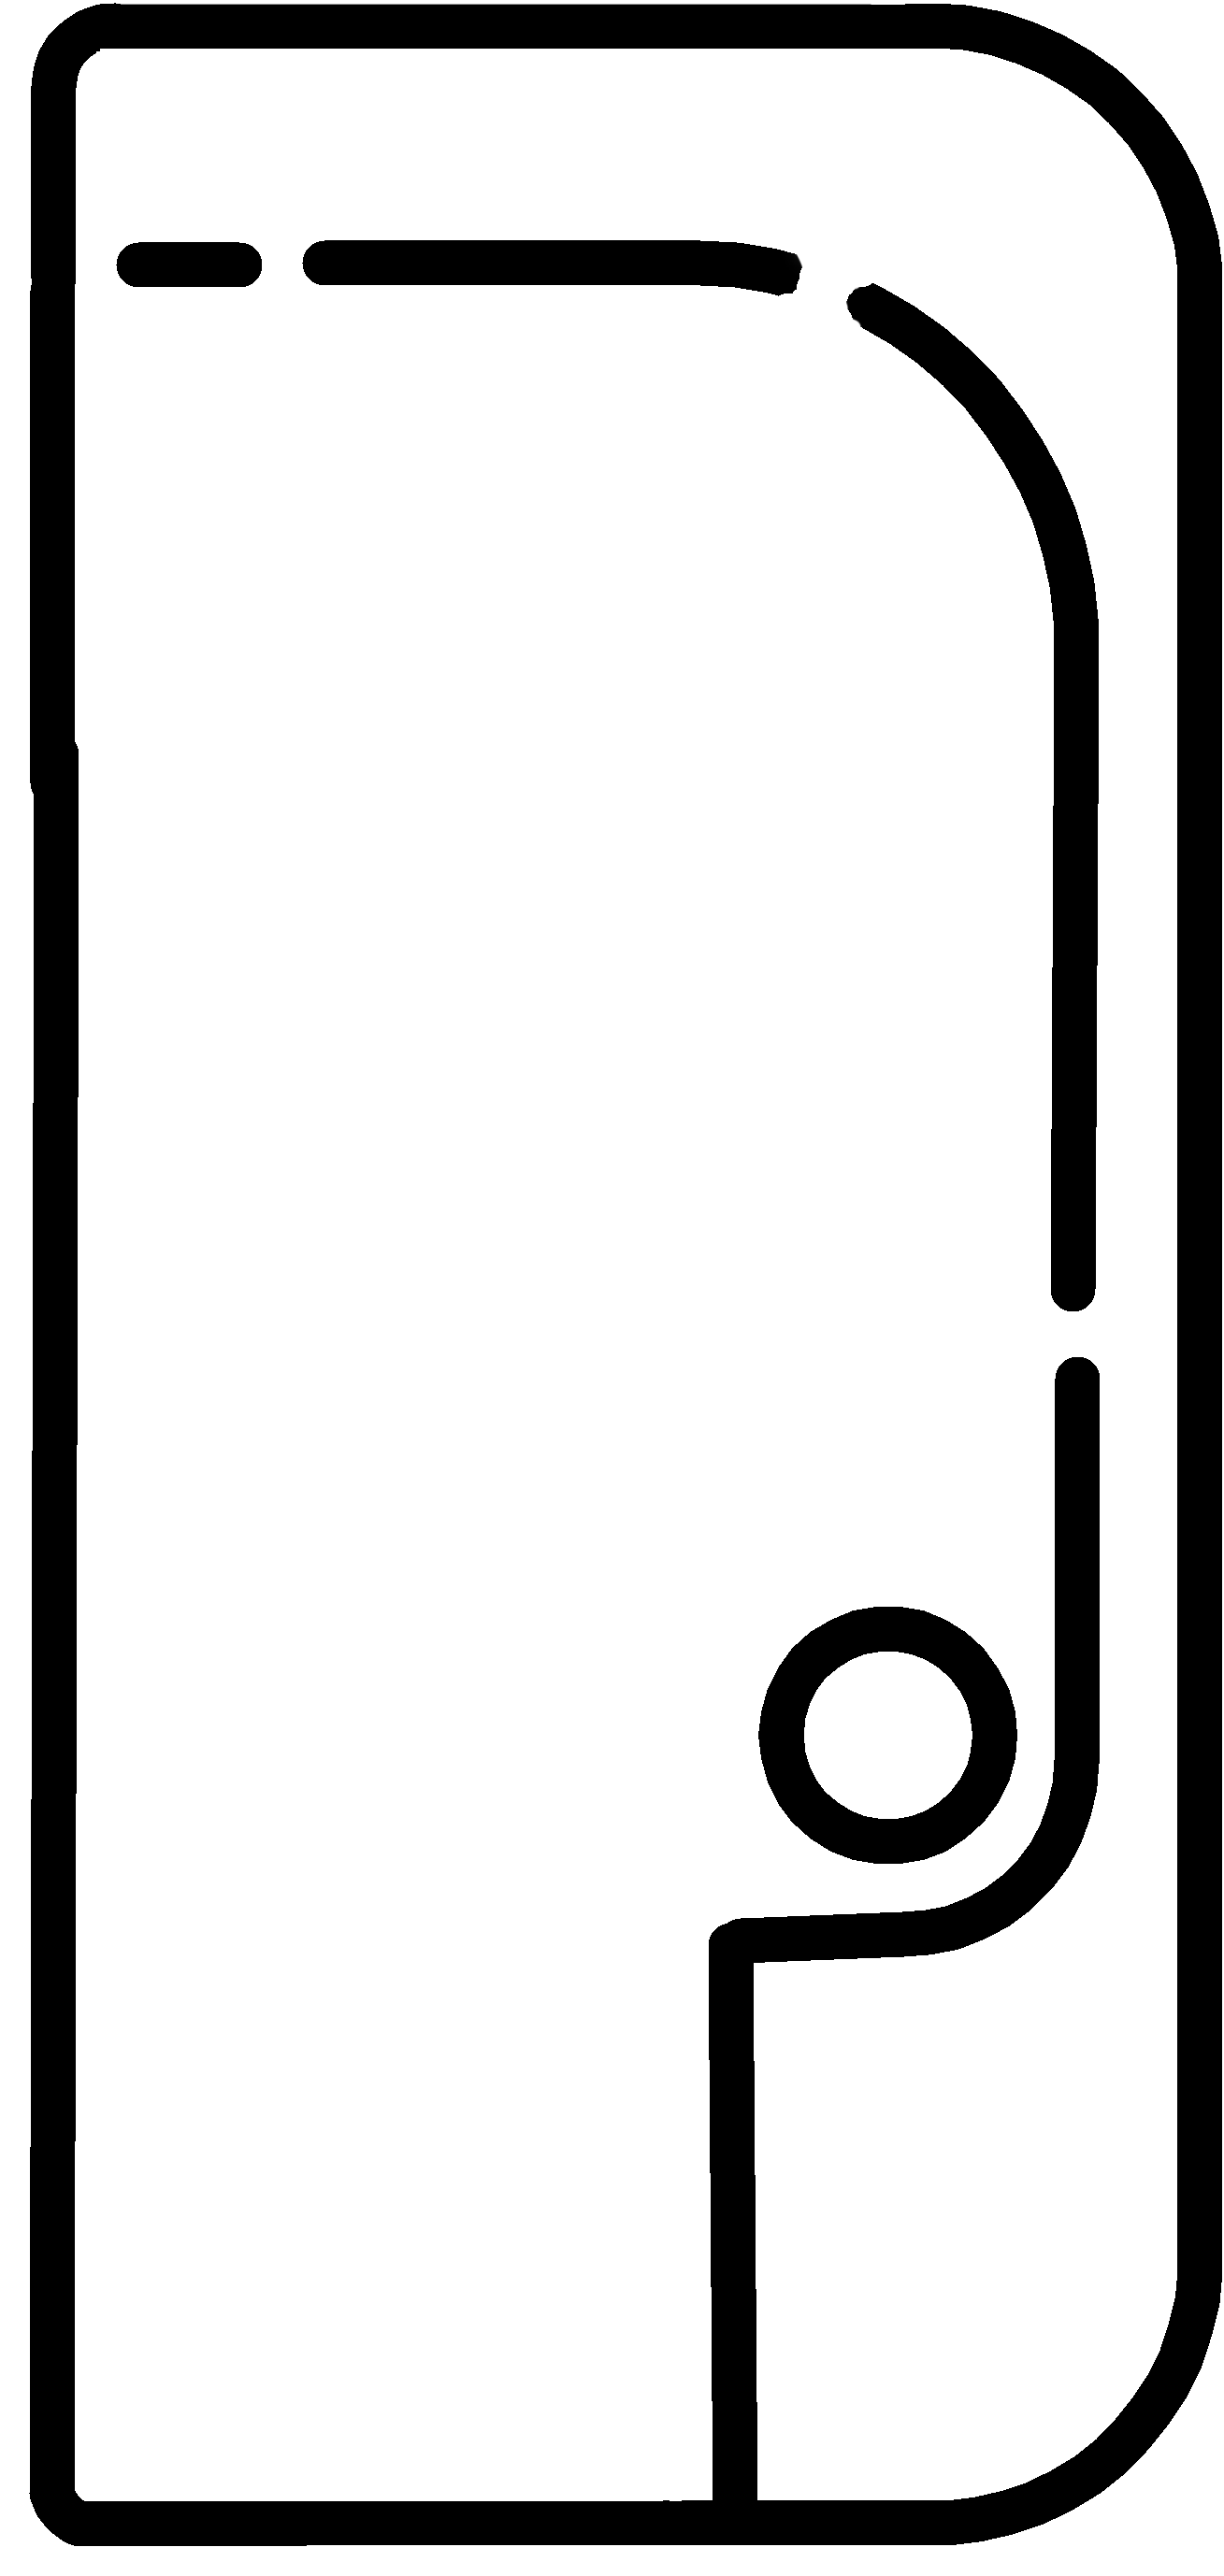
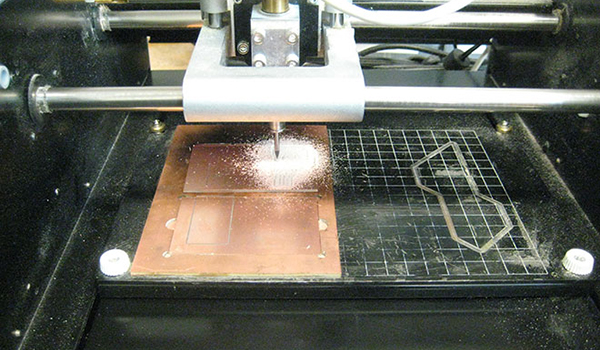
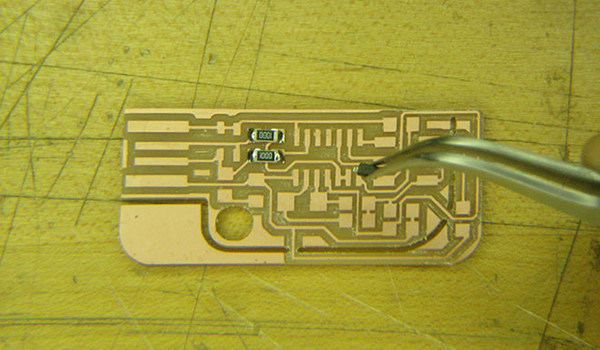
2. Cut Board on the Modela: In order cut the board I downloaded the files from Valentin's website, it must be noted that these files are not the right size for cutting the board so I resized them directly on the fab Modules right before cutting, I used the normal board images for size reference.
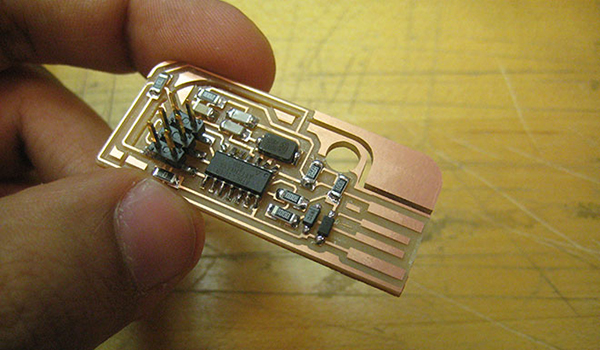
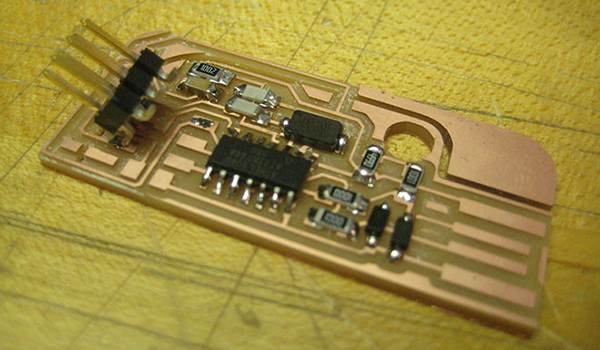
3. Stuffing the Board: Judging by some of my fellow student's experience it seems like this board design is a lot easier to solder, most likely because it doesn't need a usb connector (which seems to be the most difficult part to solder..).. I enjoyed the soldering experience a lot however, I did burn my hand a couple of times and also failed to understand at first just how quick the solder will solidify (image below, look for the almost vertical component)
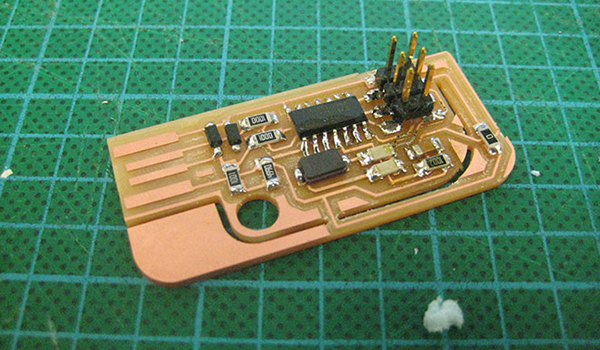
4. Programming the Board: This step was the most challenging for me as it was not completely clear where the board would draw its power from, ususally the board will draw power from the usb connctor but since this board doesn't have one I had no idea what to do. After some consultation with the TAs (plus Valentin, the board's designer) and some McGuiver-esque maneuvers we managed to figure out that the board can draw power from the programmer.. I now have a programmed board and Brian is my new hero...
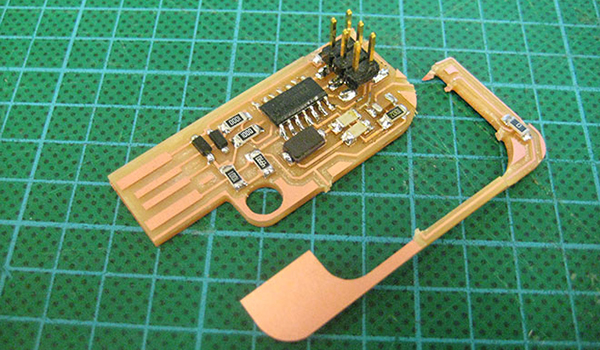
5. Snap off Obsolete Part: It was a slight struggle to snap off the now-useless part but in the end it broke off and I am now the proud owner of a USB-ISP board
![]()