Week 12: Interface Programming
Overview
The 12th assignment of the semester was to create a application that interfaces with an device. I decided to do make an stiffness visualizer for the stiffness sensor. This week, I learned ...- How to use serial communication in Processing
- The basics of physics simulation in WebGL
- How to use web sockets
Approach
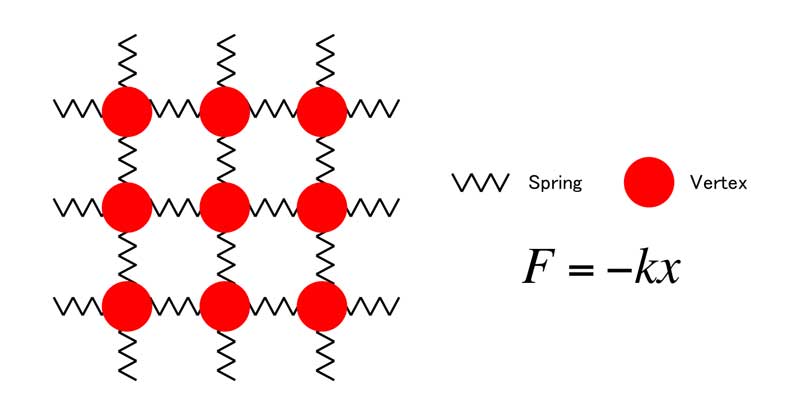
As a made a sniffness sensor for week 9, I decided to make a visualizer for that. The plan was to make a virtual elastic object in computer graphics and have it deform based on actual stiffness of an object.According to the research I did, I learned that I needed to do some physics to simulate an elastic object within the computer. In the world of computer graphics, I learned that objects are basically meshes that consists of vertices connected with each other. A typical way of representing an elastic object was to connect the vertices with virtual "springs" instead of structural lines. Depending on the force applied to the verices, the springs would expand or contract, which makes the surface "elastic".
For implementing the virtual elastic object, I first tried to use Processing. However, I ended up using WebGL as I found a useful library.
Interfacing the Device With Processing
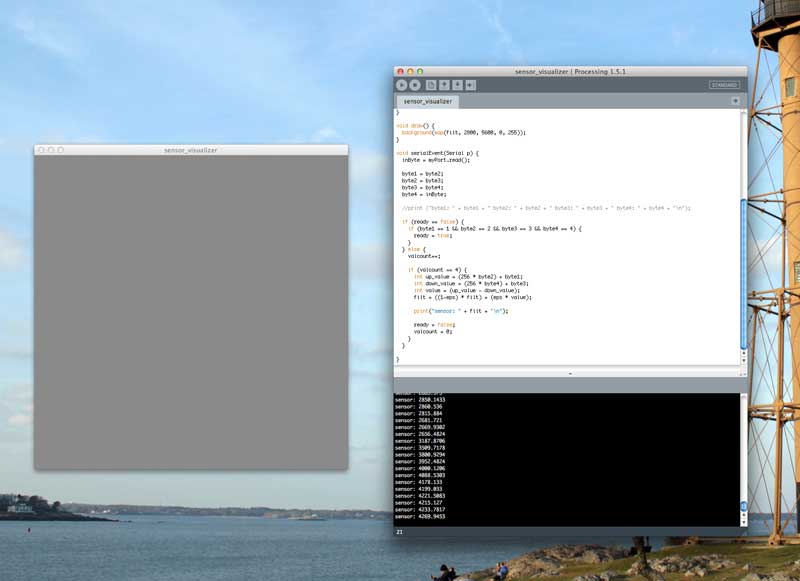
As my first attempt was to use Processing, I started by implementing a very simple application that changes color depending on the input from the sensor. Luckily, Processing comes with a serial communication library, so it was fairly strait forward to interface with the stiffness sensor. After about an hour or so, I had a working application. You can download the source code below.The next step was to implement the springs, but as I had no experience in computer graphics, it couldn't figure out where I should start.
Elastic Objects in WebGL
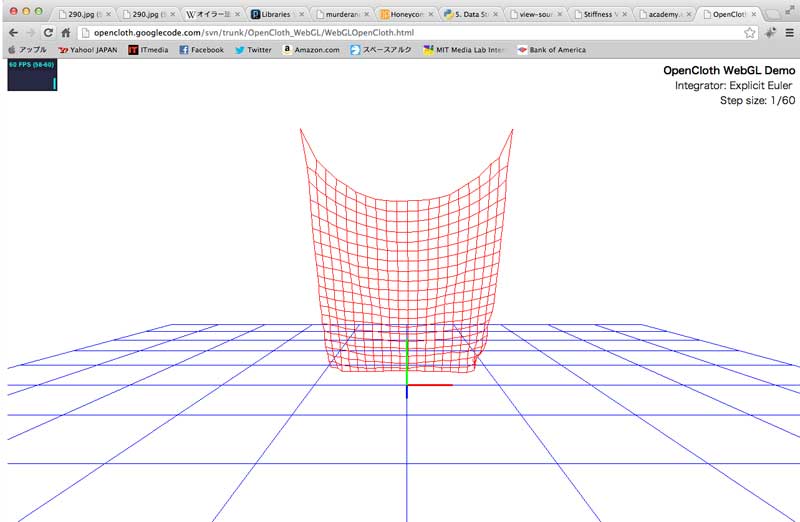
As I needed to get some kind of starting point for the implementation, I decided to google what's already out there. I found that processing comes with a library called TRAER.PHYSICS, which enables users to easily implement elastic meshes. However, I also found a very nice collection of sources codes called opencloth. Opencloth comes with source codes based on OpenGL (WebGL) that implements various algorithms for simulating elastic materials.Using Processing might have been straight forward, but I took this opportunity to learn how to use WebGL. So I decided to start with the example given by opencloth.
The example given in opencloth uses three.js, which is a nice wrapper for making WebGL more easy to use. It also makes use of the Euler Method for calculations. It took a while for me to understand how things work in the world of computer graphics, but I managed to implement a sheet of elastic material with color shaders. I also managed to manipulate the force, and make the material deform.
Interfacing the Device With WebGL
As WebGL is a 3D framework based on web browsers, it cannot communicate with external devices directly via serial interface. So I decided to use web sockets to pass on data from the serial interface to the web browser.I used the pySerial library to read the serial input, and used Tornado (python based web framework) to stream the reading to the web browser via web sockets. I also used Tornado as a local server instance for hosting the static contents.
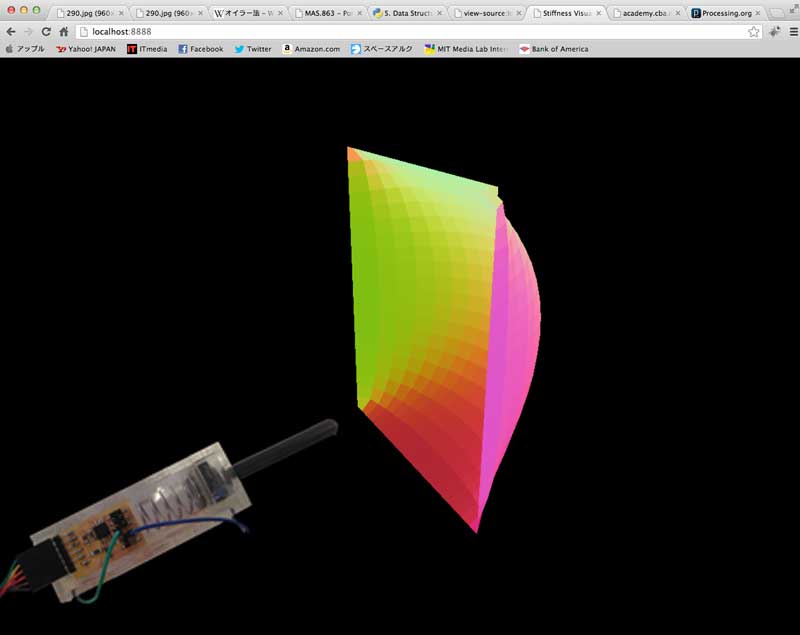
On the browser side, I used jQuery to receive data from the web socket. Everything worked surprising well, and I was able to manipulate the elastic sheet on the browser with the stiffness sensor that I make.
After tweeking the variables and settings, I finally had a stiffness visualizer that interfaces with my stiffness sensor.


