Week 6: Molding and CastingElectronics Design
Overview
The 6th assignment of the semester was to mill out a mold and cast out an object. I decided to mold and cast "Android", the well known character from Google. This week, I learned how to...- Use the ShopBot Desktop
- Create molds using machinable wax and silicone rubber
- Cast objects using DryStone
- Program the FTDI.io board to make LEDs blink

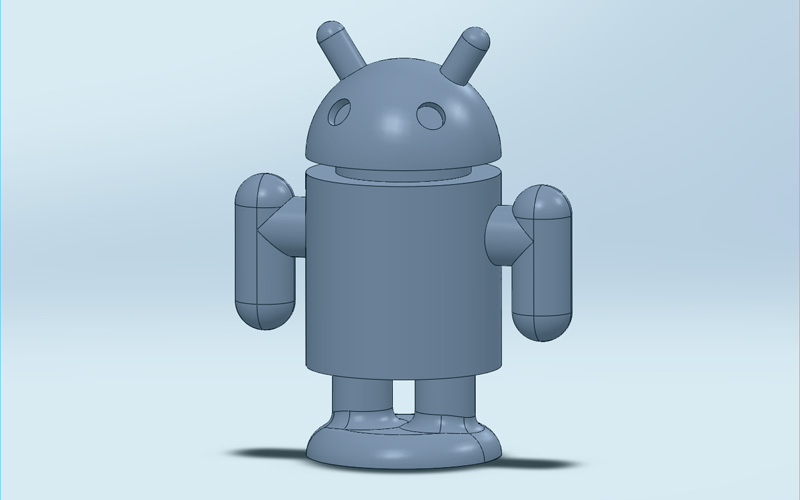
Creating a 3D Model of "Android"
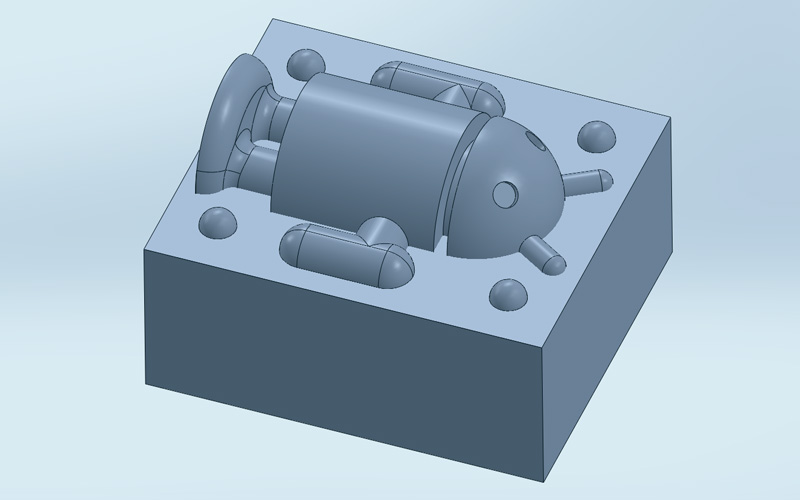
The very first step was to create a 3D model of "Android" using Solidworks. After designing the actual model, I combined it with a "bed" with pegs for creating a two-piece mold (front half and rear half). I then exported each half of the mold as separate STL files for milling. The STL files may be downloaded below.
|

|
|

|
Milling the Positive Mold
The steps for molding and casting are as follows.- Mill the machinable wax to create a positive mold
- Pour rubber silicone into the positive mold and create a negative mold
- Pour DryStone into the negative mold and cast the object
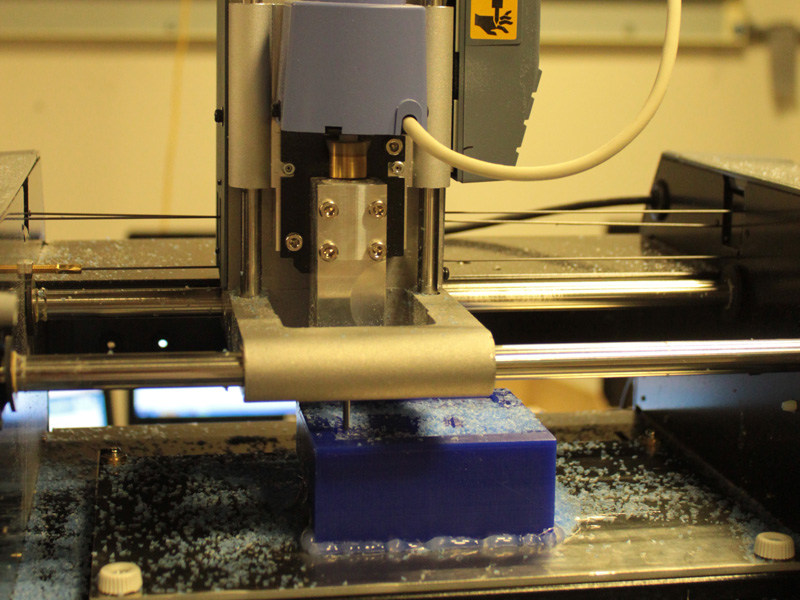
As for the ShopBot, the biggest issue was fixing the wax into the machine. For the first run, the wedges and pegs failed to hold the wax in place. This ended up with a broken drill bit and a ruined piece of wax.

|

|
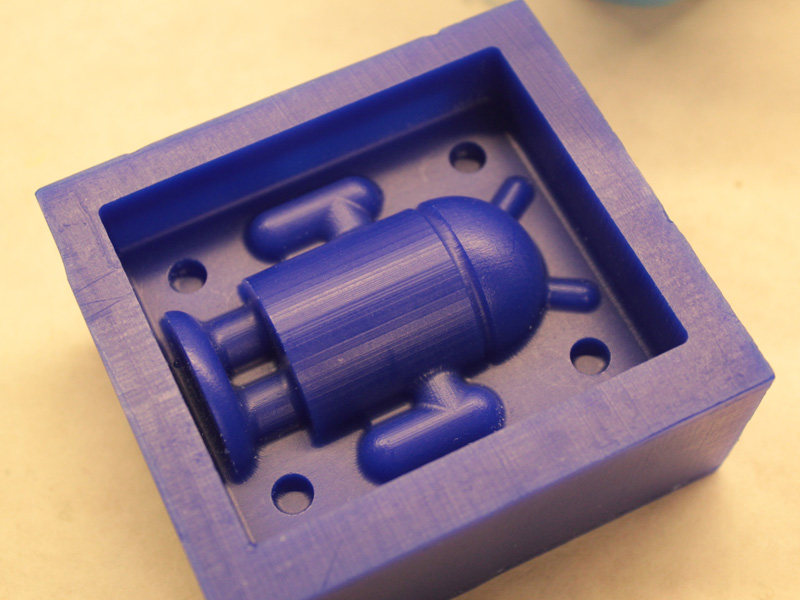
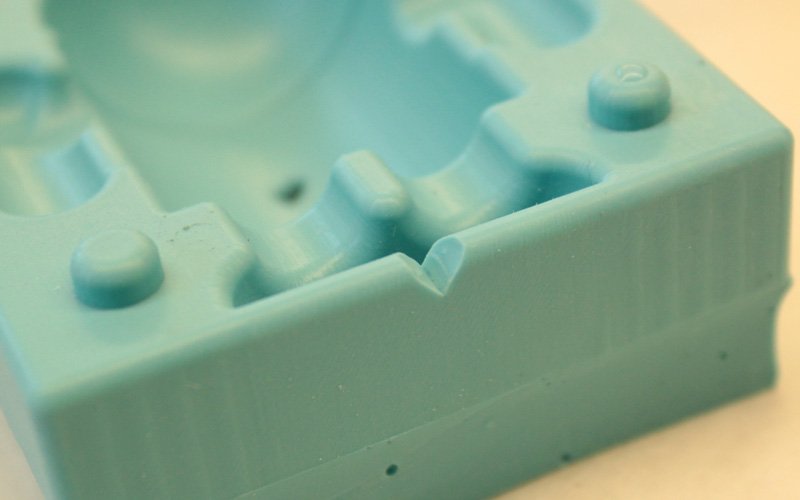
I consulted John and Tom, and was able to get it going by screwing the wax down to the sacrificial layer. I used a 1/8 inch ball bit for milling the wax, and in about 40 minutes, I had my first half of the positive mold.
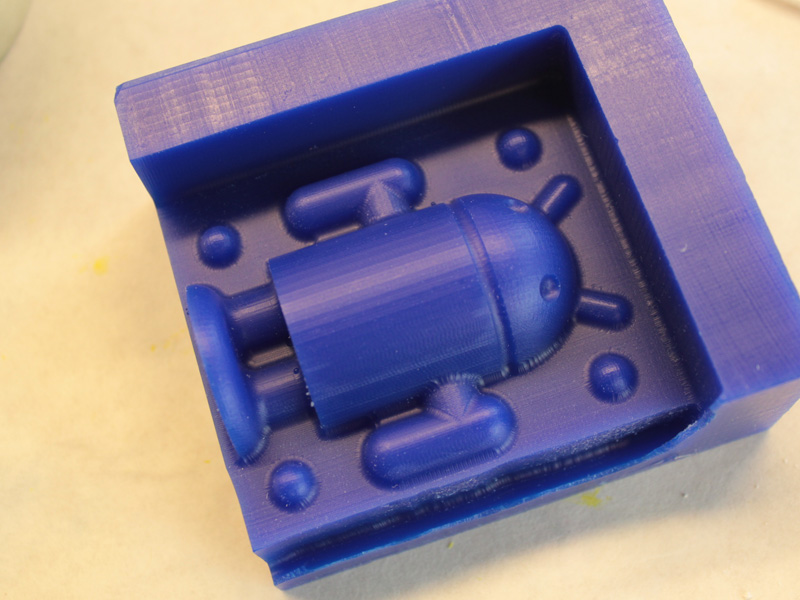
For the second half of the positive mold, I used the MODELA. Since I was going to create the other half on the opposite side of the wax block, John advised me use the MODELA instead of the ShopBot. According to John, the ShopBot would apply too much force to the wax and cause it pop off the bed.
For using the MODELA, I used the default settings with the same 1/8 inch ball bit. The milling took a long time (about 3.5 hours), but I was able to get very nice results.
Creating the Negative Mold
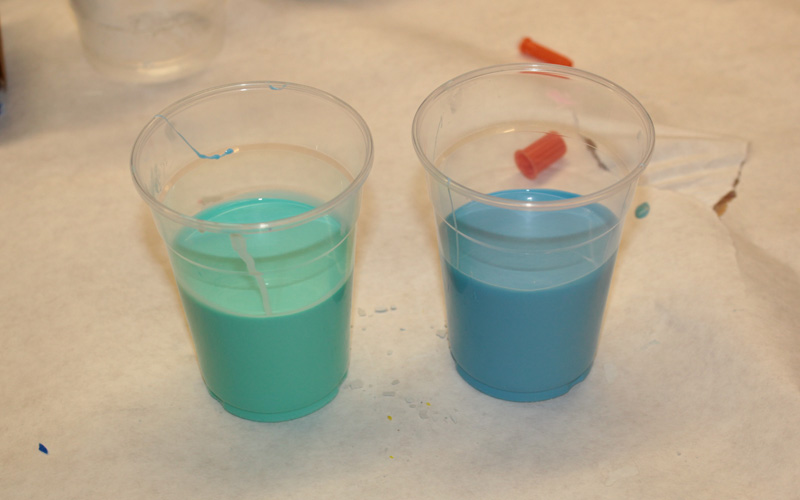
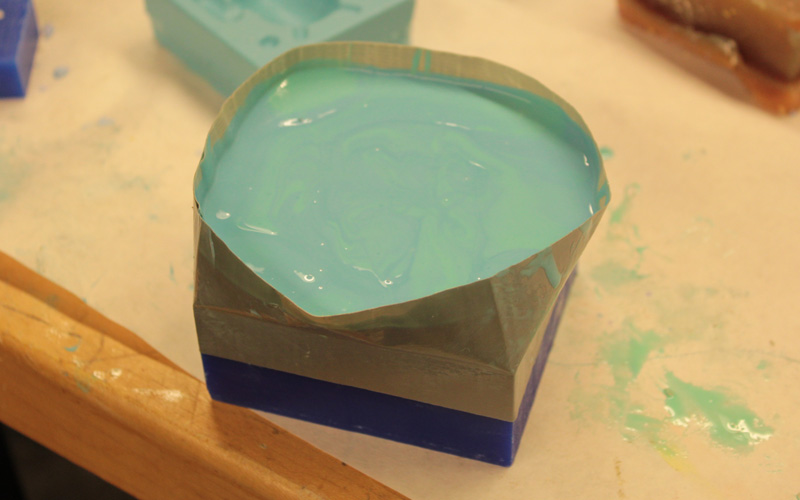
For creating the negative molds, we were to pour rubber silicone compound into the positive mold. As for the rubber silicone compound, we were given the OOMOO 25. This compound consists of 2 base substances, which would require mixing upon usage. Before pouring the compound, it was very important to mix VERY WELL, and let the air bubbles pop out by tapping the mixing container.
|
|
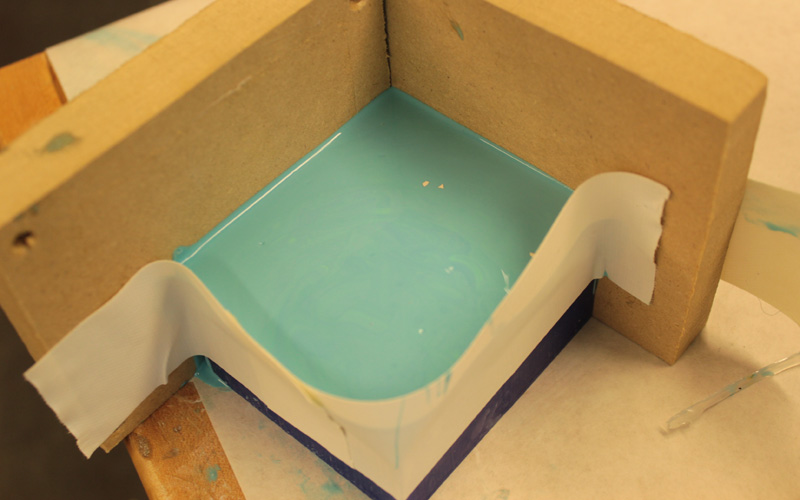
When pouring the compound into the positive mold, it was important to go VERY slowly to keep the air from getting trapped between the wax and silicone. Again, after filling the positive mold with silicone, I tapped the entire thing to pop the air bubbles.
|
|
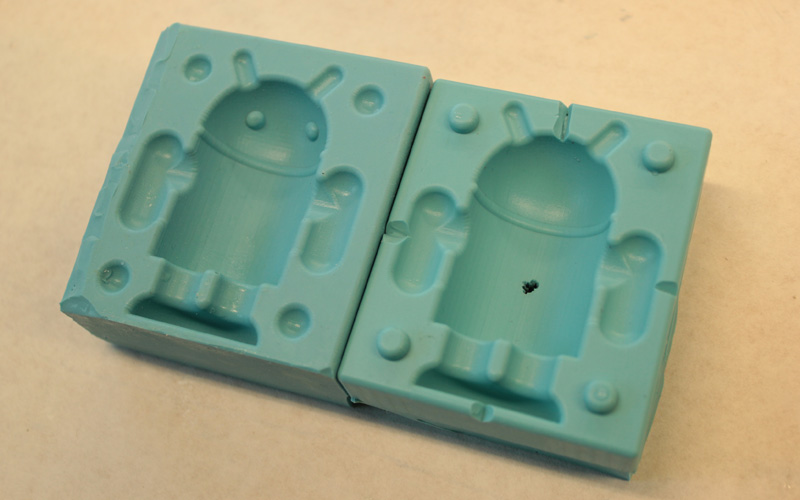
After about 2 to 3 hours of drying, I was able to separate the negative mold from the positive mold.
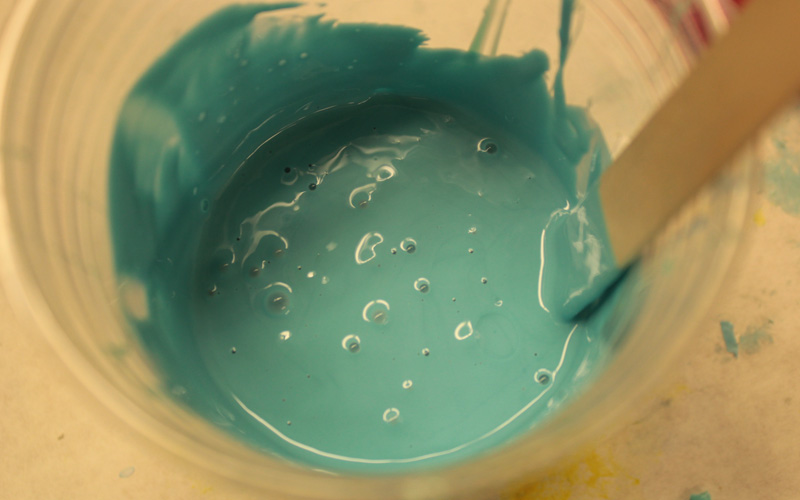
For reference, the mold surface would end up really bad if the air bubbles get trapped.
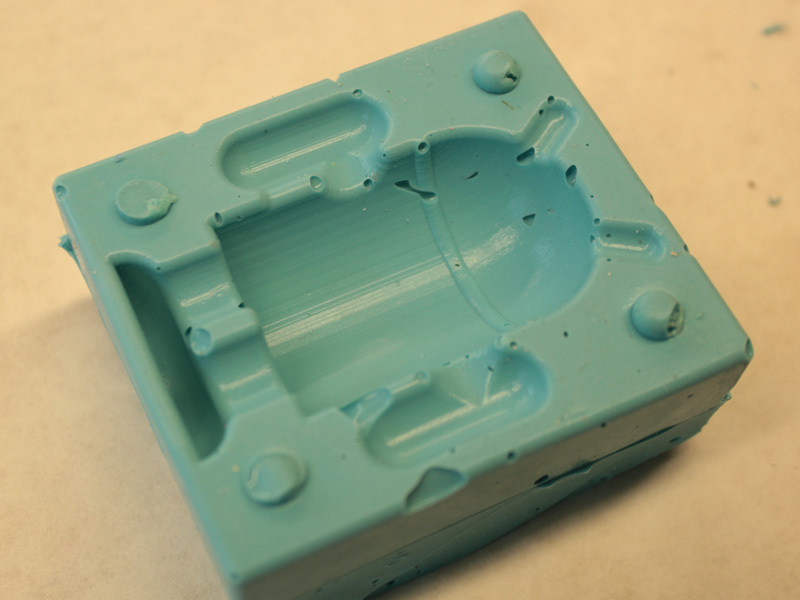
When this happened to me, the silicone was way thicker from the beginning. I don't know the cause of this, but I suspect it was due to some partially-dried silicone base, where some one might have left the lid open.
Casting the "Android"
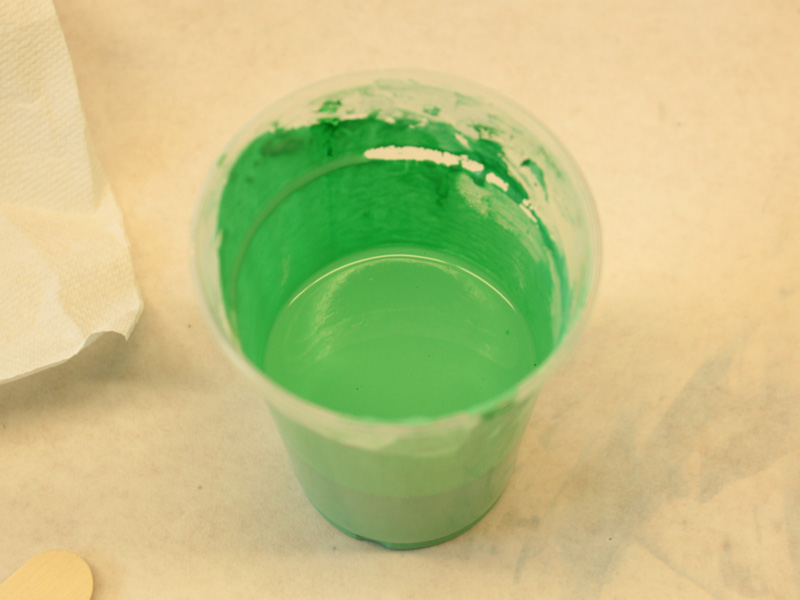
Finally, for casting the "Android", I used the DryStone. DryStone is a white powder substance, which requires mixing with water upon usage. Since the "Android" is green, I also added some green food coloring to apply color to the DryStone. Again, it was very important to measure the amount of DryStone and water precisely. It was also very important to mix VERY WELL for getting the best results.

|
|
Before pouring the DryStone into the negative mold, I created little funnels and holes for letting air and excessive DryStone out.
When casting the "Android", I decided to pour the DryStone seperately into the two mold pieces. This enabled me to cover the small features at ease. After letting it partially dry for about 5 minutes, I was able to combine the two without creating a huge mess of wet DryStone.

After combining the two pieces, I applied some weight on the top to make sure the two pieces sticks together.
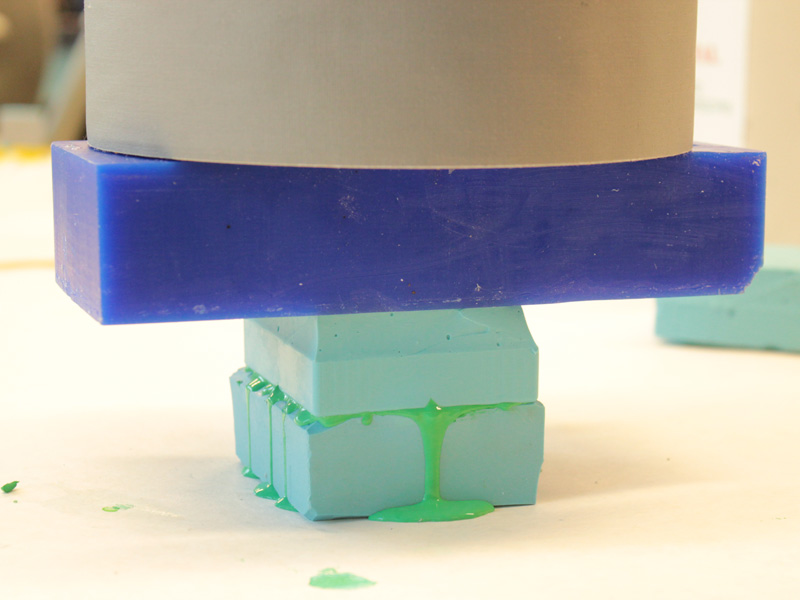
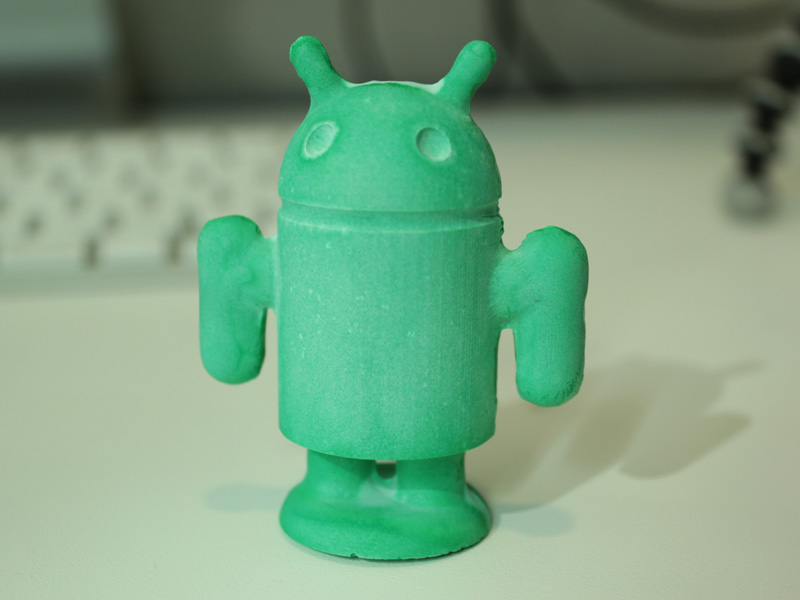
The drying process took about an hour. After removing the weight, the first "Android" appeared. I deburred the edges with a file and smoothened the surface.

|
|
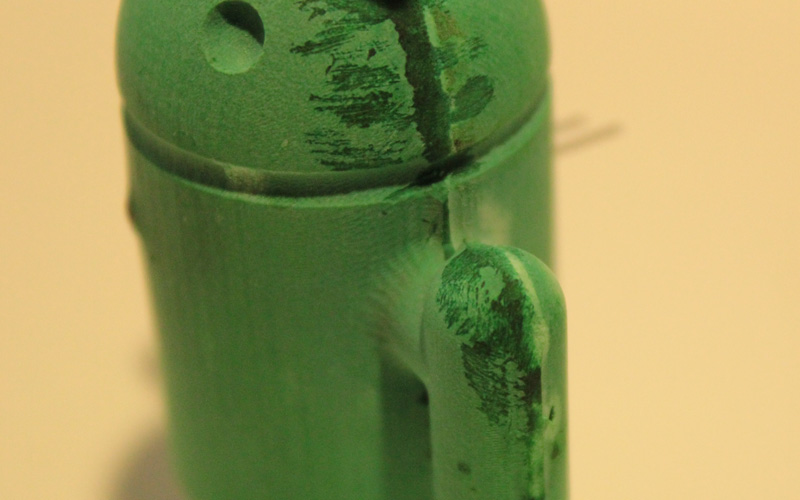
The shapes turned out really fine, but I found that the food coloring was not the best for applying color to DryStone. Unfortunately, it created uneven color textures.
Making "Android" JELL-O
The asignment was done, but in order to add my special sauce, I decided to play around with food. I got some lime flavor JELL-O, and poured the gelatin mix into my mold. I reduced the amount of water to make it more stiff than normal.After cooling it in the refrigerator for 40 minutes, I tried to take the JELL-O from the mold. However, some portions of the JELL-O were stuck to the mold, causing the entire thing to tear apart into pieces. I'm not 100% sure, but applying a layer of oil before pouring in the gelatin mix may have prevented it from sticking.

Embedding LEDs into the "Android"
Since the JELL-O attempt failed, I decided to embed LEDs into the cast and make the eyes and heart blink. My mold was not designed for such thing, but I managed to align the LEDs with the eyes and chest by sticking the pins into the mold before pouring the DryStone in.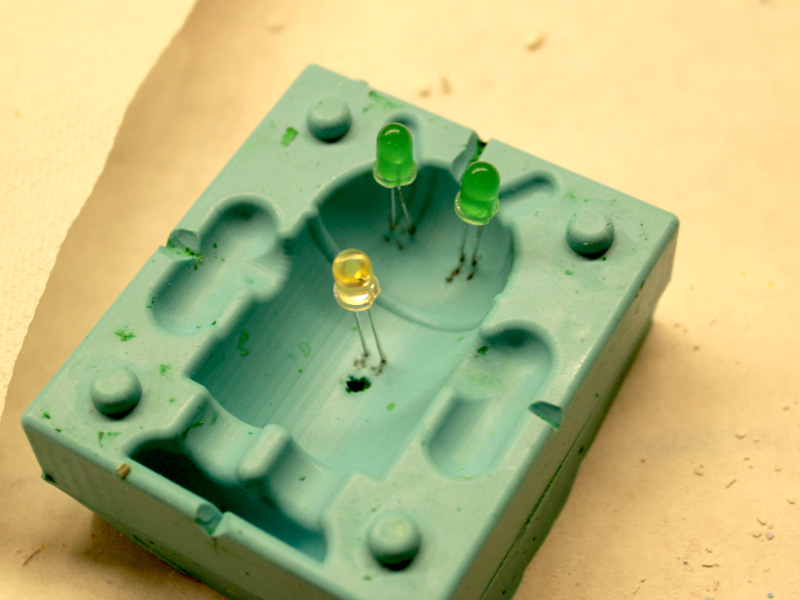
After repeating the casting process, I was able to make two additional "Androids". I then combined the them with my FTDI.io board, which I made for week 5. I connected the LEDs in parallel to the digital output with a 500 Ohm resistor.

For making the LEDs blink, I wrote some code for the ATTiny44 microcontroller in C. You can download the source code below.
After compiling the source code and burning the HEX file on to the microcontroller, I was able to make the LEDs blink!!