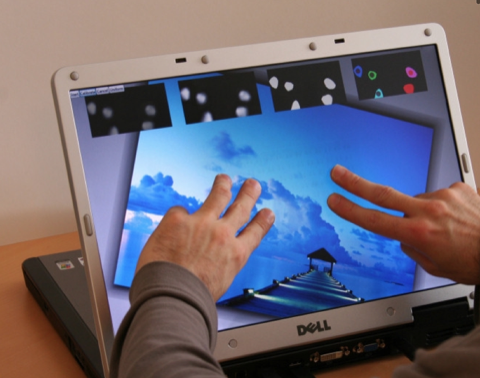
A multi touch interactive FLAT table! This Fall I collaborated with Seth Hunter, Jorge Duro-Royo and David Costanza in a multi touch table project wich goal was actually to be a very elegant TABLE. I wanted to explore next the idea of a mutitouch multiuser big surface tha had no more depth than a screen or a picture frame.
 |
 |
 |
Optical sensing integrated in an existing display. |
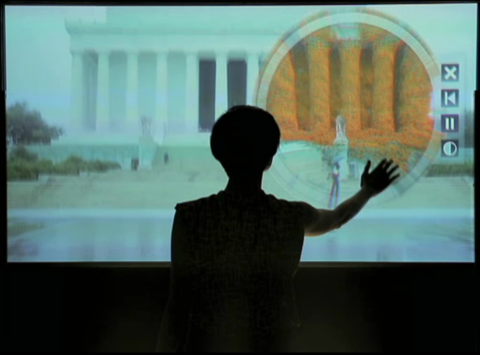
Frustrated total internal reflection on a vertical board. |
Visual-hull based optical multi-touch sensing. |
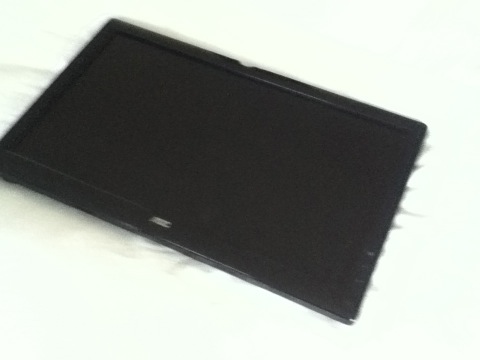
The idea was to recycle my old 1920x1080px full HD monitor into a multitouch surface. The method that I wanted to use was the visual-hull based optical multi-touch sensing as explained HERE, but it felt bit too much fro my electronics skills!
 |
 |
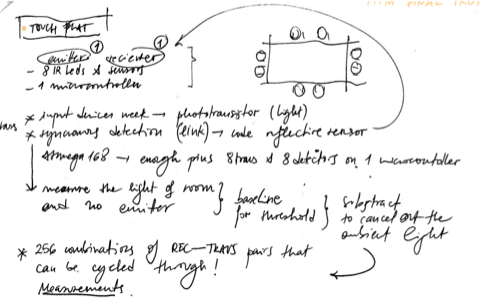 |
A small soft touch responsive installation! Continuing with the idea of a touch-response environment I decided to embark in a less ambitious project where I could challenge the electronics skills acquired this semester a bit further.
 |
 |
 |
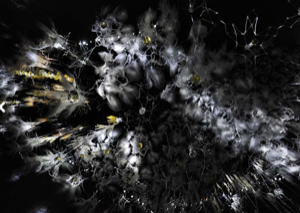
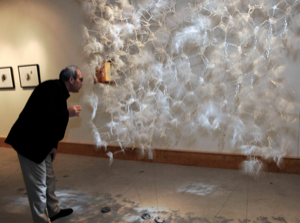
Phillip Beesley's Hylozoic Soil 2007 VIDEO |
Phillip Beesley's Cloud Brocade 2012 LINK |
Close up! |
Phillip Beesley is a professor in the School of Architecture at the University of Waterloo. A practitioner of architecture and digital media art. His research focuses on responsive and distributed architectural environments and interactive systems, flexible lightweight structures integrating kinetic functions, microprocessing, sensor and actuator systems, with particular focus on digital fabrication methods and sheet-material derivations.
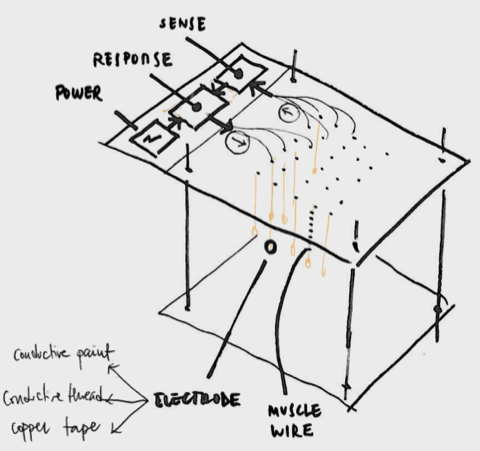
The goal of this much more simple system, will be to set an array of hanging muscle wires attached to a soft and light element like a feather or a polystirene ball. Then, sense human touch through an electrode (in the form of conductive paint or copper tape or conductive thread) at the end of the wire, next to the soft element. The microcontroller will process the signal, and respond with a (proportional?) amount of current that will make the muscle retract.
 |
 |
 |
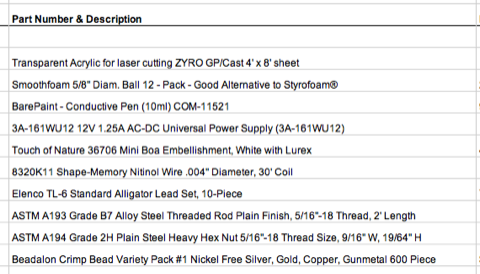
Parts needed (around 50$) |
First sketch... |
Intended effect. |
 |
 |
 |
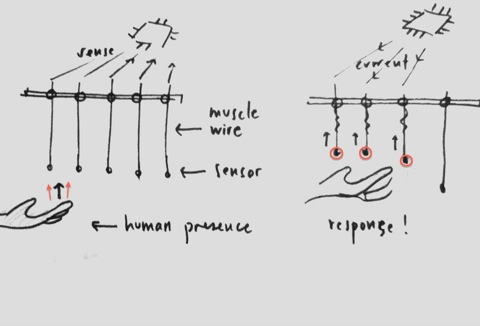
What should happen! IN/OUT |
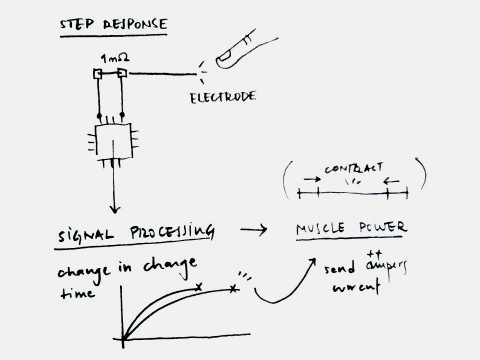
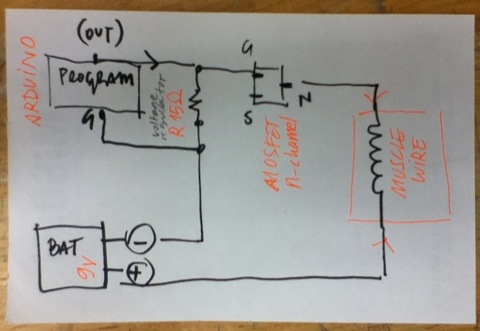
Single flexinol drive diagram. |
Multiple flexinol wires schema. |
 |
 |
 |
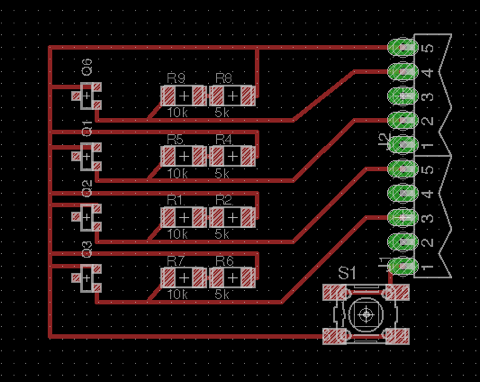
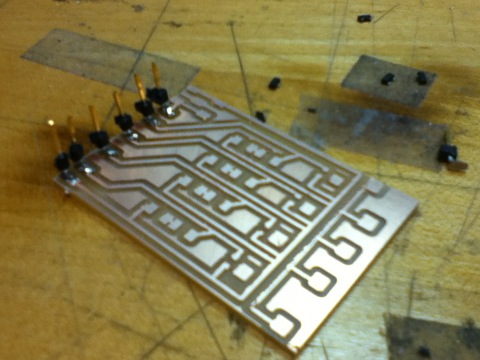
Drive board. |
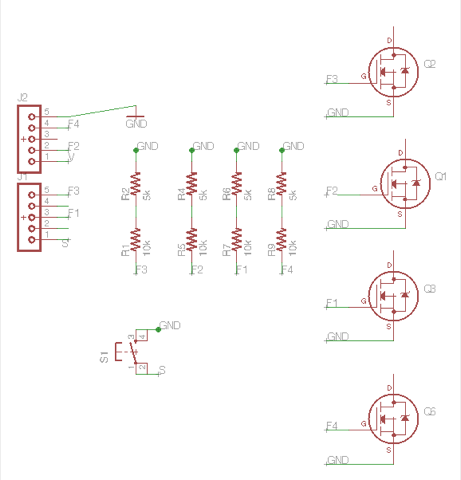
Eagle schematic. |
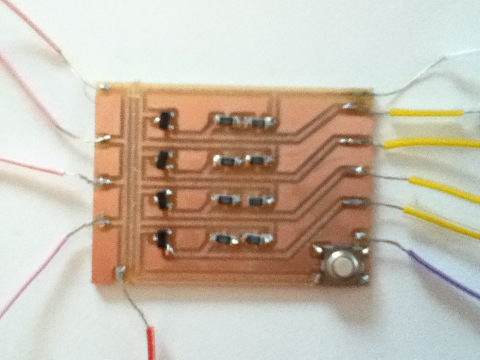
Finished board 1. |
 |
 |
 |
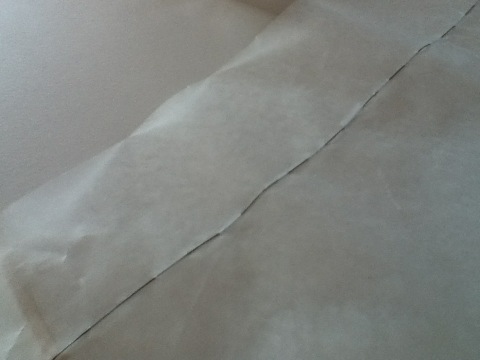
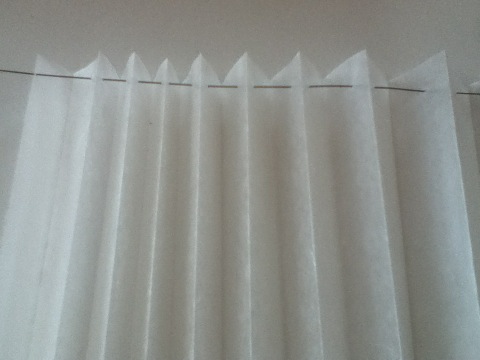
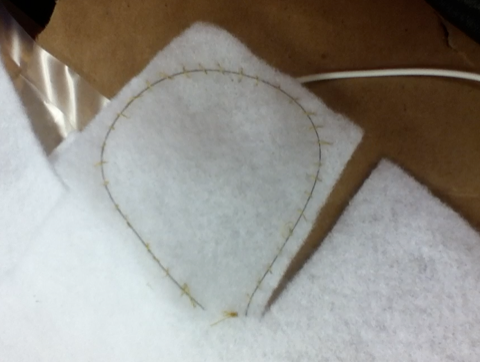
Sewed flexinol on wax paper. |
Folded wax paper. |
Sewed flexinol on laser-cut paper. |
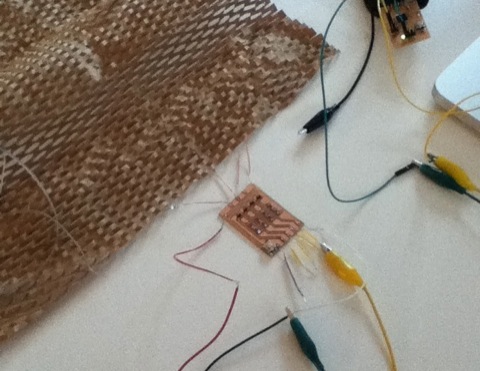
The board was unreliable due to unstable soldering of the signal and power cables, so I decided to redesign it so that I ciyld have ustom pins and protected cables for every signal coming from the microcontroller board, the output of the voltage regulator and the parallel power distribution.
 |
 |
 |
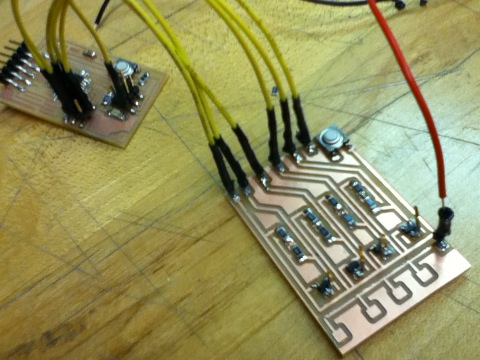
Input from microcontroller. |
Resistors and mosfets for voltage regulation. |
Output signal and power distribution. |
From the material tests, I observed that the best way to bond the muscle wire to the material is to sew it with regular thread and to position it in a loop.
 |
 |
 |
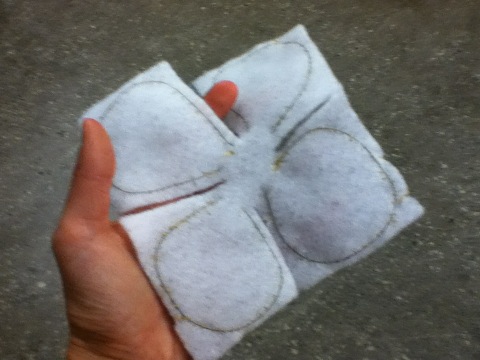
Felt & Flexinol 4-petal flower. |
 |
 |
 |
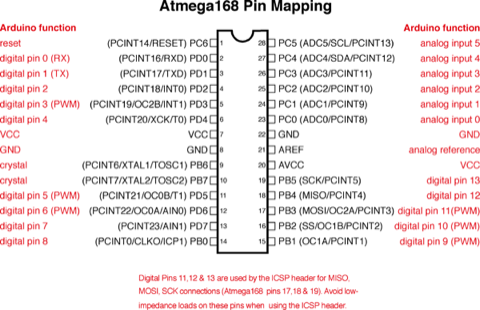
Atmega168 pins - Arduino match. |
Arduino clone pin use. |
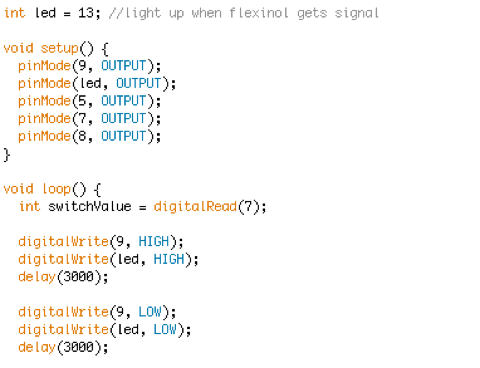
Simple code using led for debugging. |
 |
 |
 |
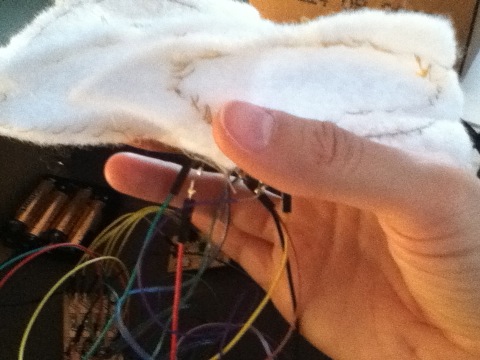
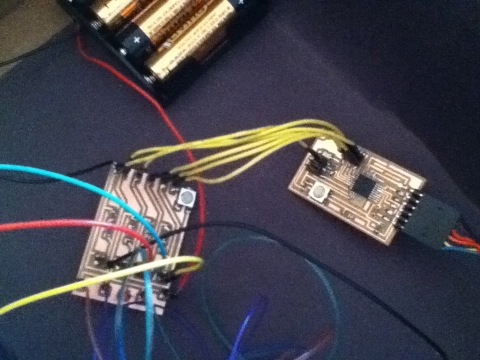
Boards and power. |
1 petal... |
!!! |
Finally I could not get to the sensing part, but I am happy with the clean electronics and the felt-flexinol performance..