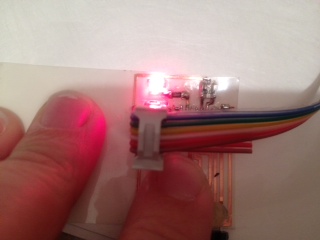
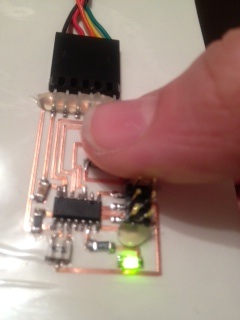
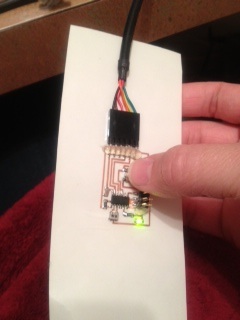
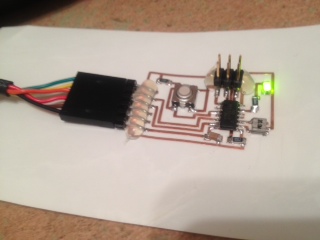
I made a 'delaying gratification' program: the more times you press the button, the slower the light turns on. I didn't want this to go on forever, so after 52 presses, they come fast again (though I later realized unplugging and replugging it in restarts it too). I made this program as a basic test that the building and programming process worked. Here are pictures:
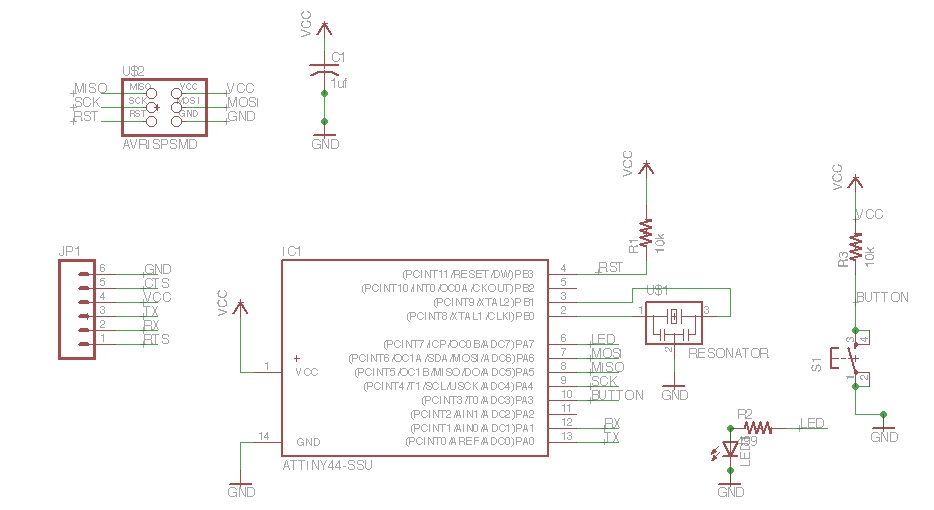
I'd never designed circuits before, and I found the fab eagle tutorial very helpful, and followed its directions. It describes how to add a button and an LED to the fab echo board (see embedded programming week ). I changed the trace width to .024 from the default .016 (press the change button, which has a picture of a wrench on it, then change the width to .024, then click on the traces), because this would make weeding and soldering the vinyl cut circuit easier. I learned some useful eagle commands: on the schematic, you can NAME and LABEL your nets (wires) to connect them, which avoids lots of messy overlapping traces; on the board, you can get rid of traces with RIP, make traces with ROUTE, and get updates on what you need to connect with RATS. Here's the circuit:
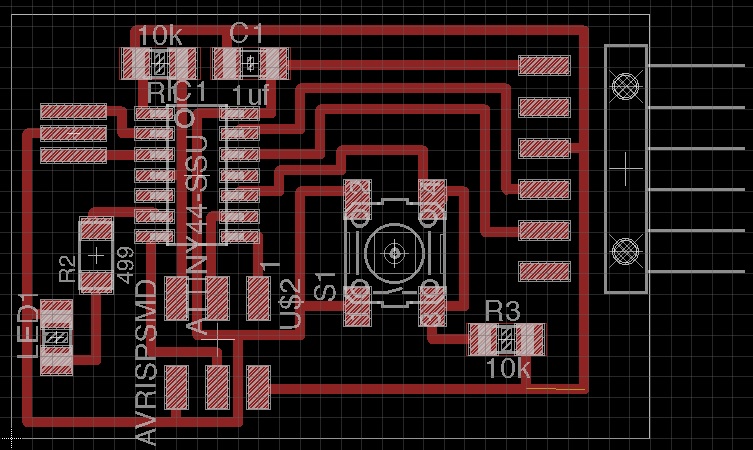
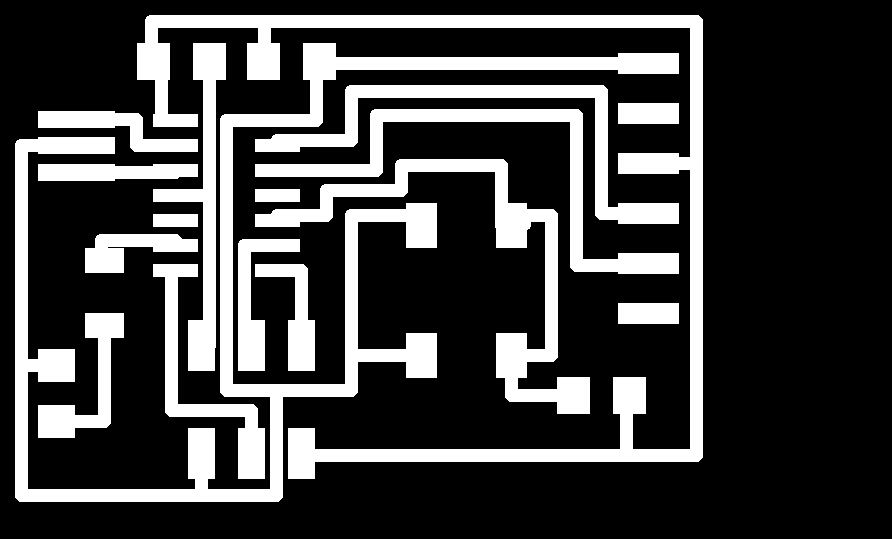
I exported the traces as a monochomatic image to give the fab modules:
I thought I'd try out vinyl cutting this week. I was one of the
first to use the IDC shop's vinyl cutting machine, which was still on
factory settings that ignored the fab module force and velocity
instructions. I later found out from Neil that the right way to fix this
is: Pressing [LeftArrow] + [RightArrow] + [Menu] and Push [Power]; You see.
"!FS CMD"
"
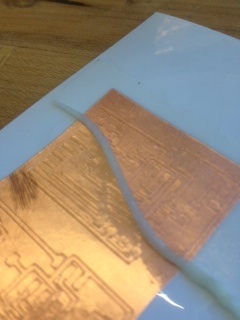
Once I set the force settings manually on the cutter, I got the circuit to print without peeling up, and I transfered it on the transfer tape:
It transfered quite easily (each surface was progressively stickier than the last). However, I was left with a sticky film from the transfer tape that I had to roll off:
I weeded the copper surrounding the traces with tweezers. I sheared it off slowly, and it worked very smoothly:
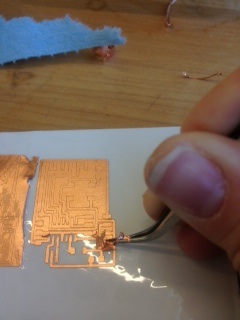
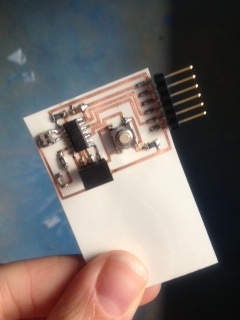
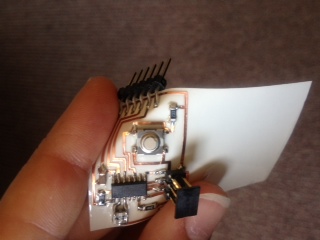
Next, I soldered the pieces onto the circuit. I was messier than I wanted, and scorched the paper a bit:
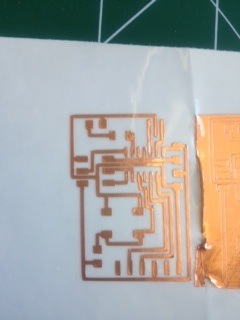
But I was happy with how the end product looked, and how flexible it was:
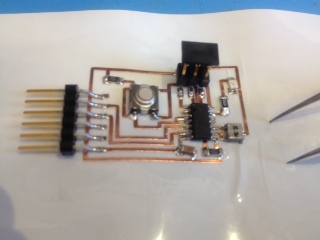
I made a second board, just in case the first didn't work, this time with a green instead of red LED. I used 1.75 velocity and 49 force settings, determined by trial and error to be just below the velocity and force that would rip up the traces. I'd dreaded weeding, but it was even easier this time, sort of relaxing:

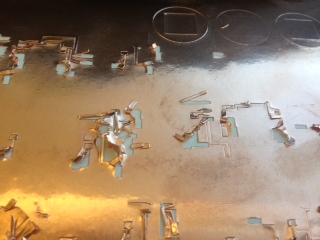
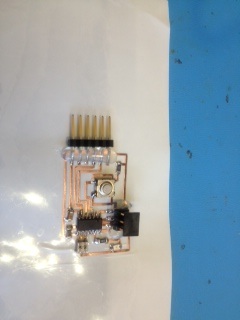
One piece of advise: don't use the heat gun on a vinyl cut circuit. The paper started shriveling very quickly (see the wrinkles in the picture). The soldering iron worked better. Here's my second circuit:
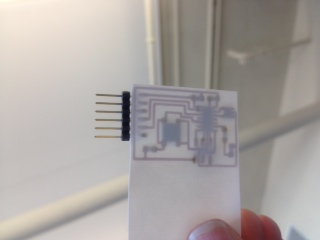
I superglued the connectors for added support:
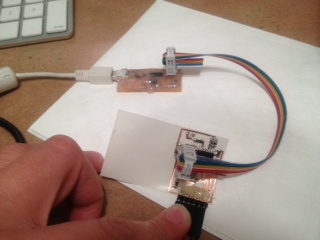
I'd never programmed boards before, and found it helpful to look at pages from last year. I downloaded CrossPack, and set up my fabISP to program the board:
When I programmed with the fab echo code (see embedded programming week ), the LED was bright, and dimmed when I held the button down. I was confused by this, and decided to start with even simpler code, from kelly shaw's page. To make sure I understood it enough that I could do my own thing, I modified it to have a 'delaying gratification' program: the more times you press the button, the slower the light turns on. I didn't want this to go on forever, so after 52 presses, they come fast again. I used the hello.ftdi.echo.make code, and this modified c code. After navigating to the right folder in terminal, I ran: make -f hello.ftdi.44.echo.c.make; sudo make -f hello.ftdi.44.echo.c.make program-usbtiny-fuses; sudo make -f hello.ftdi.44.echo.c.make program-usbtiny. It worked! Here's a picture of the button staying green/red for a while on each board: