Week 6: MOLDING AND CASTING
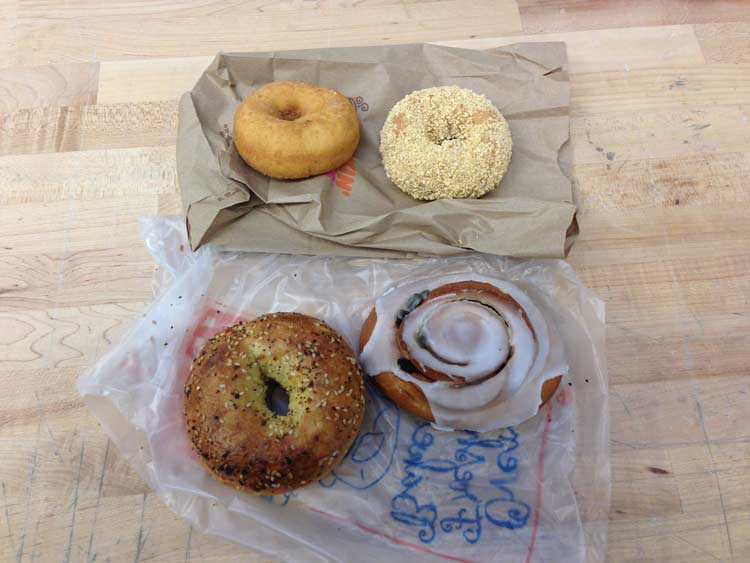
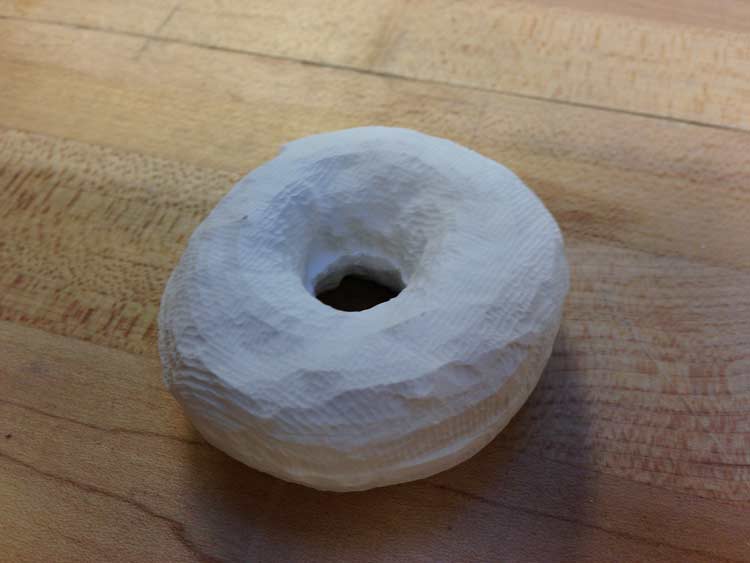
This week for HTM(A)A, our task was to mill a wax mold positive, pour a rubber mold negative, and then finally create a positive out of a material of our choice!. First we needed a 3d STL file. Knowing that food was a good option for its unique textures and irregularities, I sided with the donut. Together me and him (or her?) would tackle this week's project.
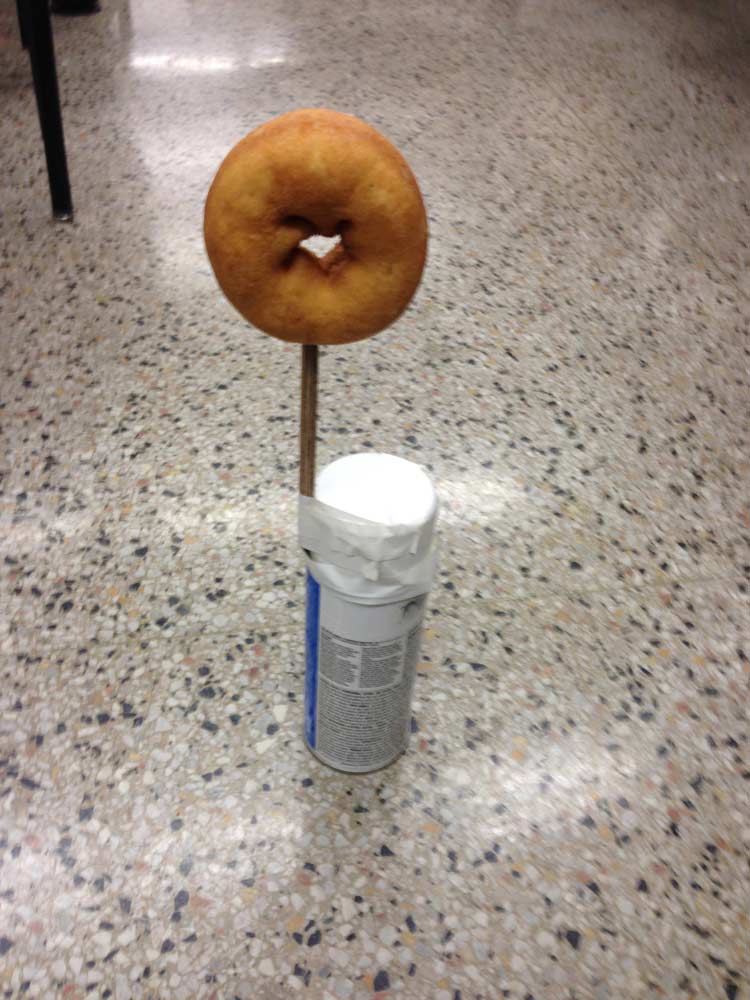
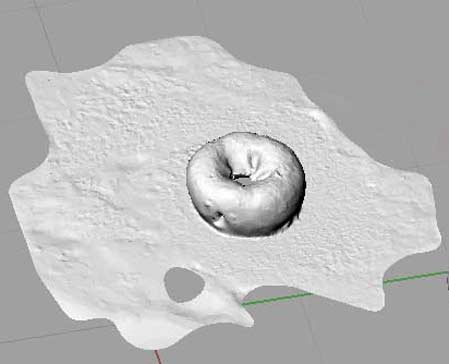
To scan the donut, I utilized the 3d scanning techniques we learned 2 weeks prior. I even developed a high-tech donut jig to get photos of the underside (see above).Unfortunately, this failed to provide a decent model because 1) the hole (3d scan couldn't get in there!) and 2) the inability to capture the bottom of the donut.
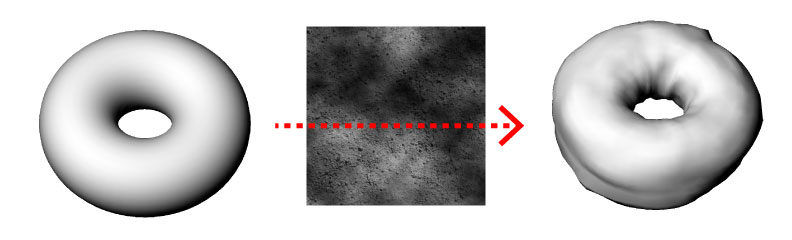
After many attempts to scan a good model of the cake donut I purchased, I decided it would be easier to deform a Torus shape in rhino to get the "real donut" look I was trying to achieve. I did this with this free Rhino plugin called "Displacement"a>. It essentially allows you to distort the surface of any shape with a bitmap texture. Boom. Instant donut.

Since my block of wax was only going to leave 1/8" border around the rim, I wanted to make sure where the modela defines the origin. I did this by cutting a piece of foam and running a test job. It turns out it is at the centerpoint of the bit.
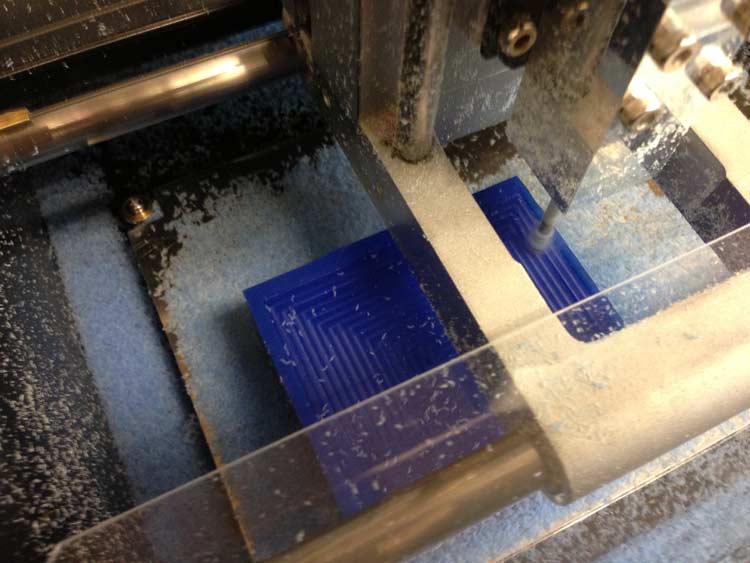 So I exported the two halves of the donut as STL and began cutting on Roland Modela.
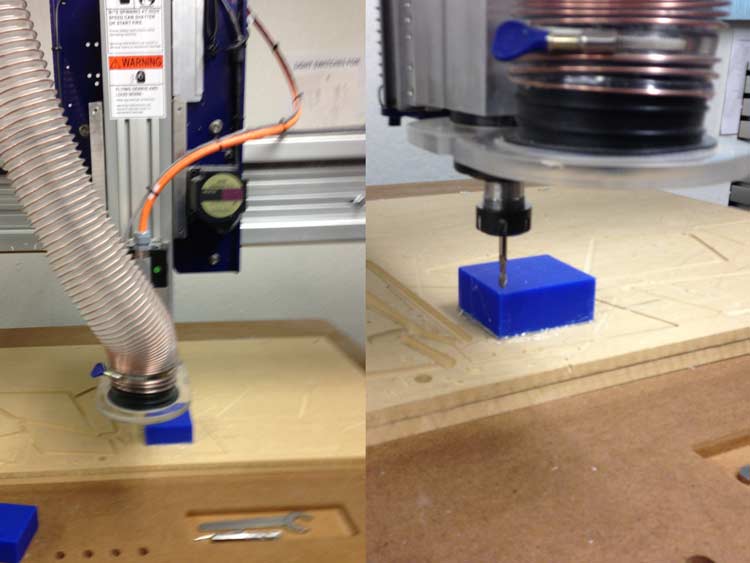
Here is the rough pass and final pass that I did on the modela using a 1/8" bit. This took about 2 hours.
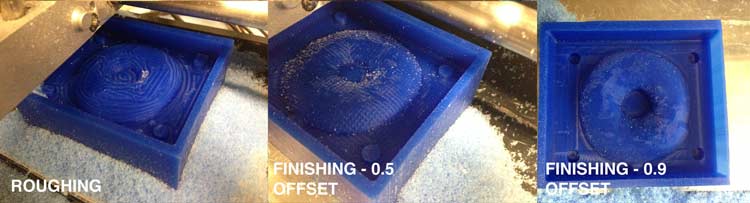
The first half (mainly the finishing) took too long so I thought that maybe I could increase the stepover by decreasing the overlap by 0.4. The default was 0.9 and I moved it to 0.5. This caused a very poor resolution so I reverted back to 0.8.
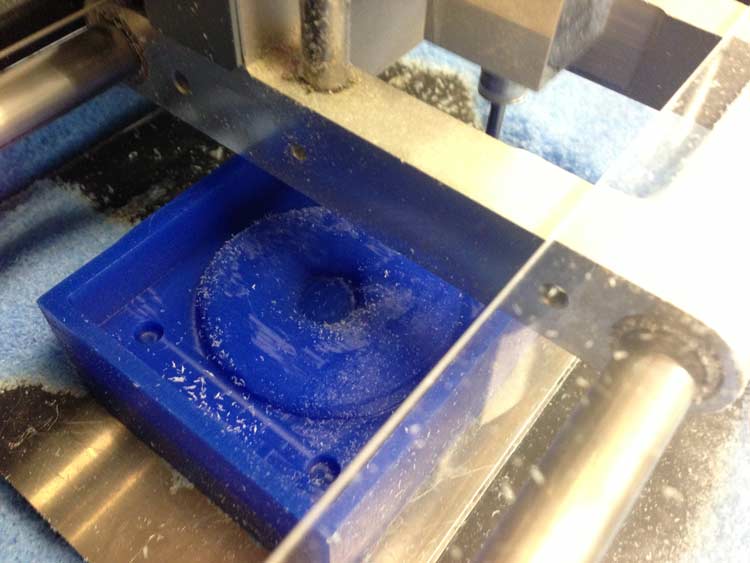
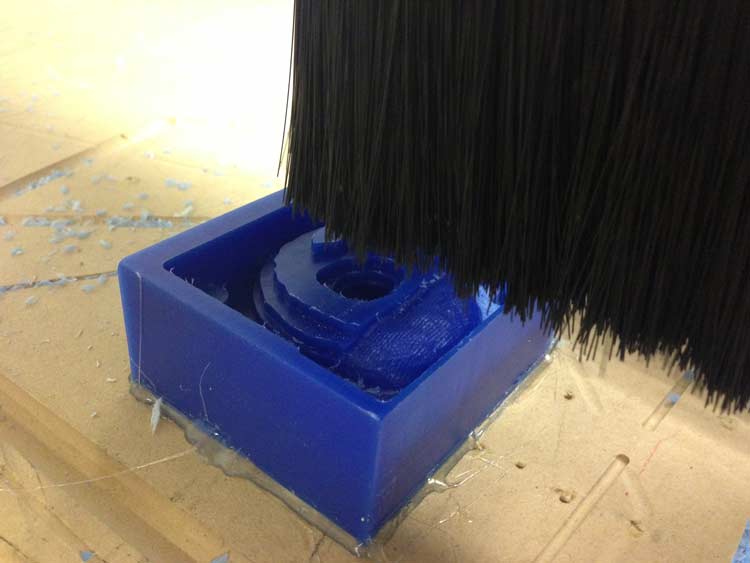
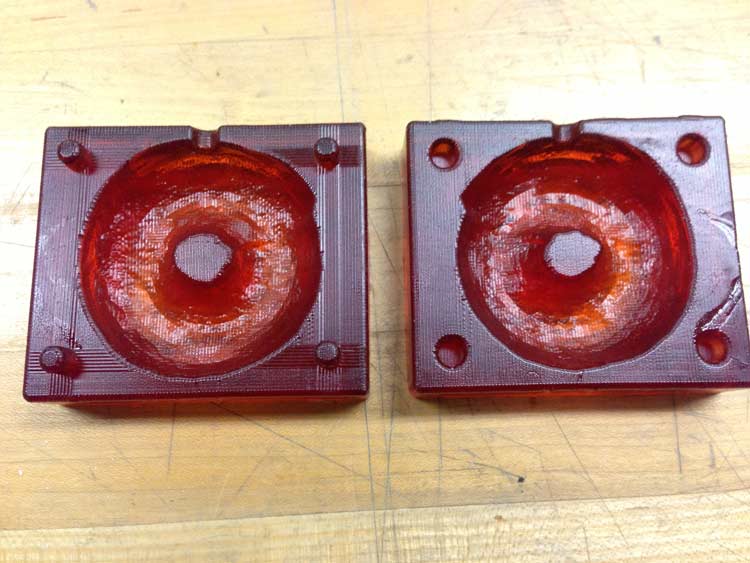
After finishing, I realized that I had put the Bottom Value wrong for both my molds. I thought It was from the top of the material or -1 (Top value) to the base of your deepest cut (the registration holes or the non-model-base). THIS IS WRONG. The Bottom value should actually be the full height of the stl (negative value)...Otherwise it will scale your entire mill in the z direction and you will end up with shallow molds like these. The depth of the negative should have been 3/4" but one was 1/2" and the other was 3/8".
Well that was a nice 6 hours down the drain, so to save time I decided I ought to try the Shopbot. This ended up taking only 30 minutes (vs. 3 hours) per half donut. Shout out to James Coleman and Seto for teaching me how to generate my GCode in Partworks, and then to actually send a job.
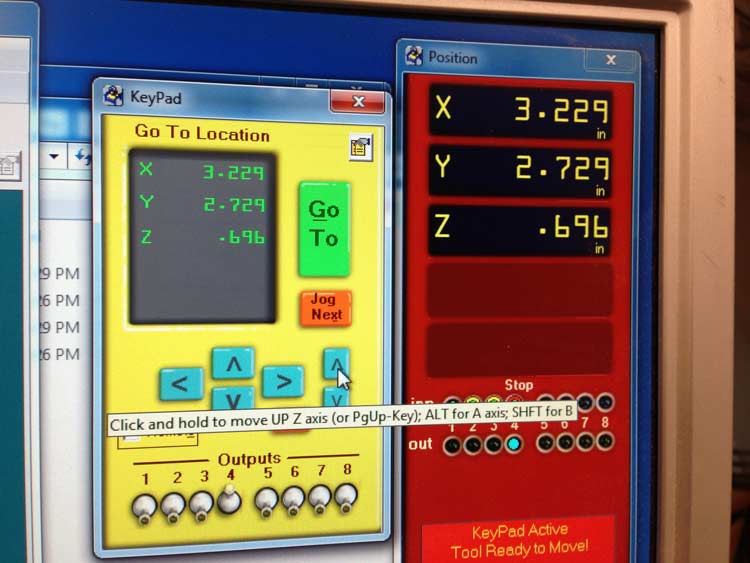
Taking a picture or writing down the absolute bed origin will help in case the machine or program is turned off!
Roughing was done with a 1/4" flatend. This was about a 10minute job. Very fast

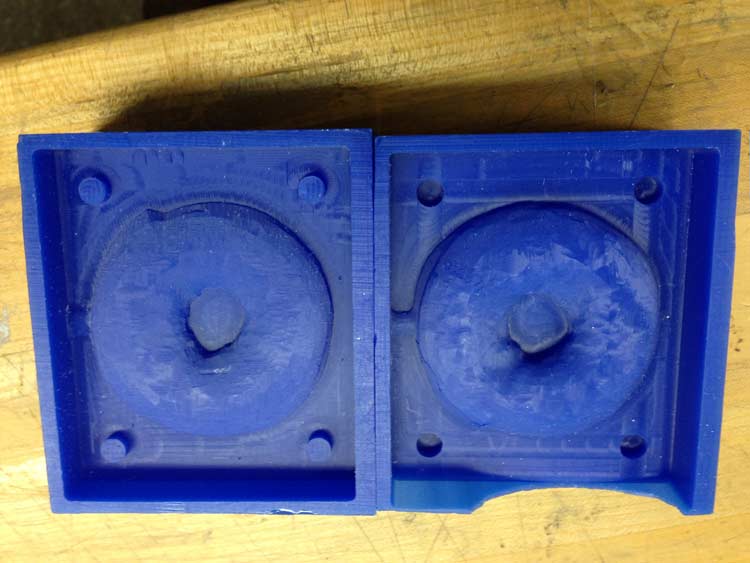
Here are the proper molds.
Note the depth versus the old incorrect ones.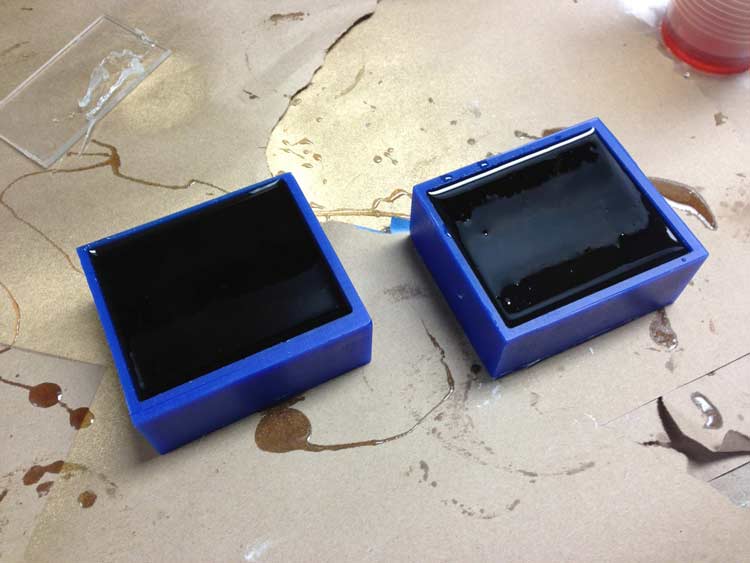
I used urethane as the negative mold material, the oomoo 25 was out.
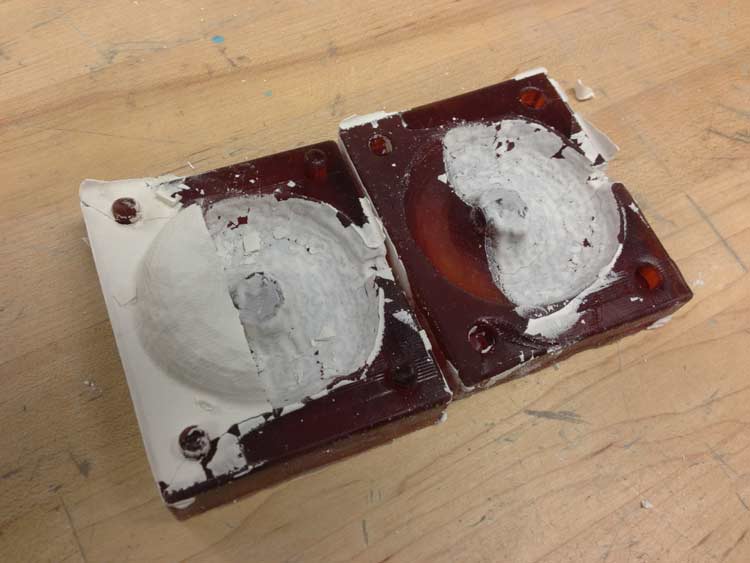
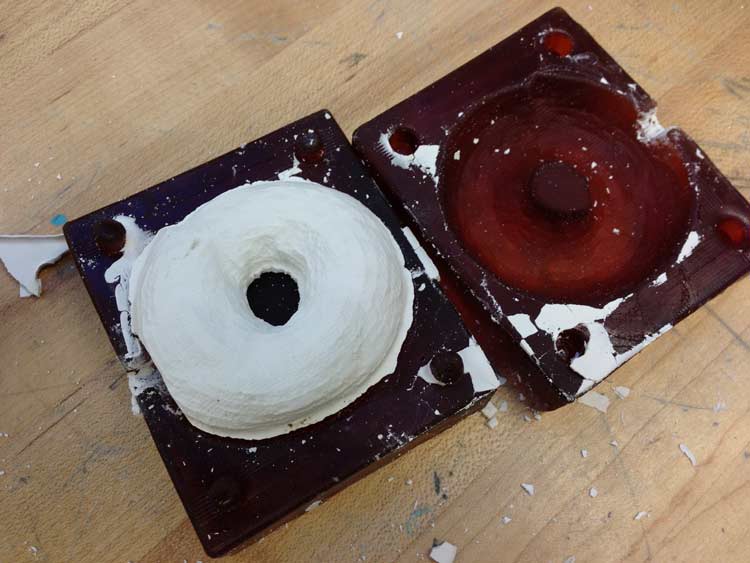
The first and second poor did not go so well. This is because the first time I did not wait for the plaster and water to set. The second time (above), the plaster leaked out from the bottom, so nothing was left in the mold!
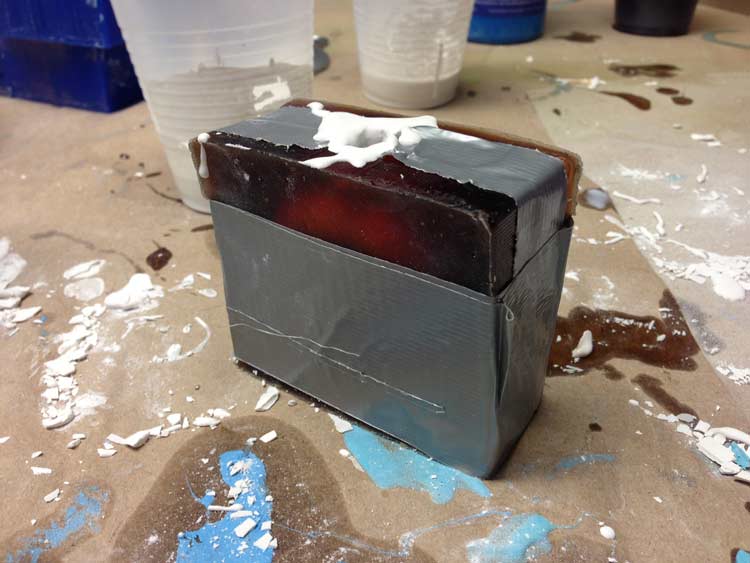
A little tape will do the job!
What to Improve
- Coming Soon
Tips
- Coming Soon