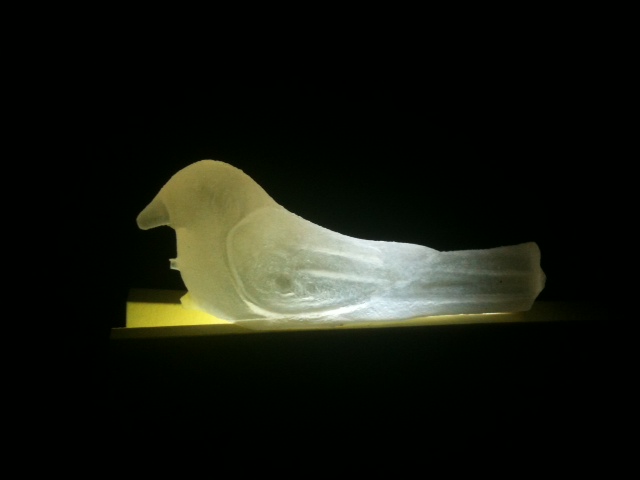
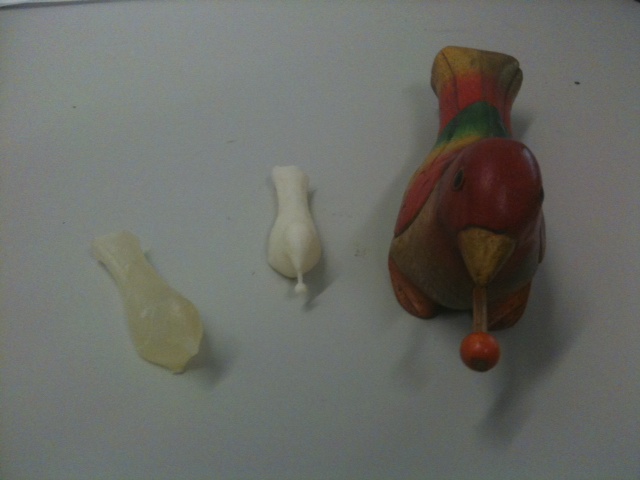
For this week's assignment, I decided to 3D scan and print a wooden bird. I followed Jin Joo's tutorial on using Konica Minolta 3D scanner and GeoMagic software. Two miniature versions of the bird were printed. Unfortunately I broke the extended part of the first bird before I could take a picture.
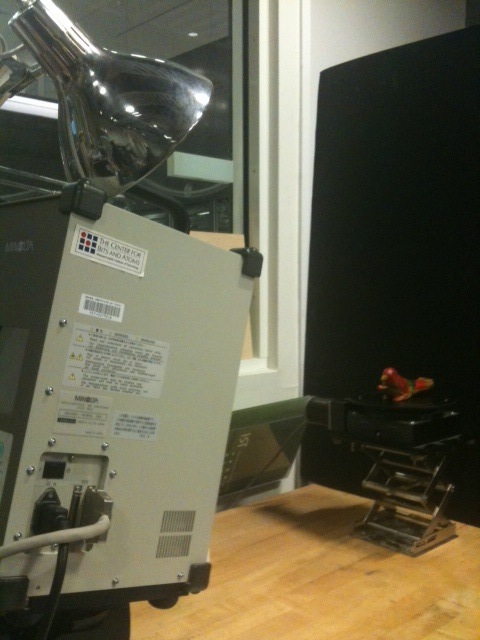
During calibration, I noticed that the bottom part of the chart (including the turn-table) was not visible. I initially thought I should 'zoom out' to have a complete view. I asked John and he simply repositioned the scanner. The first test scan was way out of focus. So I had to manually adjust the focal length.
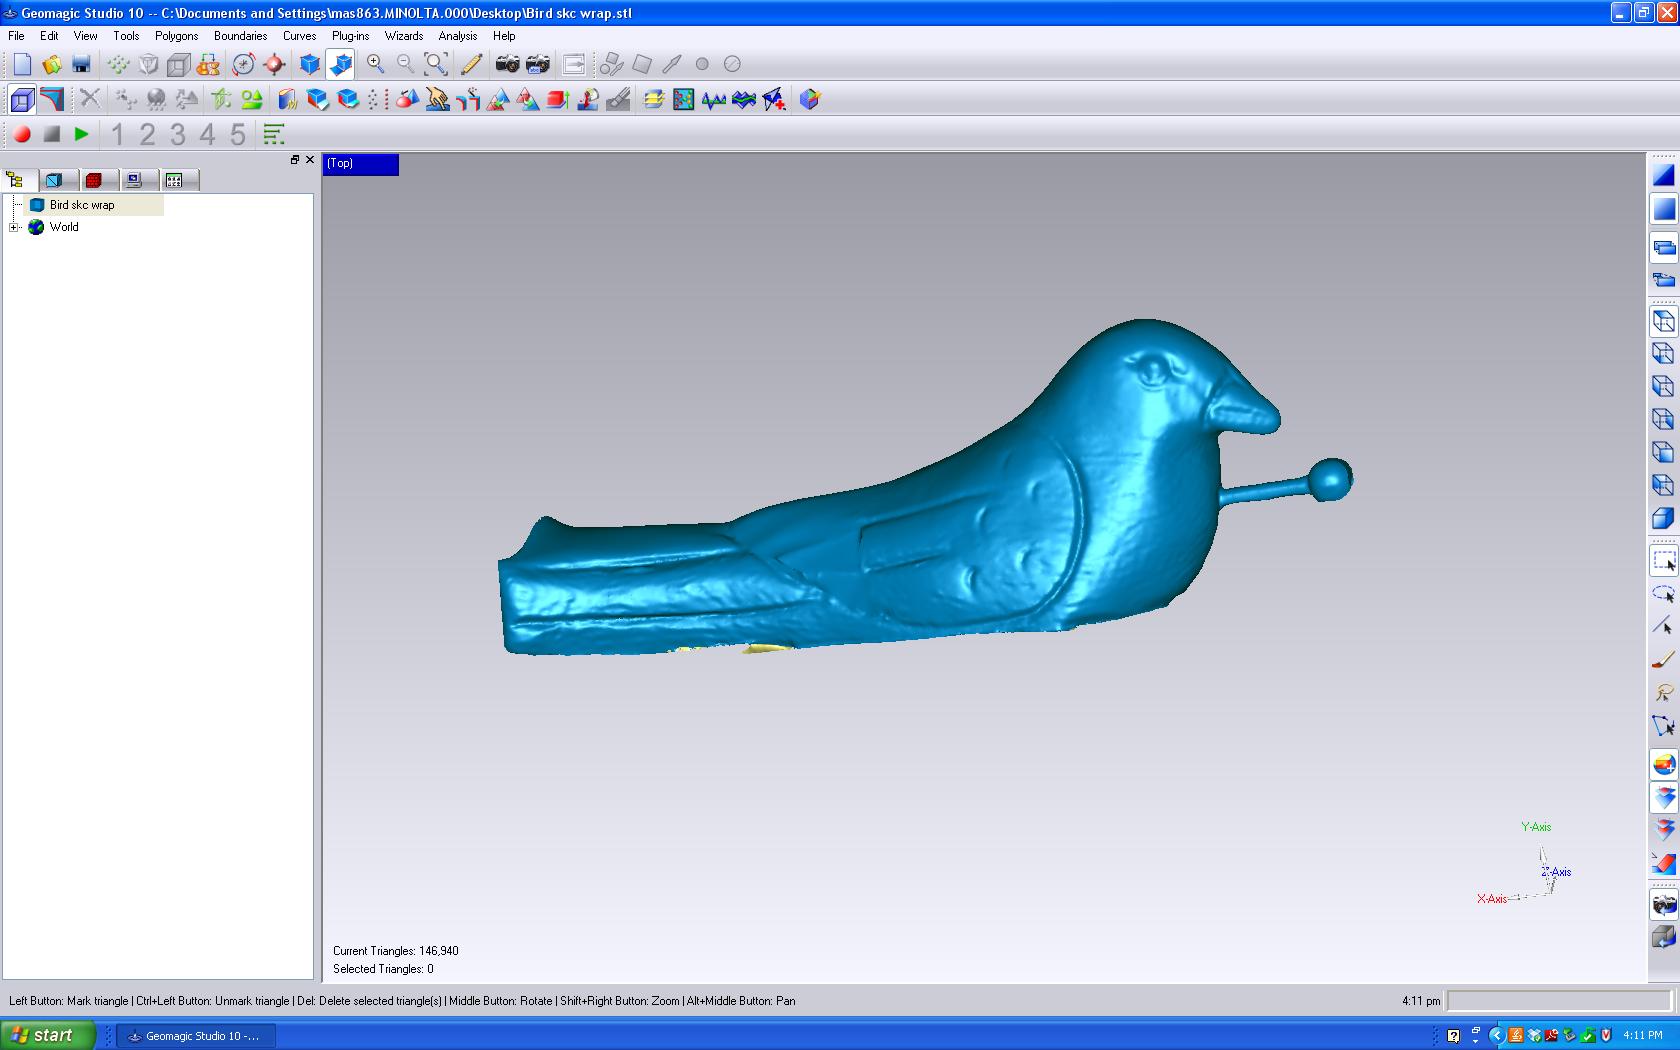
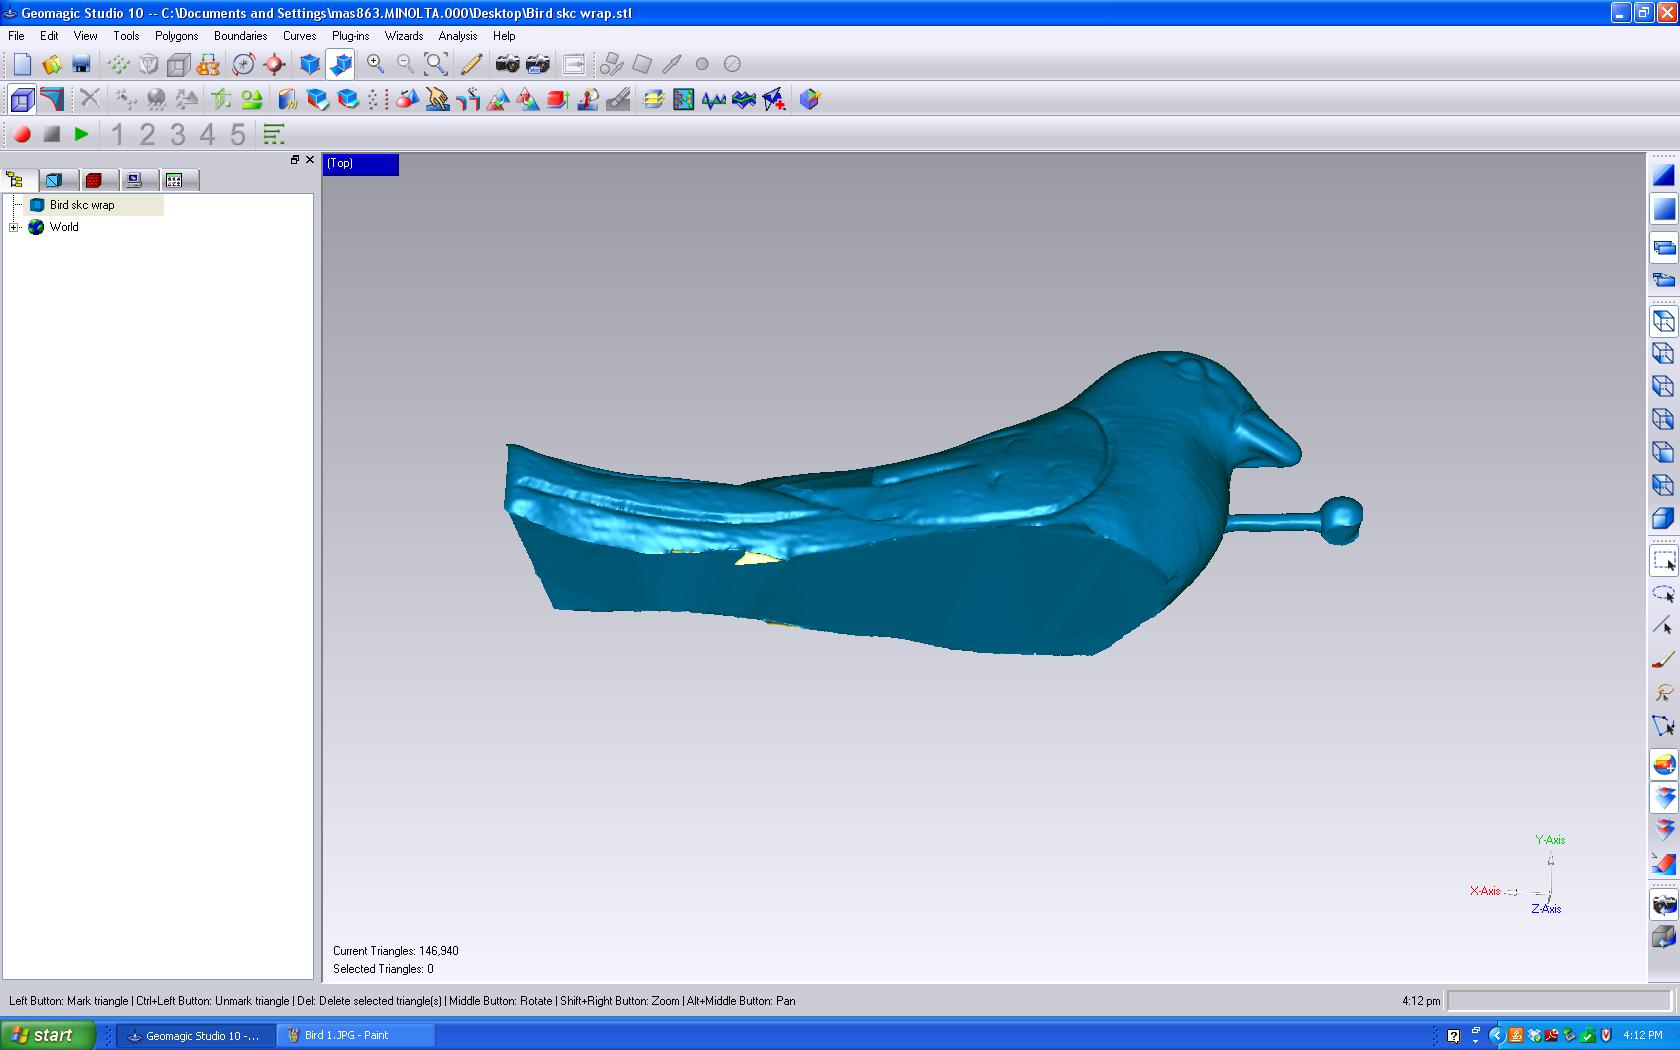
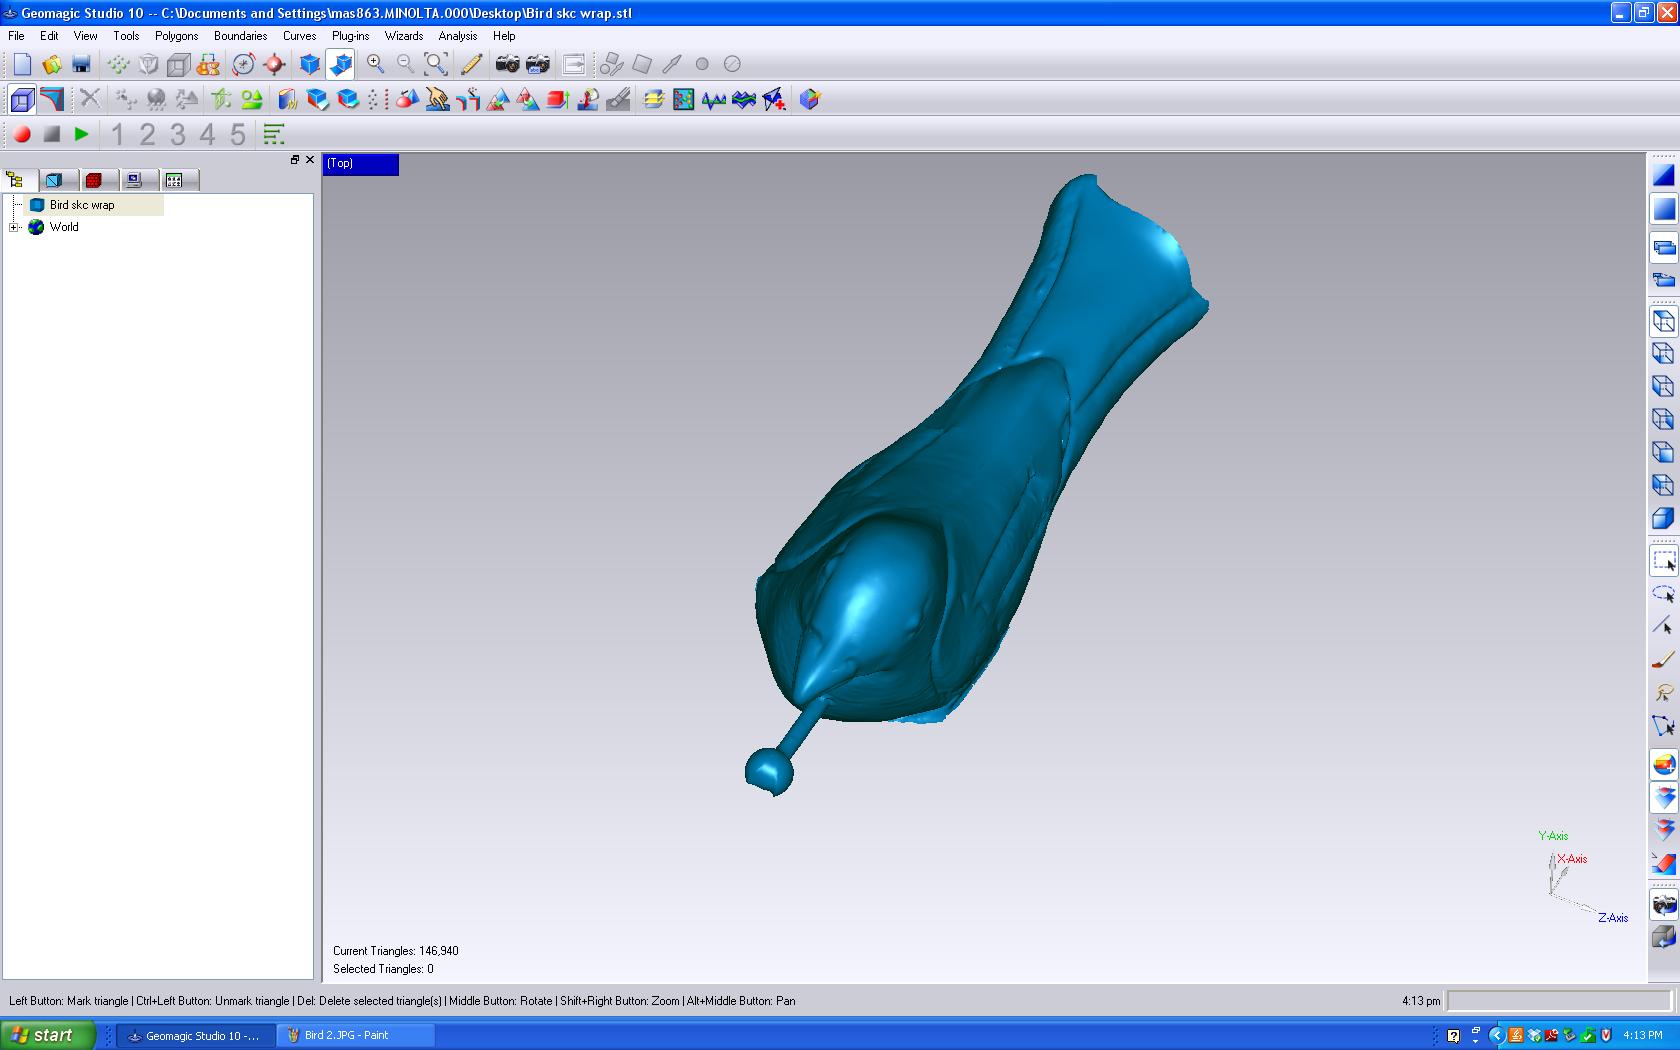
The 360 degree scan at 45 degree interval did not take long. I saved it as a wrap file. However, there was a lot of noise. It was a little tedious to go through the click-drag-delete cycle a number of times. After reducing the noise, a merged file was generated.
The original object did not have any hole in it. However, the scanned object appeared to have quite a few. Whereever the original bird had a patch of dark color (e.g. black eyes), there was a hole. It was easy to fill polygons for the holes resulting from black color. For other dark regions at the middle, it was tricky. John helped me out at that phase. I noticed that the tail end of the bird was not uniform or was cut-off. I decided to ignore it because the tail was already a bit long. After applying planar intersection, the bottom part of the bird was closed. When I emailed the STL file to Tom, he said that there were some tiny problematic regions (marked yellow) at the back. The 3D printer may behave unpredictably in that region. However, the initial print did not generate much surprise. I did not know how fragile the extended part was till I broke it. Fortunately, a second copy was printed. This time, I took the picture before even cleaning it.