Week 4: 3D Scanning and Printing
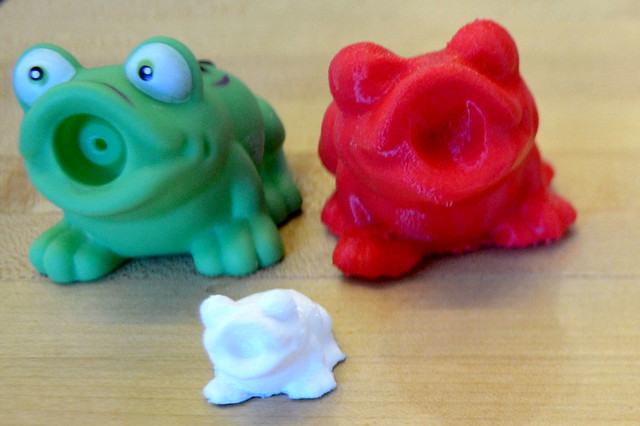
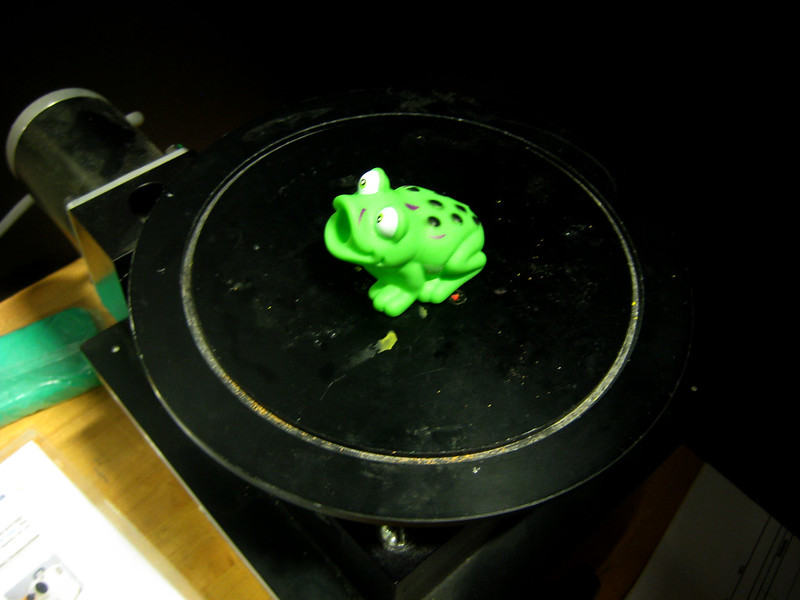
This week I learnt how to 3D print and 3D scan objects. I first tried to scan my shoe using Minolta scanning machine but I wasn’t able to print the same file. So I scanned and printed another object, a toy I found in the LLK area.
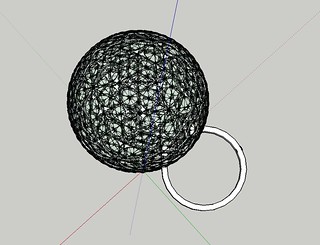
I used google SketchUp to design a ring with intricate geometric pattern.
I used google SketchUp to design a ring with intricate geometric pattern.
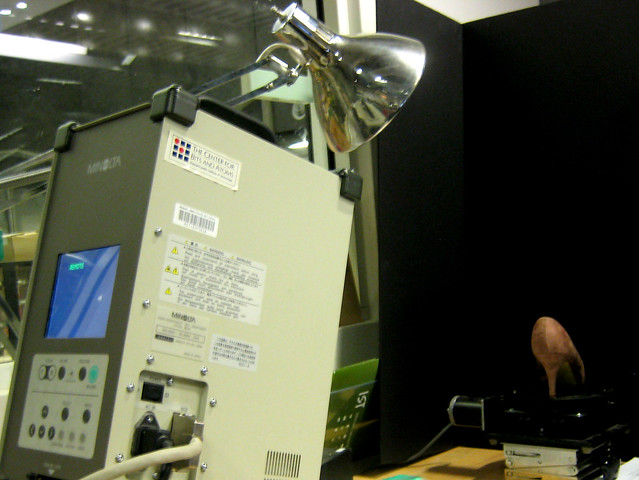
3D Scanning with Vivid 910 Konica Minolta scanner and Geomagic studio
I read in the previous year's web archive that its better to choose non shiny object to scan. I decided to scan my suede shoe.
I followed these steps to scan my object:
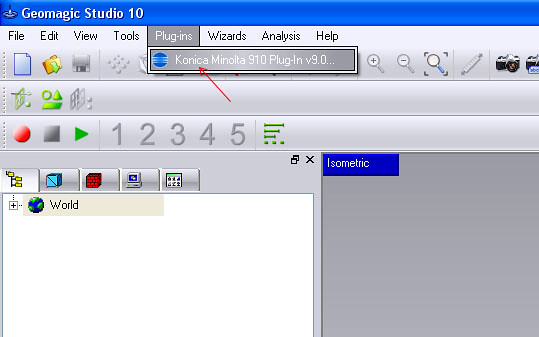
1. Turn the scanning machine on and open Geomagic studio. Click on Plug- ins and select and click Konica Minolta 910 Plug-In v90
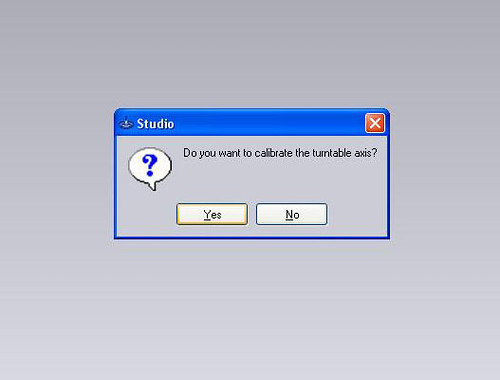
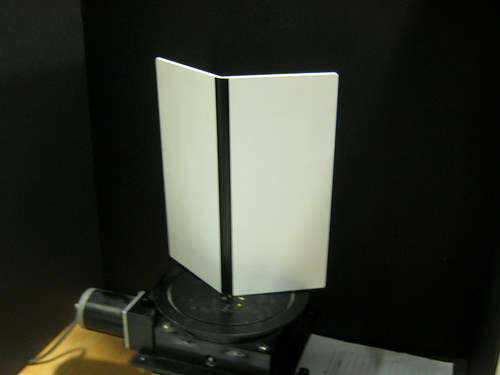
2. It will ask you if you want to calibrate the turnable axis. Click yes and set the white chart on the turnable by matching the 3 points to the center and the outer circle of the turnable.
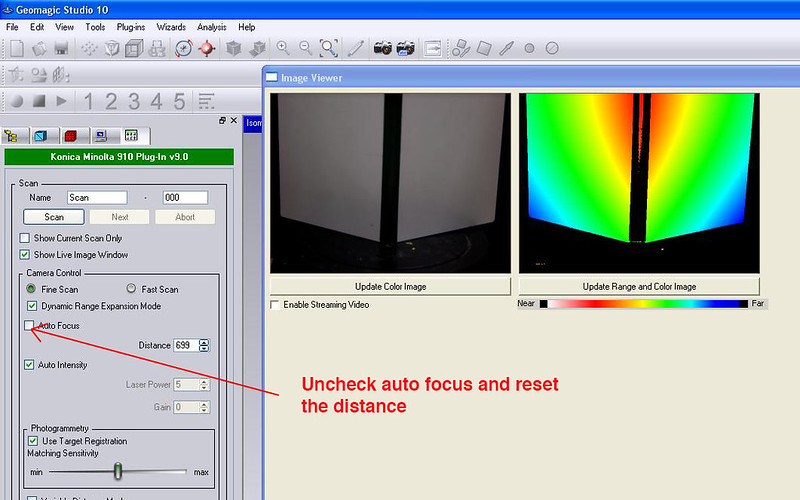
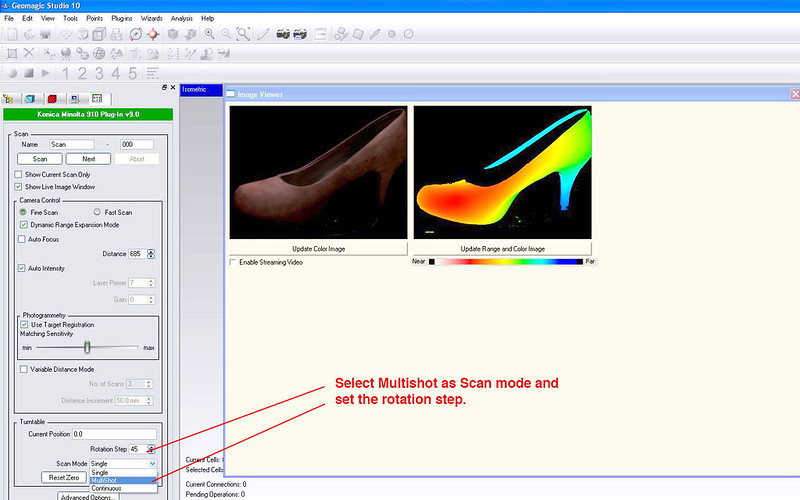
3. Open the image viewer and click on Update range and color image. The center of the image spectrum should show yellow or orange in the middle. If not then uncheck the auto focus and manually set the distance. later I also unchecked the ‘Auto Intensity’. Once you calibrate the turnable axis, it will show the Z turnable axis on the screen.
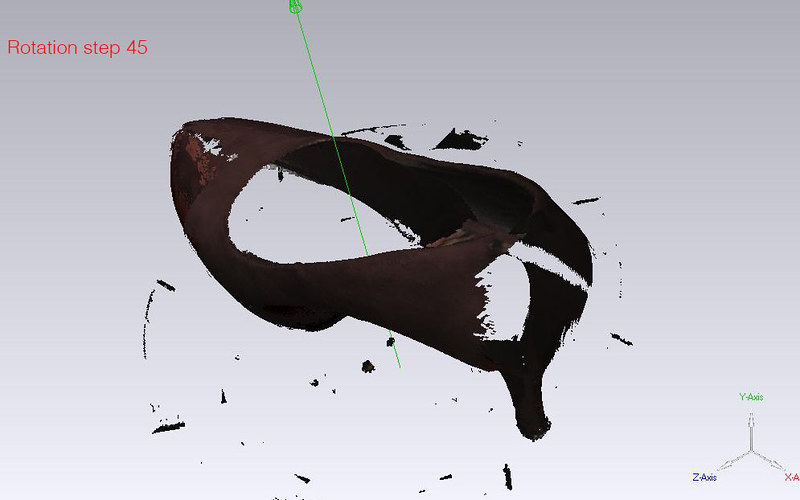
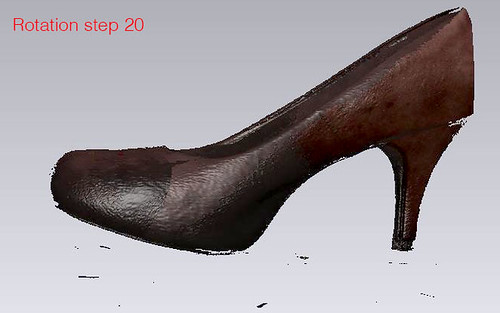
4. Put your object on the turnable and check the settings again on the image viewer. Select Multishot as Scan mode and set value for rotation step. I set the rotation step to 45 for my initial scan but later changed it to 20 when I scanned the second time.
5. Click Scan and Next till the object is fully scanned. It shows 360a when turnable takes one complete round. Click Ok
I followed these steps to scan my object:
1. Turn the scanning machine on and open Geomagic studio. Click on Plug- ins and select and click Konica Minolta 910 Plug-In v90
2. It will ask you if you want to calibrate the turnable axis. Click yes and set the white chart on the turnable by matching the 3 points to the center and the outer circle of the turnable.
3. Open the image viewer and click on Update range and color image. The center of the image spectrum should show yellow or orange in the middle. If not then uncheck the auto focus and manually set the distance. later I also unchecked the ‘Auto Intensity’. Once you calibrate the turnable axis, it will show the Z turnable axis on the screen.
4. Put your object on the turnable and check the settings again on the image viewer. Select Multishot as Scan mode and set value for rotation step. I set the rotation step to 45 for my initial scan but later changed it to 20 when I scanned the second time.
5. Click Scan and Next till the object is fully scanned. It shows 360a when turnable takes one complete round. Click Ok
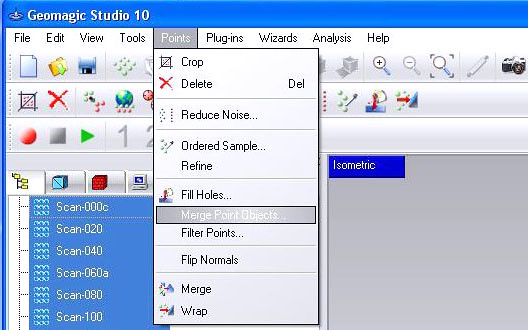
Merging the Scans and saving the file.
1. Select all the scans on the left. Navigate Points and click Merge Point objects
2. To reduce the file size navigate Polygons and click on Decimate. Set the percentage by which you want to reduce the file size.
3. Save the file as .wrp file
2. To reduce the file size navigate Polygons and click on Decimate. Set the percentage by which you want to reduce the file size.
3. Save the file as .wrp file
Cleaning the scanned images
This was way trickier for me and took a really long time.
1. Select the merged layer and click Alt+F1 to make sure only the merged image is visible. Select the noisy region and click delete. The selection is highlighted red.
2. Navigate polygons and click Reduce Noise
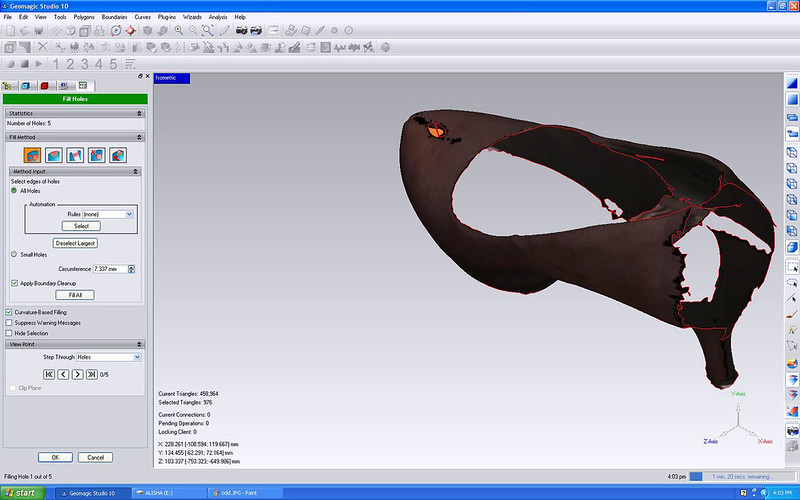
3. The scanned image most probably will have gaps. Navigate Polygon and select Fill Holes. I chose the first Fill method for most of the regions. For larger holes I first created a bridge using the third fill method.
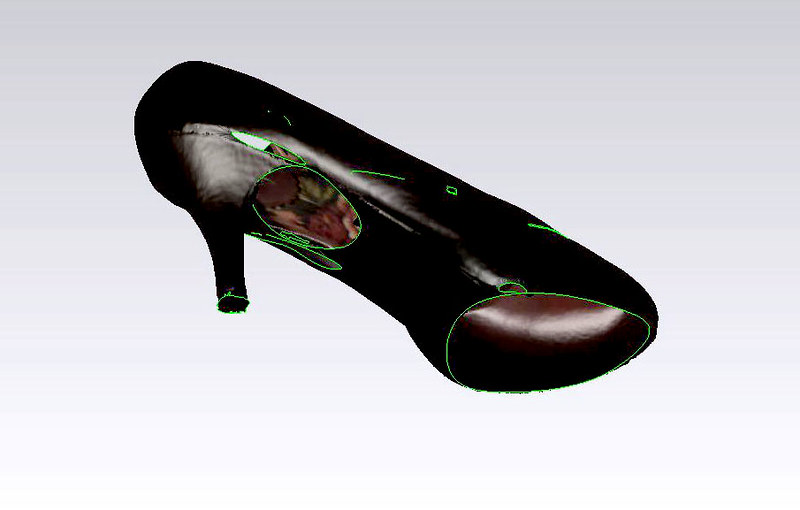
4. To relax rough edges Navigate Boundaries and click Edit. I reduced the number of Iterations.
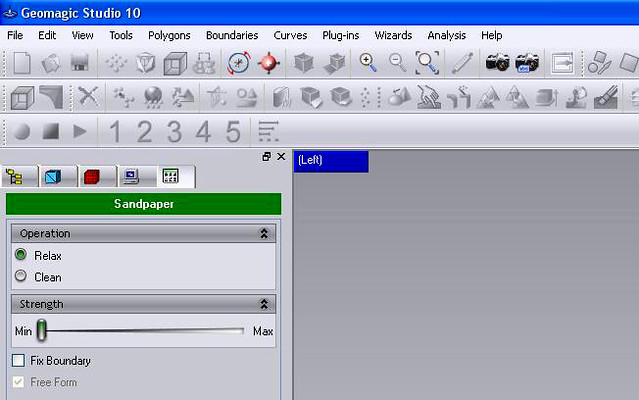
5. To smoothened the rough and bumpy areas Navigate to Polygons and select Sandpaper. Sandpaper is a freehand tool that smooths a polygon mesh.
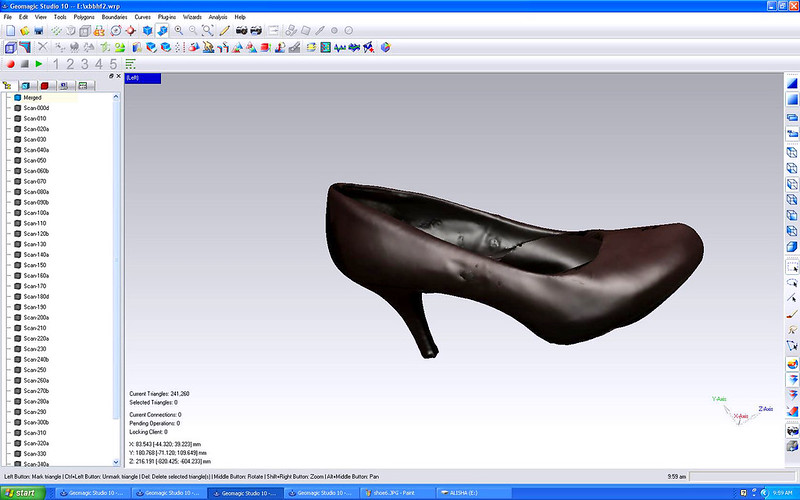
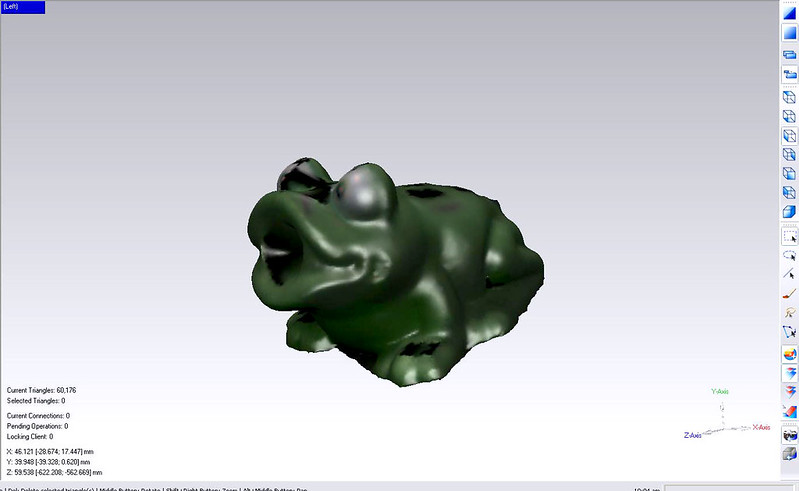
My final image looked like this
1. Select the merged layer and click Alt+F1 to make sure only the merged image is visible. Select the noisy region and click delete. The selection is highlighted red.
2. Navigate polygons and click Reduce Noise
3. The scanned image most probably will have gaps. Navigate Polygon and select Fill Holes. I chose the first Fill method for most of the regions. For larger holes I first created a bridge using the third fill method.
4. To relax rough edges Navigate Boundaries and click Edit. I reduced the number of Iterations.
5. To smoothened the rough and bumpy areas Navigate to Polygons and select Sandpaper. Sandpaper is a freehand tool that smooths a polygon mesh.
My final image looked like this
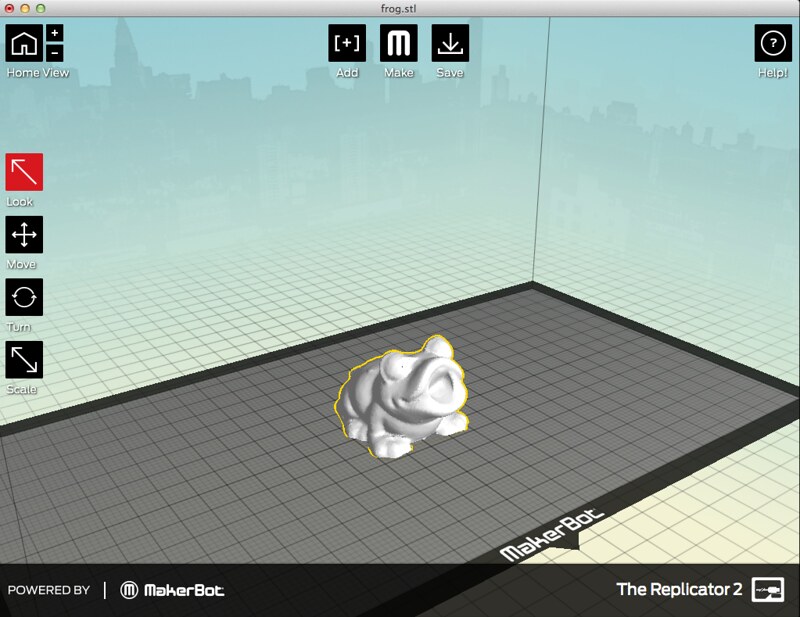
Exporting as .stl file and 3D printing
In order to print the file I exported it as .stl file. We couldn’t print the shoe file as it surprisingly showed a gap in the front region of the mesh. This was really frustrating as it took a lot of time to clean the file. Either I should have used some other software to clean the mesh or chosen a simple object.
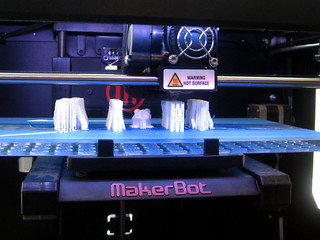
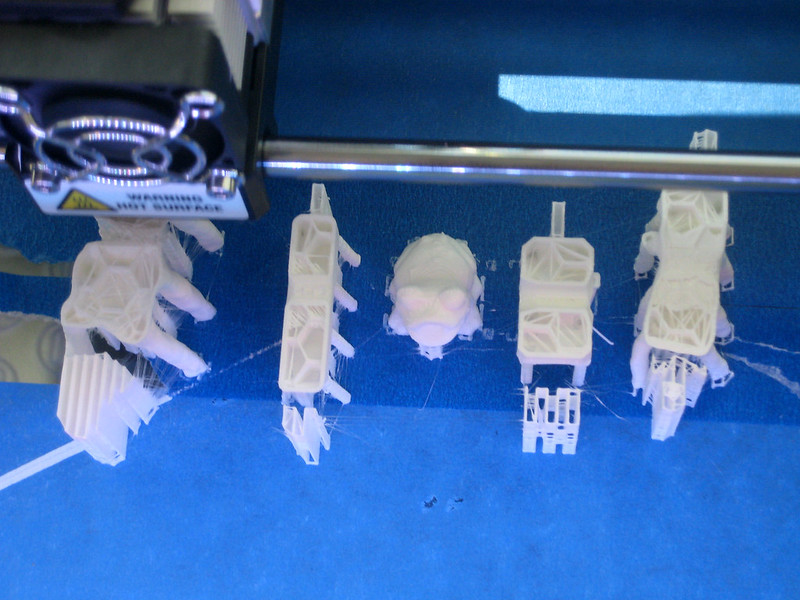
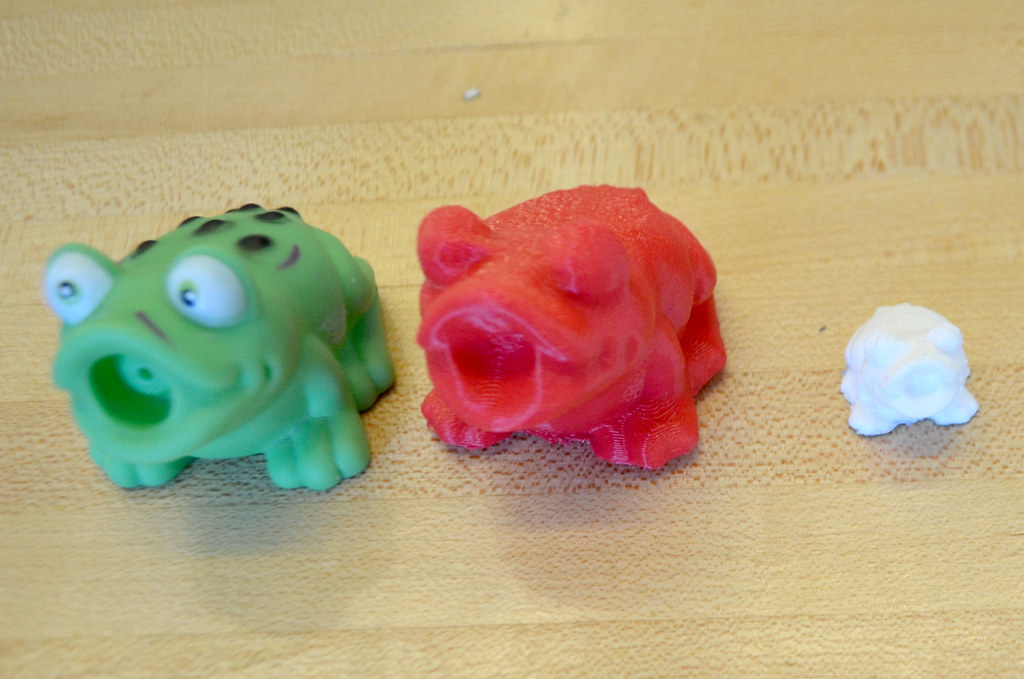
So I changed the object and redid the entire process. I managed to export and print the .stl file this time. We used the Maker Bot for printing. Taylor helped me to 3D print.
Designing a 3D object in Sketchup
I created a 3D ring using google SketchUp. I am yet to get the 3D print of the ring.
