Week 5: Making Something Big
This week our assignment was to make something big. My goal for this project was to make something by combining digital fabrication and handcraft.
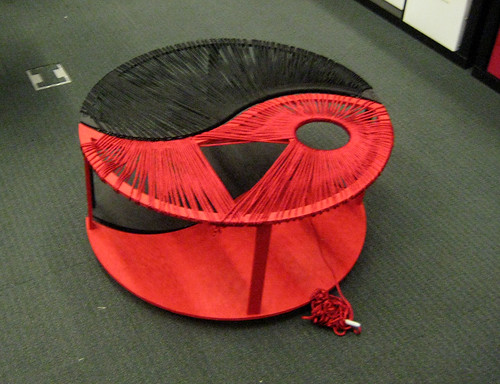
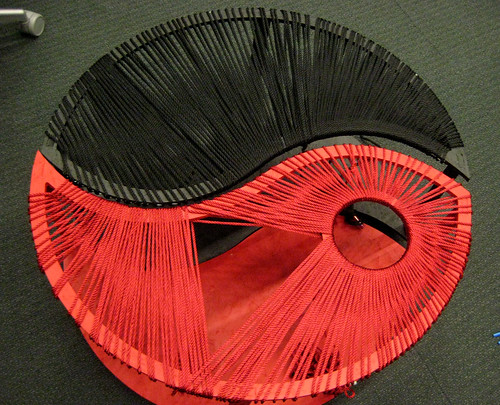
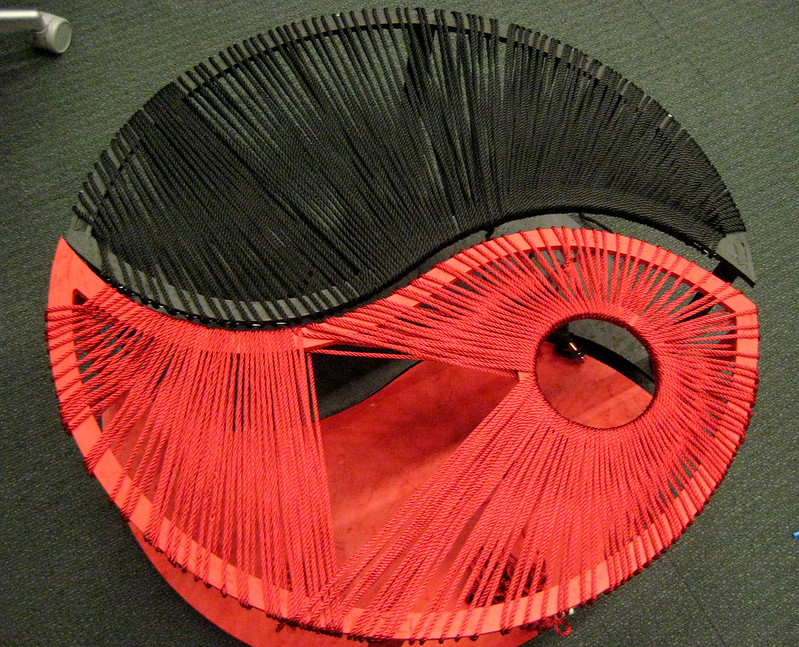
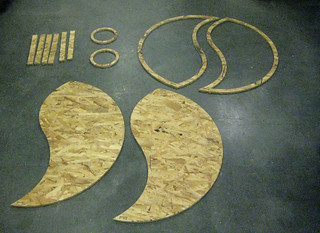
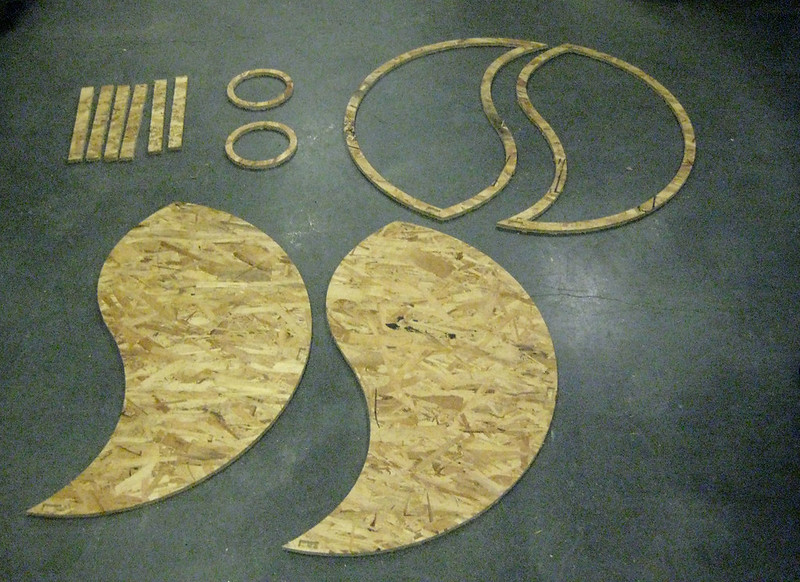
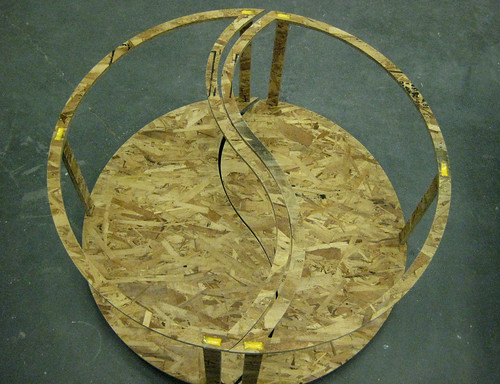
I made a Yin-Yang twin set floor table cum book shelf. I used shop bot to make the table frame and interlaced thick rayon chords to make the table top.


Designing the table set
I like sitting on the floor when I am doing my artwork. I have two black colored chinese floor cushions with red and golden dragon print. I needed a low floor table that matches the cushions
The design of the table was inspired from Yin Yang Dual Sided Hot Pot Cookware. I used illustrator to design the parts of the table that I later exported as DXF file.
*The scale and dimensions might when you export a DXF file using illustrator.

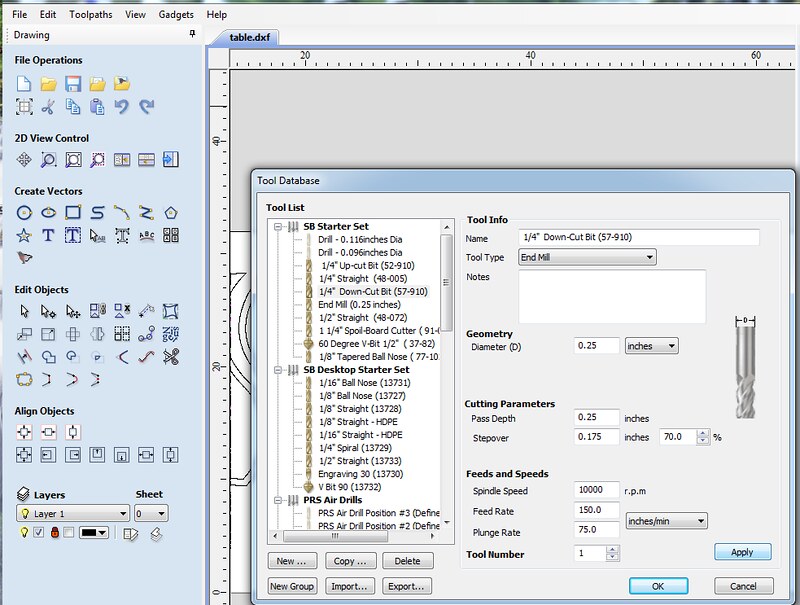
I later edited my design in PartWorks. I used the following steps.
1.Open the DXF file in PartWorks
2. Add material dimensions in Job status window. Uncheck use origin offset option

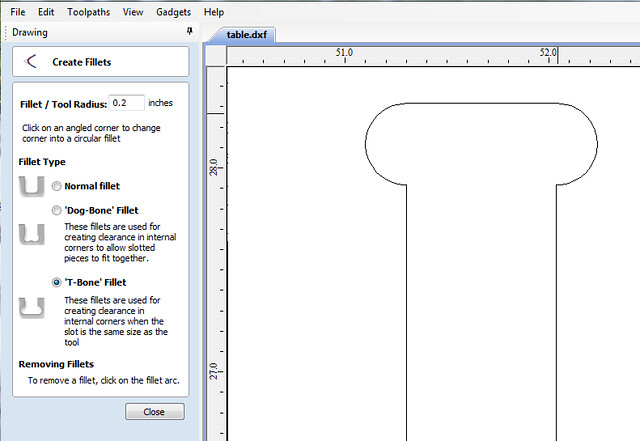
3. I created T- bone fillets for the joints. Select create filetoption under Edit objects from the Drawing menu on the left hand side of the window. I chose T- bone fillet with 0.2 in radius.
I later edited my design in PartWorks. I used the following steps.
1.Open the DXF file in PartWorks
2. Add material dimensions in Job status window. Uncheck use origin offset option
3. I created T- bone fillets for the joints. Select create filetoption under Edit objects from the Drawing menu on the left hand side of the window. I chose T- bone fillet with 0.2 in radius.
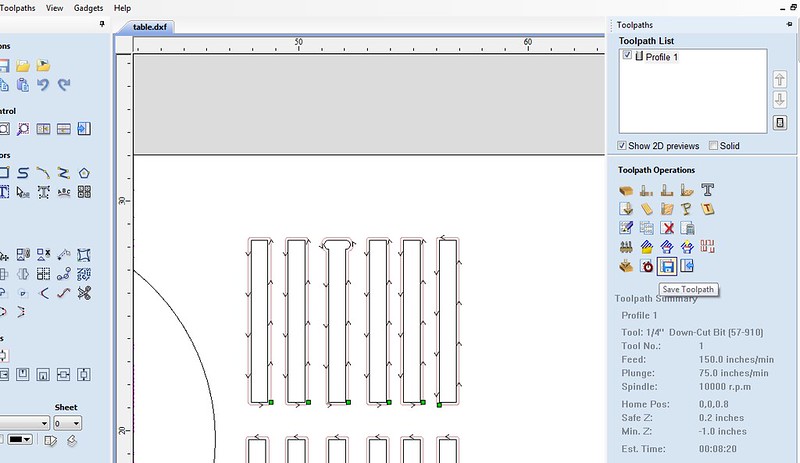
Creating Toolpath in partworks
1. Click on the toolpath option on the left.
2. Select toolpaths. We chose pocket toolpath for engraving and profile for the cuts.
3. Save Toolpath
1. Click on the toolpath option on the left.
2. Select toolpaths. We chose pocket toolpath for engraving and profile for the cuts.
3. Save Toolpath
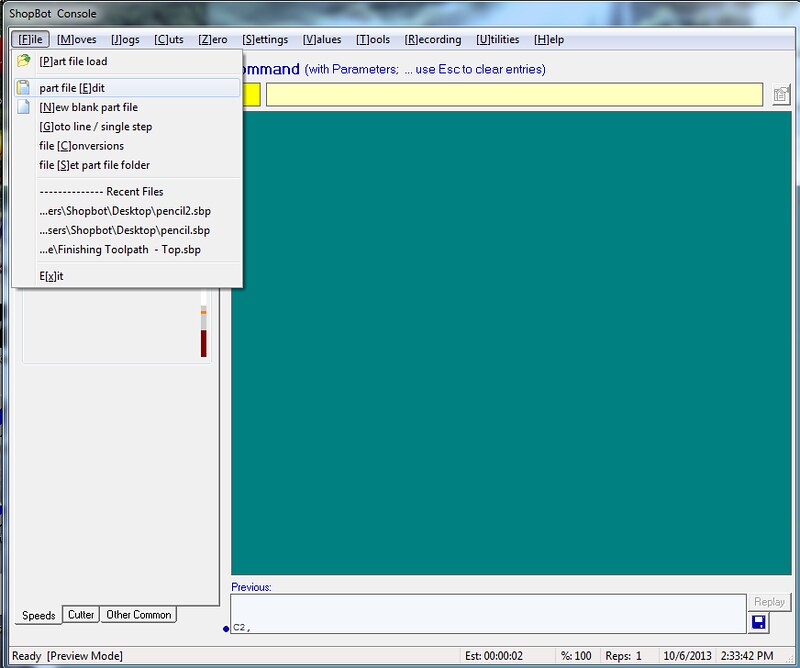
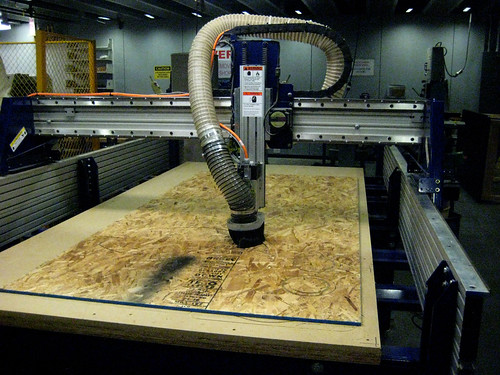
Loading part file and printing
1.Open Shopbot console.
2.Navigate File and select Part File Load option.
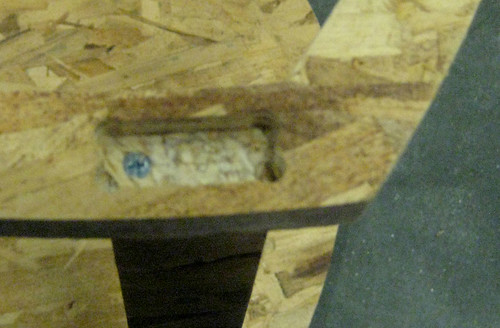
3.Put the material in the machine. We fixed the material to the sacrificial layer with screws.
4. Start Shopbot. Move the tool using Keypad. We set the position to the right bottom corner.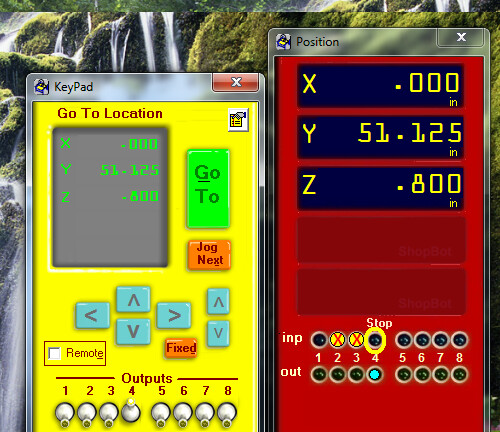
5. Once the tool is moved to the desired point you can set the origin at the point. Navigate to [Zero] and set zero for X and Y axis.
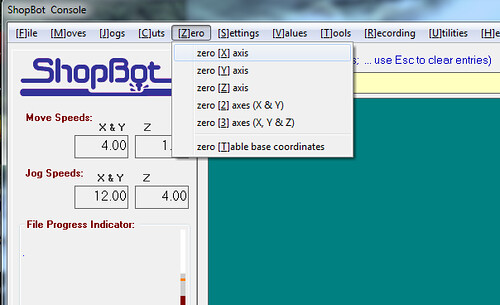
6. To set the Z axis. We kept the metal Zero plate under tool on top of the material. Select [C]uts in the menu bar and click on C2- Zero Z Axis w/Zero Plate. It will move the tool down to touch the metal plate. Once it is done remove the metal plate.
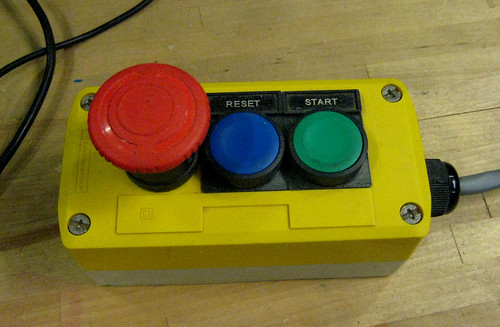
The file is ready to print. Give the print command. Start the green button. Don’t go too close to the machine and be ready to hit the emergency stop red button if something goes wrong.
2.Navigate File and select Part File Load option.
3.Put the material in the machine. We fixed the material to the sacrificial layer with screws.
4. Start Shopbot. Move the tool using Keypad. We set the position to the right bottom corner.
5. Once the tool is moved to the desired point you can set the origin at the point. Navigate to [Zero] and set zero for X and Y axis.
6. To set the Z axis. We kept the metal Zero plate under tool on top of the material. Select [C]uts in the menu bar and click on C2- Zero Z Axis w/Zero Plate. It will move the tool down to touch the metal plate. Once it is done remove the metal plate.
The file is ready to print. Give the print command. Start the green button. Don’t go too close to the machine and be ready to hit the emergency stop red button if something goes wrong.
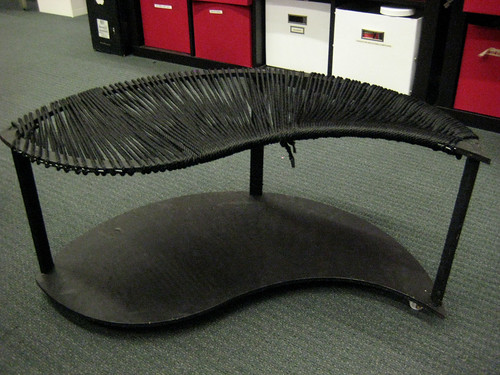
Assembly
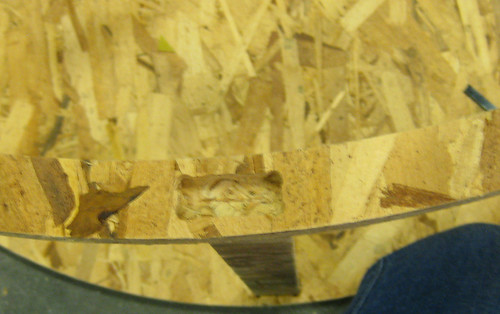
I made a mistake while printing. I engraved the space for joints on top instead of the bottom of the material. So to attach the legs to the table top I glued it and fixed it with screws.
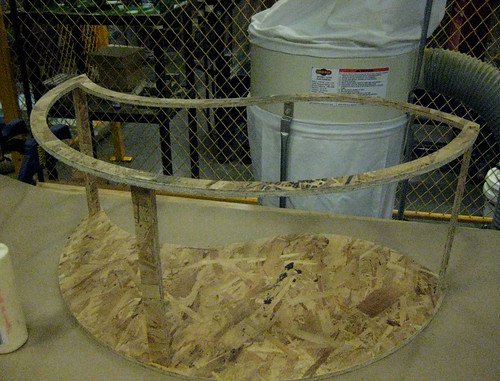
I also attached wheels at the bottom of the table set.

I also attached wheels at the bottom of the table set.
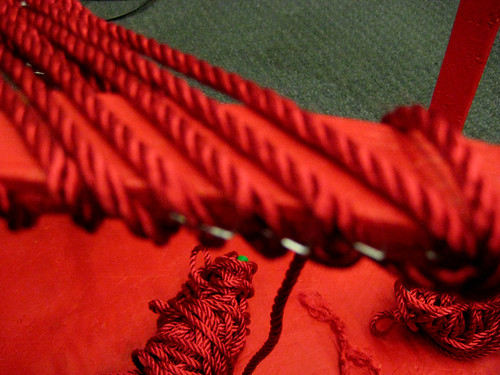
Making the table top
This was really tricky for me and I am still figuring out the design. The shape of the table did not allow me to weave the cords through the central circle part.
I am still working on this.