Week 9: Composites
This week I designed a 3D mold with foam using Shopbot and made a fiber composite.
I experimented with different fabrics and epoxy resin.
I intended to make a 3D container but it didn't work because of the complex shape of my box.
Later I made a pen stand using Jute Twine.
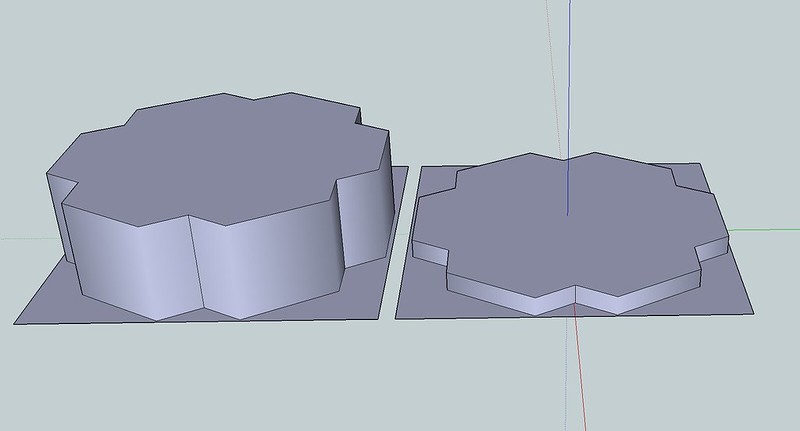
Designing the 3D mold
I used Sketchup to make the 3D mold. I made a container with a lid. Before creating the model I measured the width of the foam and created my model in such a way that the width of the container didn't exceed the width of the foam.
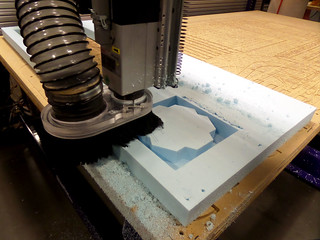
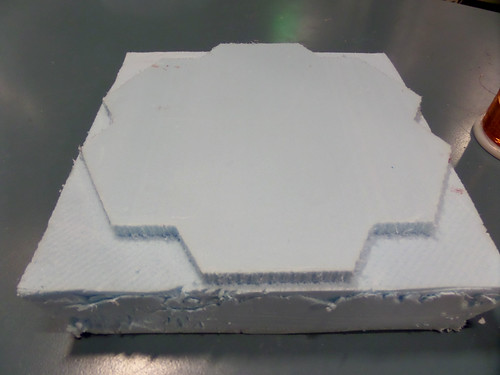
Milling the foam using shopbot
I used this tutorial and Carlos helped me attach the foam. We had some issues with changing the tool.
Somebody attached the tool so tightly that we were unable to remove it. I had to use the same tool and change my tool setting.
I used the following setting:
1/4 “ flat end
Diameter: .25
Pass depth: .25
Steppover 25%
Spindle speed 12000
Feed rate: 200
Plunge rate: 75
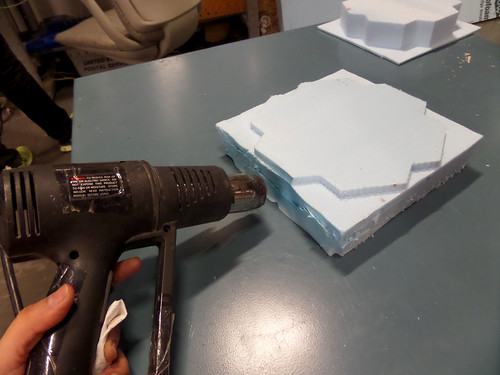
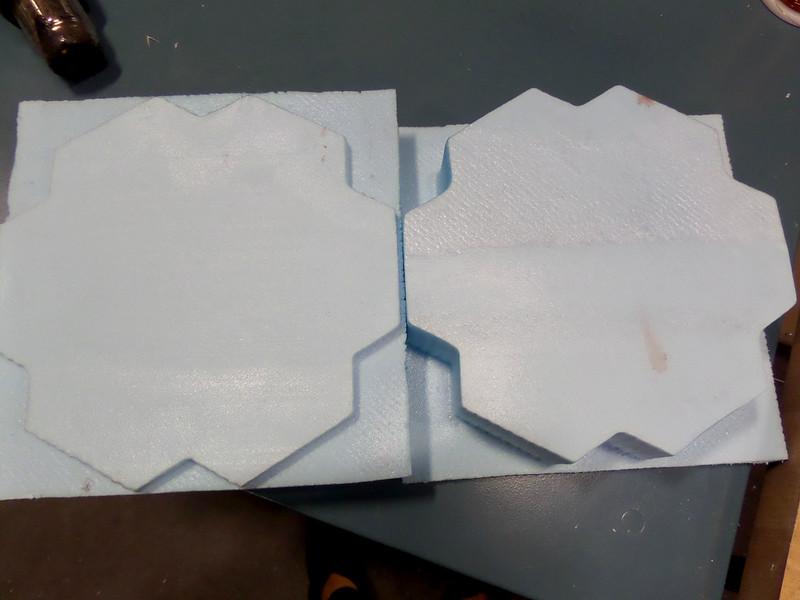
It took about an hour to mill both the parts. I noticed that the edges of my model didn't come out smooth. Carlos suggested to use the heat gun to make the rough edges smooth. One needs to be careful using the heat gun with foam. More distance and less time is suggested to smoothen the rough edges of foam.
1/4 “ flat end
Diameter: .25
Pass depth: .25
Steppover 25%
Spindle speed 12000
Feed rate: 200
Plunge rate: 75
It took about an hour to mill both the parts. I noticed that the edges of my model didn't come out smooth. Carlos suggested to use the heat gun to make the rough edges smooth. One needs to be careful using the heat gun with foam. More distance and less time is suggested to smoothen the rough edges of foam.
Making the fiber composite
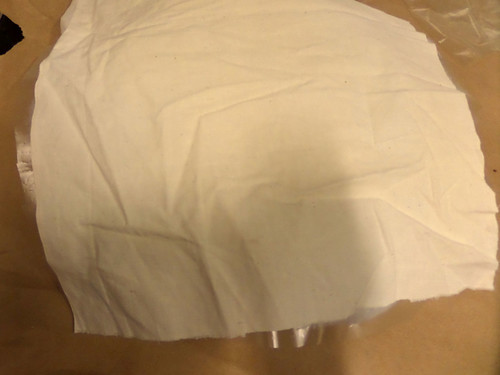
I wanted to experiment with different fabrics. I assumed that any non stretch woven fabric with good absorbency should work.
I guess the strength of the fabric depends on the weave, material and number of layers. To make the container, I decided to use Muslin, a fine loosely woven cotton fabric which is super cheap.
I made the lid using a pattered cotton fabric less stronger than Muslin.
Jared and Carlos have made this nicetutorial
that explains each step.
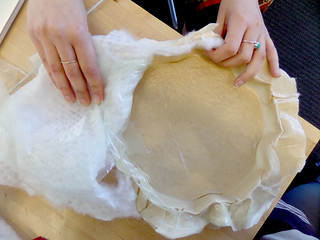
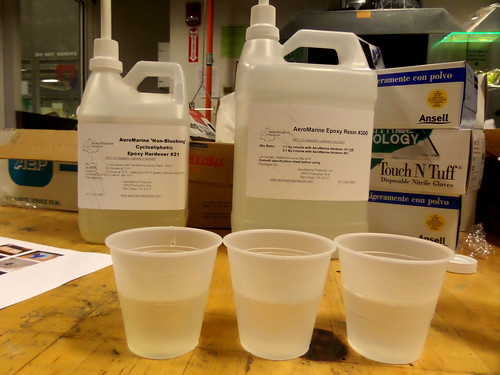
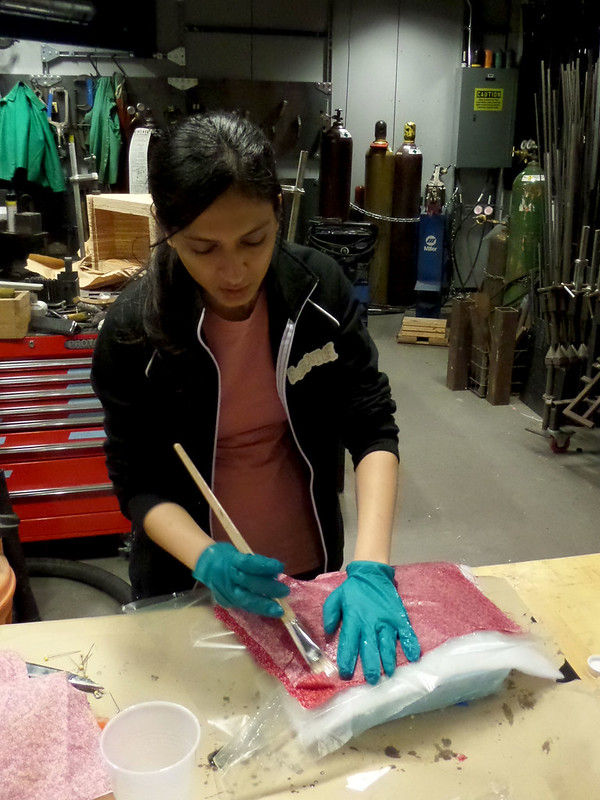
First I cut four layers of both the fabrics. I didn't cut the shape based of the mold. I wanted to see how the fabric wraps itself around the 3D model. Since I wasn't using the fabric as strong as Burlap, I thought it would be easier for me to cute it after it is cured. I used the combination of Aeromarine Epoxy Resin #300 and Epoxy hardner #21.
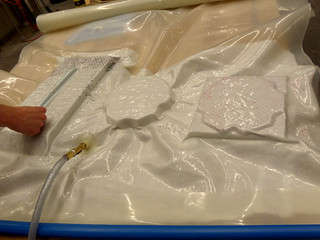
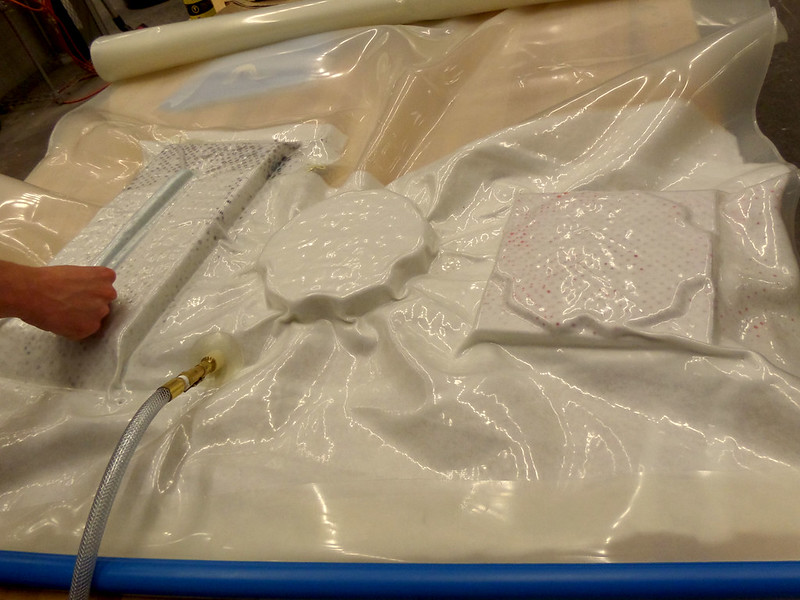
Vacuum Bagging
Ermal and /i put both our parts inside the vaccum bag. We kept an additional on breathable layer covering all the three models. We left it overnight to cure.
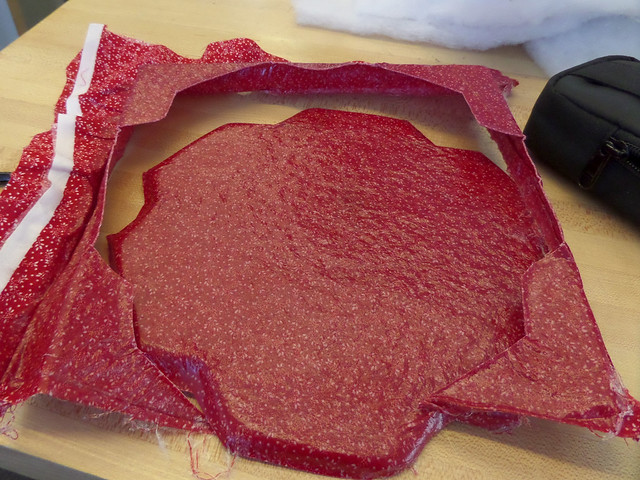
After Curing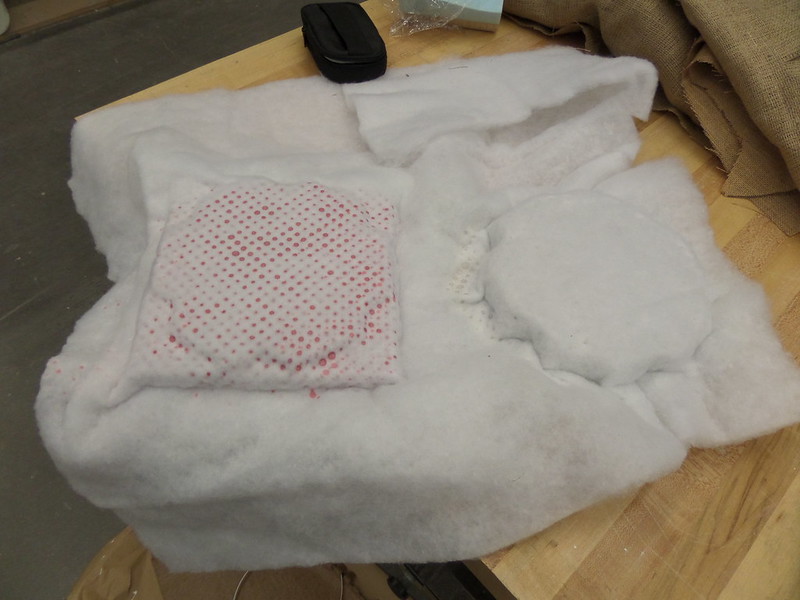
It didn't come out as I was expecting. There were lots of folds. I should have made some cuts on the fabric and made some stiches before adding the resin later. Surprisingly the part made using Muslin came out super strong. I wasn't able to trip the edges. I trimmed the edges for the lid though.


First I cut four layers of both the fabrics. I didn't cut the shape based of the mold. I wanted to see how the fabric wraps itself around the 3D model. Since I wasn't using the fabric as strong as Burlap, I thought it would be easier for me to cute it after it is cured. I used the combination of Aeromarine Epoxy Resin #300 and Epoxy hardner #21.
Vacuum Bagging
Ermal and /i put both our parts inside the vaccum bag. We kept an additional on breathable layer covering all the three models. We left it overnight to cure.
After Curing
It didn't come out as I was expecting. There were lots of folds. I should have made some cuts on the fabric and made some stiches before adding the resin later. Surprisingly the part made using Muslin came out super strong. I wasn't able to trip the edges. I trimmed the edges for the lid though.
Making the Penholder using Jute Twine
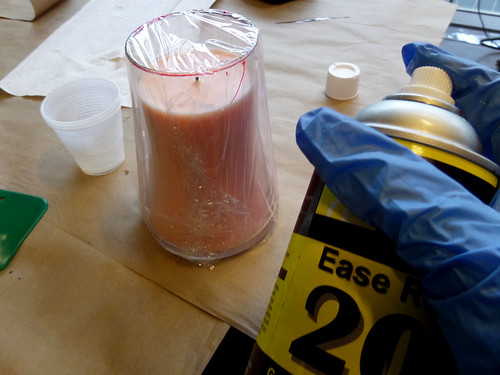
Since my first model did not work I decided to make another one. I used a Candle as the mold.
I first wrapped the plastic wrap around the candle. Somebody suggested to use the mold release spray over the plastic wrap and
the plastic wrap sticks to the model after curing.
I used 3 ply jute Twine and wrapped it around the candle and. I dipped it in resin before used paint brush to apply the resin on top additionally. I used Burlap to create the base for the penstand. I also used colored strings to create a crisscross pattern on top
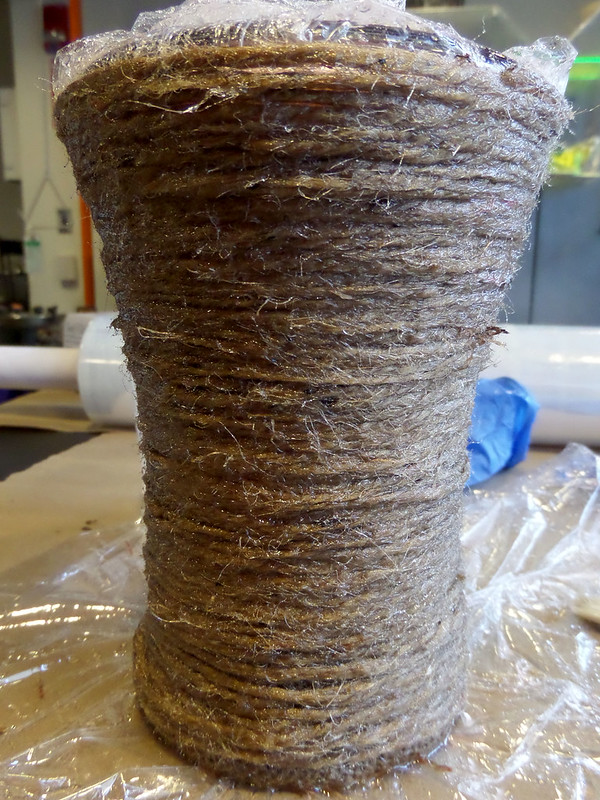
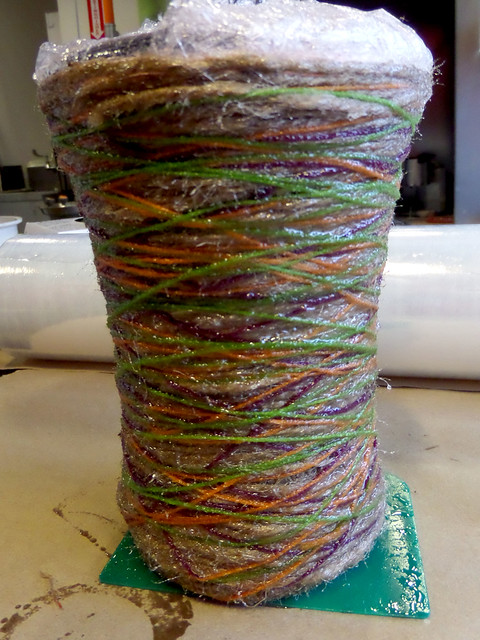
I used 3 ply jute Twine and wrapped it around the candle and. I dipped it in resin before used paint brush to apply the resin on top additionally. I used Burlap to create the base for the penstand. I also used colored strings to create a crisscross pattern on top