This week, the goal was to learn how to 3d print and to scan objects. I chose to design and 3d print a Klann leg linkage similar to the one that we used (back in 2006) for the Mondo Spider. For the scan, I chose to use a pocket ashtray.
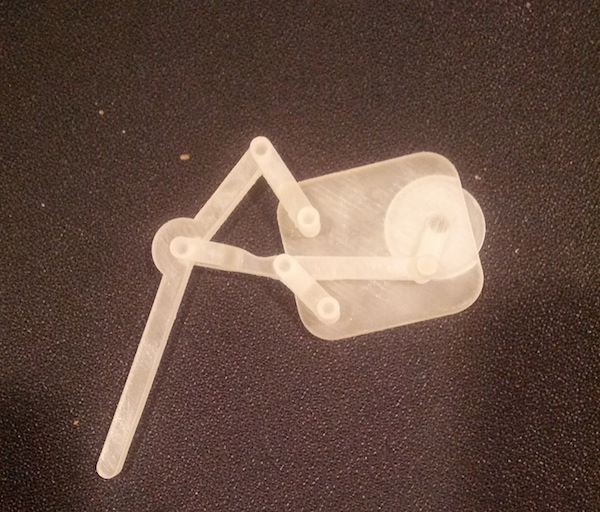
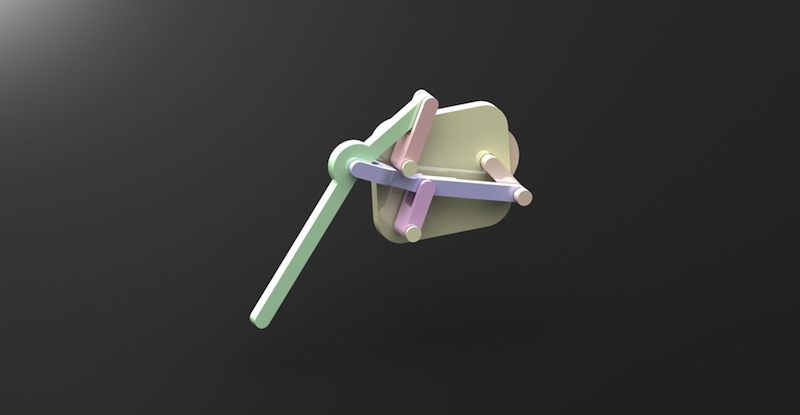
This is an image of the final print of the leg linkage. It was designed in SolidWorks using "top down" techniques such that the model is fully parametric. The leg was printed on an InVision Si2 that uses MJM technology with UV curing.
In truth, the model broke several times as I scaled it down so that it could fit on the 3d printing bed. I had to make several changes to the excel driven tables I was using as well as to the sketch relations. I used a master sketch to drive pretty much all of the features.
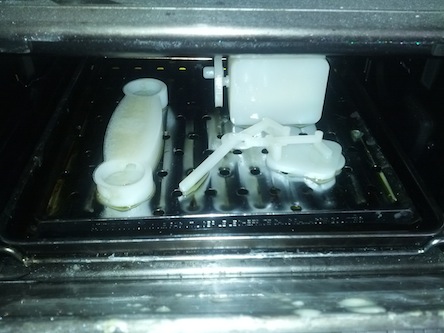
The way that the InVision Si2 works is that it builds up overhang layers on top of wax which is then melted out to produce the final part. I found the wax to be a huge pain in the ass. I melted it several times and wiped off the excess with a paper towel. I'm told that if you put it in a hot oil bath it's easier.
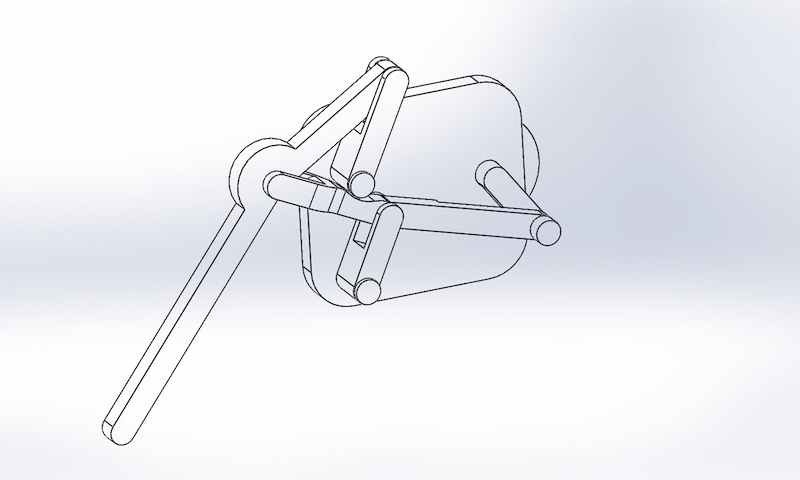
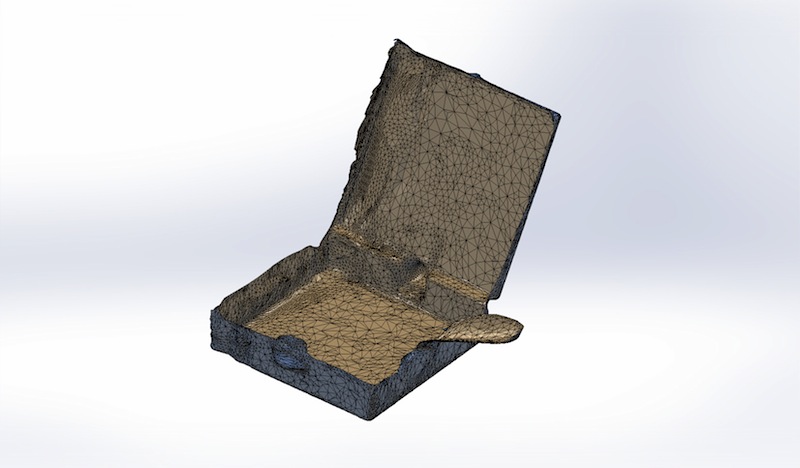
This image shows a wireframe of the design.

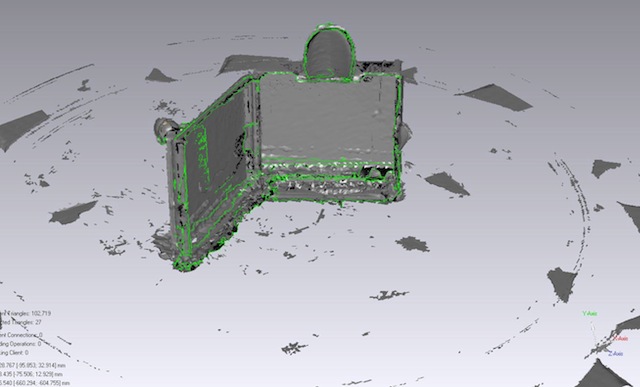
I've scanned a few things in the past with Faro, Metris and Creaform 3d scanners (with help from sales reps and technicians. But this time I wanted to learn the Minolta. I also wanted to learn how to use Geomagic. I scanned several times. My first attempt scanned nothing at all because the focal distance was too far away (and I ended up only capturing the shroud. My second attempt looks like the image above. It was missing huge section. As such, I decided to spray paint the pocket ashtray white (I could always soak it in a solvent later).
On my fourth attempt, I chose to put the object on it's side in order to expose more of the details that might otherwise be hidden. The scan was still pretty bad, so I tried turning up the laser power. Nothing really seemed to help. I figured out pretty quickly that the issue was the resolution of the scanner. The object that I was scanning is made of very thin brass. So thin that the surfaces end up doubling on top of each other. My guess is that this confuses the merge algorithm and I ended up with a lot of extra data. I was also missing some data as well in some crucial areas. I decided to persevere for the sake of learning Geomagic and also to get better acquainted with ScanTo3D in SolidWorks.
Once I had cleaned up the worst of it in Geomagic, I switched over to ScanTo3D in SolidWorks. I found that I could repair most of the holes, but ultimately I had to use Rhino to edit the mesh directly. By using the patch single mesh tool, I found that I could complete the mesh enough that I could fill holes where needed.
I also removed the redundant meshes and made sure that they were all "normal". There is a tool in Rhino that allows you to flip the normal for a given set of mesh elements; I found this to be handy..
Once the surface was a single continuous mesh with no holes, I attempted to turn it into surfaces in SolidWorks. This was a total waste of time. The mesh has to be in much better condition for this to work. I gave up and decided to go back to Rhino in order to create a water tight STL file.
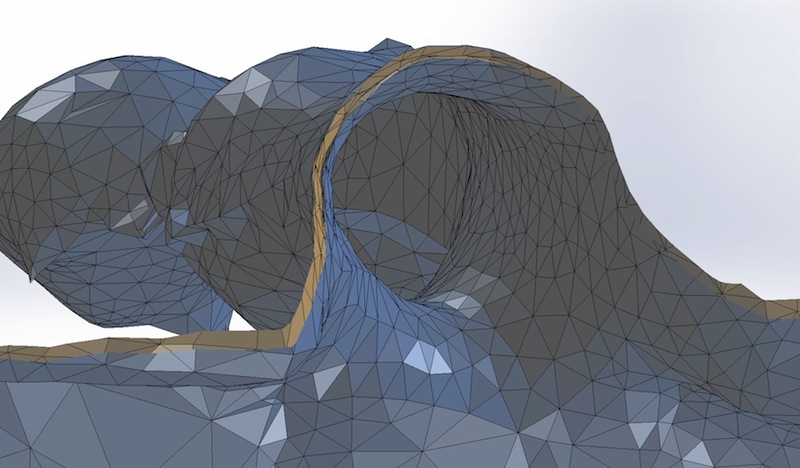
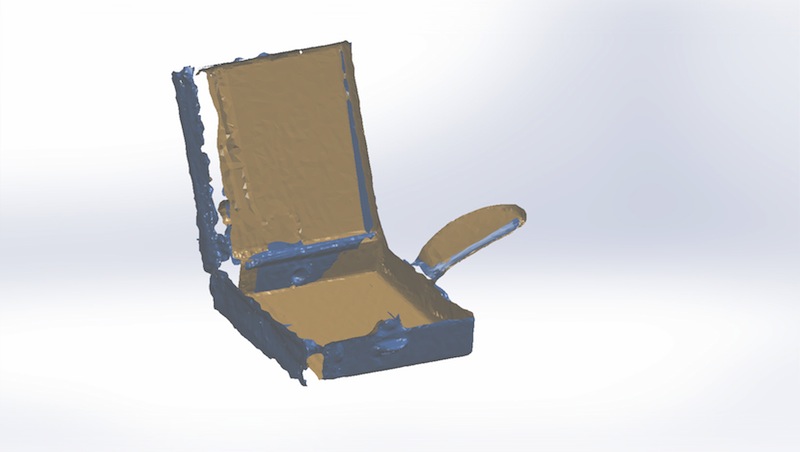
In Rhino, I used the Mesh->offset tool and created an offset of 0.2mm. I selected the "closed solid" checkbox and then saved it as an STL Files. I then opened this file in SolidWorks and tried a cross-section. It worked great! I now had a mesh file with an outer and inner surface (inner in beige and outer in blue).

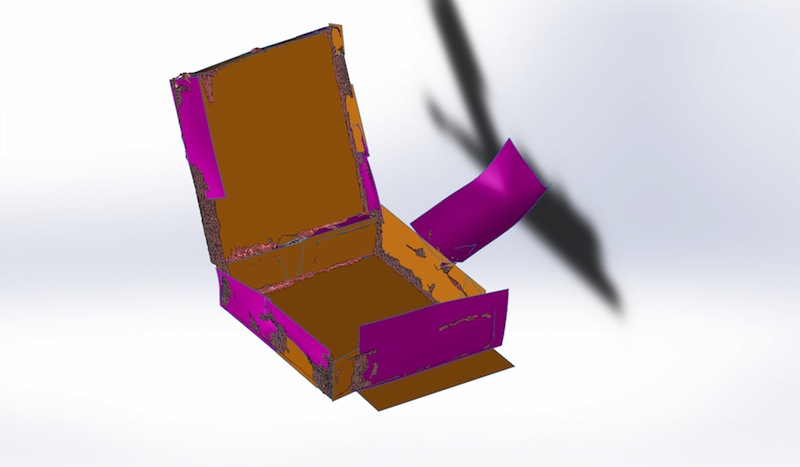
This final image shows the ashtray as a solid in SolidWorks.