This week I continued my investigation of lattice structures.
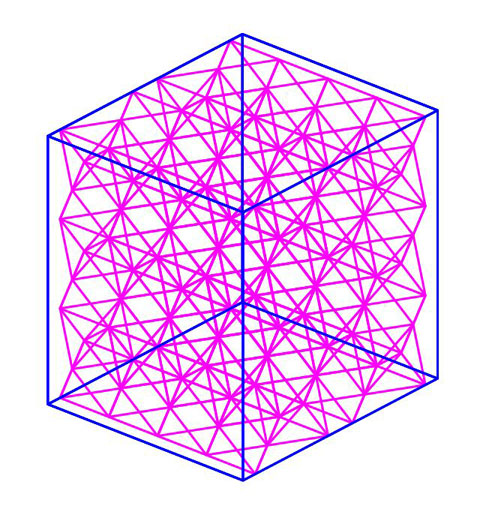
To begin, I continued to use the tessellation strategy I had developed in Week 1
I decided to form a cube(ish) volume, which may allow for cellular solid mechanical property characterization with loads applied in X, Y, and Z
(either experimentally or numerically)
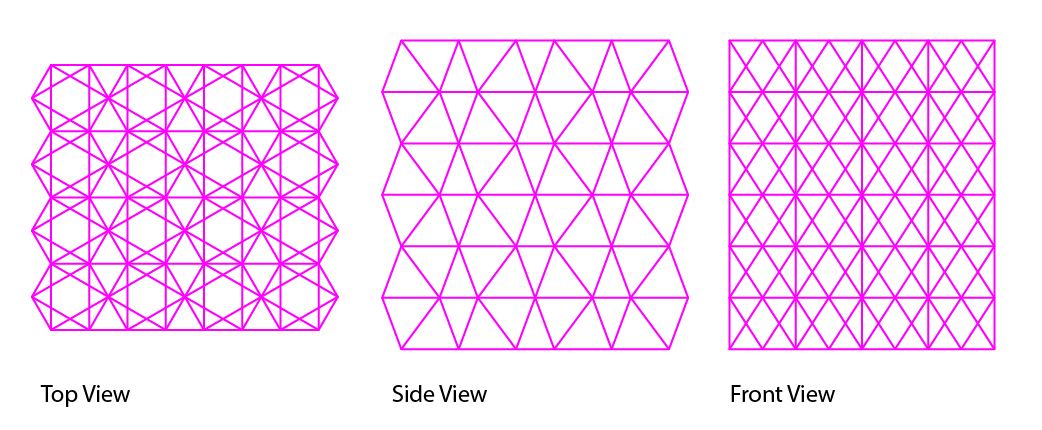
Normally, prior to 3D printing a mesh like this, with relatively few faces (6 per strut), I would subdivide the mesh using Weaverbird for Grasshopper.
(HINT: WB subdivided meshes are consistently better for importing shells/surfaces into FEA than "raw" mesh topologies
which can be less smooth and thus generate unnecessary stress concentrations between neighboring shell elements)
Although size-wise I was relatively small (1829Kb binary, 10209Kb Ascii),due to the scale of the object relative to the printer resolution (328 x 328 x 606 DPI), there wouldn't be much benefit to subdividing, so I decided I was done.
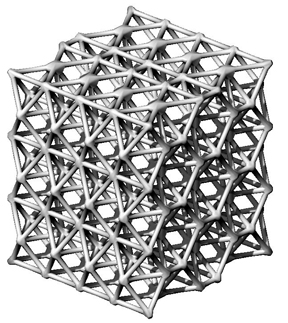
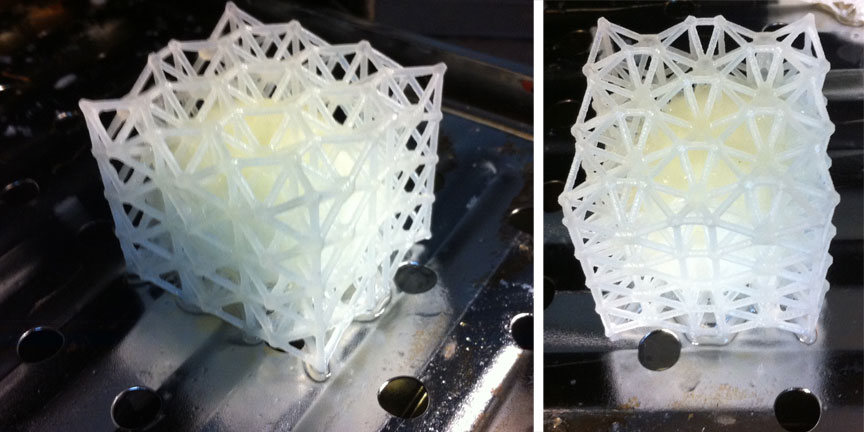
I chose the Invision, hoping that I would achieve a better finish and potentially print faster. It printed in ~8.5 hours (mainly because of the Z dimension- the Invision is fast in X+Y, slow in Z), and I was able to do it over the weekend to avoid causing a logjam.
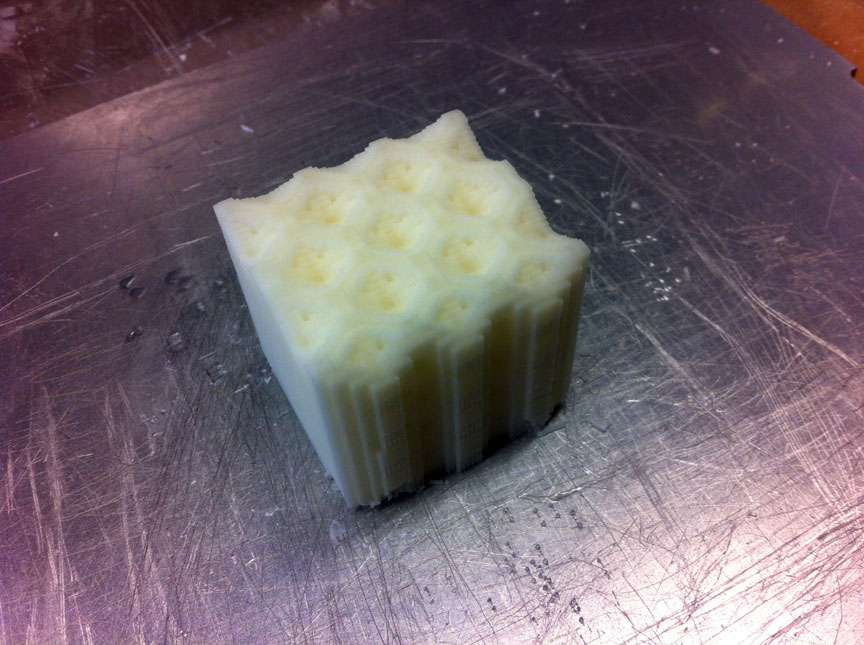
It came out great, and I easily removed it from the plate and put it in the convection oven for 2-3 hours (it melted pretty fast)
And when it was done, it came out better than I expected!

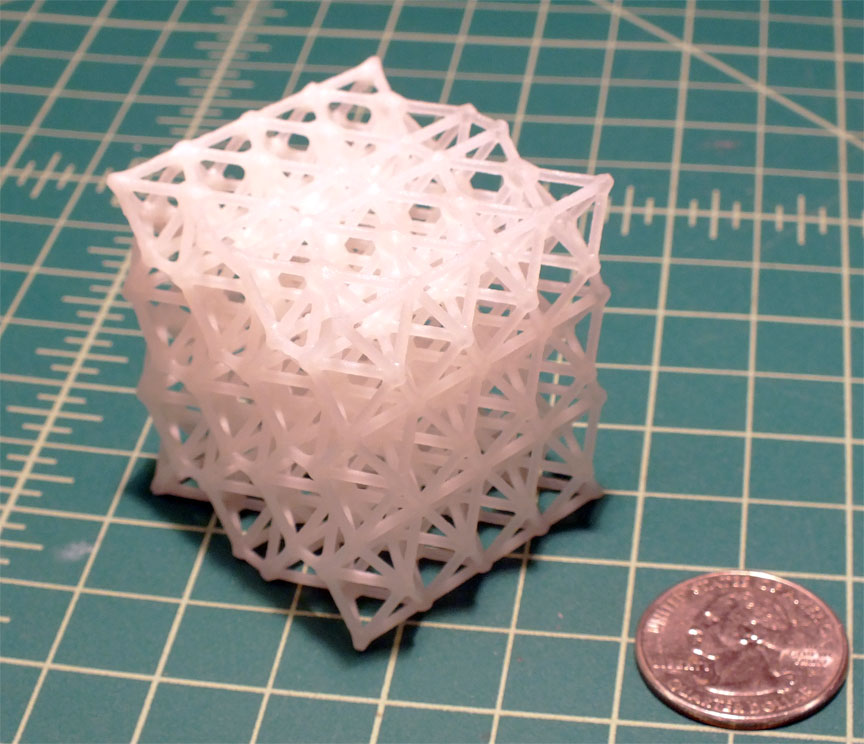
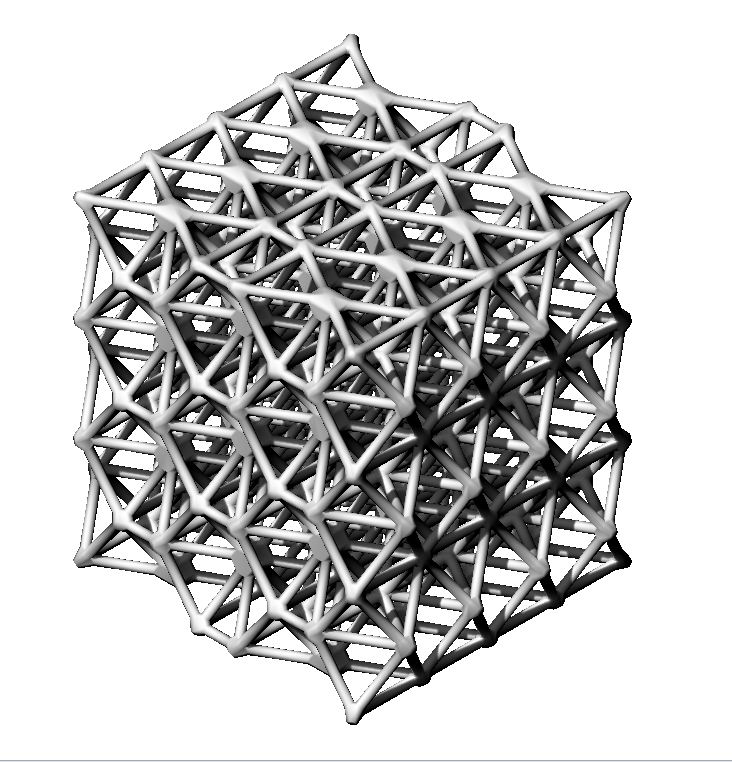
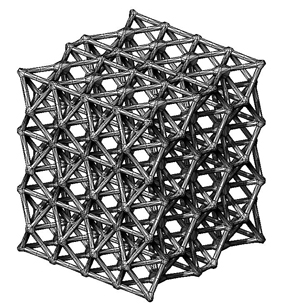
Inspecting the joints more closely, we can compare the 3d mesh to the 3d print
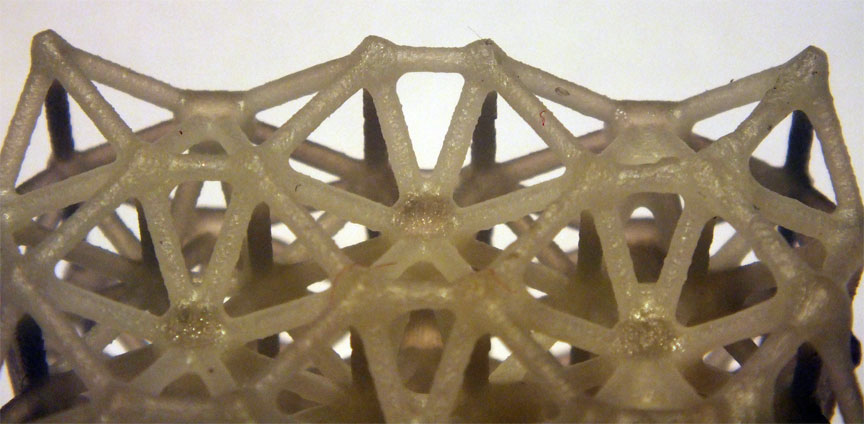
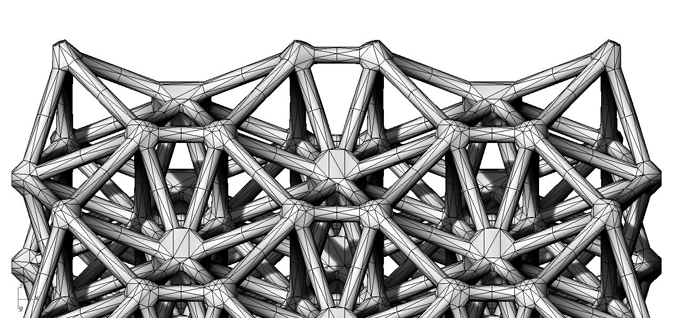
Pretty darn accurate- a bit of smoothing at the corners, but I was impressed with the resolution.
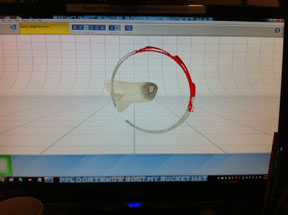
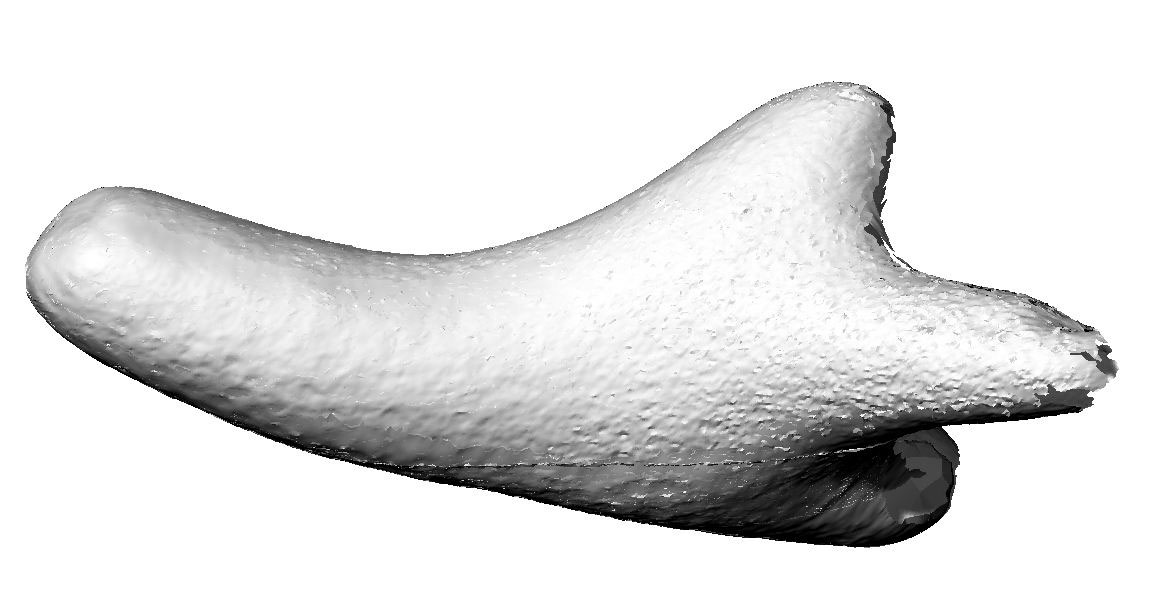
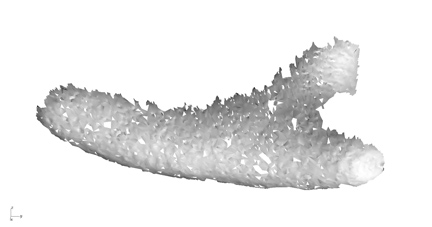
For the 3D Scanning assignment, I chose an object with an opaque yet detailed surface and a curvaceous shape: coral.
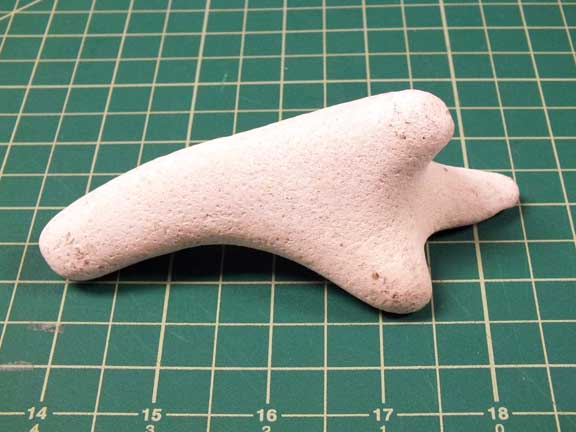
Due to the irregular geometry, I decided against the Sense, and used the Next Engine 3D Laser Scanner- with the hope that the turntable would allow for the (nearly) the full geometry to be scanned.
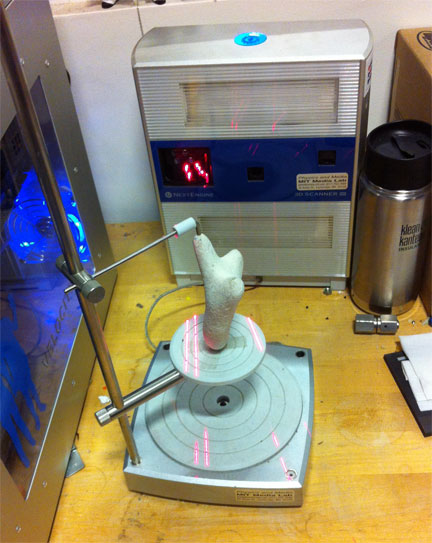
I would describe the results as okay, not great. Despite multiple attempts, I could never get a complete mesh (ignoring support contact areas).
The software initially was very user friendly, especially in cleaning up unwanted mesh information.
Patching holes appeared to be straightforward.
However, holes were not patched.
And attempts to fuse the mesh outright were unsuccessful.
Here is the mesh in Rhino, it looks nice where it is consistent, but the ends are clearly incomplete. Seams are also visible along the length of it.
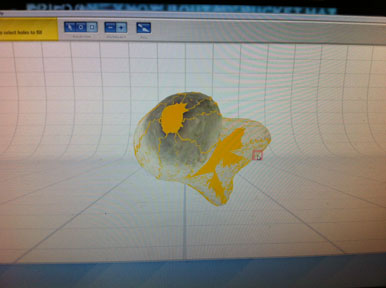
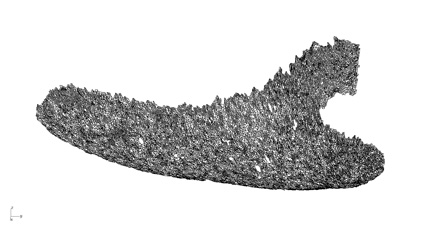
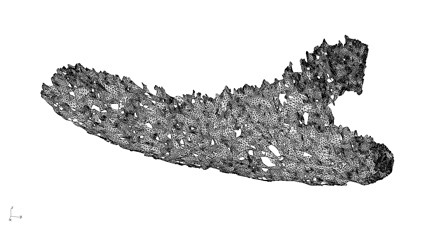
Isolating patches of mesh in Rhino, we can see there are varying sizes of holes.

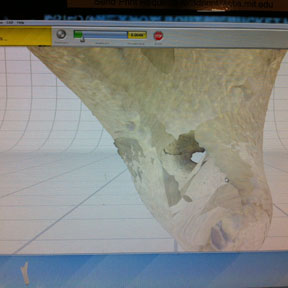
Reducing the mesh by 50% at a time gets us closer to a more friendly mesh.
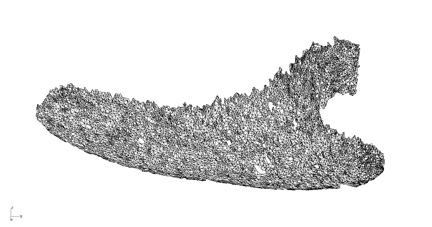
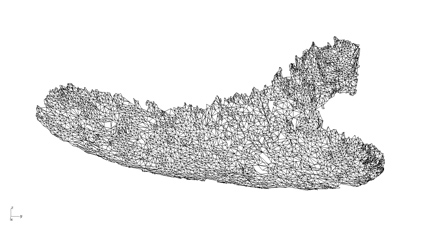
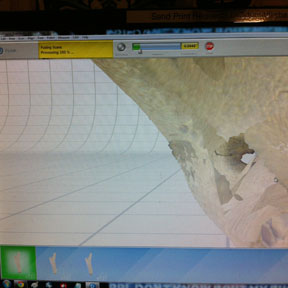
Weaverbird smoothing of a reduced mesh increases face count but reduces jagged seams.
Future attempts at 3d scanning will focus on getting closed meshes and increasing usefulness of the mesh by reducing the initial point count of the scan.