How to Make (Almost) Anything
Project 06
Title: Electronics Design
<1>
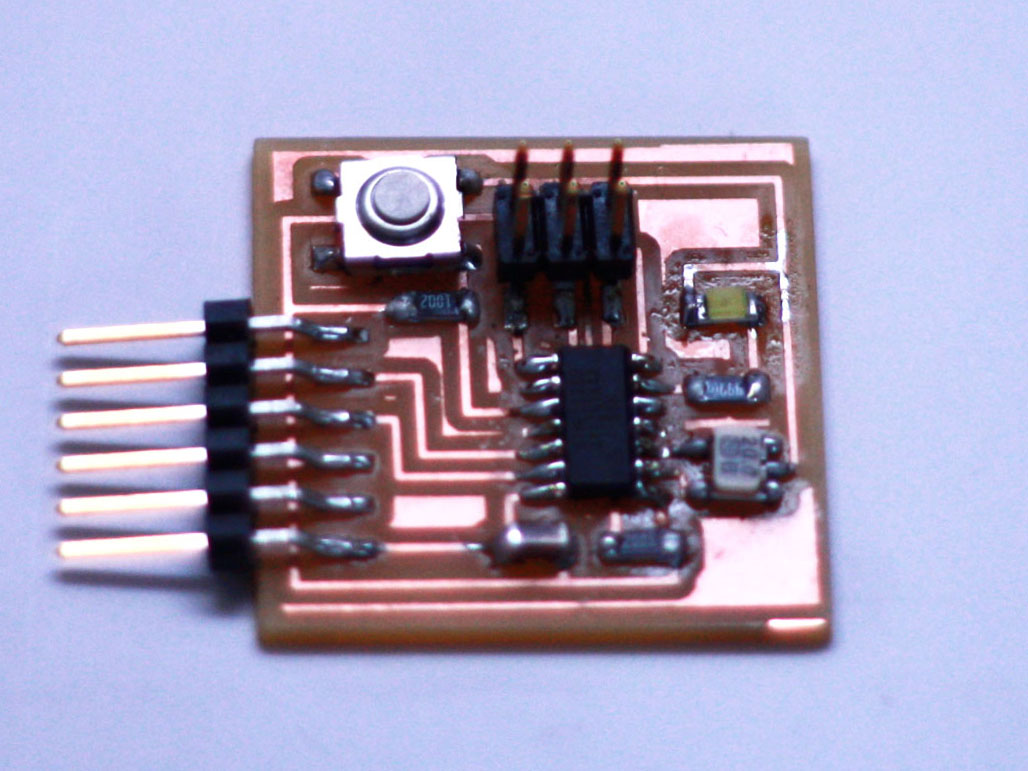
Design: Hello World of Electronics
Material:
- PCB (Printed Circuit Board)
- Copper Foil Tape (Flexible Circuit Board)
<1>
Hardware:
- Vinyl Cutter, Roland, GX-24,
<1>
<2>
Software:
- Eagle
<1>
- Fab-Module
<1>
Tutorials
- Jeff Geisinger, Class 2013
- Fab Academy, Class 2012
Description:
This week's assignment is to design, fabricate, and program the hellow world electronic circuit board.
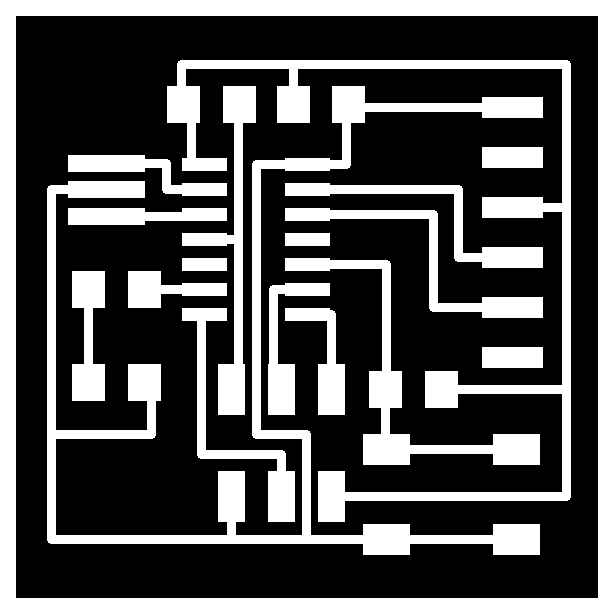
PCB (Printed Circuit Board): <1>
"A printed circuit board (PCB) mechanically supports and electrically connects electronic components using conductive tracks, pads and other features etched from copper sheets laminated onto a non-conductive substrate." (Wikipedia)
PCB milling: <1>
"Printed circuit board milling is the subtractive process of removing areas of copper from a sheet of printed circuit board material to recreate the pads, signal traces and structures according to patterns from a digital circuit board plan know as a layout file."" (Wikipedia)
Design:
This is a two-step design exercise. First step is to download the design template provided by Prof. Neil Gershenfield and reconstruct the same layout using Eagle. Second step is to add the following additional components: a switch and a LED.
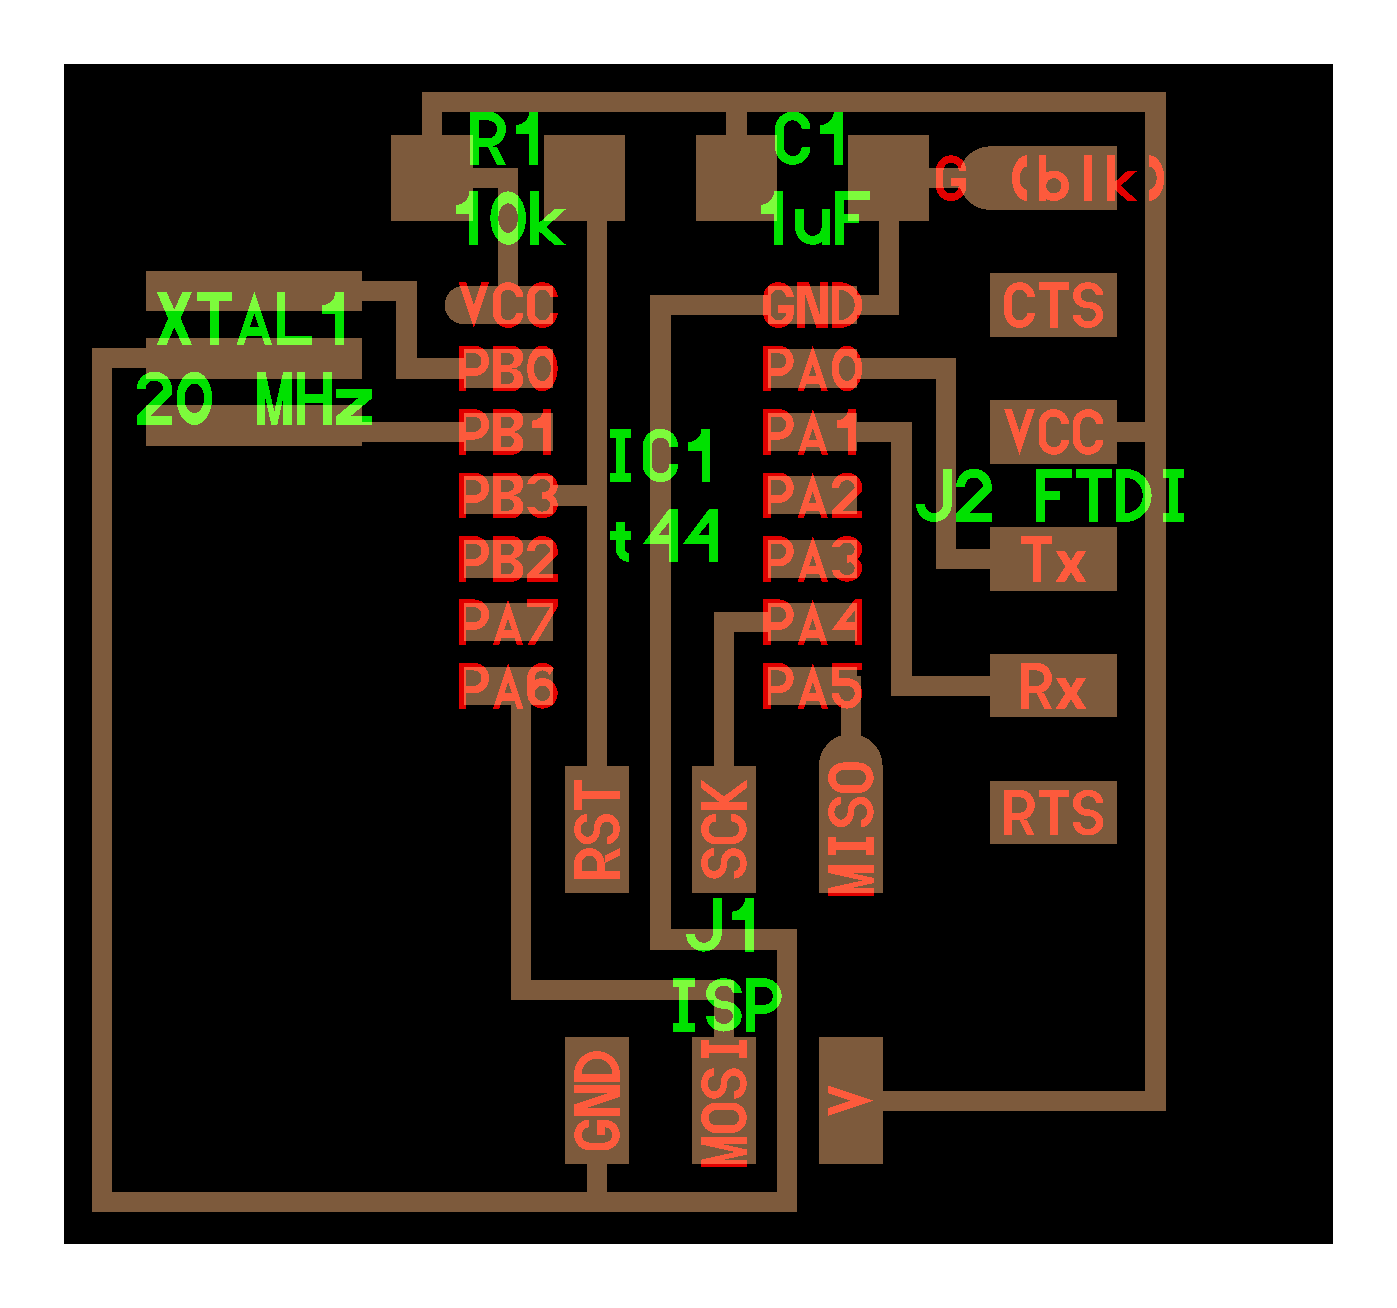
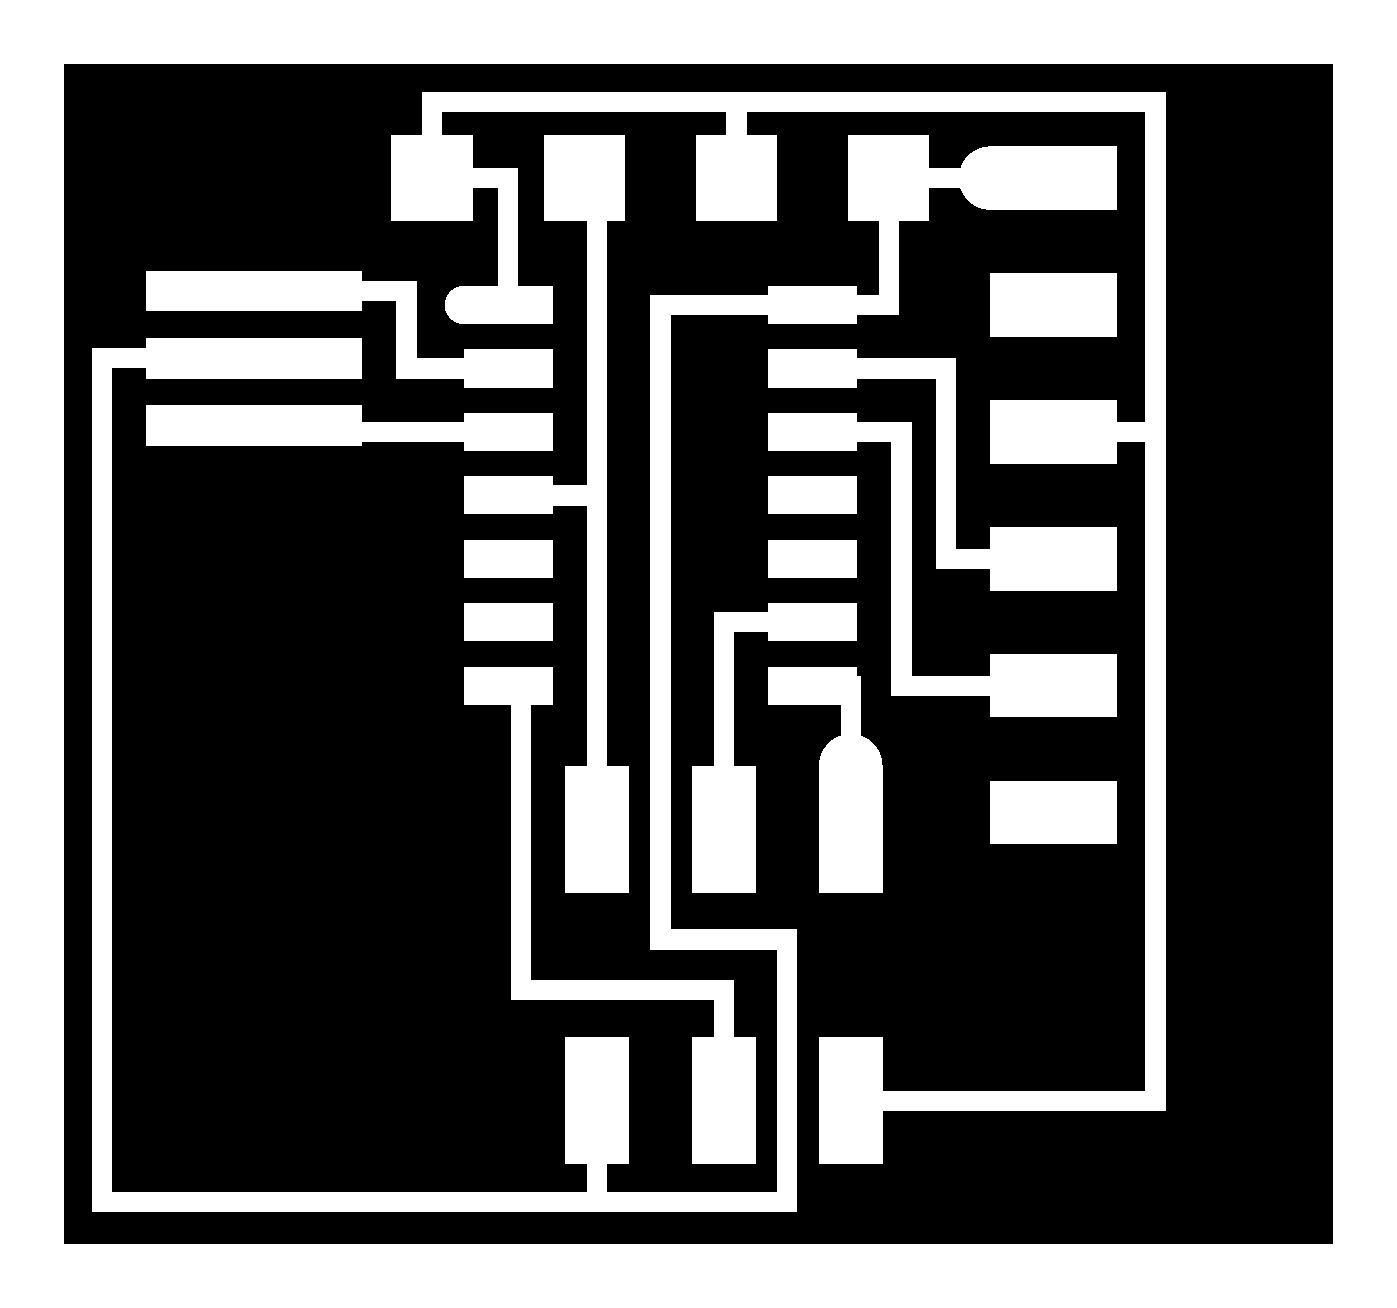
Neil's Template:

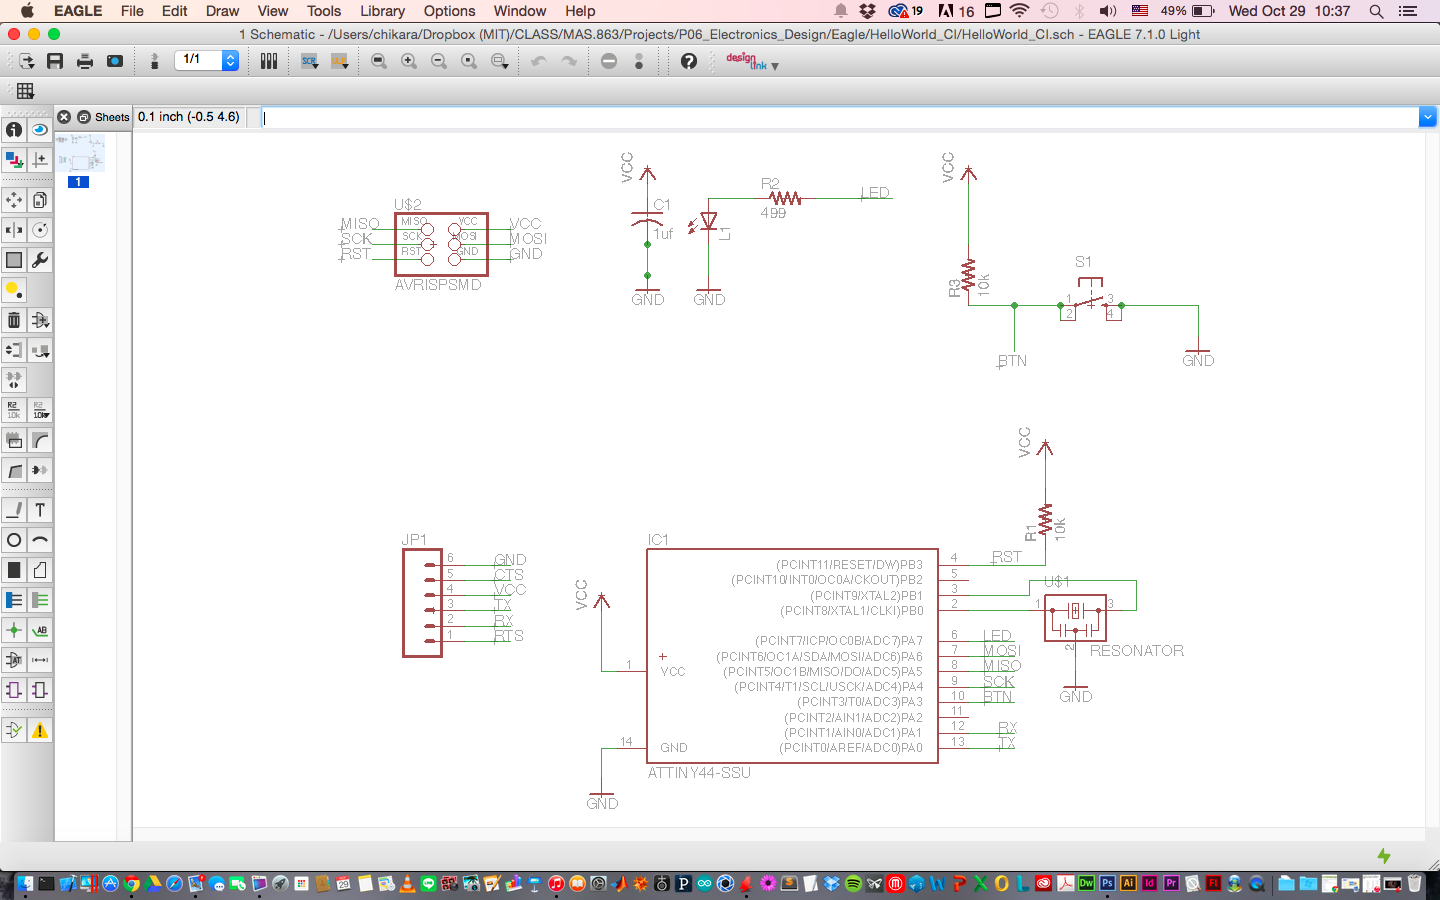
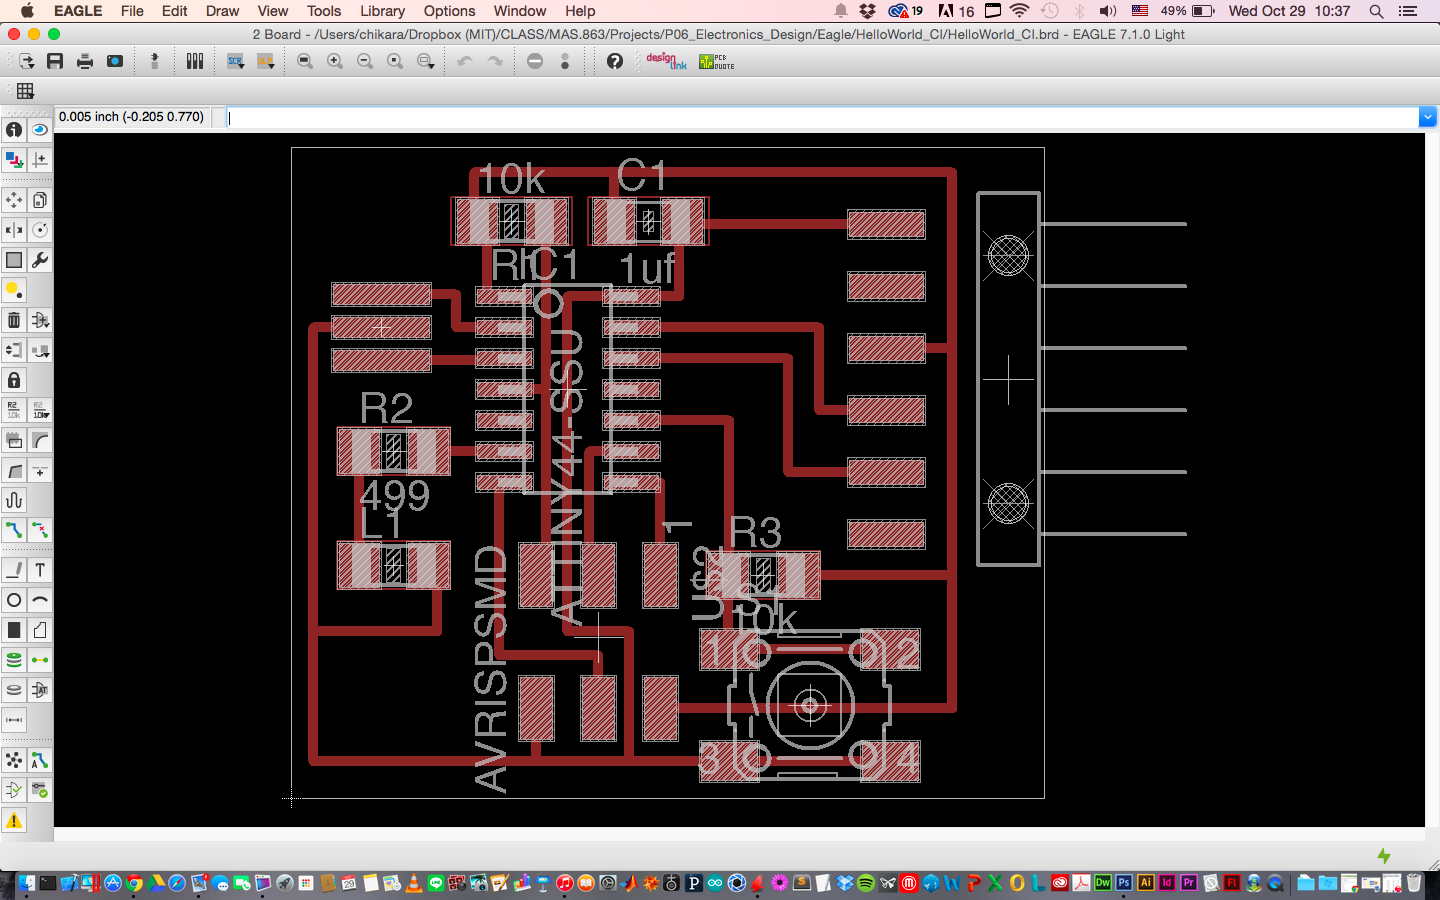
Customization: Adding a Swithc and a LED

Fabrication:
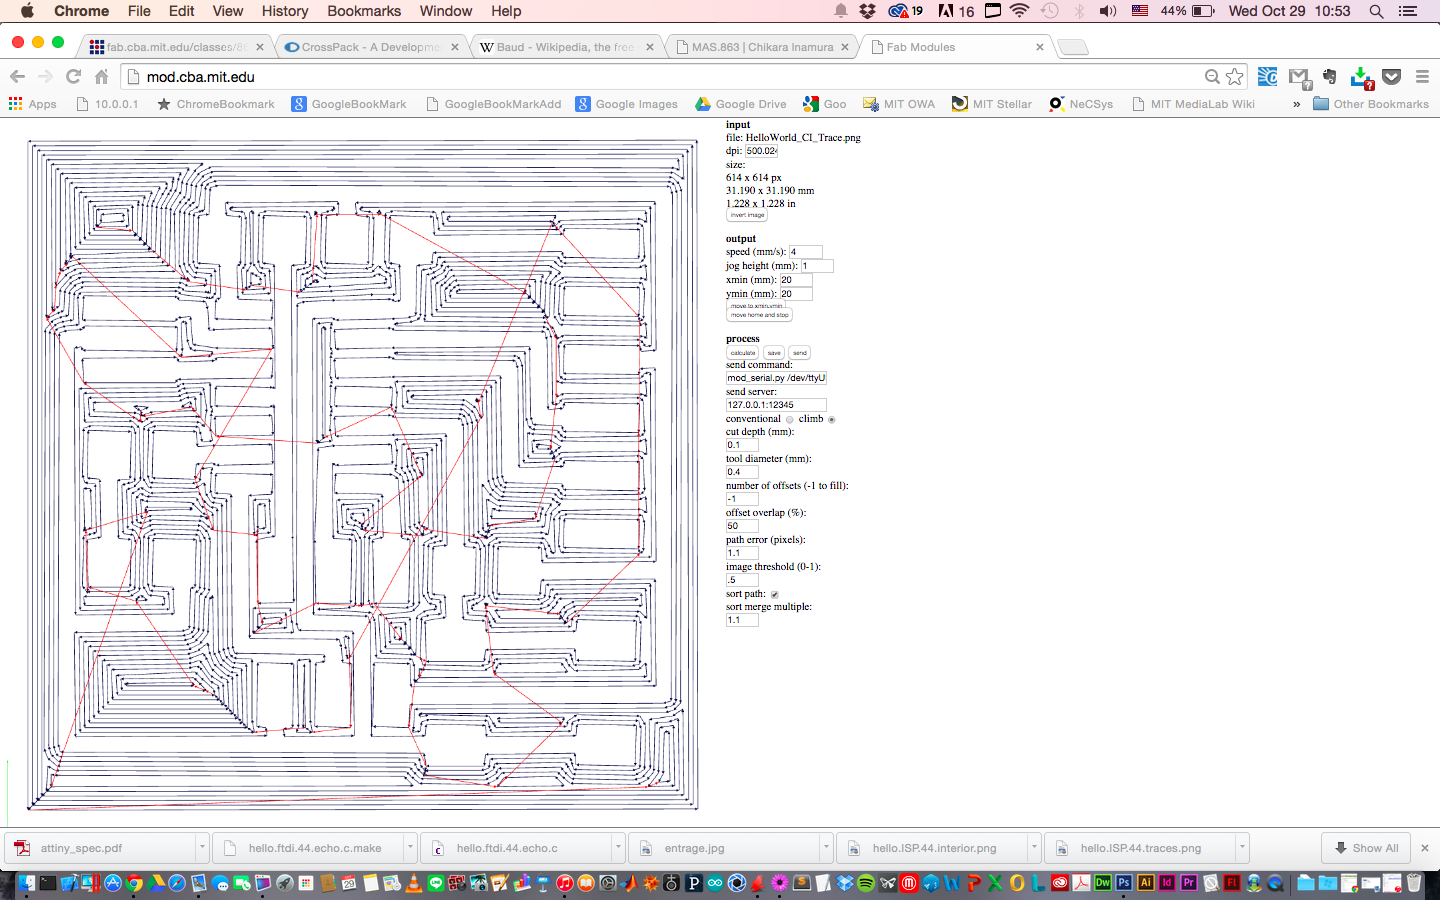
Problem:
Blindly following the default settings with Fab Module for Modela, the toolpath started to jump around all over the place. Later in the week, I've learned from Neil and classmates that this error was caused by not setting the right handshaking protocolo between software(computer that sends instruction signal) and hardware(microprocessor that receives the instruction signal).
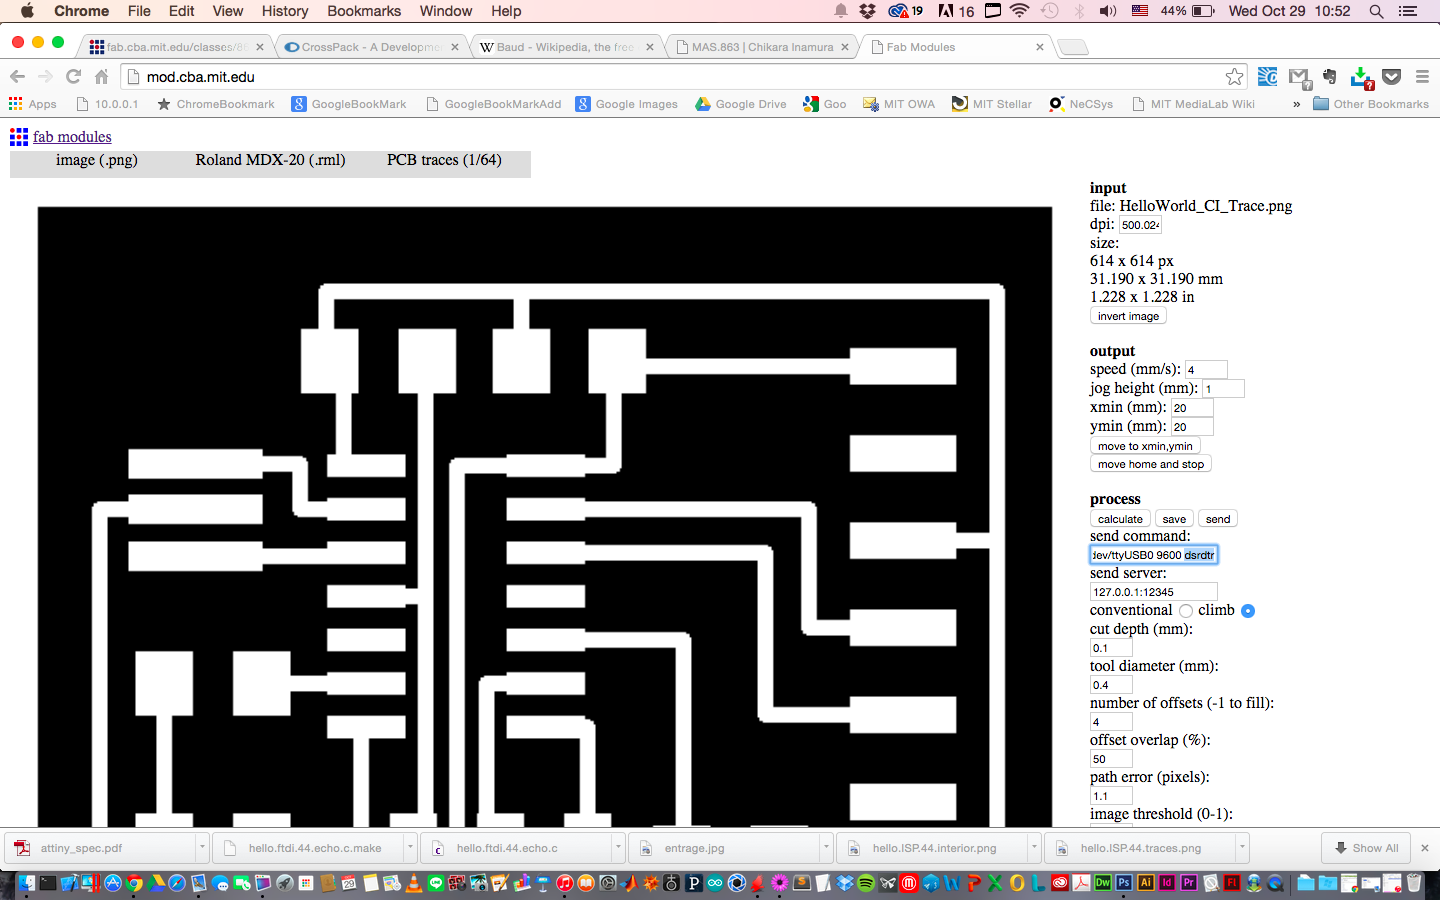
Handshake Protocol (dsrdtr vs rtscts):
//to be further documented...
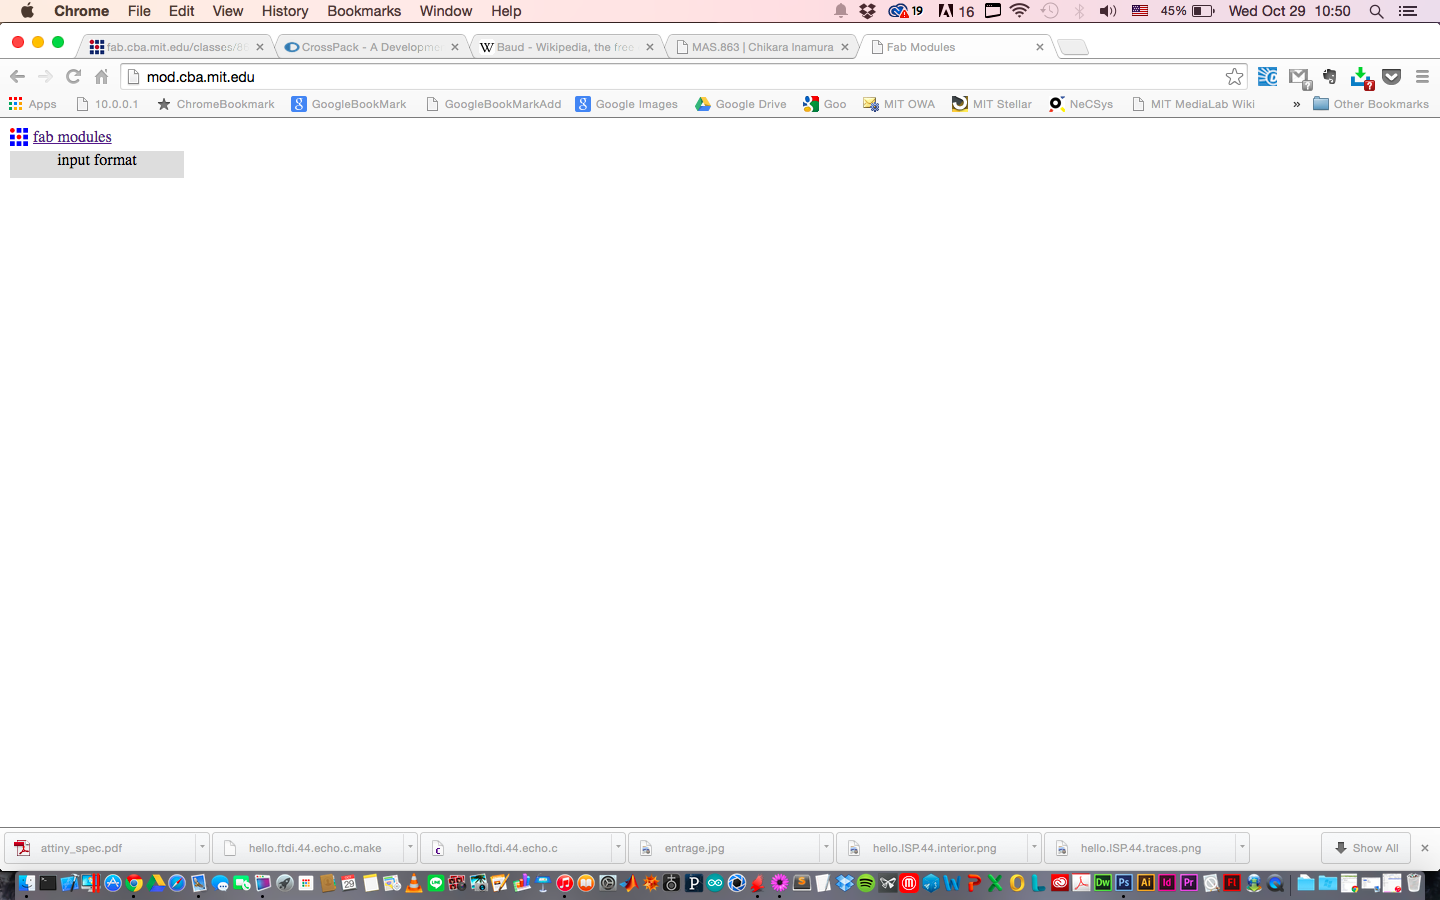
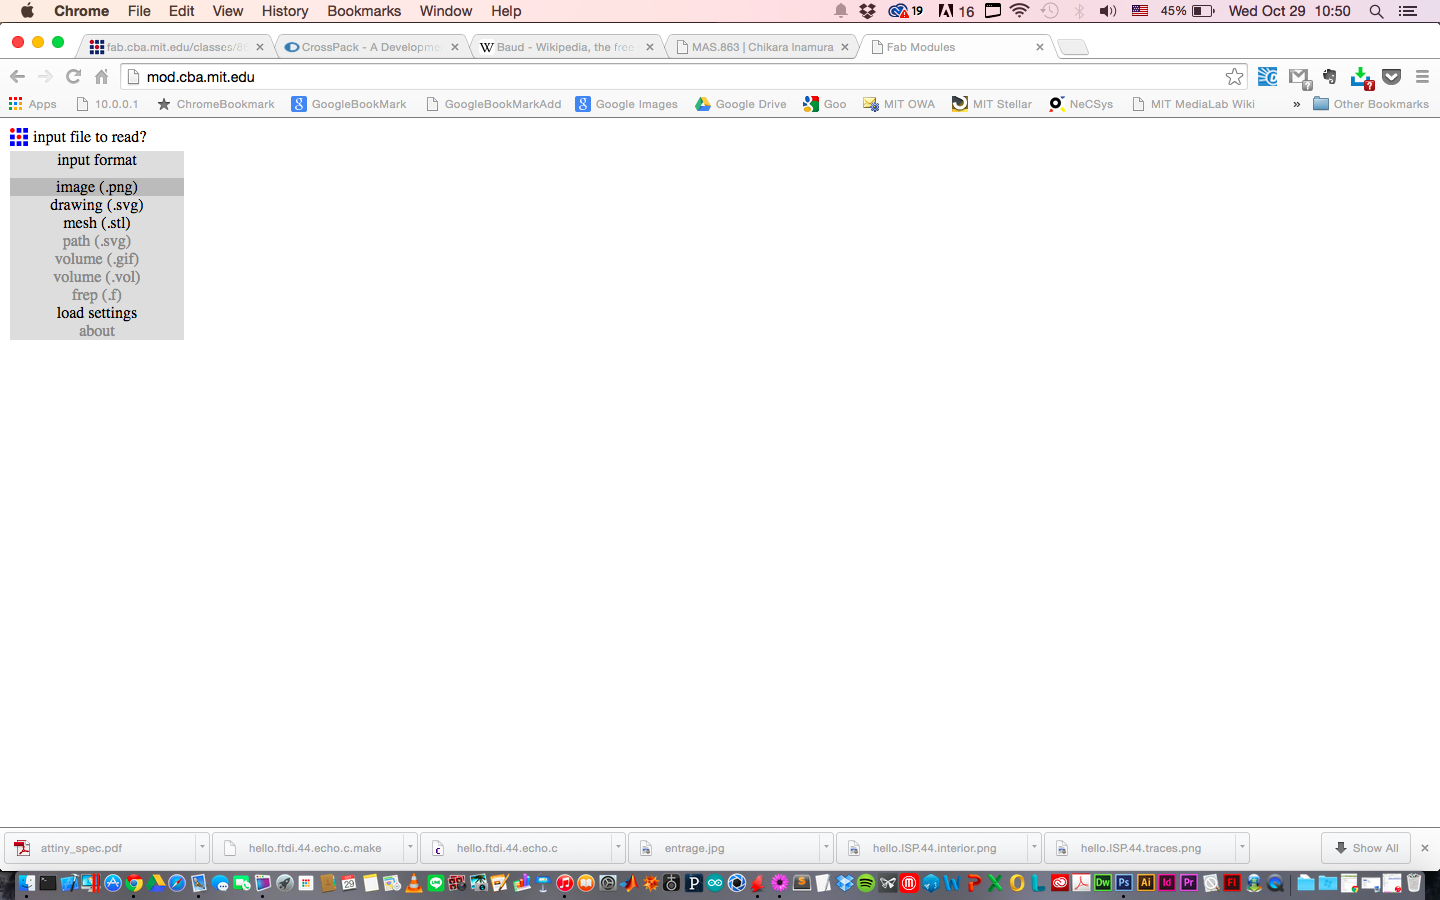
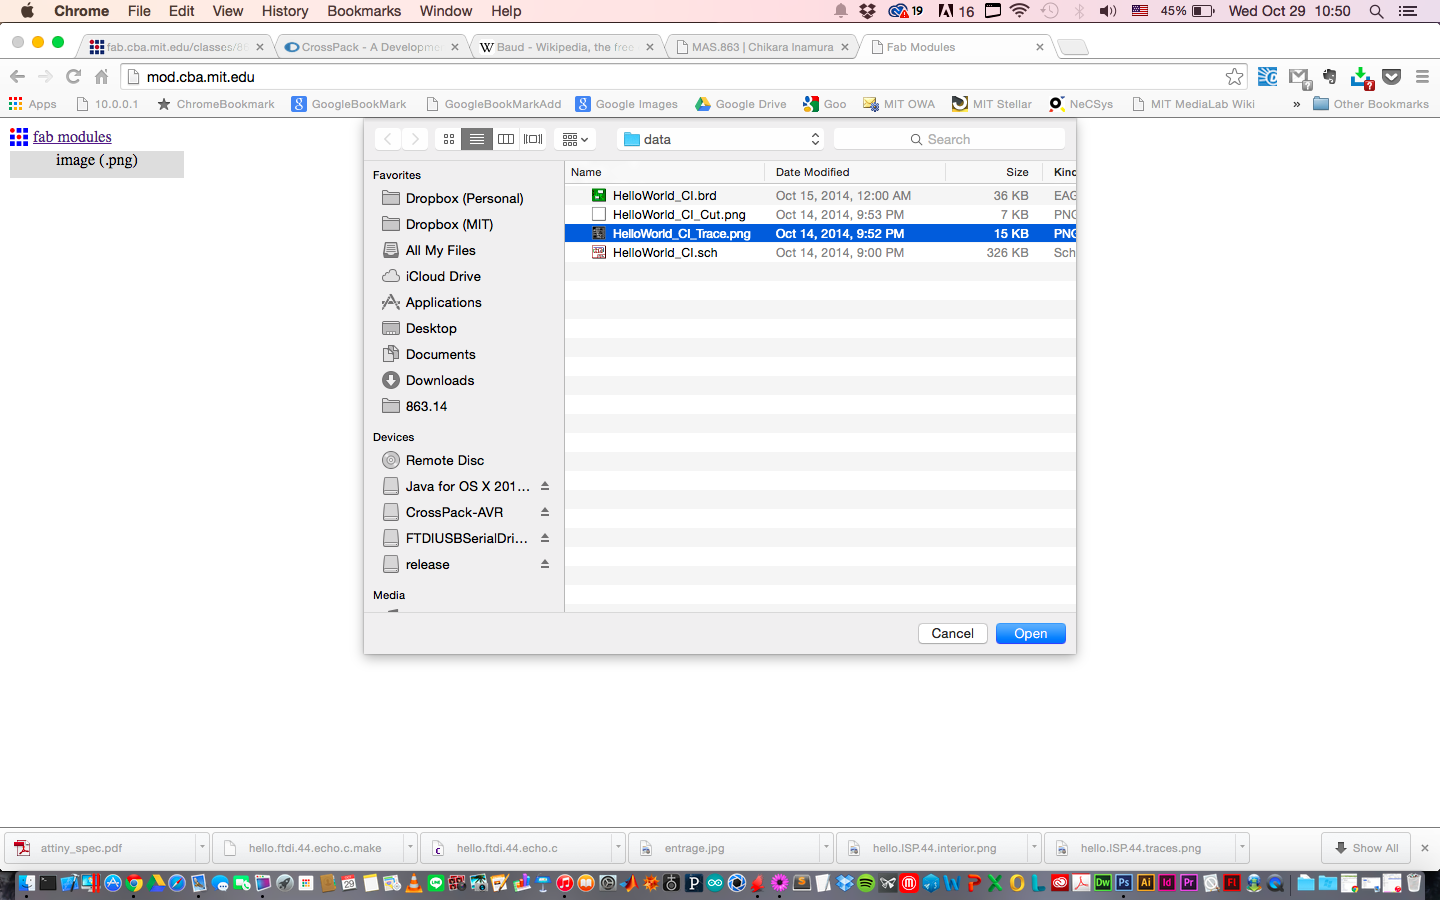
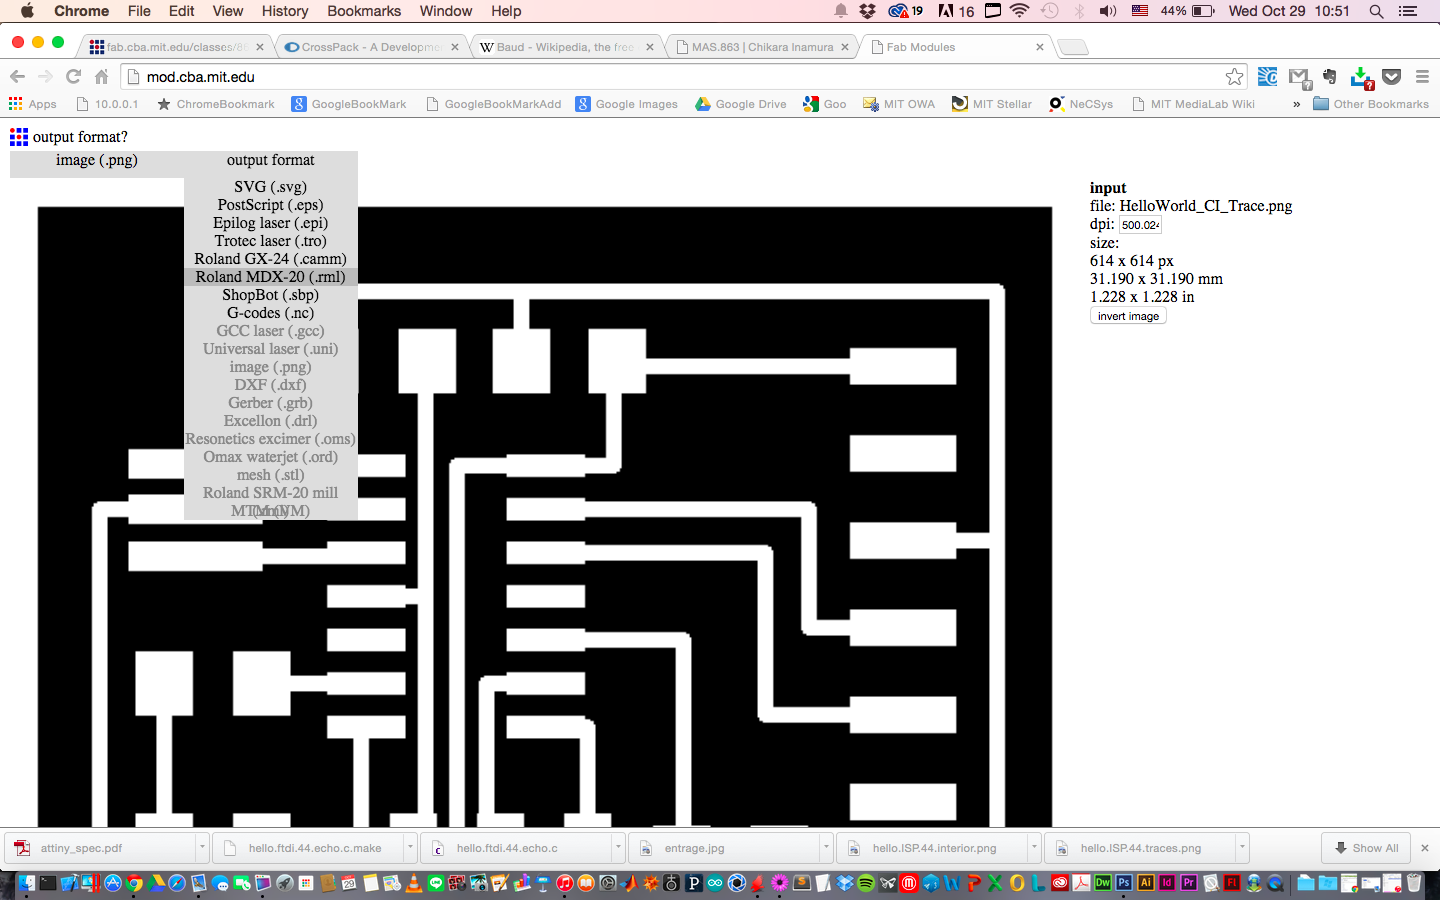
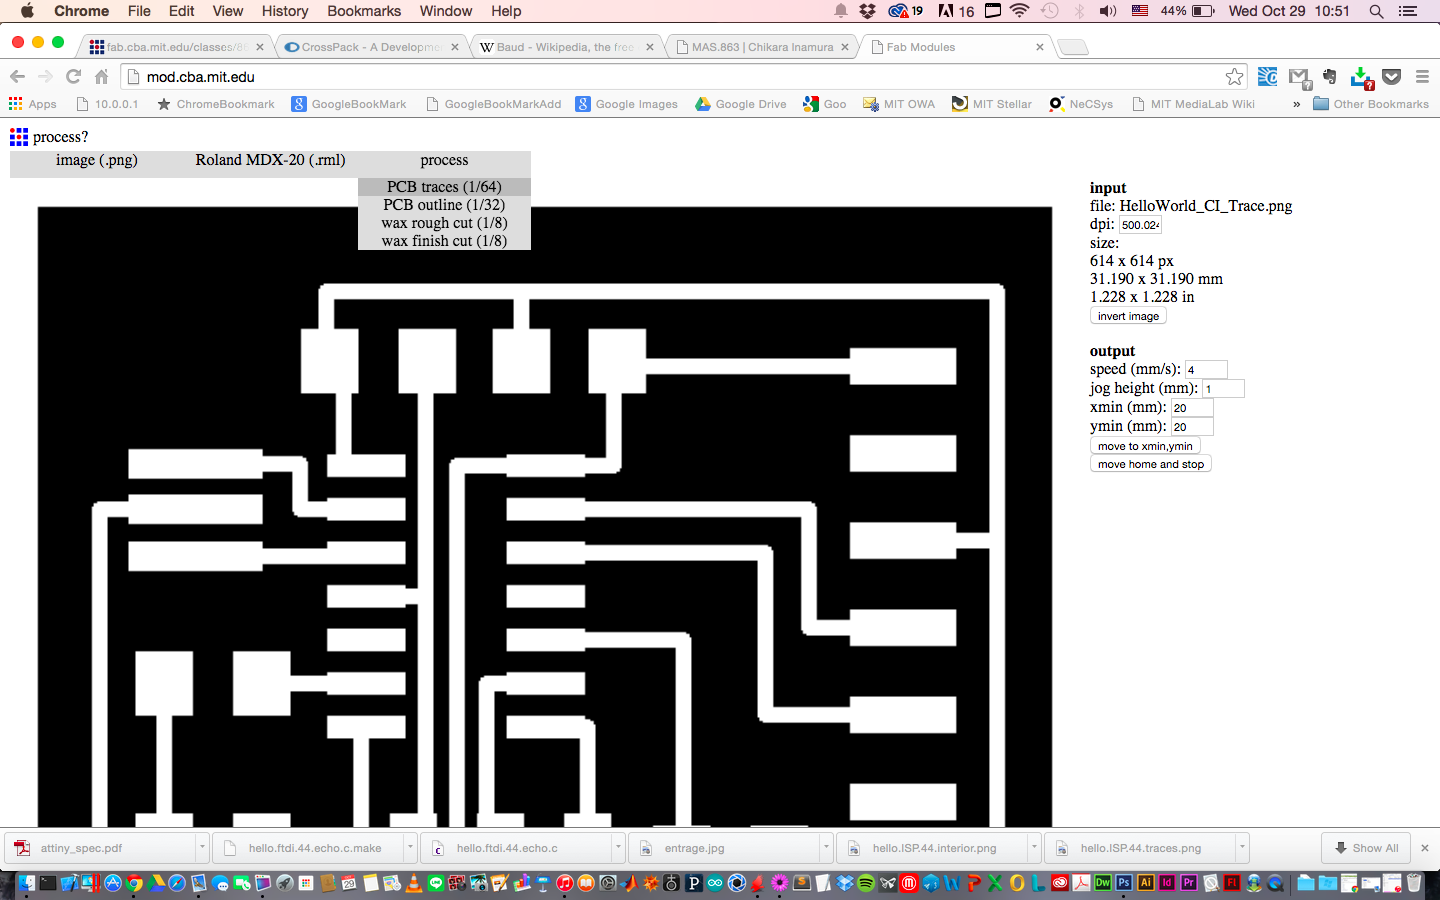
Fab Module:
Here's each step to implement the handshake protocol required for the serial port cable used for the Modela milling machine in the CBA shop at MIT Media Lab.


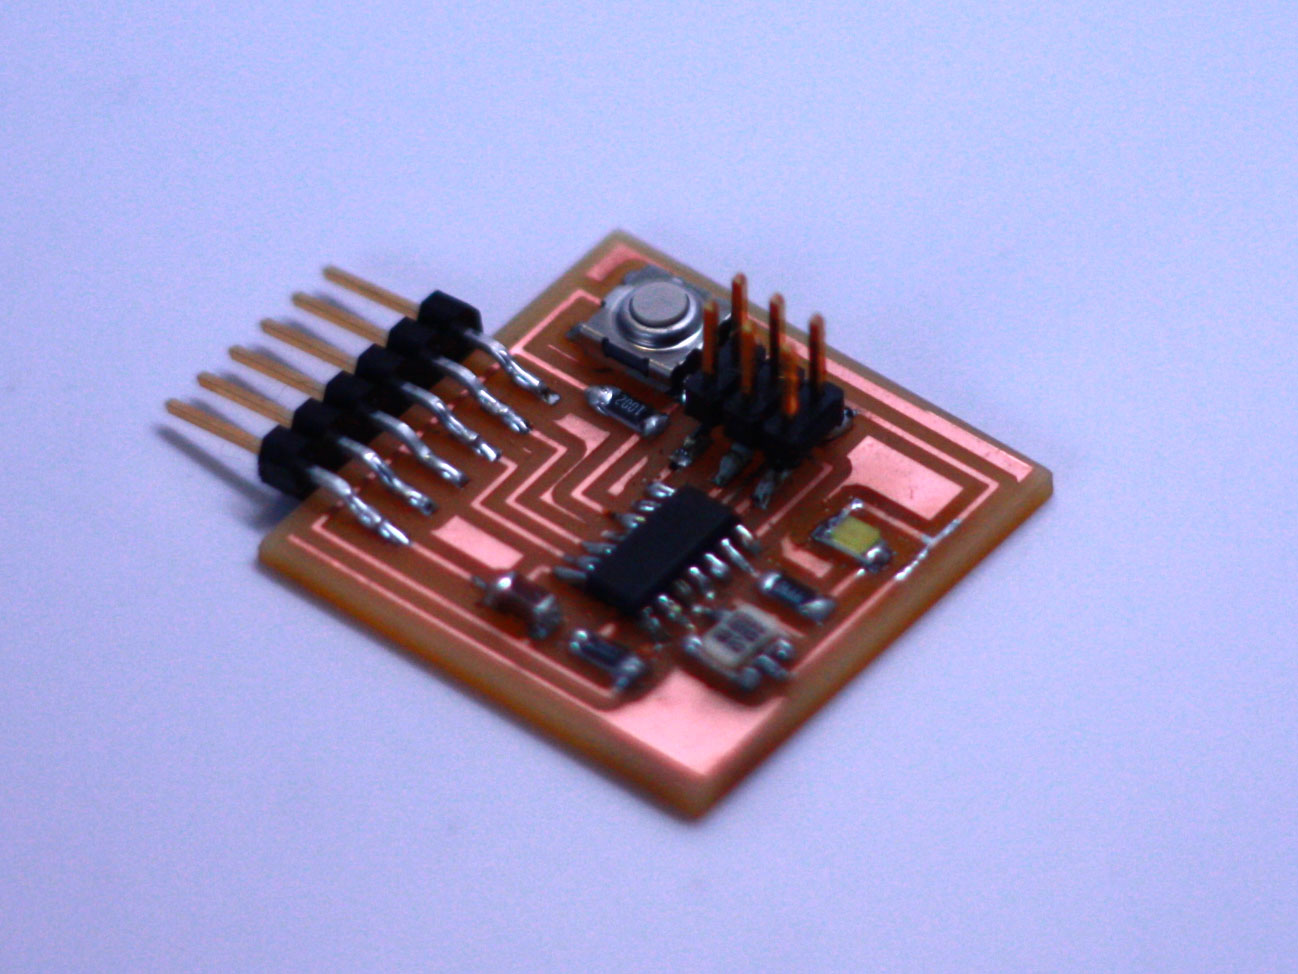
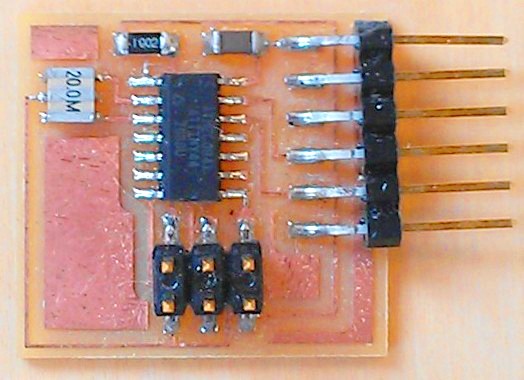
Stuffing:
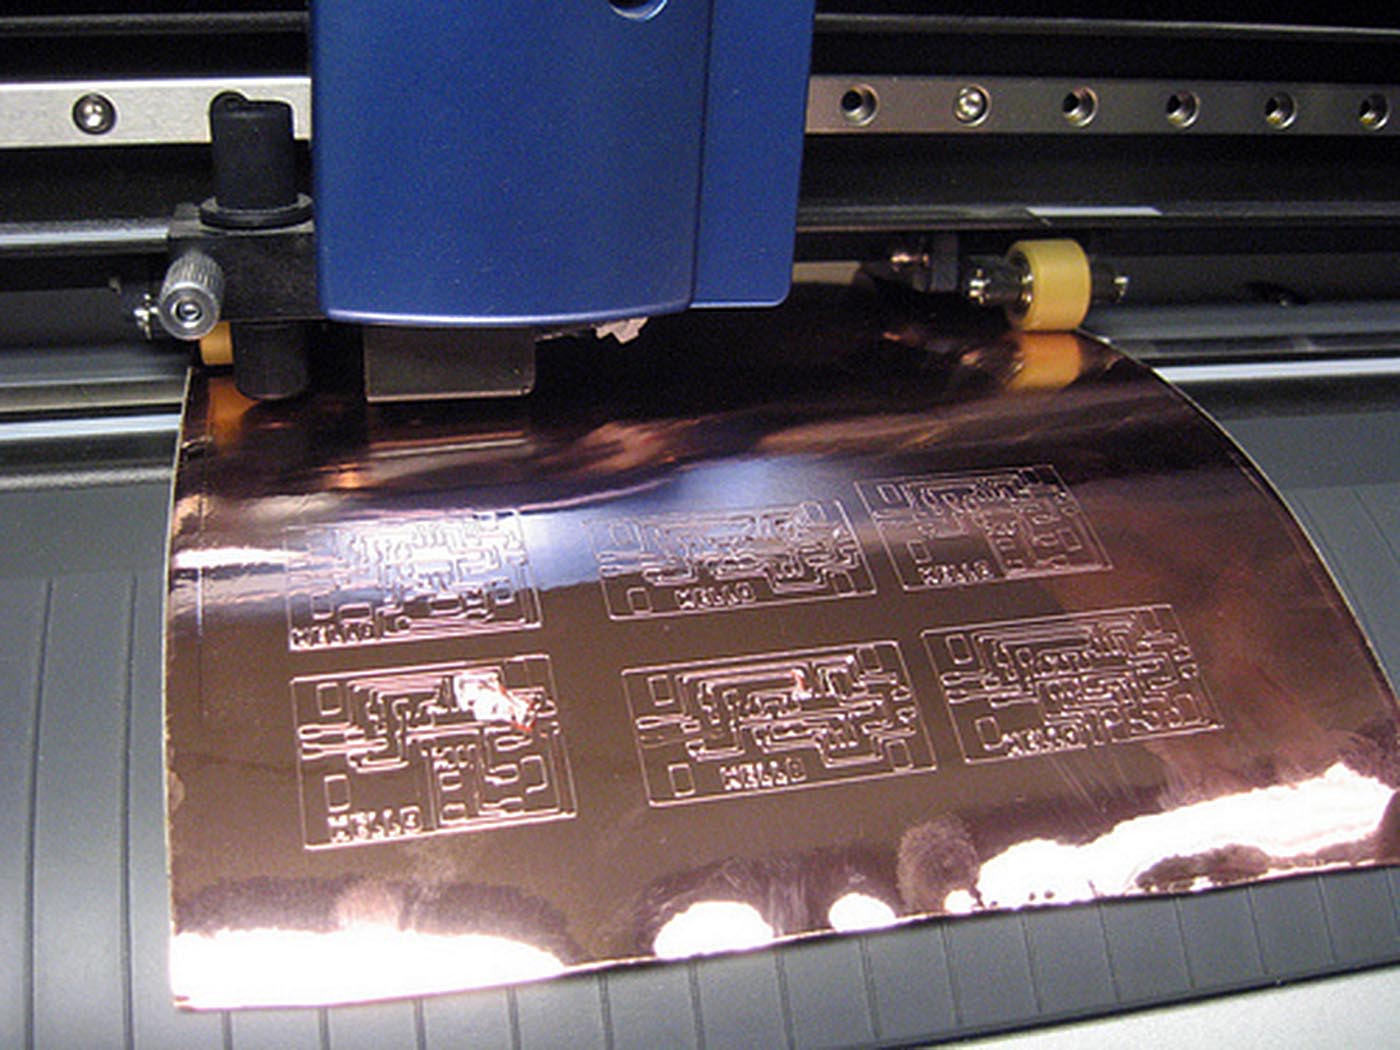
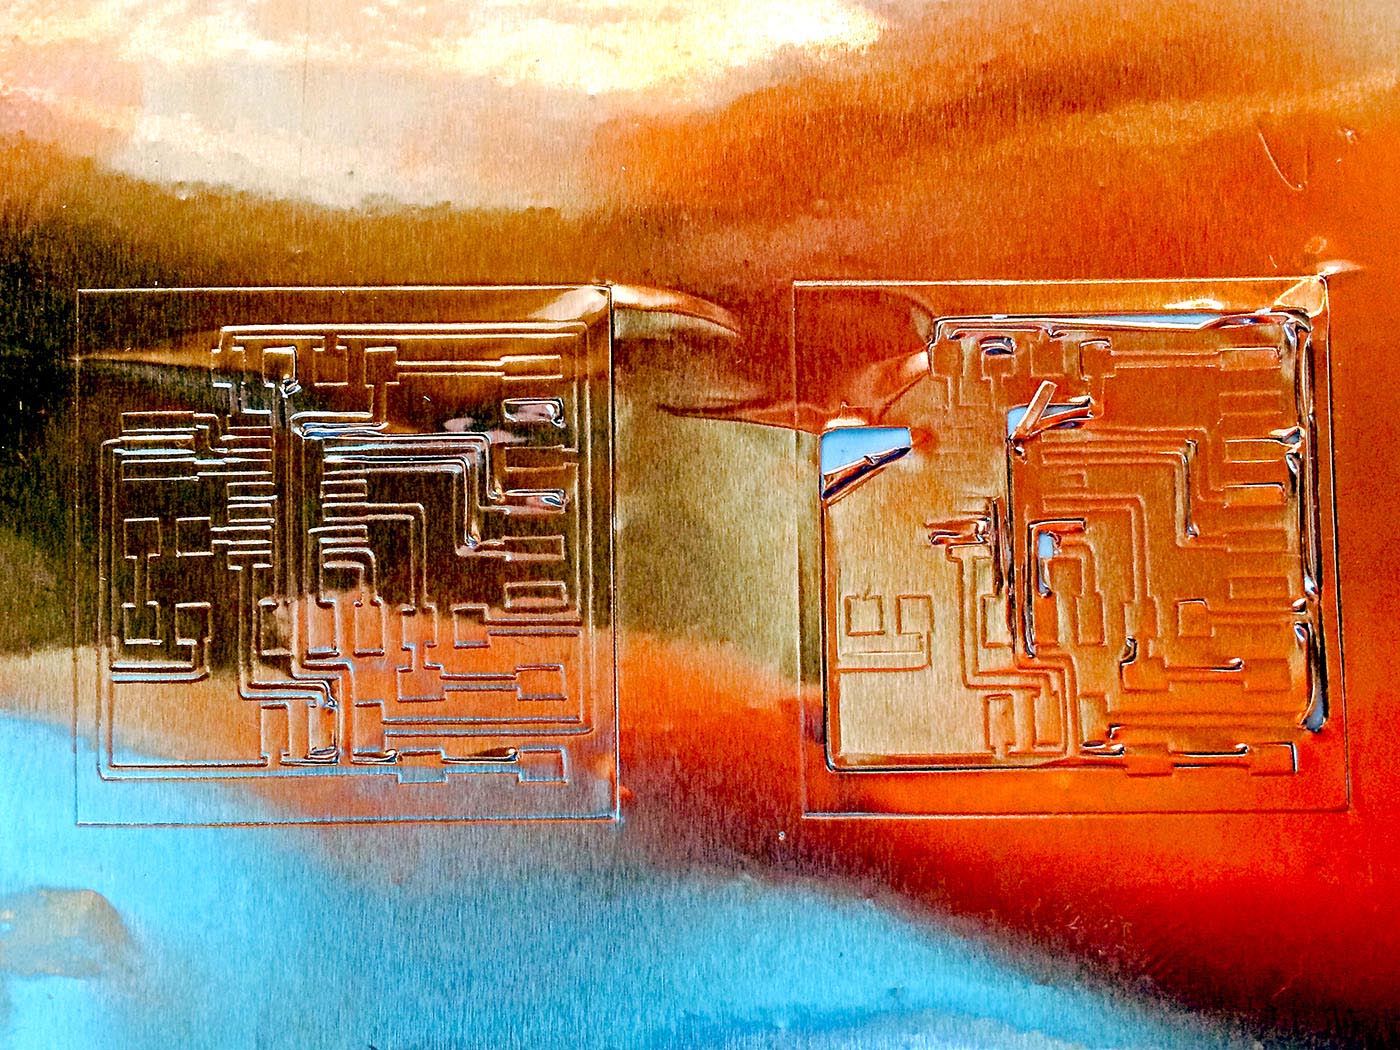
Vinyl Cutting:
Vinyl cutter has the following three parameters to find a "sweet spot" for each material to cut:
1. Brade Depth (Physical)
2. Force (Digital)
3. Speed (Digital)
I started with the default values for all three variables. The cuts came out clean but not cutting through all the way. Then I started adjusting the brade depth, force, and speed to dial in the right parameters. When I increase the force, it started to cut through but at the same time dragged the material with it. Same case for the increased brade depth. This needs a little more time to dial in the right combination of the input parameters.