The center section met on Saturday with Nadya and James. We decided that our end effector would be a magnet and that the programming would be to play a game of magnetic chess. The first task that I volunteered to do was to help laser cut/construct the actuators. Ines, Tiandra, and I worked on that for awhile. It was very difficult to figure out how to put them together because the gif on Nadya and James' site was super fast. I kept using the printscreen function to get different snapshots of the steps. Apparently, there is another way to separate each image in the gif as a layer, but I'm not too sure about how to do it.
Next, I worked on the table and chess board design. We wanted the machine to be under a table with the board on top.
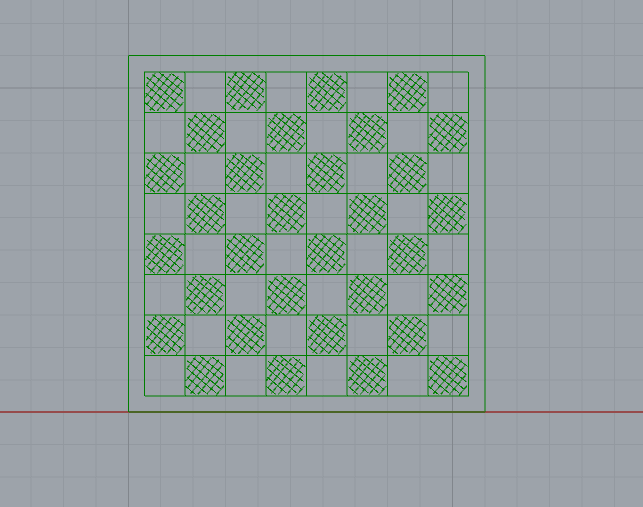
We started by measuring the maximum distance the machine could move in the x and y directions. The maximum distance is approximately 11.5 inches along both axes. This gave us the constraints for the board. To be conservative, we decided to go with a board that would span 11 inches by 11 inches. A chess board is 8 spaces by 8 spaces, so we decided to make each space 1.25 inches by 1.25 inches (making the spaces span 10 inches by 10 inches) and leave a half-inch perimeter around the spaces as storage for chess pieces that get "killed." We decided to use masonite as the material for the board. The board design will be scored by the laser cutter into the masonite. The board design can be seen below:
The next consideration was how to place the board above the machine. We decided that it would be cool to have the machine enclosed inside a box so that it would not be seen as the game of chess was being automatically played. However, due to material constraints, we ended up choosing to design only the edges of the box with a flat surface on the top for the board. Using the machine size as a constraint, we decided that the box would be 31 inches by 31 inches by 31 inches. The masonite pieces we had available were 32 inches by 16 inches. So, we decided to design teeth for the pieces of the table to press-fit together. The depth of the teeth were designed to be the width of the masonite. The table design from Rhino can be seen below:
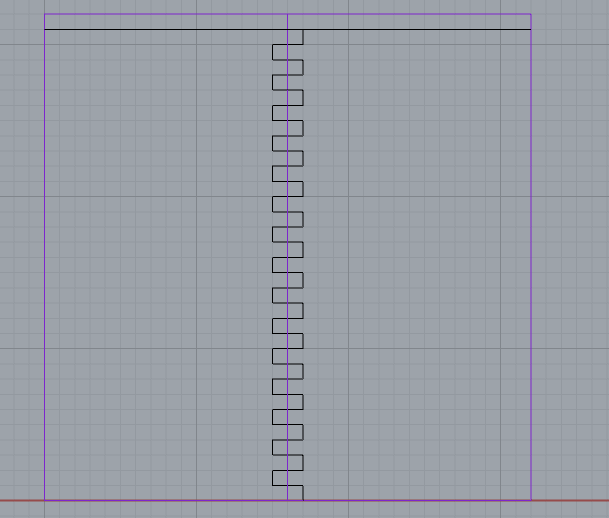
First pass to make the press-fit table surface.
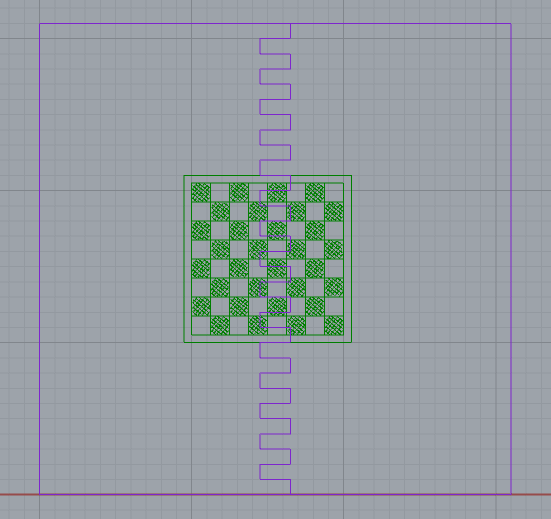
Second pass to score the board onto the surface.
The pictures of the table design are what I had designed. I had to leave for a little while, and some modifcations were made to make the spacing of the top surface consistant with the spacing of the teeth in the vertices of the rest of the table. The final designs can be seen on the west section's machine building page here.
Finally, I compiled all of the documentation from everyone's individual work from the week. Some people added to the documentation later on. Again, the compilation can be seen on the west section's machine building page.