electronics production
fabISP
milling+soldering+programming
class tutorial
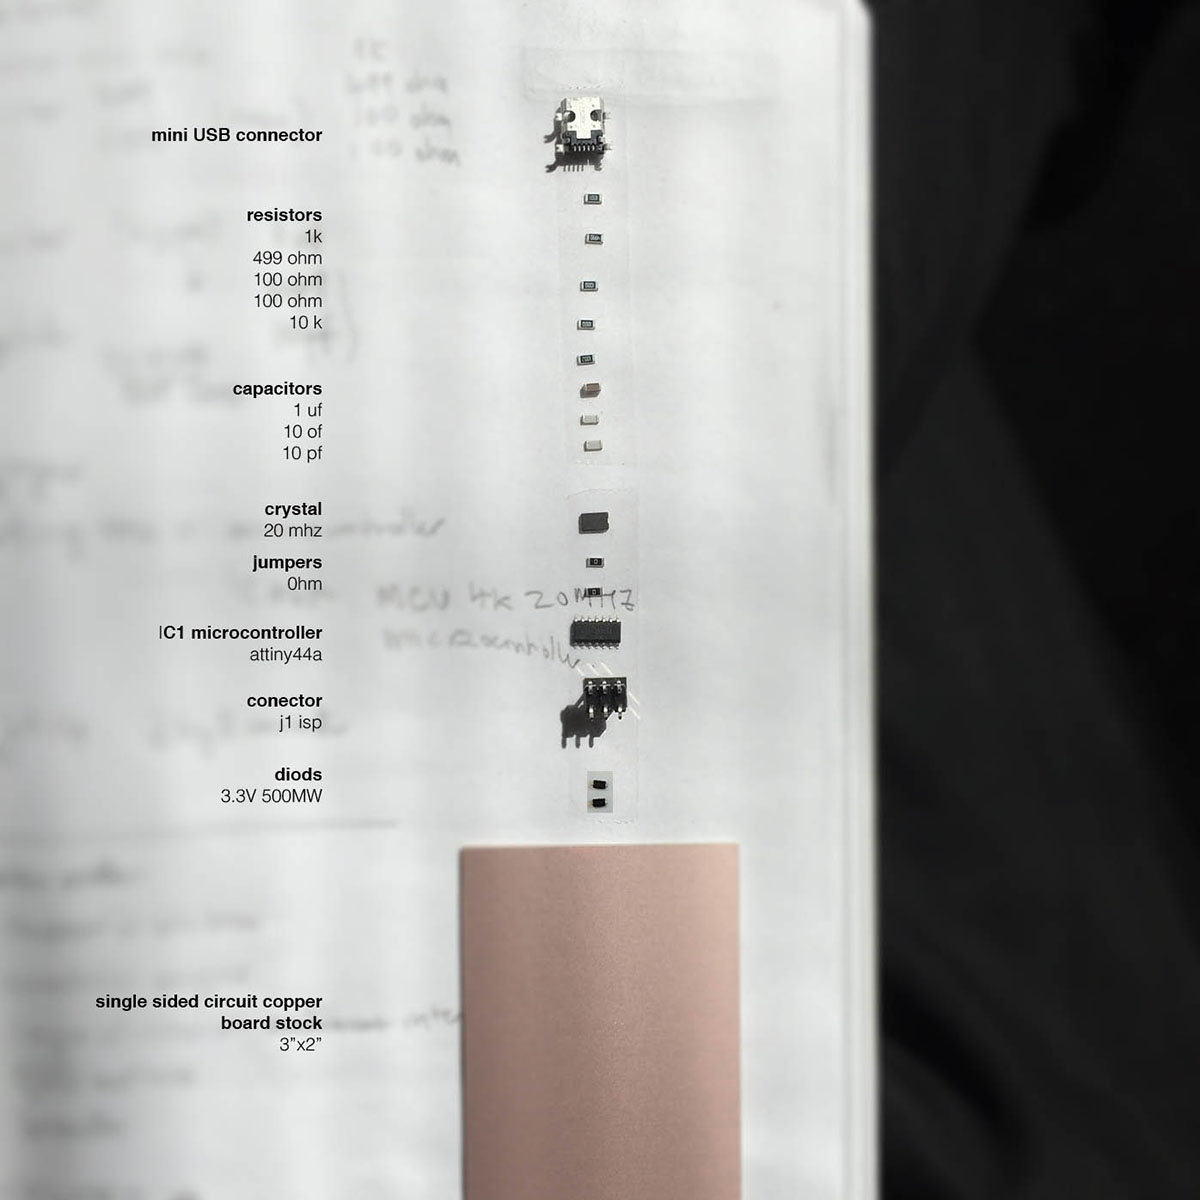
fabISP components: mini USB connector; resistors (5): 1k, 499 ohm, 100 ohm, 100 ohm, 10 k; capacitors (3): 1 uf, 10 of, 10 pf; crystal: 20 mhz; jumpers: 0hm; IC1 microcontroller: attiny44a; conector: j1 isp; diods (2): 3.3V 500MW; single sided circuit copper board stock: 3”x2”
milling
output: ROLAND MODELA MDX-20
output controller: http://mod.cba.mit.edu/index.html
guide:
- use double-sided tape to attach the board tightly to bed (it might float during milling if you don't)
- use shiny bits for milling (1/64 interior, circuits, traces + 1/32 exterior, outline)
- set origin visually using 'x' and 'y' fab module controller (write down this numbers!)
- set origin height using 'up' and 'down' output controller
- upload (customized!) traces file: .png or .svg formats
- calculate path
- send path to output (check % during progress!)
- mill two boards if you are new to this process (next step's needed skills might surprise you)
true story:
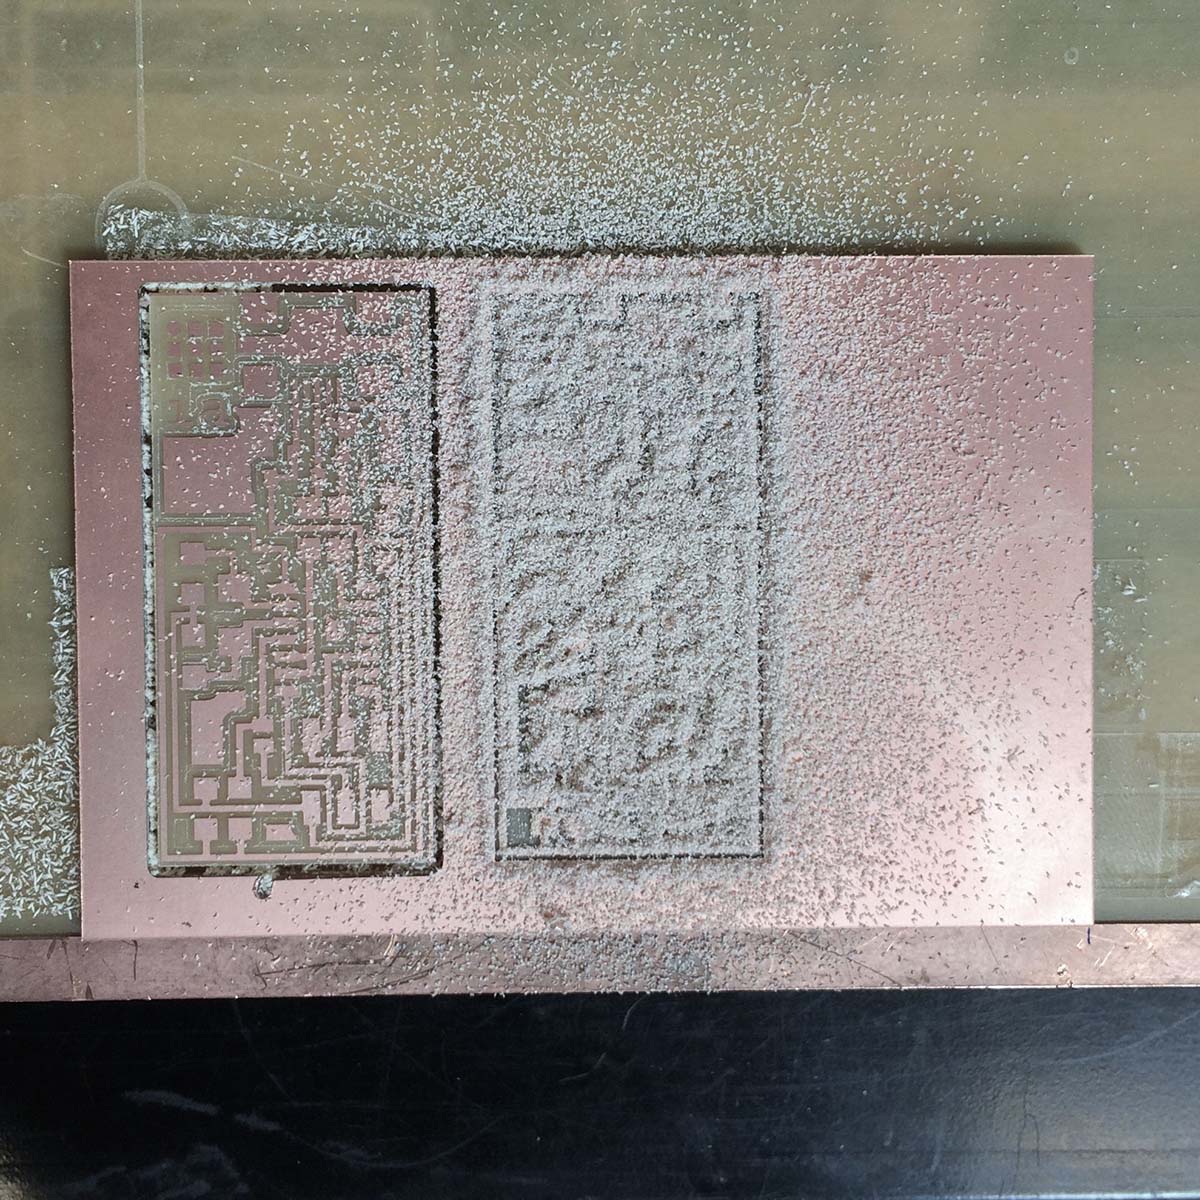
in my first milling the board wasn't enough secured to the bed. traces were milled perfectly but during outline milling (1/32, deeper) the board started to float. i had to stop the machine (worrying moment), attach the board again and then start outline milling from the beggining again.
results:
soldering
stuffing:
- microcontroller (pins shouldn't touch each other)
- resistors (no specific direction, work either way)
- capacitors (no specific direction, work either way)
- diods (specific orientation: thin line to the right)
- jumpers (no specific direction, work either way)
- crystal (specific orientation: dot upper left)
- usb (tiny! pins shouldn't touch each other)
- conector (too big: leave it for the end)
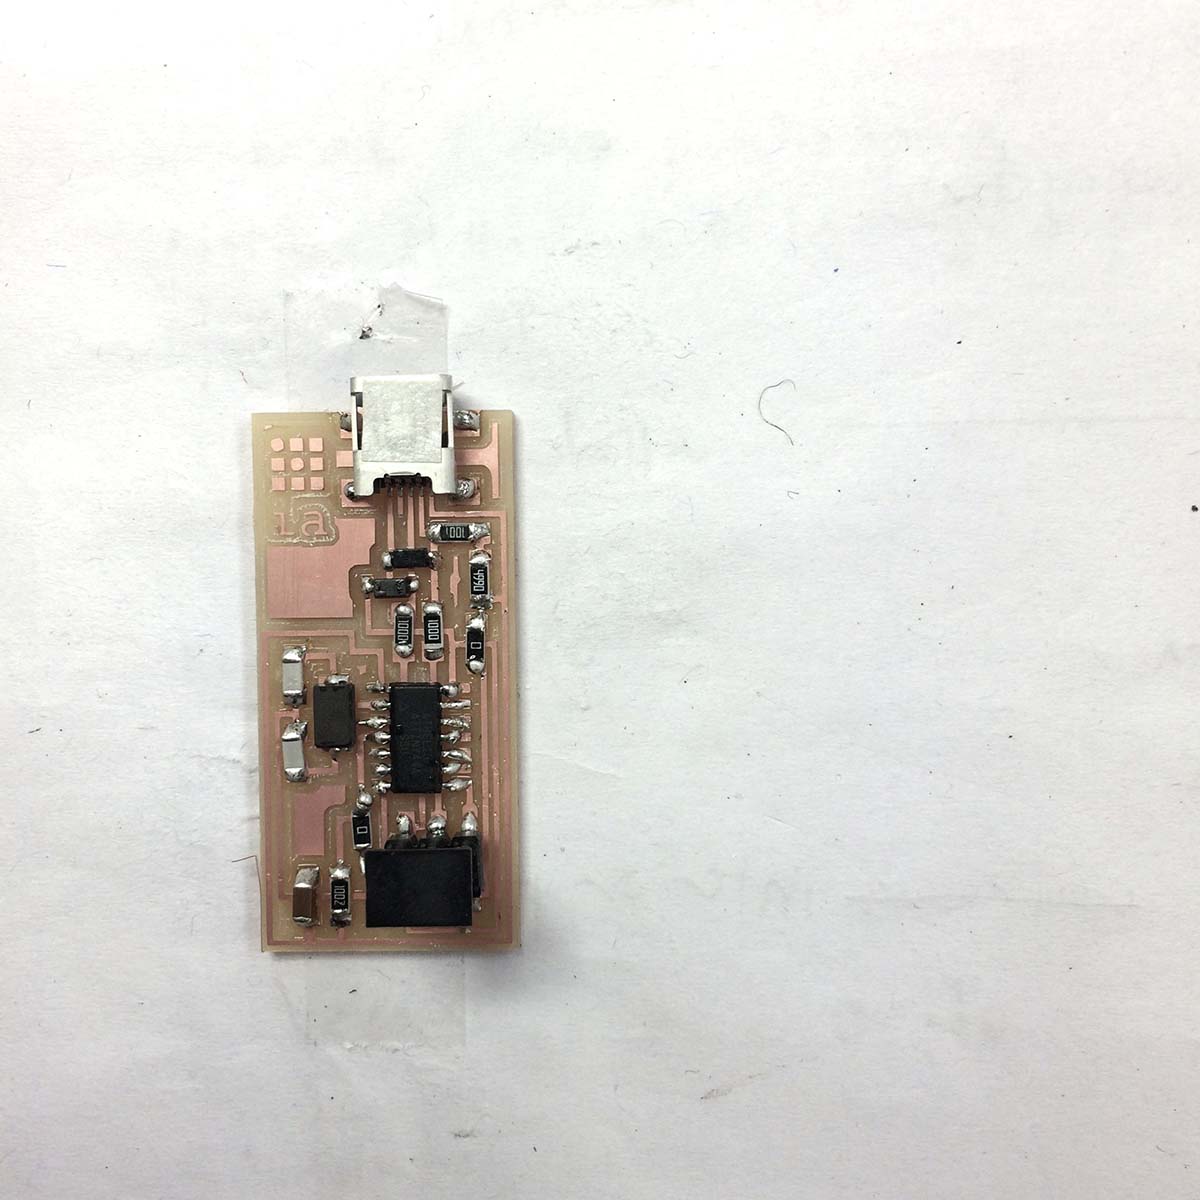
first result:
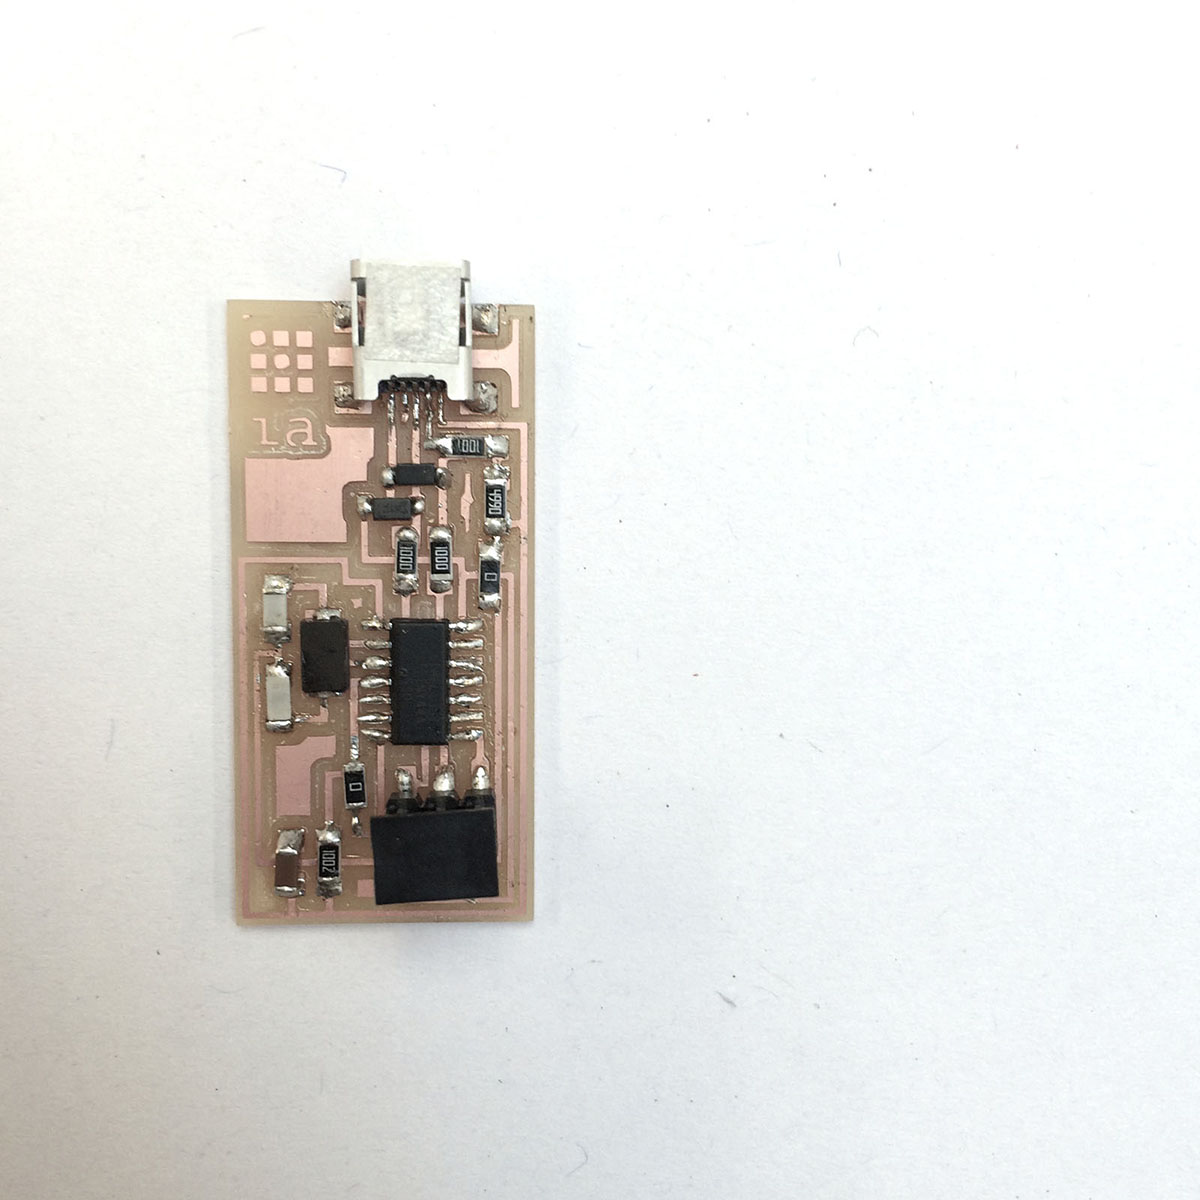
retouching:
milling+soldering+programming
class tutorial
fabISP components: mini USB connector; resistors (5): 1k, 499 ohm, 100 ohm, 100 ohm, 10 k; capacitors (3): 1 uf, 10 of, 10 pf; crystal: 20 mhz; jumpers: 0hm; IC1 microcontroller: attiny44a; conector: j1 isp; diods (2): 3.3V 500MW; single sided circuit copper board stock: 3”x2”
milling
output: ROLAND MODELA MDX-20
output controller: http://mod.cba.mit.edu/index.html
guide:
- use double-sided tape to attach the board tightly to bed (it might float during milling if you don't)
- use shiny bits for milling (1/64 interior, circuits, traces + 1/32 exterior, outline)
- set origin visually using 'x' and 'y' fab module controller (write down this numbers!)
- set origin height using 'up' and 'down' output controller
- upload (customized!) traces file: .png or .svg formats
- calculate path
- send path to output (check % during progress!)
- mill two boards if you are new to this process (next step's needed skills might surprise you)
true story:
in my first milling the board wasn't enough secured to the bed. traces were milled perfectly but during outline milling (1/32, deeper) the board started to float. i had to stop the machine (worrying moment), attach the board again and then start outline milling from the beggining again.
results:
soldering
stuffing:
- microcontroller (pins shouldn't touch each other)
- resistors (no specific direction, work either way)
- capacitors (no specific direction, work either way)
- diods (specific orientation: thin line to the right)
- jumpers (no specific direction, work either way)
- crystal (specific orientation: dot upper left)
- usb (tiny! pins shouldn't touch each other)
- conector (too big: leave it for the end)
first result:
retouching:
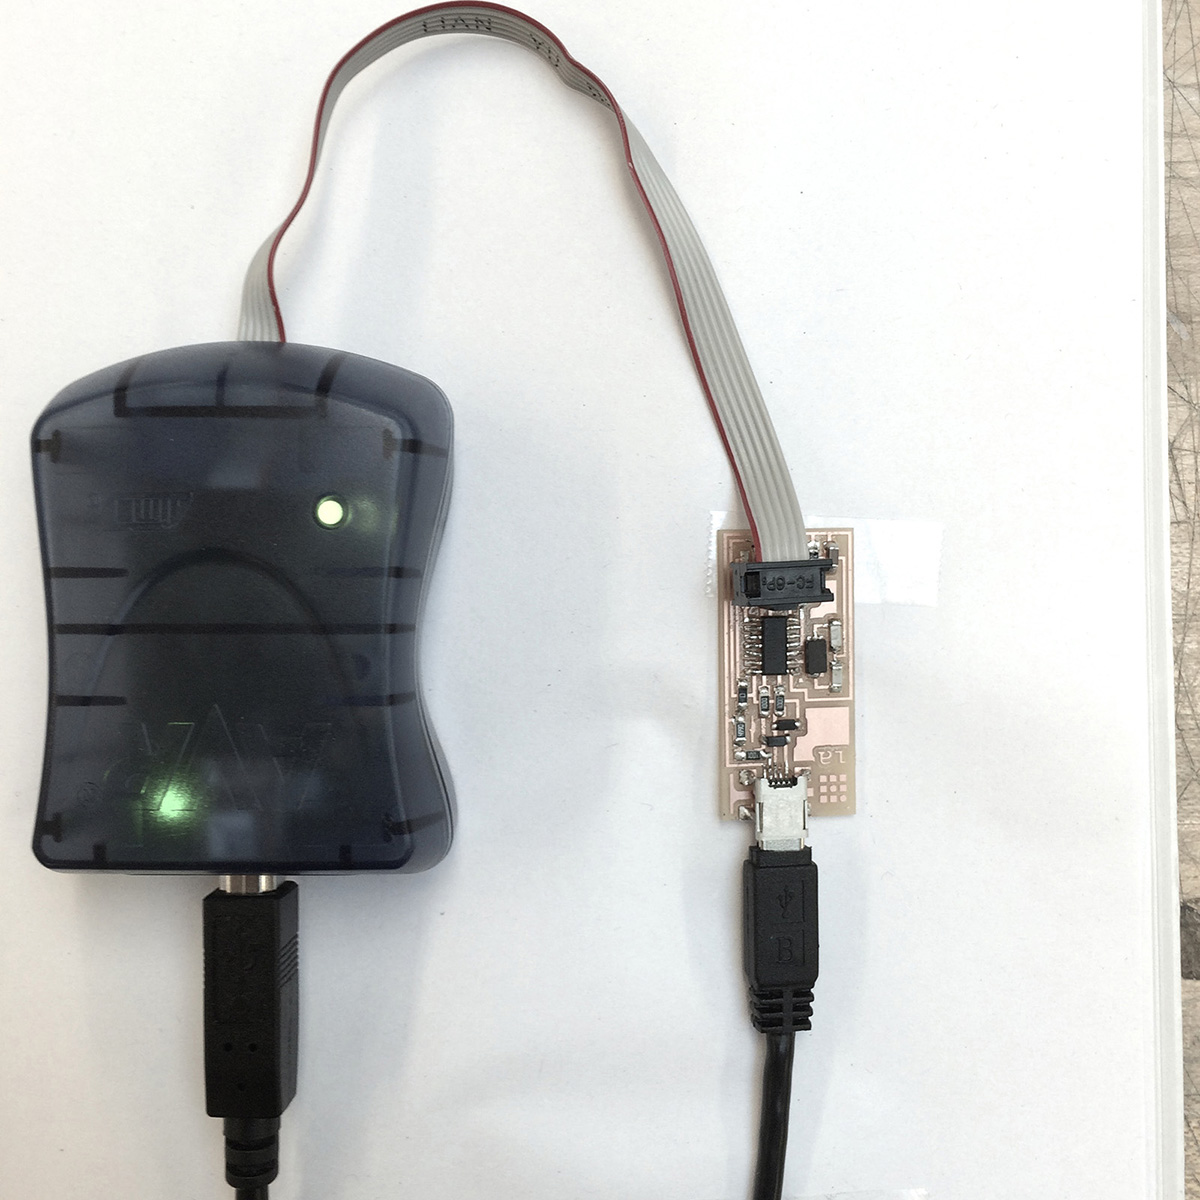
programming
- smoke test
- install AVR programming software
- download and unzip firmware
- give power to fabISP (check lights!)
- program the fabISP: make clean; make hex; sudo make fuse; sudo make program
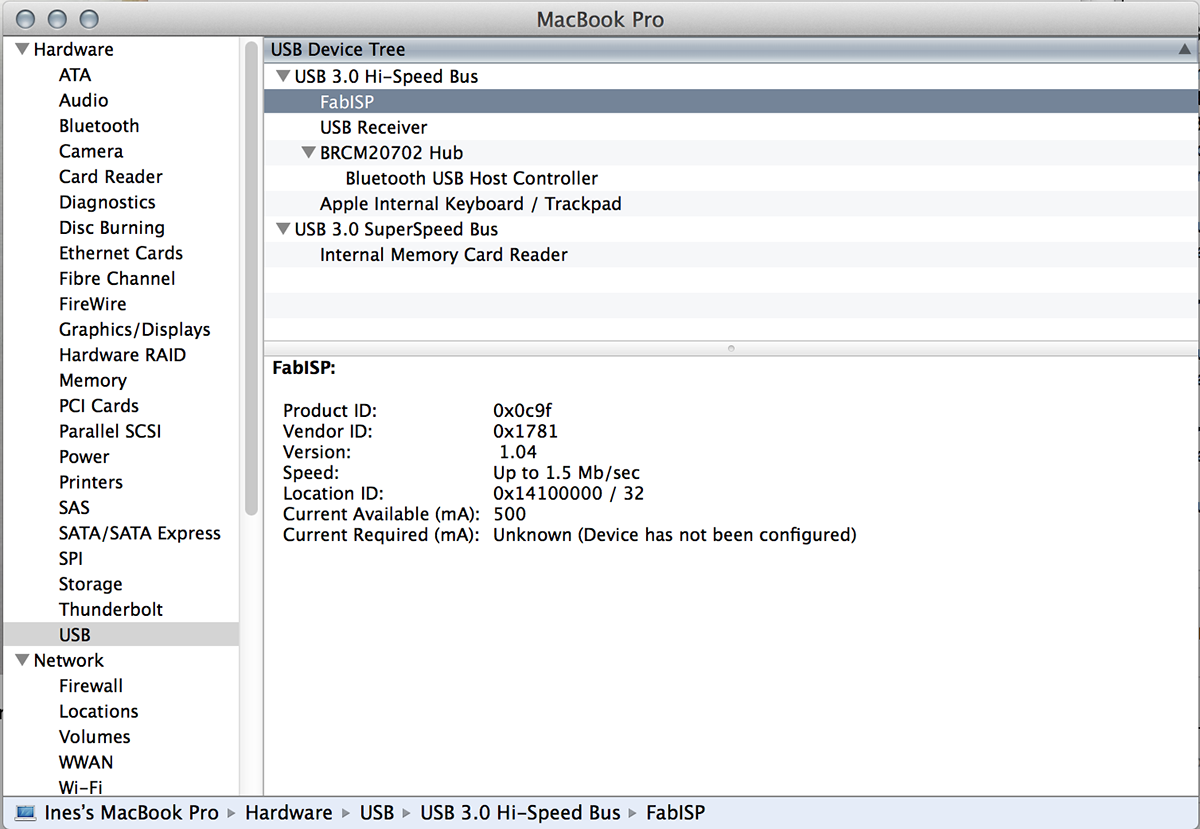
results:
- smoke test
- install AVR programming software
- download and unzip firmware
- give power to fabISP (check lights!)
- program the fabISP: make clean; make hex; sudo make fuse; sudo make program
results: