computer-controlled machining
flat to form column
scketching and modeling + cutting + assembling

scketching and modeling + cutting + assembling
i've had this idea of a 'flat to form' column for a while so this week's assignment was a good opportunity to start testing it out.
sketching + modeling
i started sketching out basic shape transformations for the sake of Geometry (triangle > circle; square > circle; square > boulléean plan; etc.), everything looks possible on graphite. rhino model took a little bit longer. i spent some time understanding how snap locks work. i decided to use this joint technique for the column disregarding the material properties of OSB which caused a fatal error (OSB has any internal plasticity at all, see cutting section for details).
lower and upper sections
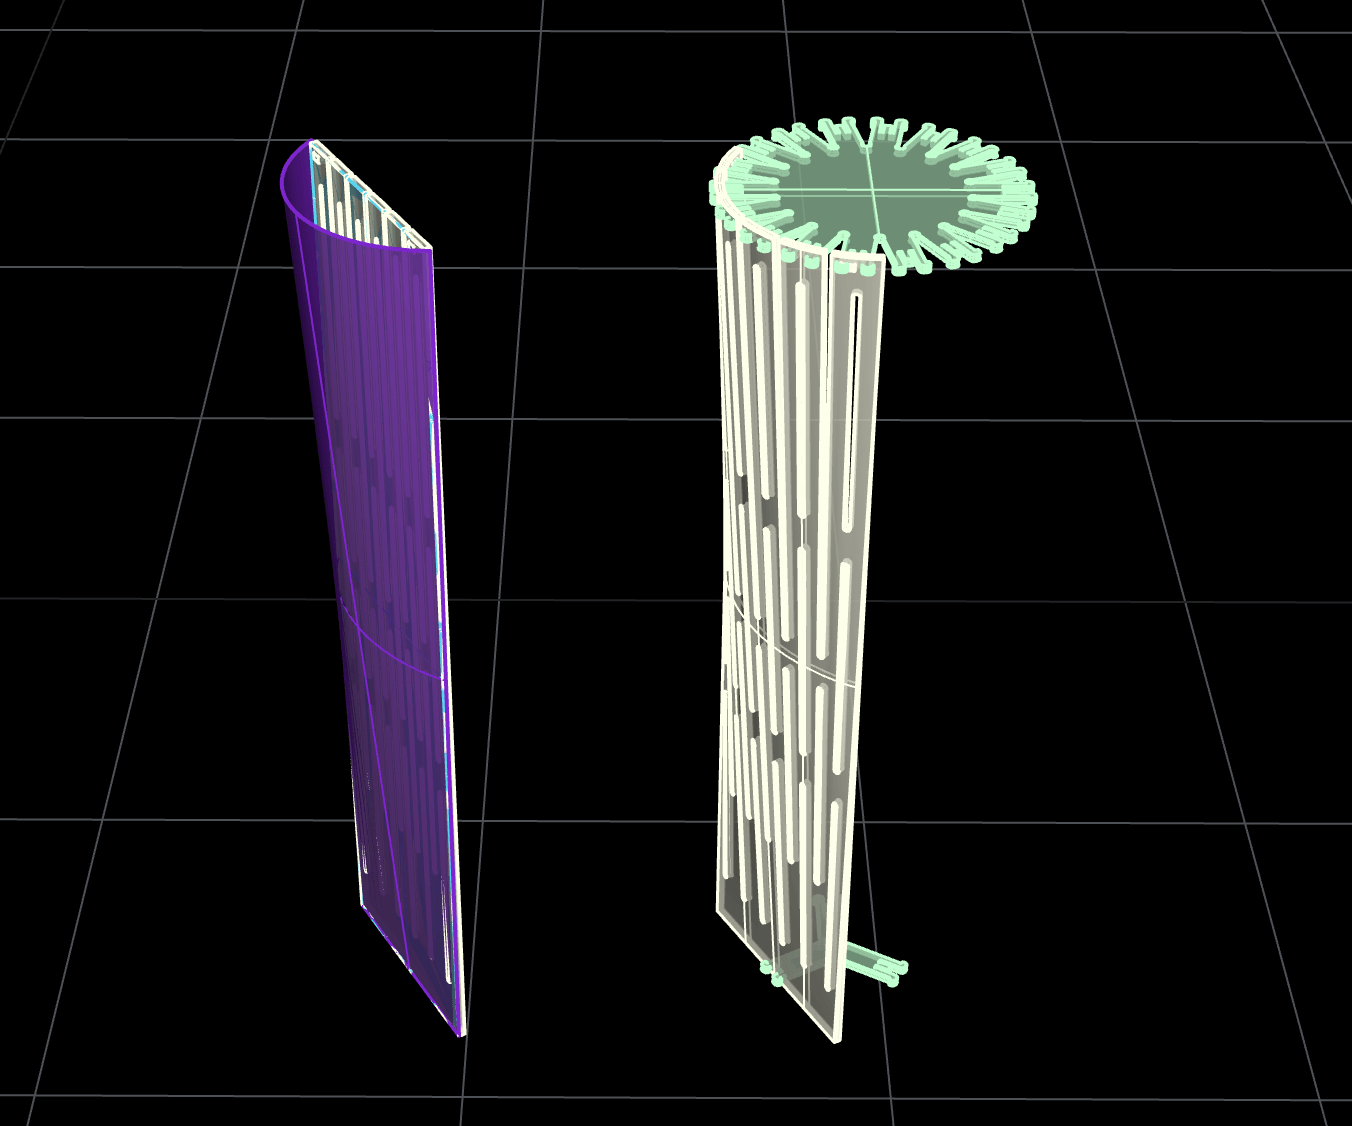
flow along curve command for deformation
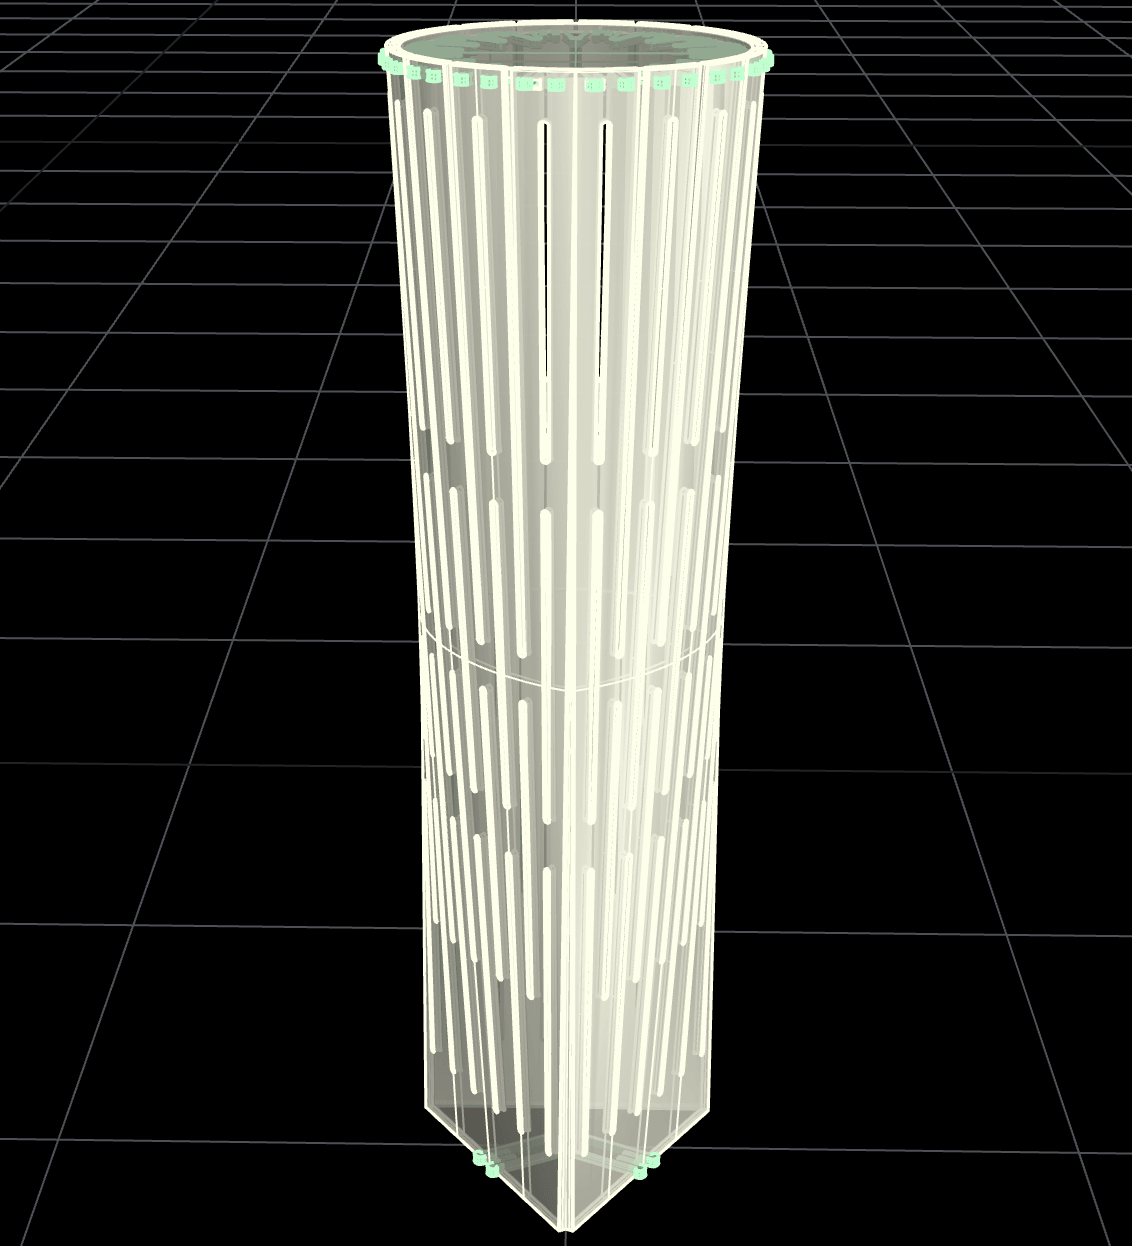
view
CNC cutting
output: CR Onsrud 4’ x 8’ CNC router
output controllers: Mastercam + Onsrud-OSAI Control
steps for outputting:
00_sample
01_2D drawing (rhino) .3dm
02_toolpaths (mastercam) .mcx-7
03_GCode (exported from mastercam to ONSRUD controller) .nc
00_sample:
before going into the cutting phase a made a handmade sample of the joint: it wouldn't work. so i made a few adjustments to the model: i cut the unnecessary "ears" and brang the matching holes closer.

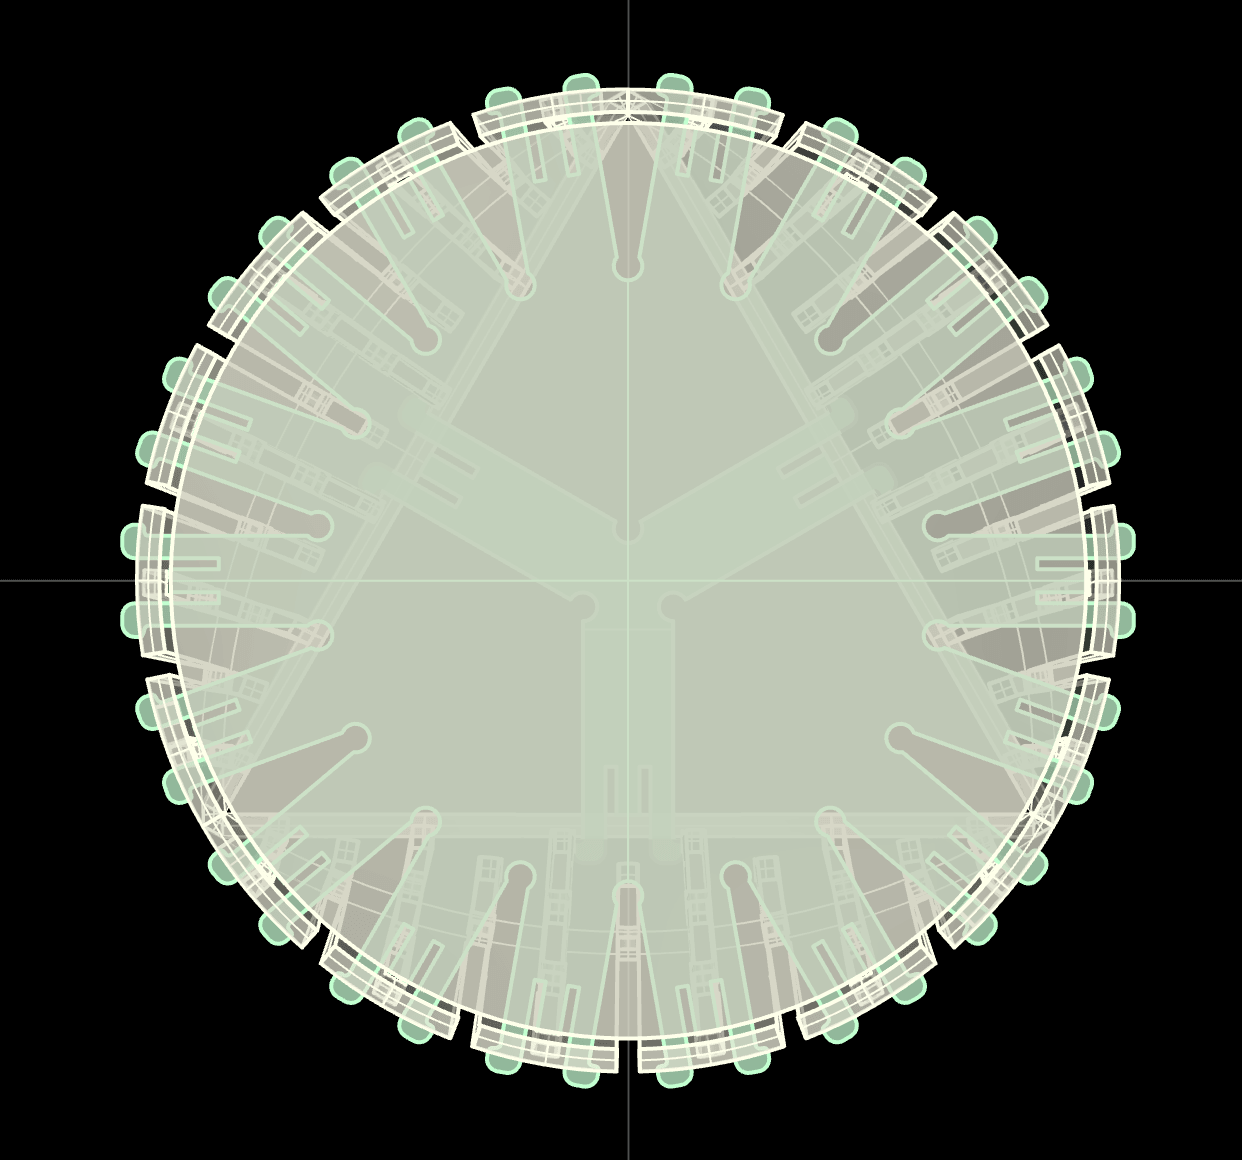
plan
but this model didn't go any further...
CNC cutting
output: CR Onsrud 4’ x 8’ CNC router
output controllers: Mastercam + Onsrud-OSAI Control
steps for outputting:
00_sample
01_2D drawing (rhino) .3dm
02_toolpaths (mastercam) .mcx-7
03_GCode (exported from mastercam to ONSRUD controller) .nc
00_sample:
before going into the cutting phase a made a handmade sample of the joint: it wouldn't work. so i made a few adjustments to the model: i cut the unnecessary "ears" and brang the matching holes closer.
OSB ≠ HDPE
01_2D drawing:

01_2D drawing:
given the 2D initial nature of this project, i used a 2D drawing to go into mastercam. here, rhino model and layers ready to go.
02_toolpaths:
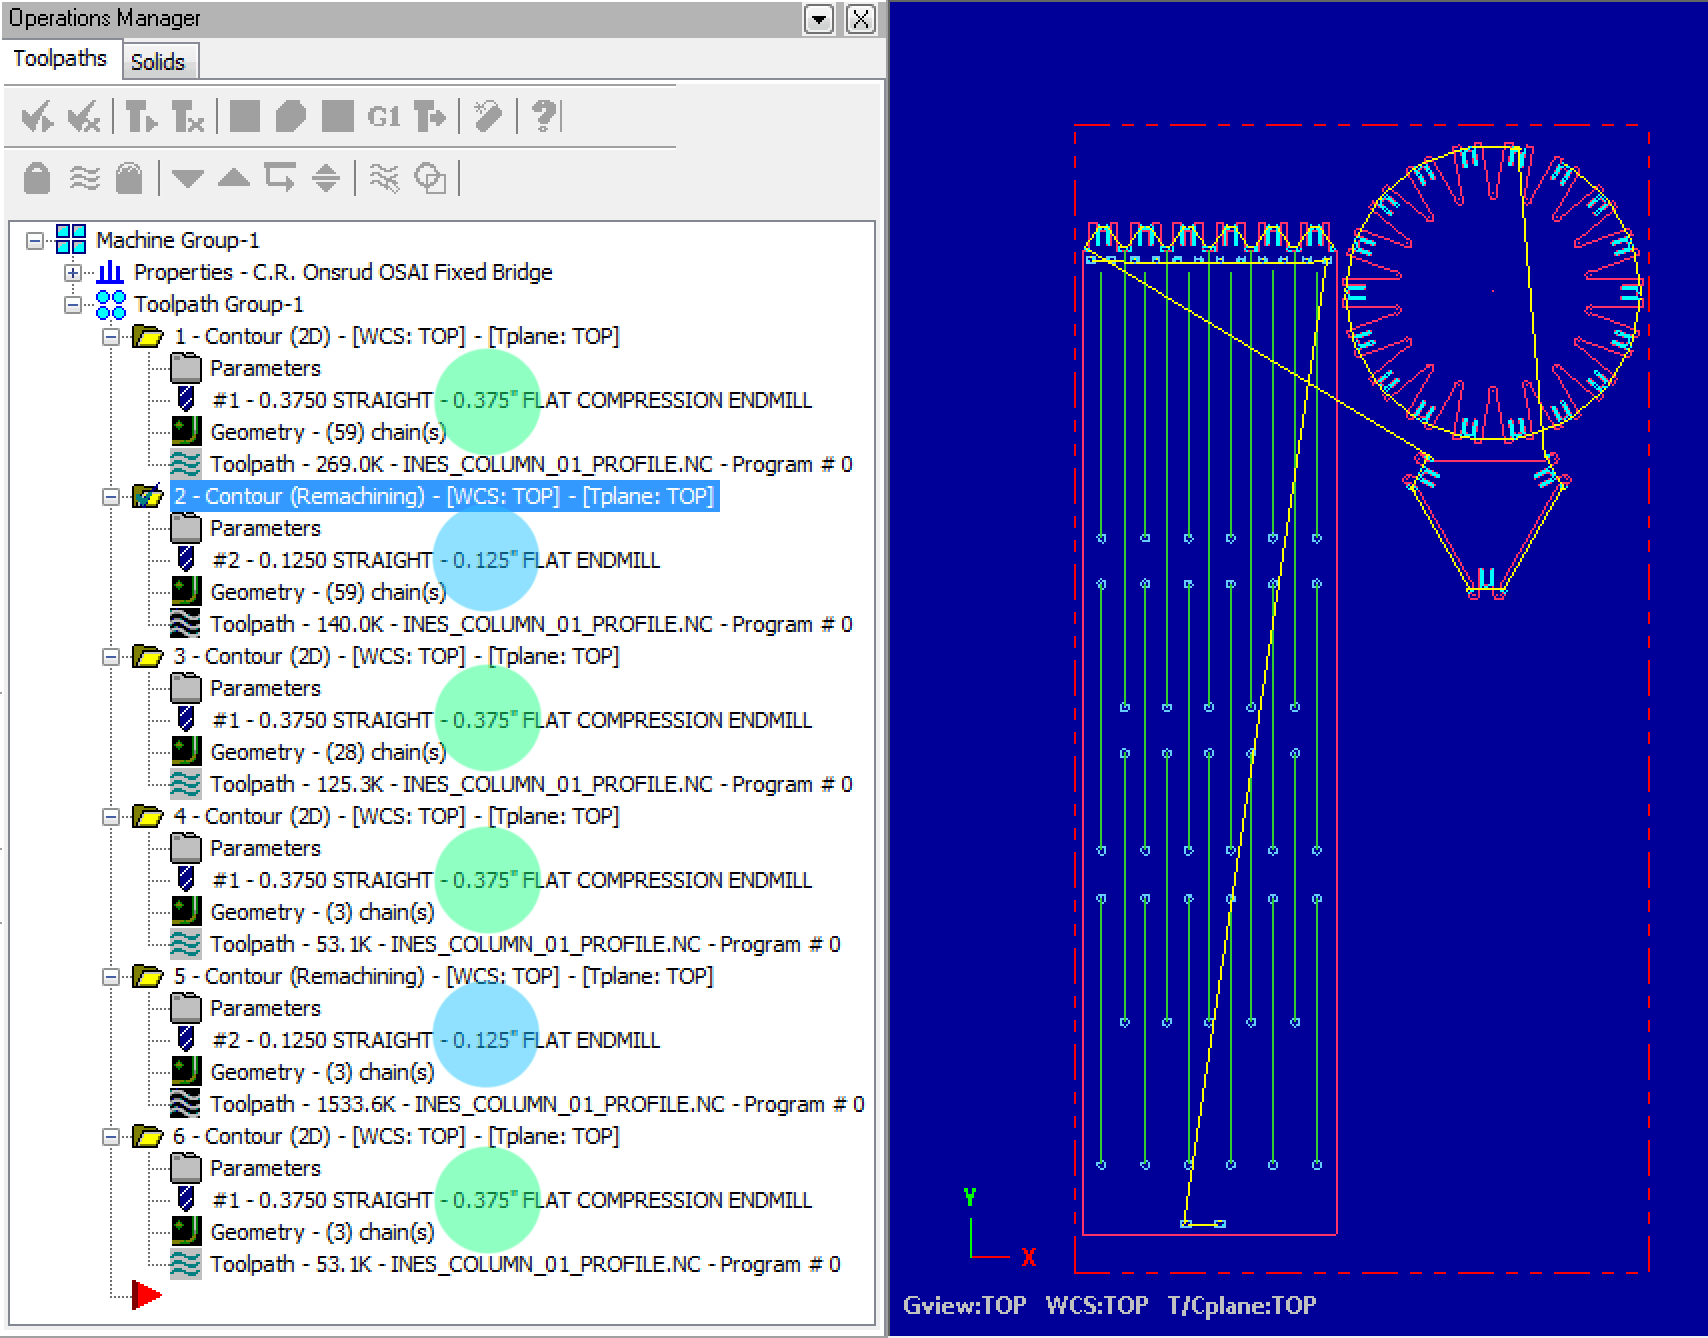
02_toolpaths:
6 contour steps, 4 3/8'' contours (1 for each geometry) and 2 remachining with a smaller endmill (1/8'')
03_GCode into ONSRUD controller:
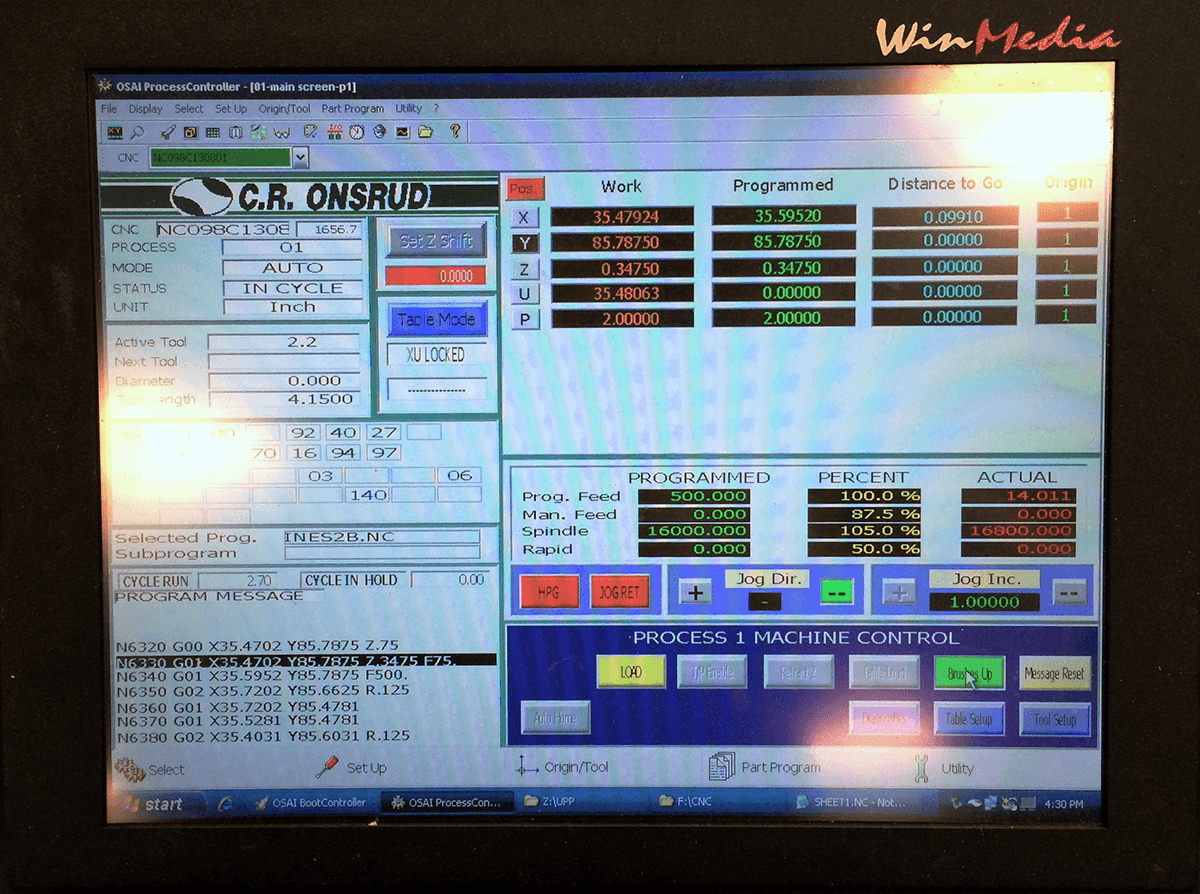
03_GCode into ONSRUD controller:
load .nc file and go!
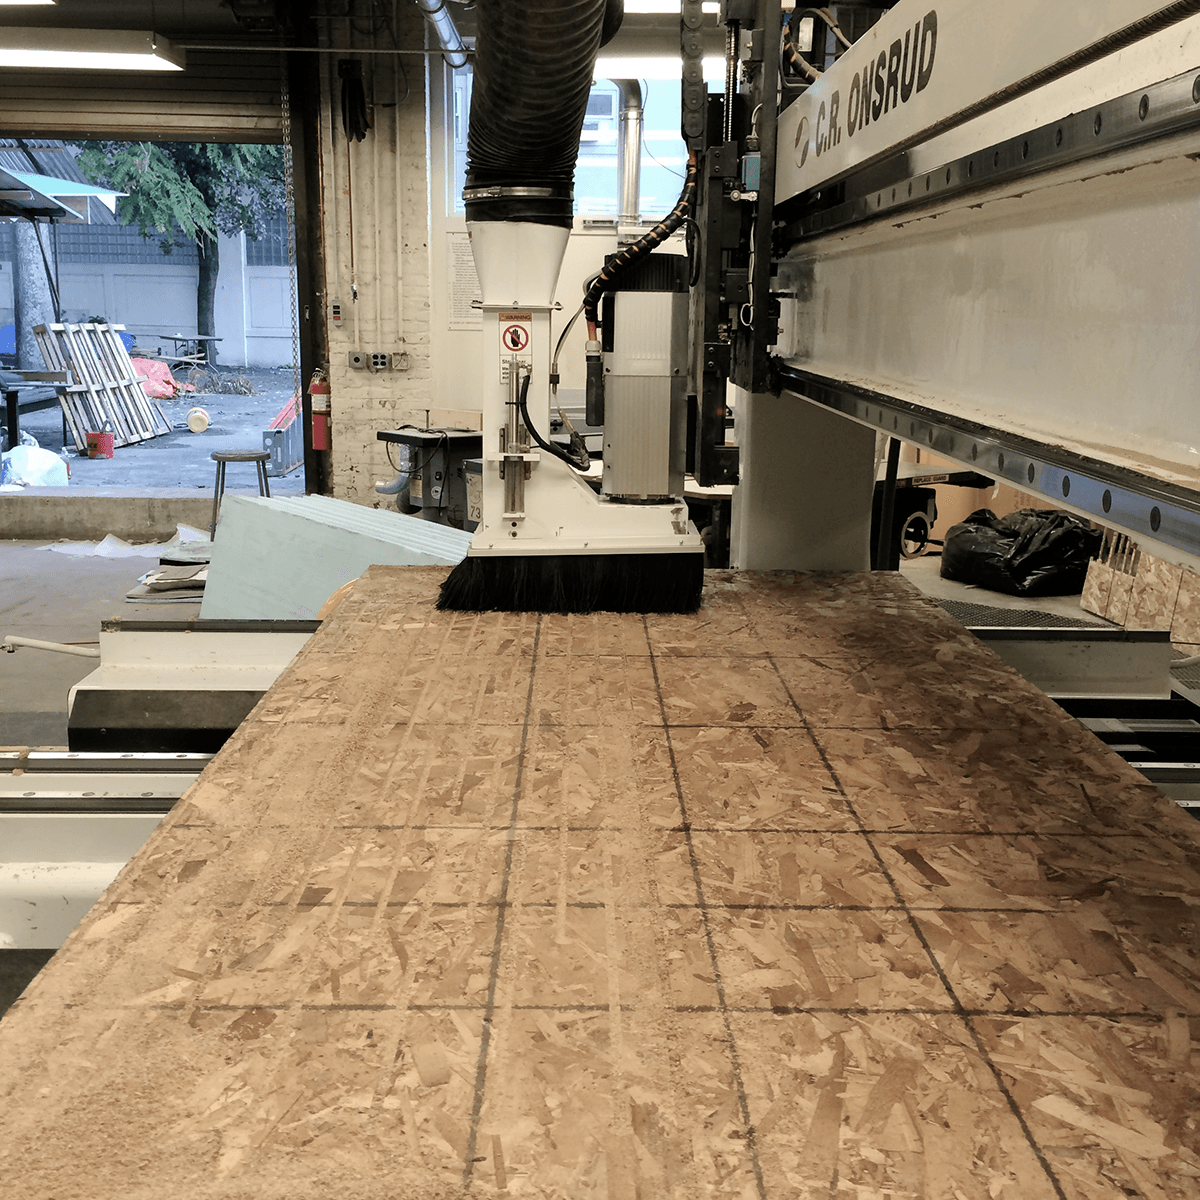
onsrud alive. everything was going fine until the second 1/8'' remachining: the endmill broke. for this diameter a 3 pass toolpath is needed >> new .nc with toolpaths 5 & 6 (depth cuts = 0.125 added)!
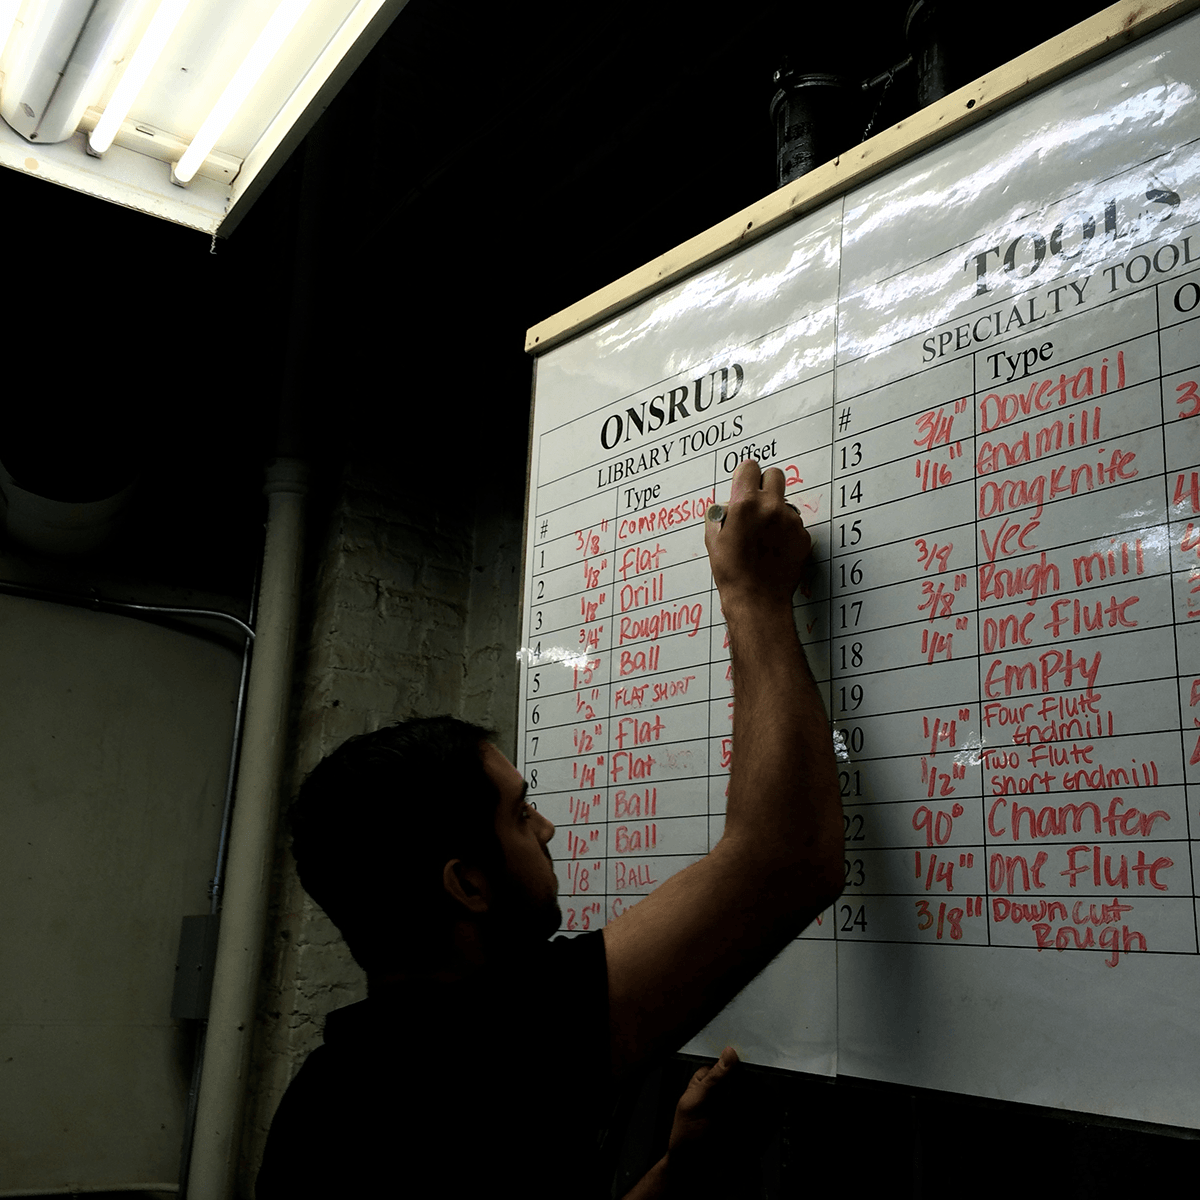
updating new endmill parameters into ONSRUD controller and tool sheet (thank you costanza!)
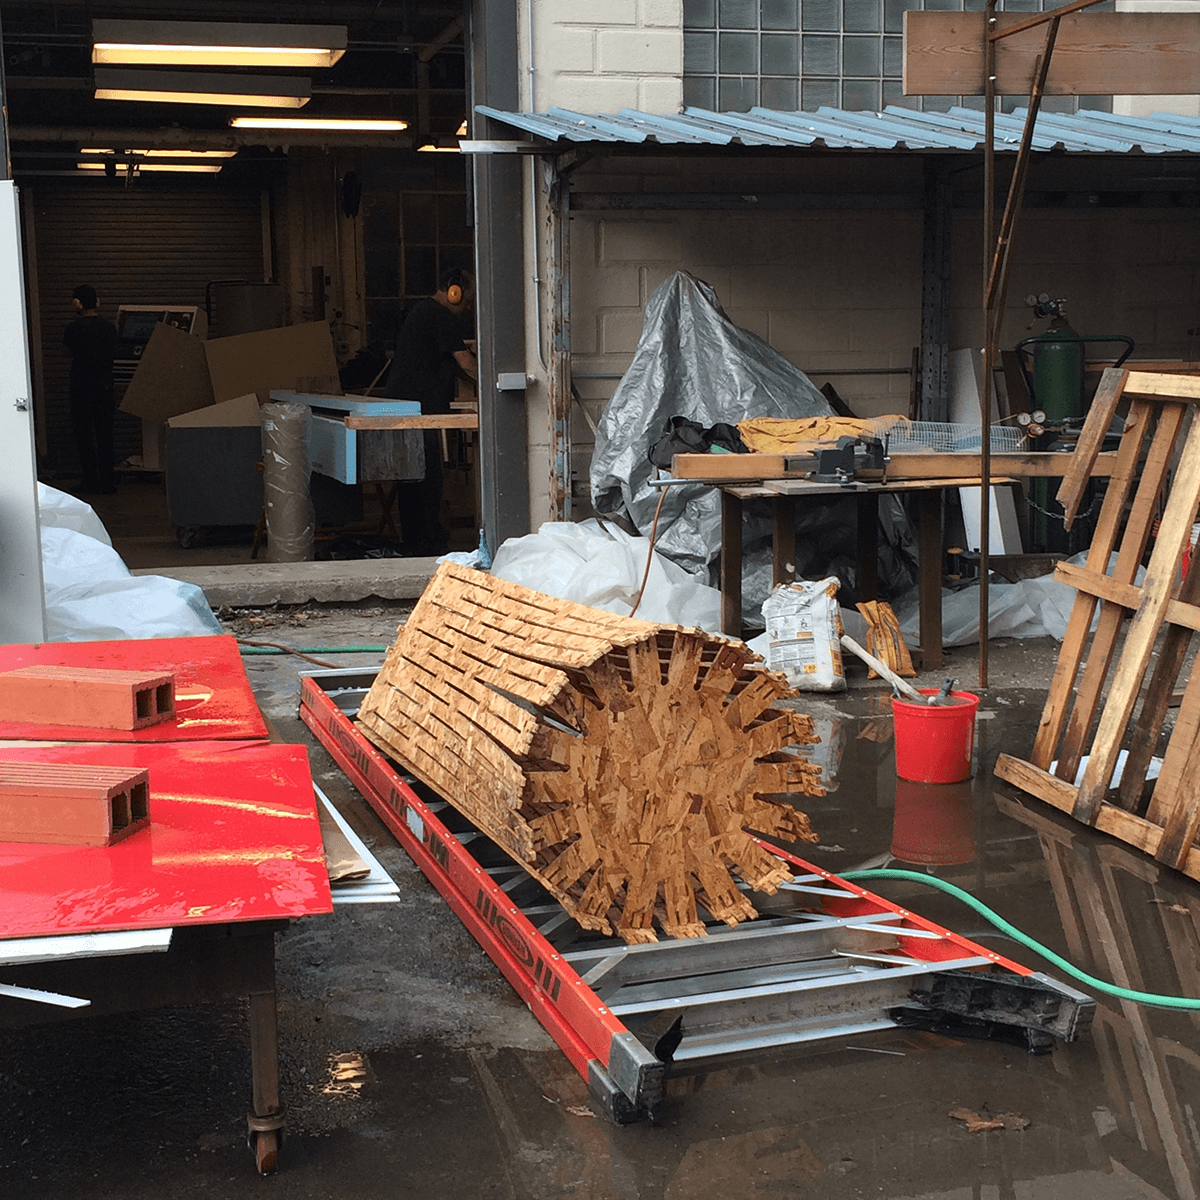
assembling

assembling
this part was a little distressing (no pictures of this awkward moment). the resulting parts were rough and long. with a lot of difficulty i manage to assemble the base and the three sheets. for the upper circle i had to ask for help.
standing still
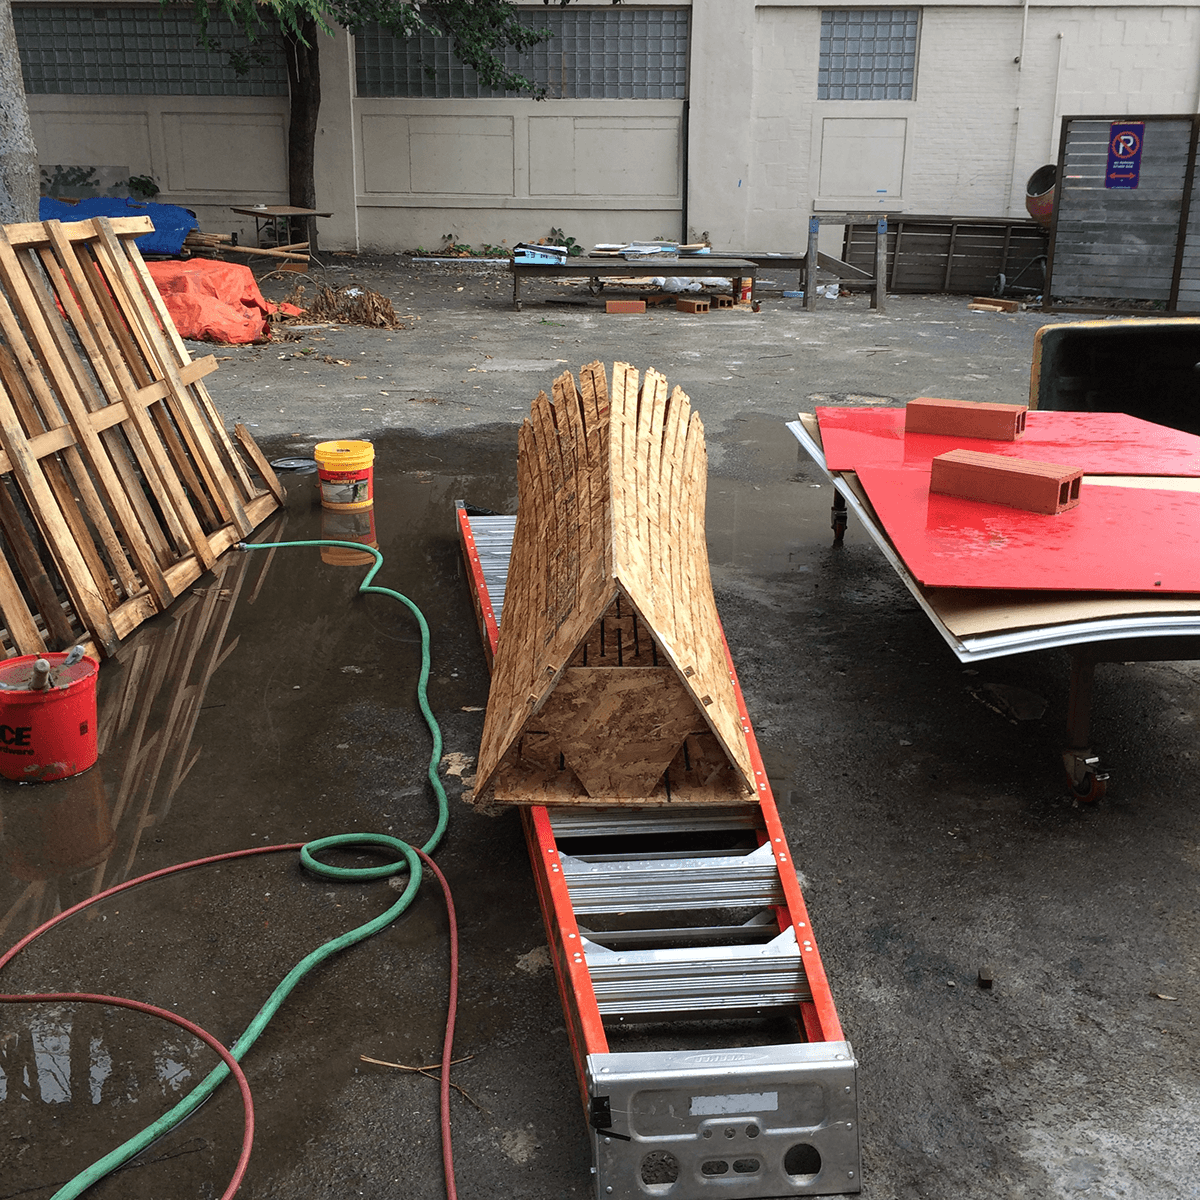
i soaked the most stressed sections, they wouldn't flex enough otherwise
almost finished. i soaked it all over again and added some (a lot of invisible) nails to keep all the sections together.
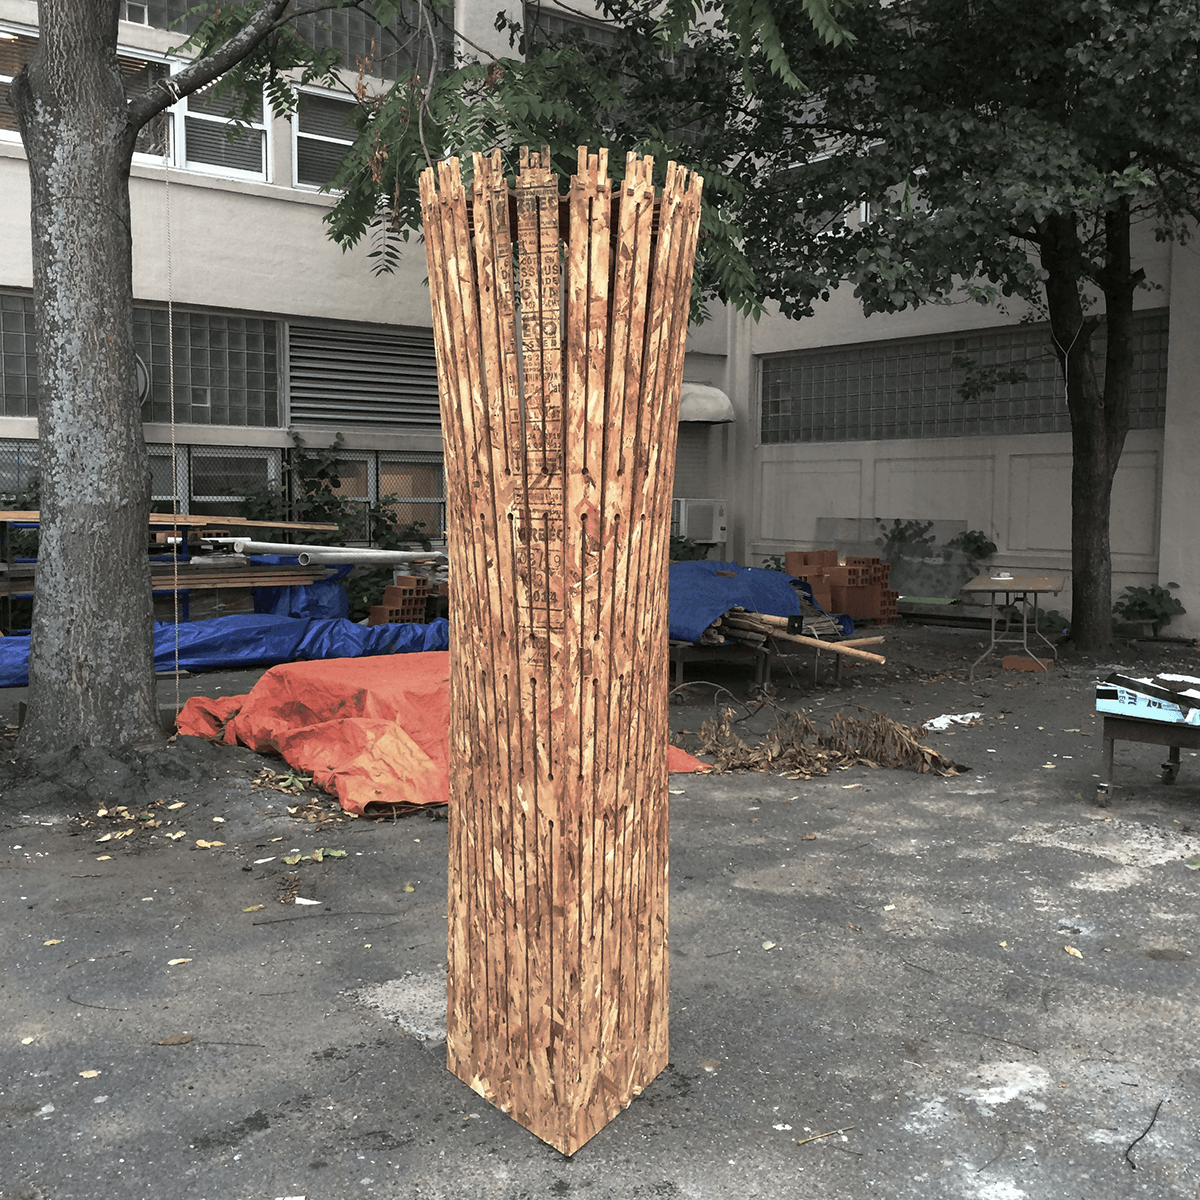
flat to form column!