composites
3D relief map
components
this week we are working with composites (any material made of several layers/parts/components). i decided to work with one of the most popular techniques used in the class: a compression<>tension surface (linen as fibre and epoxy as matrix) compressed with vacuum bagging. the list of materials i've used is extense so here it is:
- foam (mould)
- epoxi (matrix)
- wax (demoulding)
- aerosol (demoulding)
- linen (fibre)
- red plastic (epoxi extension)
- breath (vacuum extension)
- blue (decor)
- pump
- bag
- film
- more than a pair of hands
2x4
modeling
software: rhinoceros + grasshopper
modeling
software: rhinoceros + grasshopper
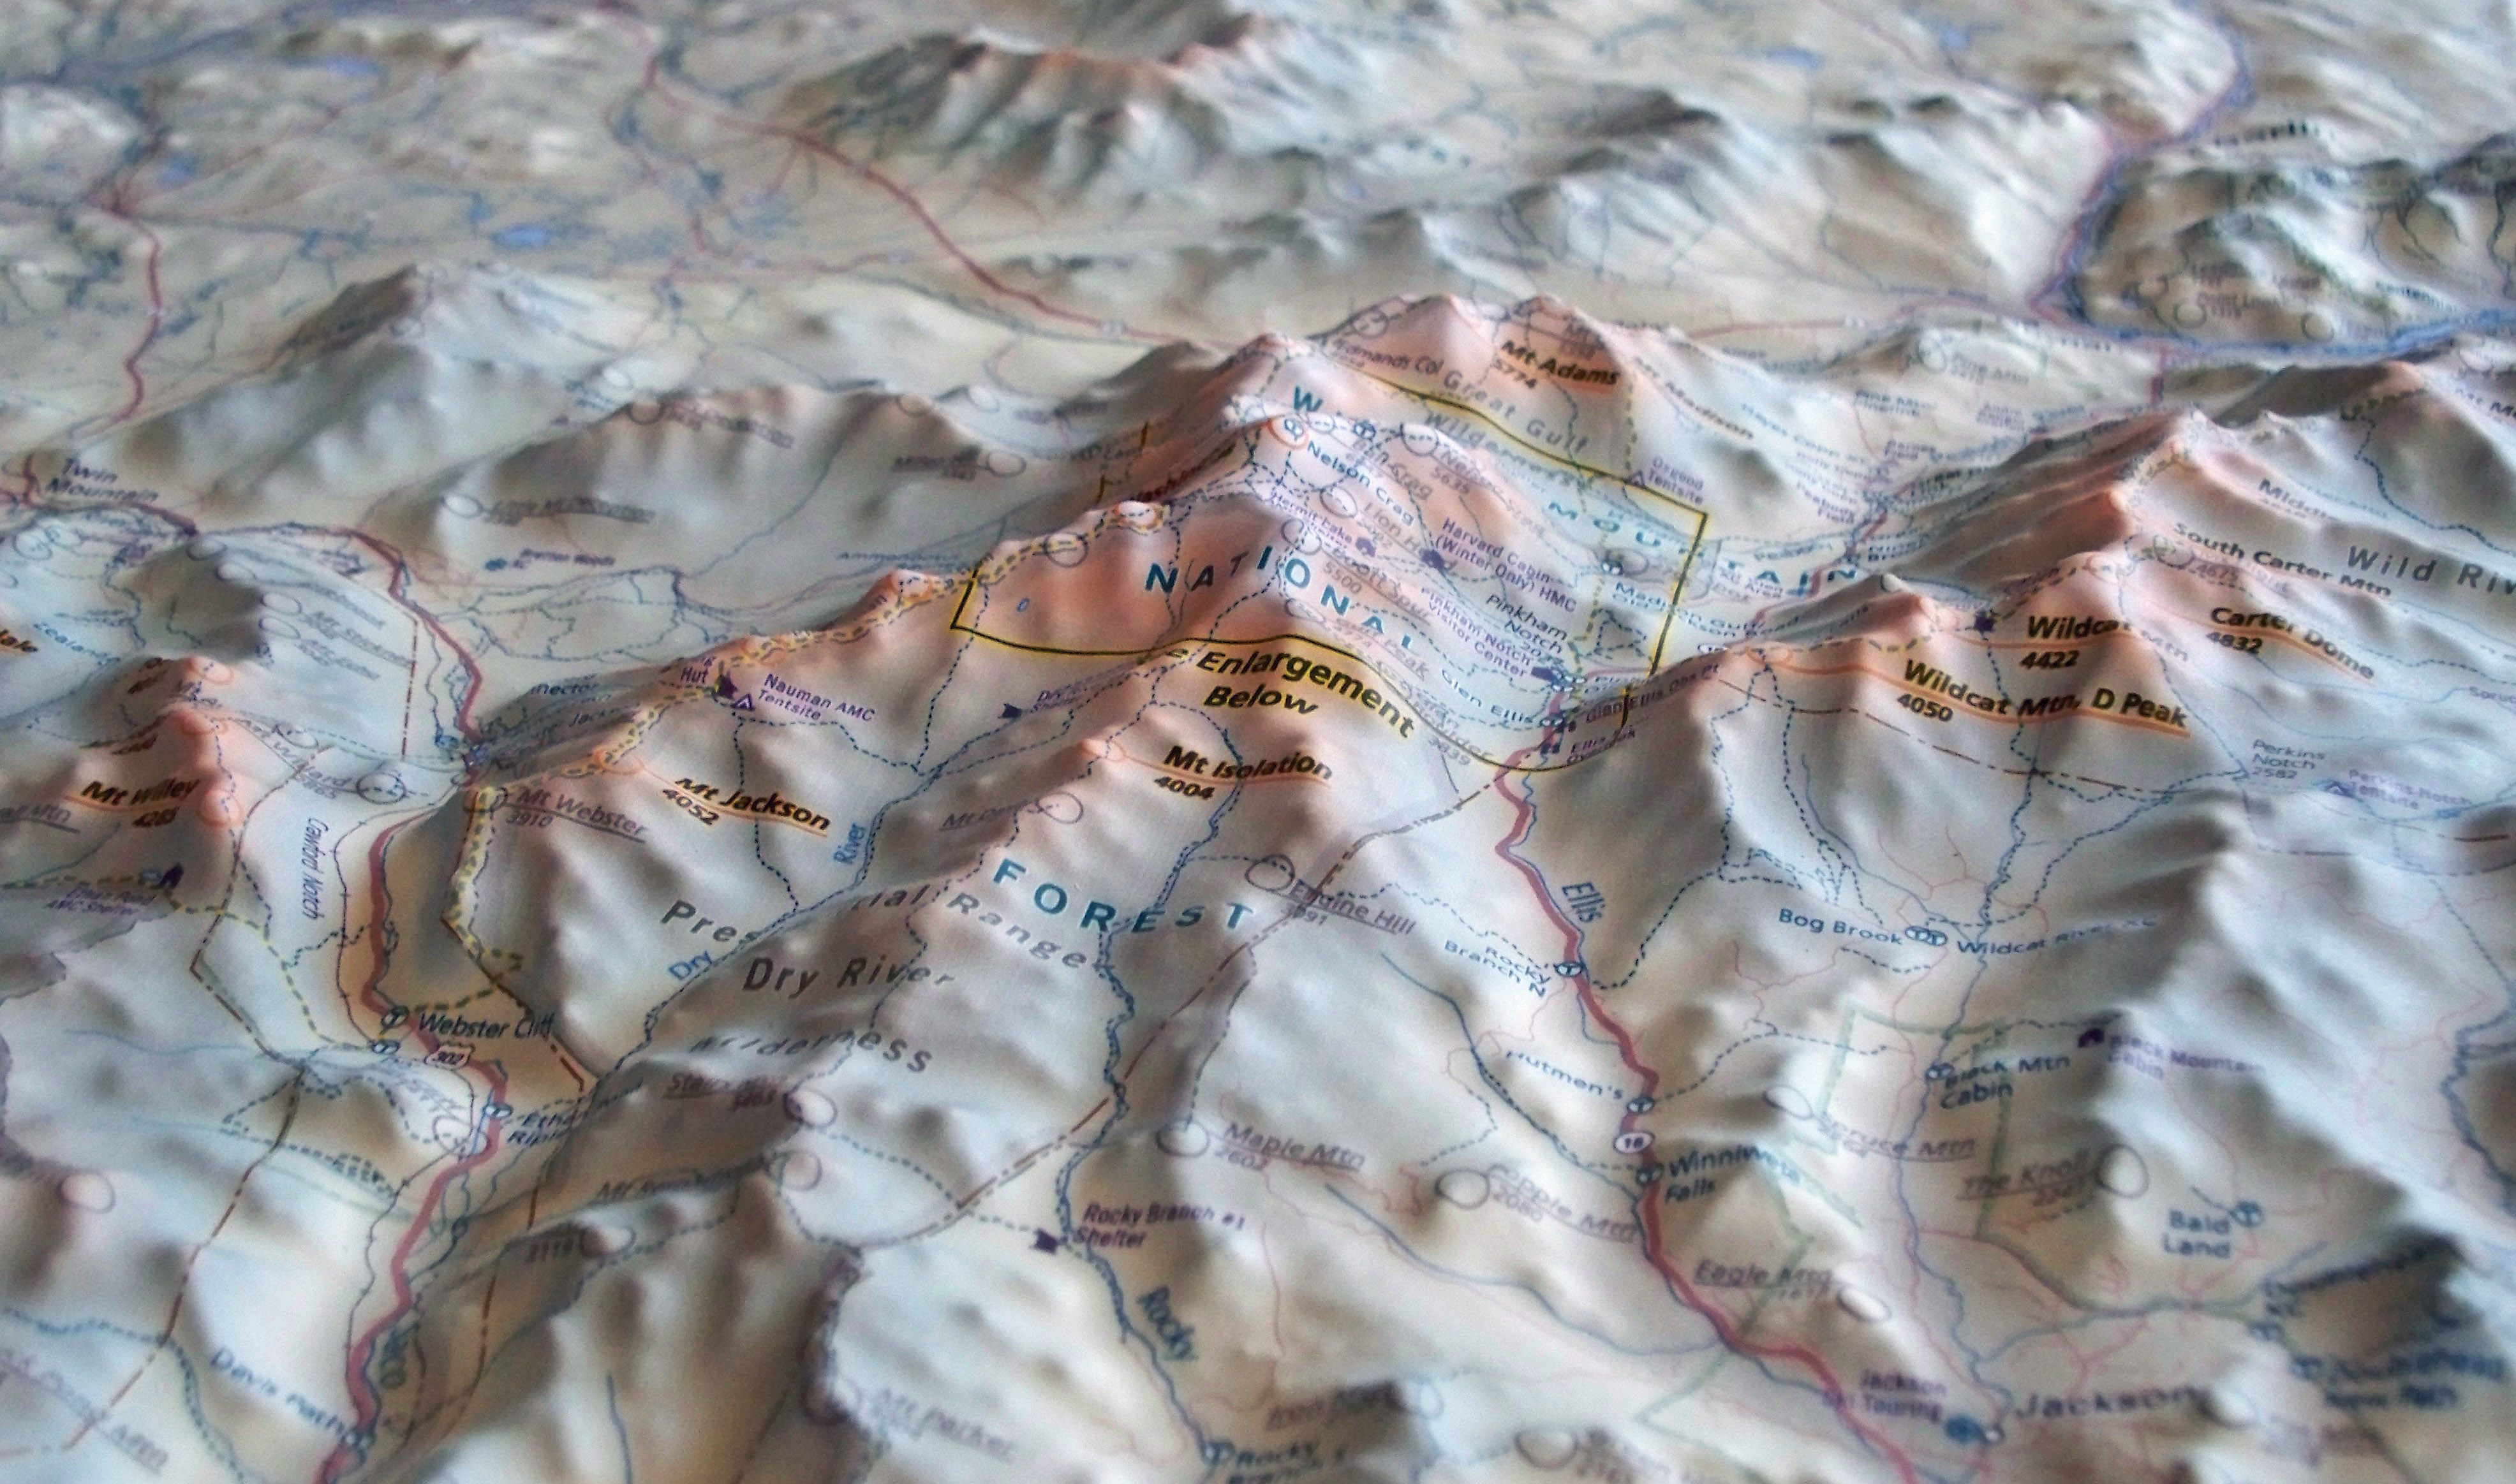
to make the 3D relief map i mapped a topography image into a surface using the 'image sampler' component in grasshopper.
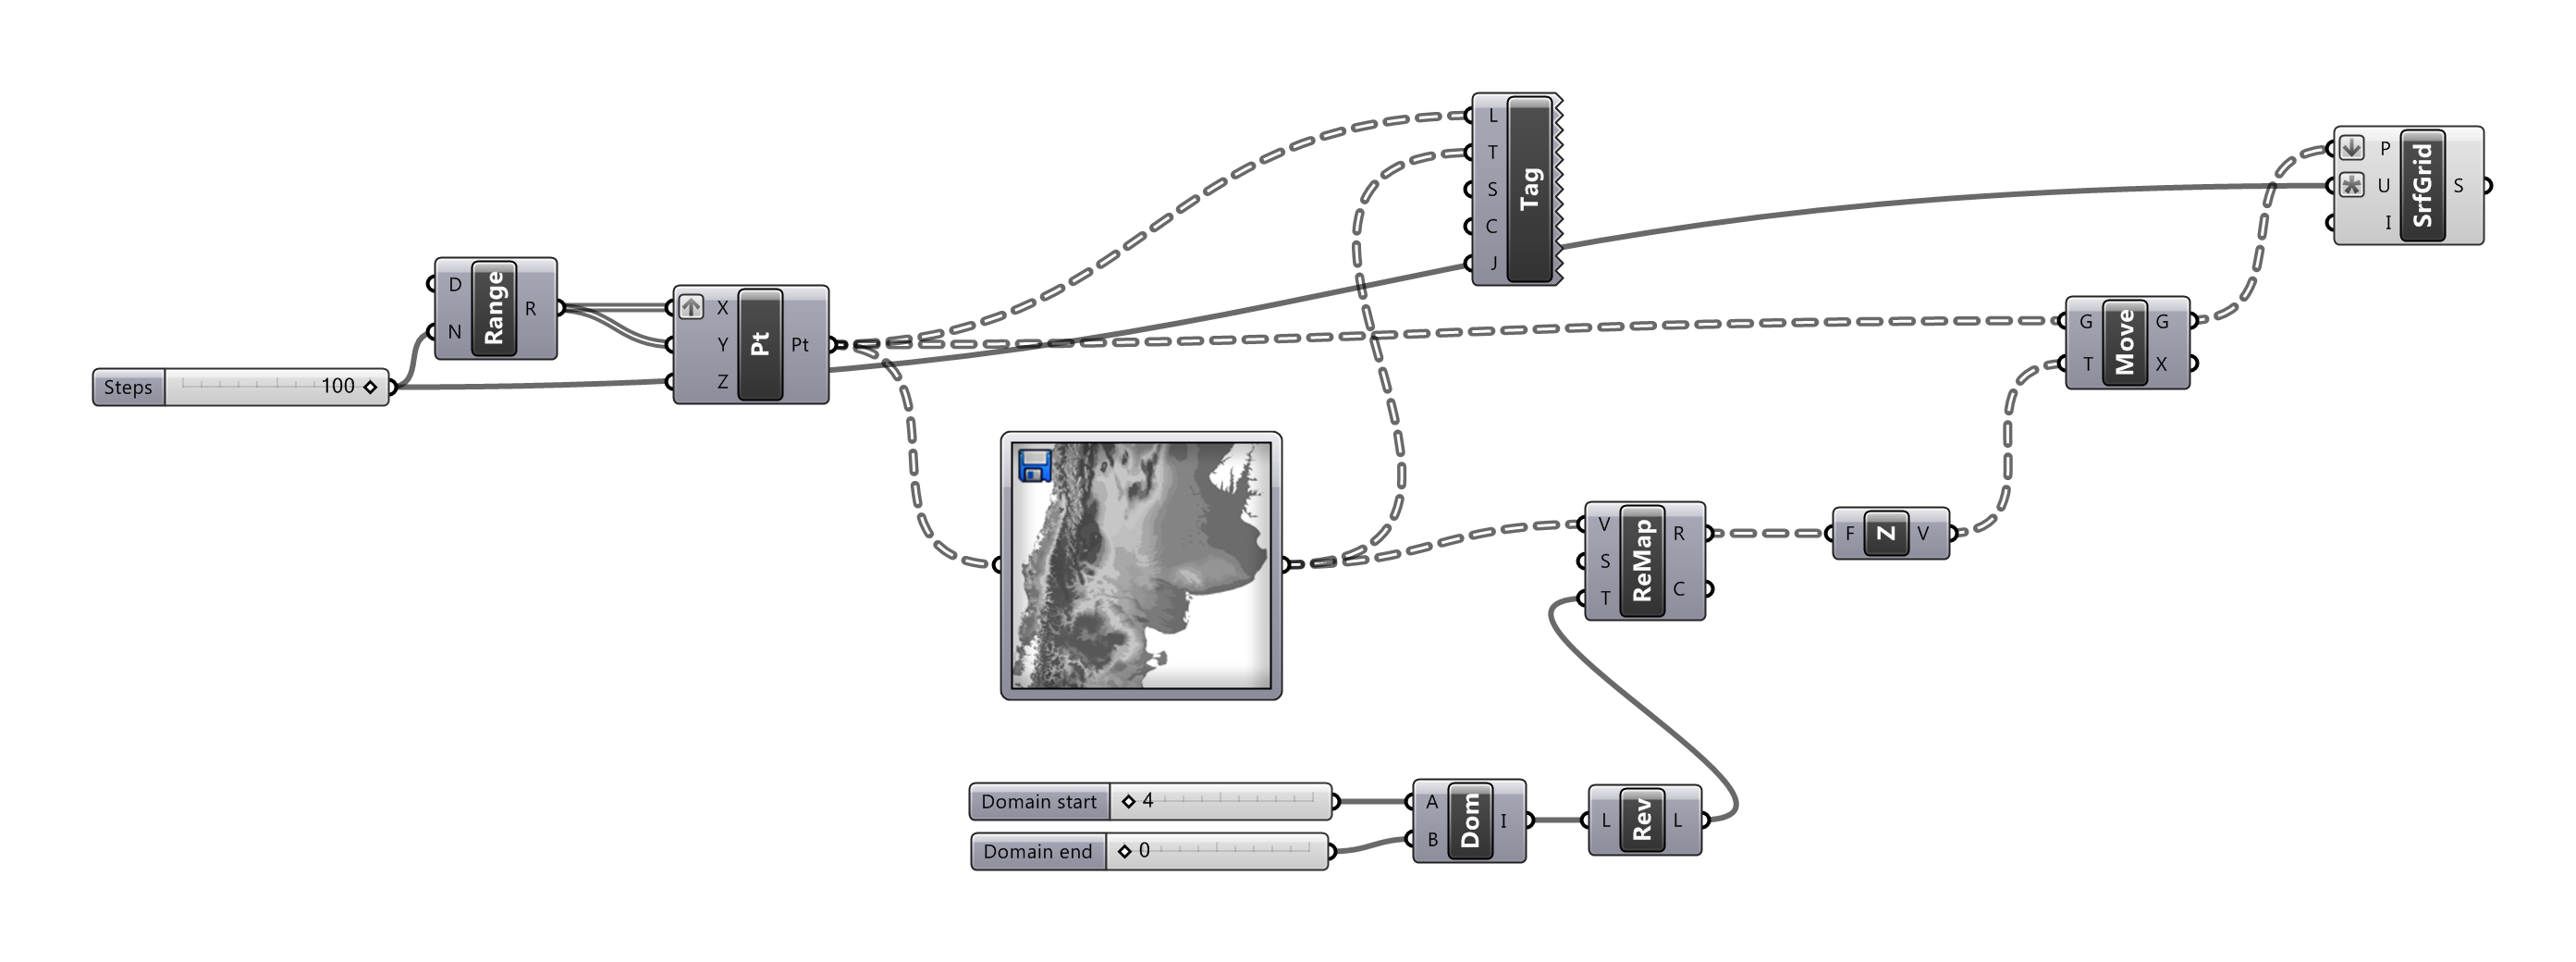
image sampler for topography surface definition
so, what is happening here is a sampling of the grayscale image values into a 3D grid of points to make a surface. i downloaded the original relief map image from maps-for-free, which offers relief maps and water layers to be integrated into google maps projects. another resource for this could be the CLICK website to directly obtain LIDAR data for a much higher resolution result.
so, what is happening here is a sampling of the grayscale image values into a 3D grid of points to make a surface. i downloaded the original relief map image from maps-for-free, which offers relief maps and water layers to be integrated into google maps projects. another resource for this could be the CLICK website to directly obtain LIDAR data for a much higher resolution result.
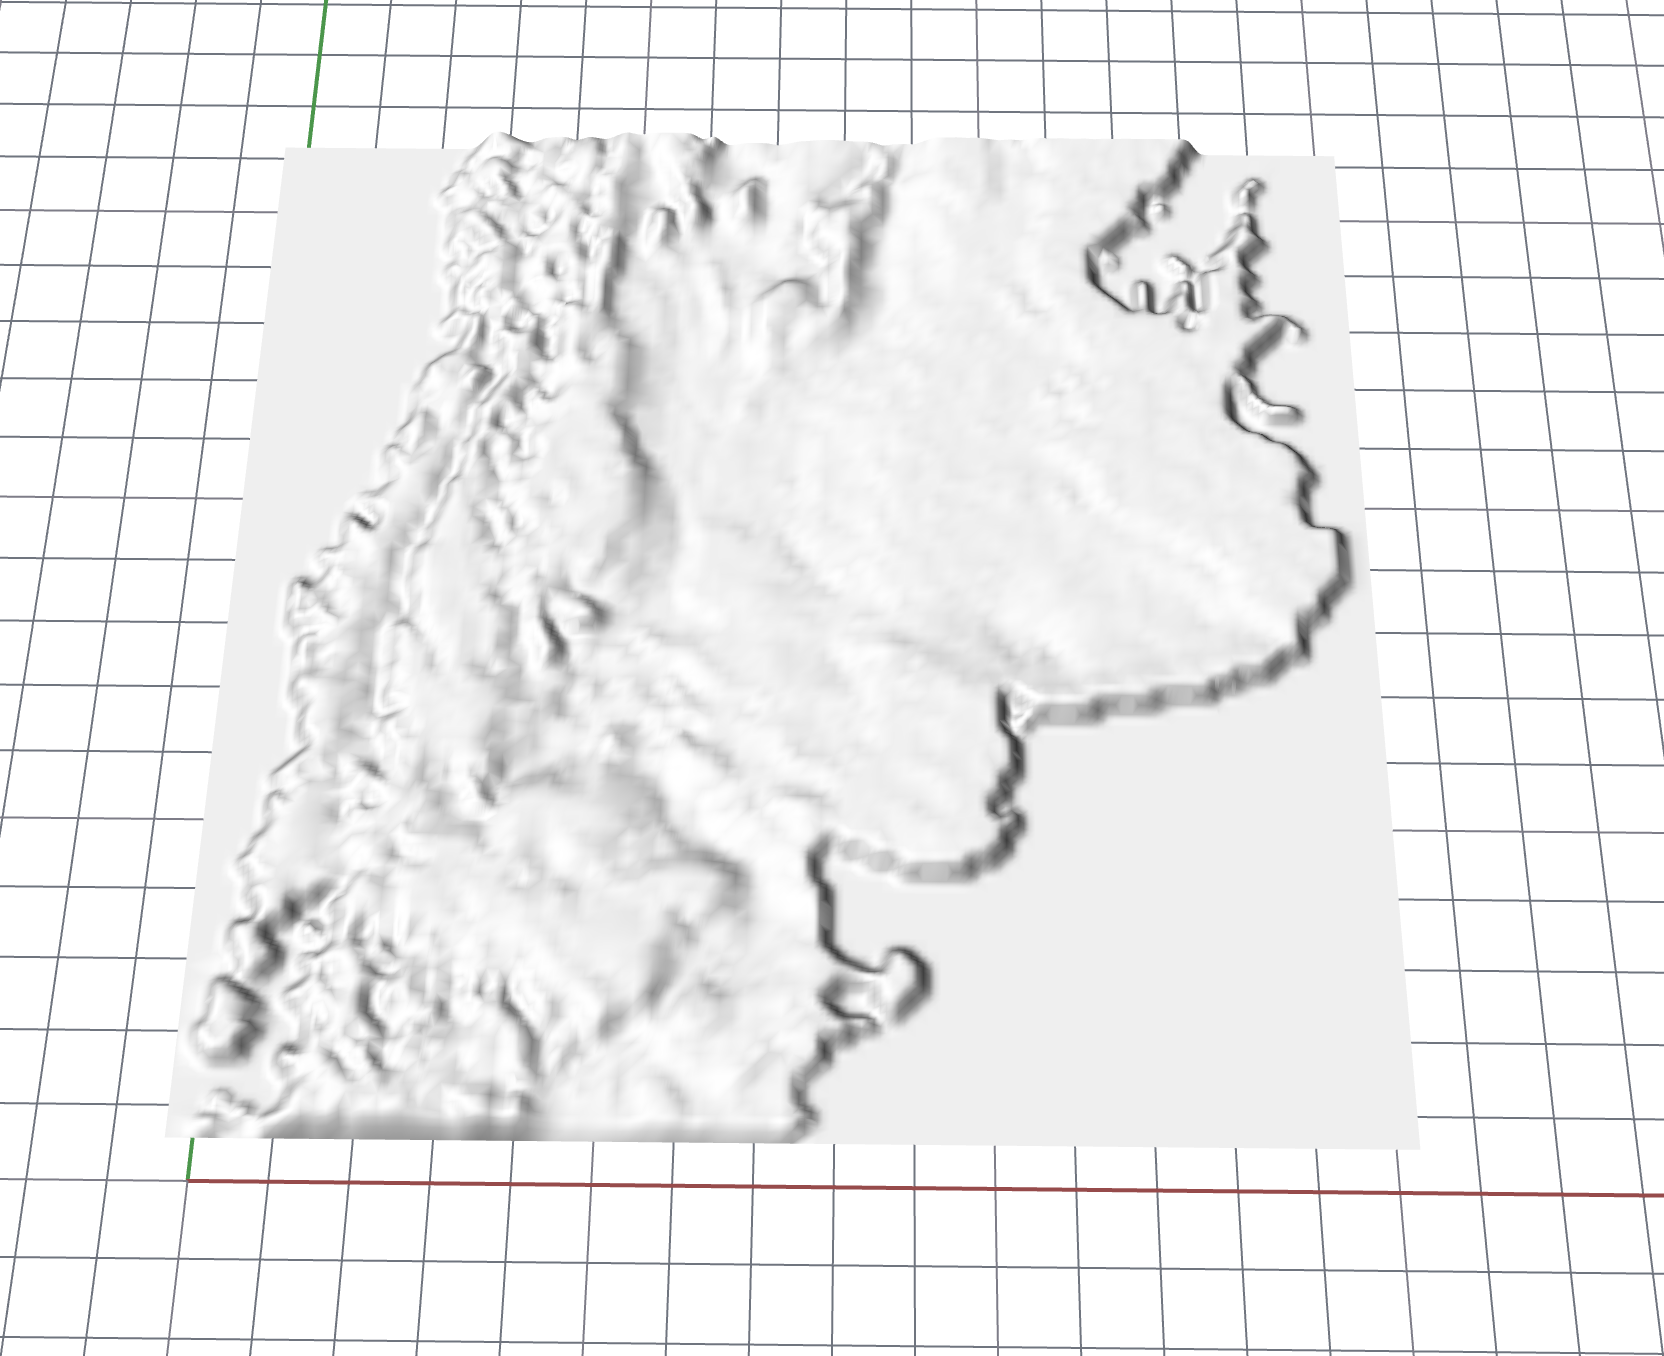
extruded surface
milling
software: mastercam
milling
software: mastercam
i exported the surface as a .stl mesh to go into mastercam. in general, .3dm files would work perfectly but for some reason i had to use and .stl for this time. i chose a 45 degrees surface finish toolpath with a 1/2'' ball endmill which unexpectadly took too long (90 minutes) to mill although the estimated time on mastercam was 5 times shorter (18 minutes).
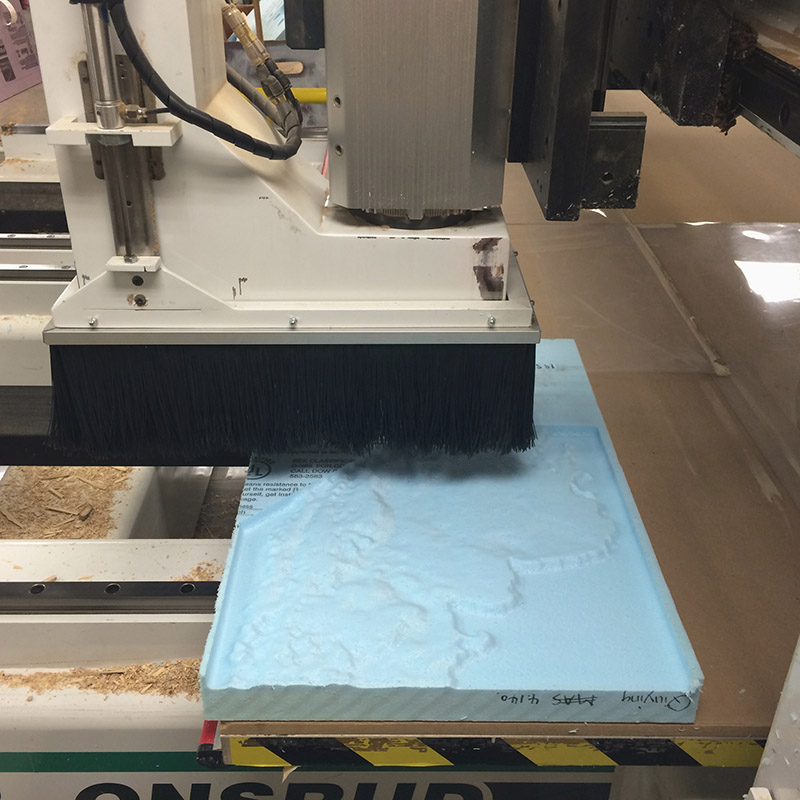
45 degrees
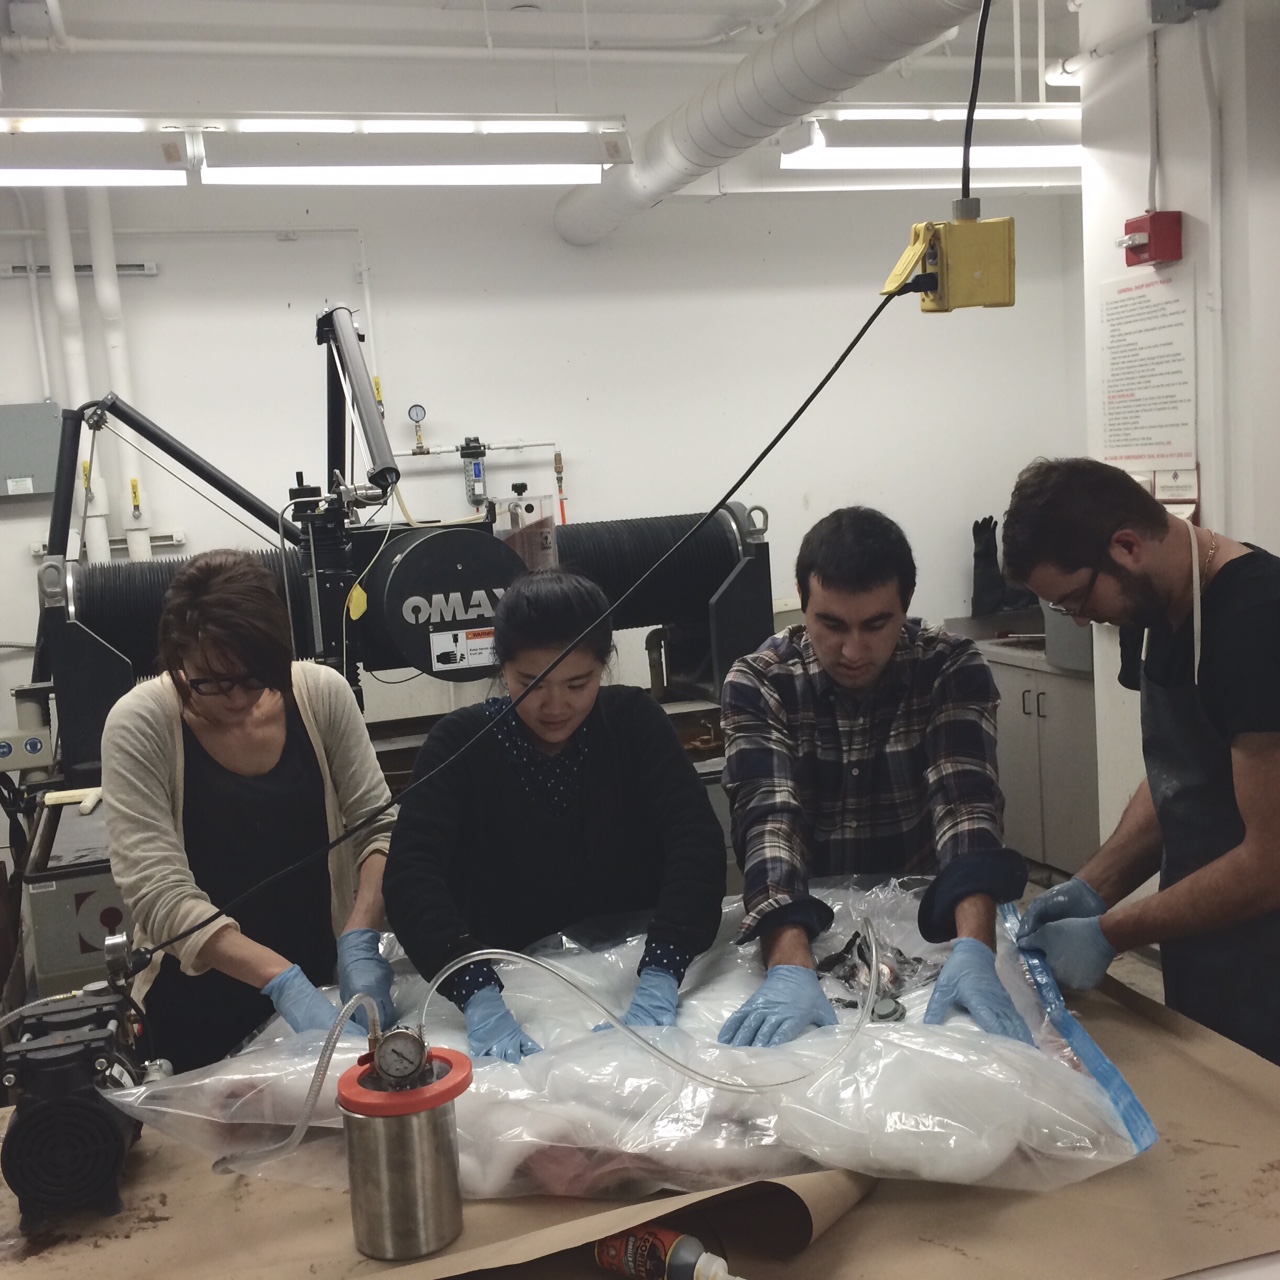
vacuum bagging
the next steps need a lot of preparation and small comments here is a guide:
- seal the foam with epoxy (2 epoxy :1 hardener), leave at leasg 4 hours to dry - d e c o r your surface with dye of embedded topographic information like this amazing example
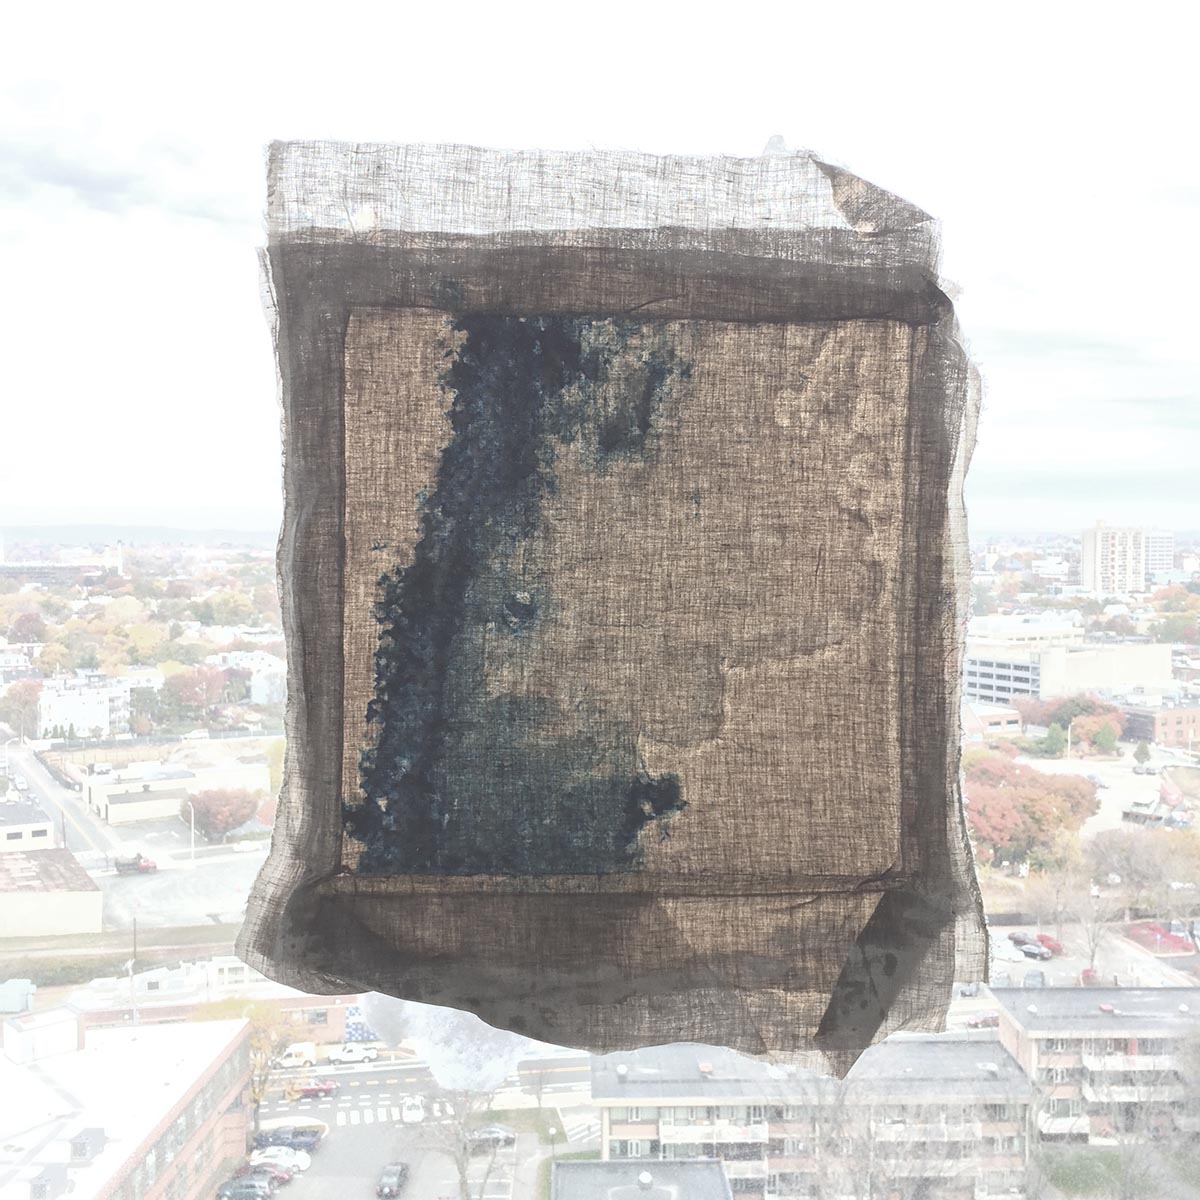
- prepare the composite components: i used 3 plies of linen + 3 epoxy layers + 1 bleeder + 2 breathers layers -- epoxy pot life is about 20 minutes so prepare every component in advance
- insert the layered composite in a vacuum storage bag and seal it with passion
- connec the bag to an air operated vacuum pump (this needs more specification to be useful) and pump!
vacuum bagging
the next steps need a lot of preparation and small comments here is a guide:
- seal the foam with epoxy (2 epoxy :1 hardener), leave at leasg 4 hours to dry - d e c o r your surface with dye of embedded topographic information like this amazing example
- prepare the composite components: i used 3 plies of linen + 3 epoxy layers + 1 bleeder + 2 breathers layers -- epoxy pot life is about 20 minutes so prepare every component in advance
- insert the layered composite in a vacuum storage bag and seal it with passion
- connec the bag to an air operated vacuum pump (this needs more specification to be useful) and pump!
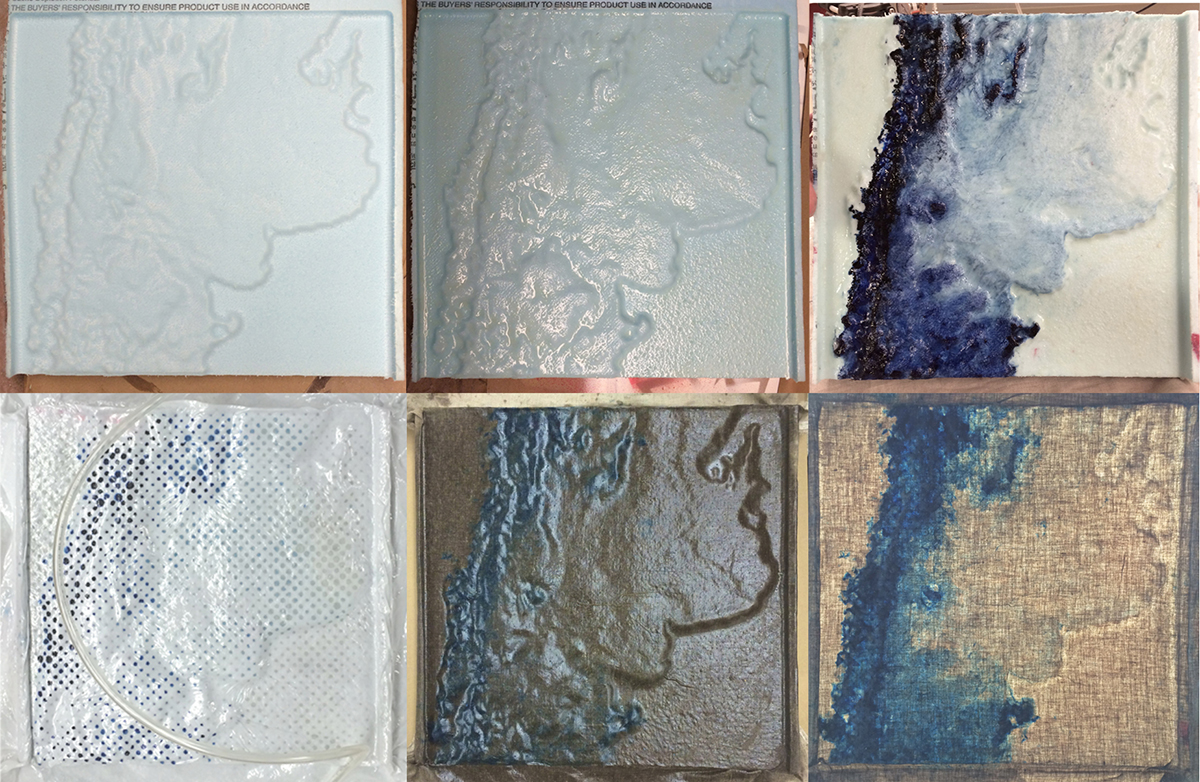
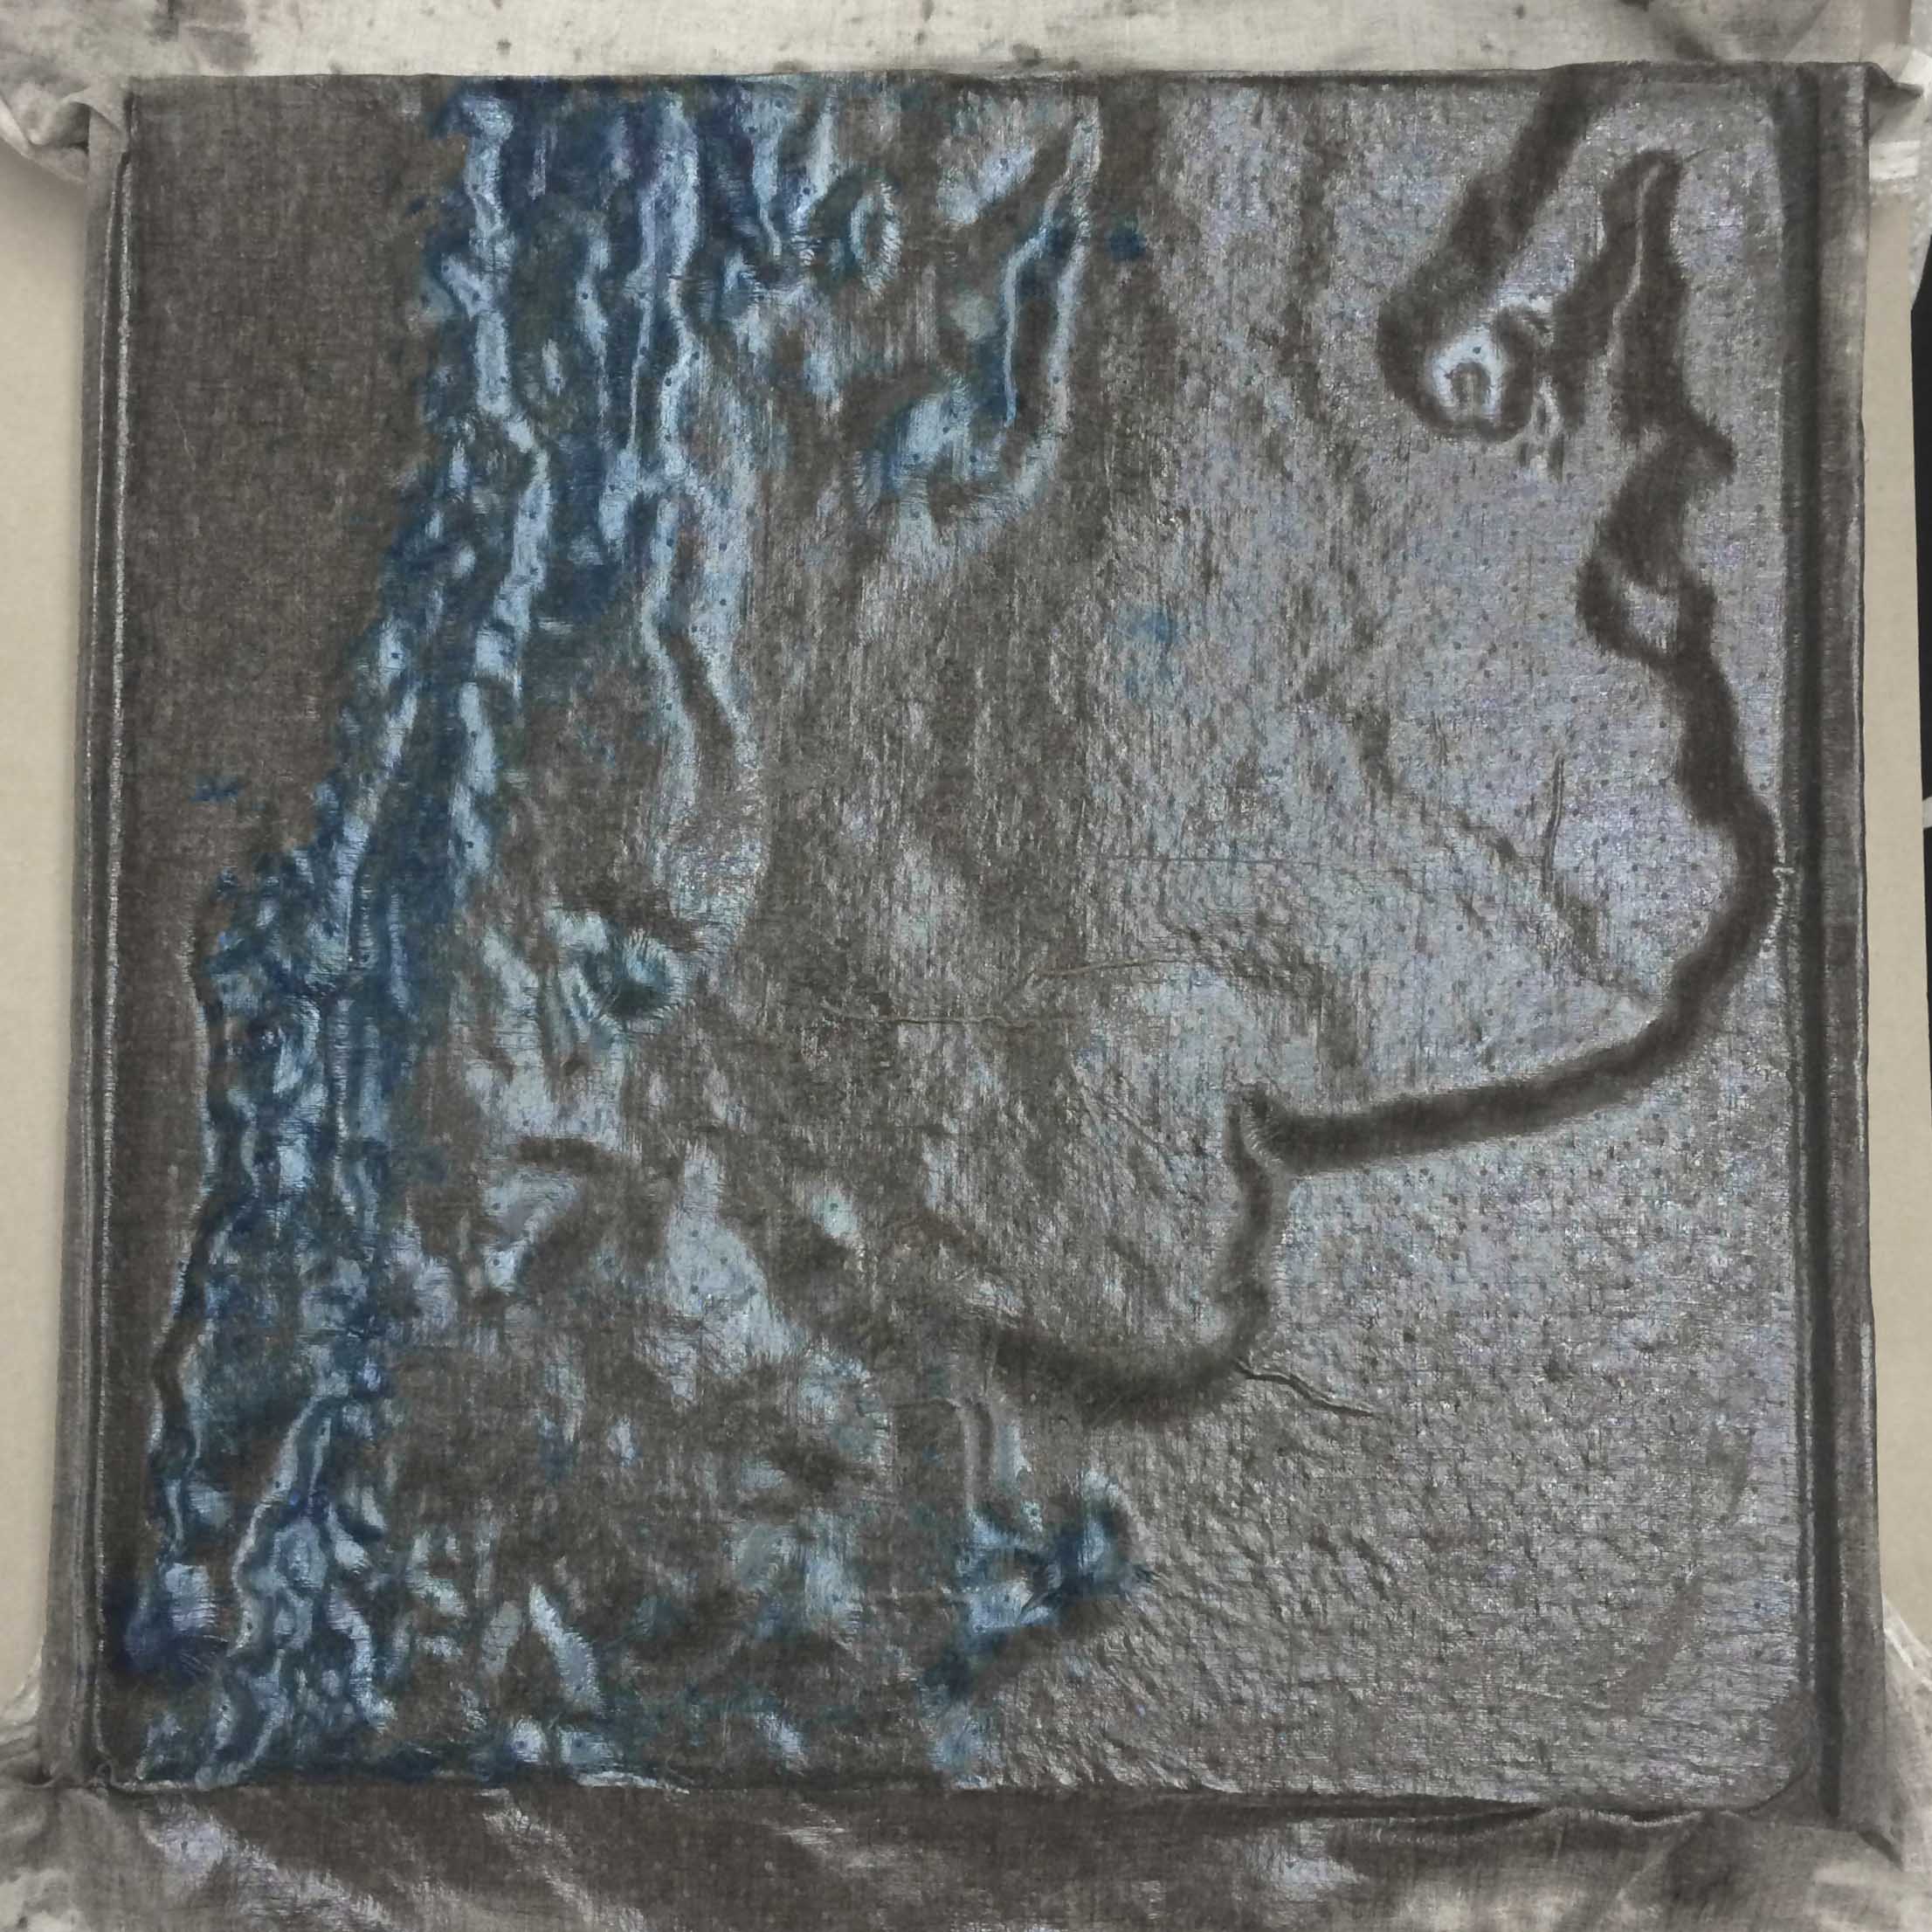
milling > sealing > dyeing > vacuum bagging > result > iluminated result
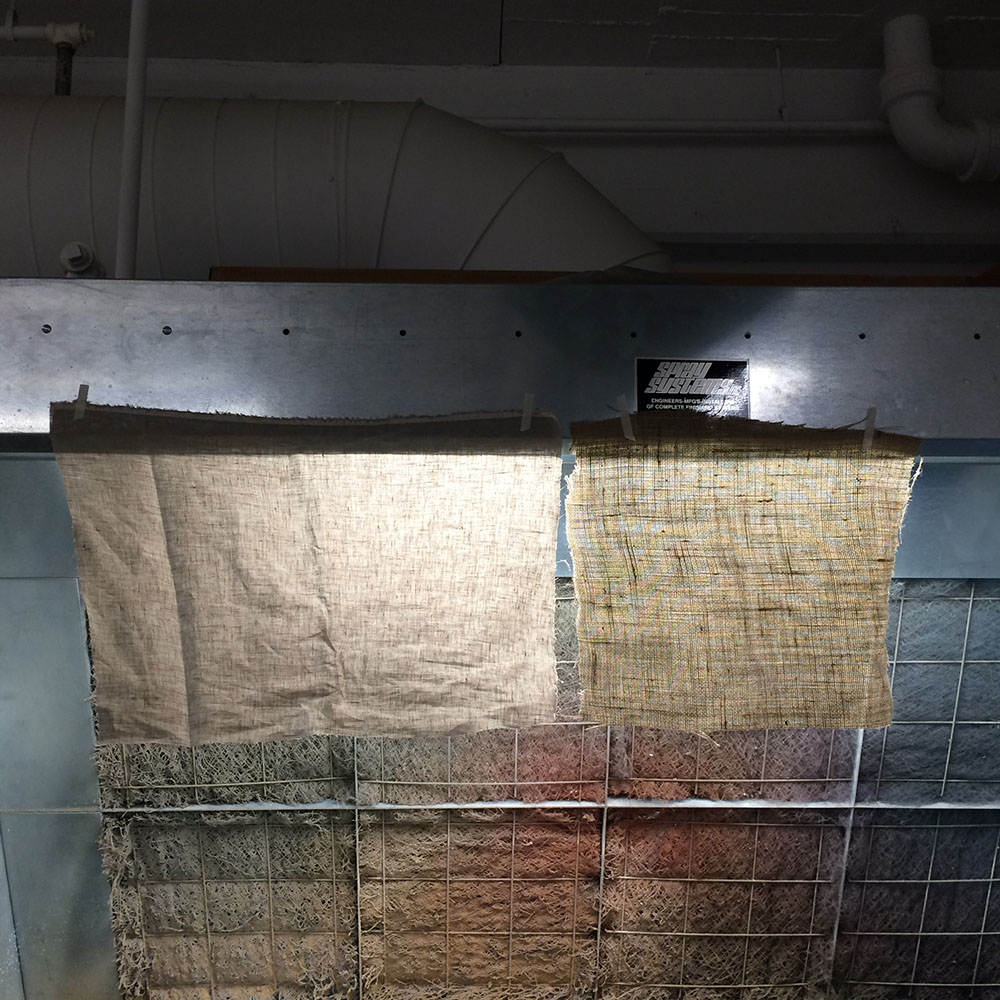
linen vs burlap

final 3D relief map
final 3D relief map
facade applications?
special thanks
to merav, diego, david, jen and chris.
special thanks
to merav, diego, david, jen and chris.