I used these designs and this fab module to get started.
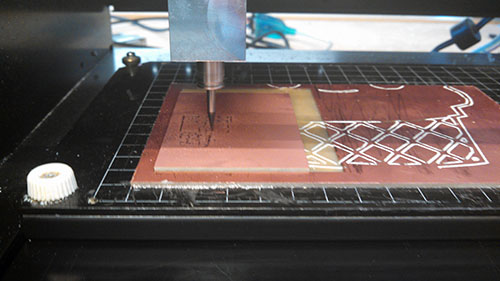
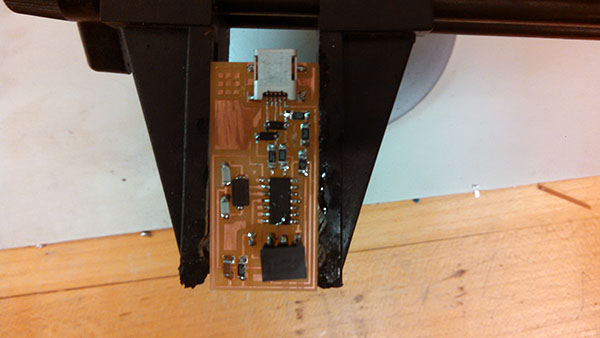
That brought me to the CNC router. We cleaned the CNC router and set it up with the first drill bit -- starting
with the traces or interior circuits. We used two drill bits - 1/64 for the traces and 1/32 for the outline.
We found that the default of 0.6mm for the outline depth broke the drill bit
(though, other people said it worked for them). Here's an image of the process.
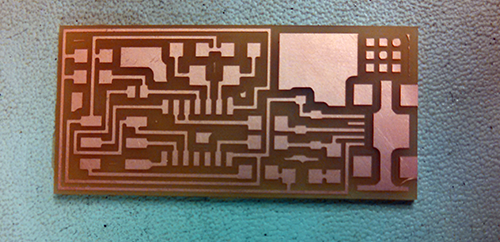
This is the resulting circuit board. From here, we went to collect all the parts.
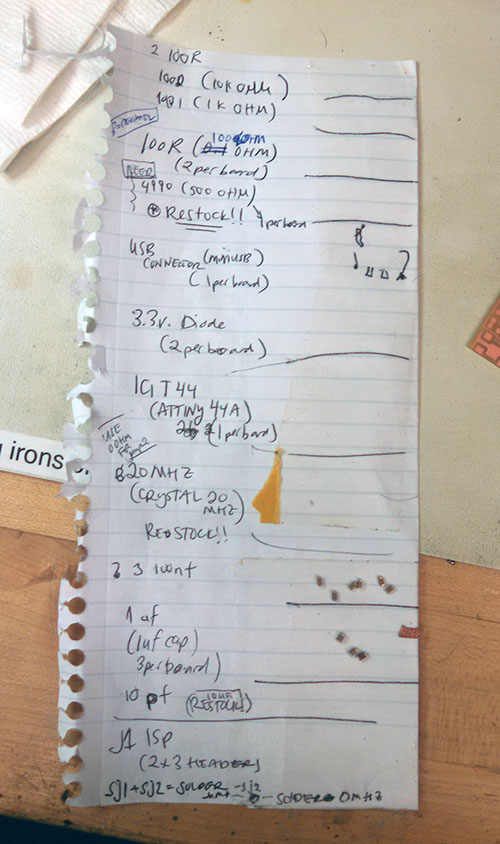
I was working with Jose and we had seen previous students tape each of their supplies to a piece of paper, using double-sided tape.
Given this was the first time making a circuit board for both of us, it took an hour for us to
do inventory and collect the parts. Understanding what parts to use when the labels on the provided diagrams
may be different than the part names can take some time. To that end, we listed the part numbers as referred to on
the diagram and as they are listed on the inventory drawers. I imagine this list will be useful in future programming here.
One note: we found 100R is not the same as R100.
This is the circuit board soldering in process. I found that using thinner solder wire made it simpler.
There are also two tools to be able to remove extra solder - gold wire and the solder vaccuum.
As it was my first time soldering, I practiced on a practice board first.
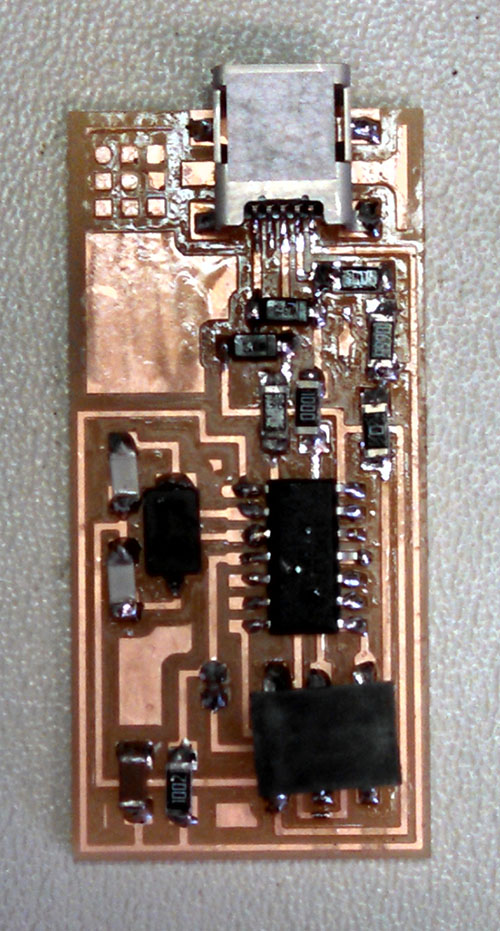
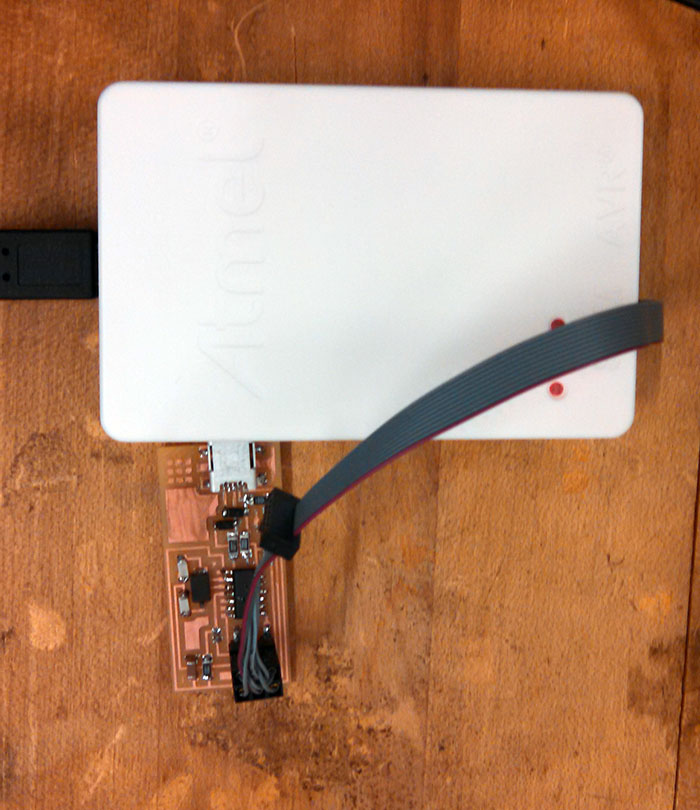
This is the final version - after all the parts are there.
I tested it using the voltage tester and some of the circuits needed to re-soldered.
I did so, tested it again, circuit by circuit, and then moved on to programming.