Reference image from http://www.flow3d.com/home/resources/case-studies/metal-casting-case-studies/aluminum-integral-foam-molding-process describing a process for aluminum integral foam modling, where variable density is possible, though this seems to be still very experimental. I figured aluminum integral foam molding might be a bit much for this week, so I chose to work with off-the-shelf casting products and hydrostone.
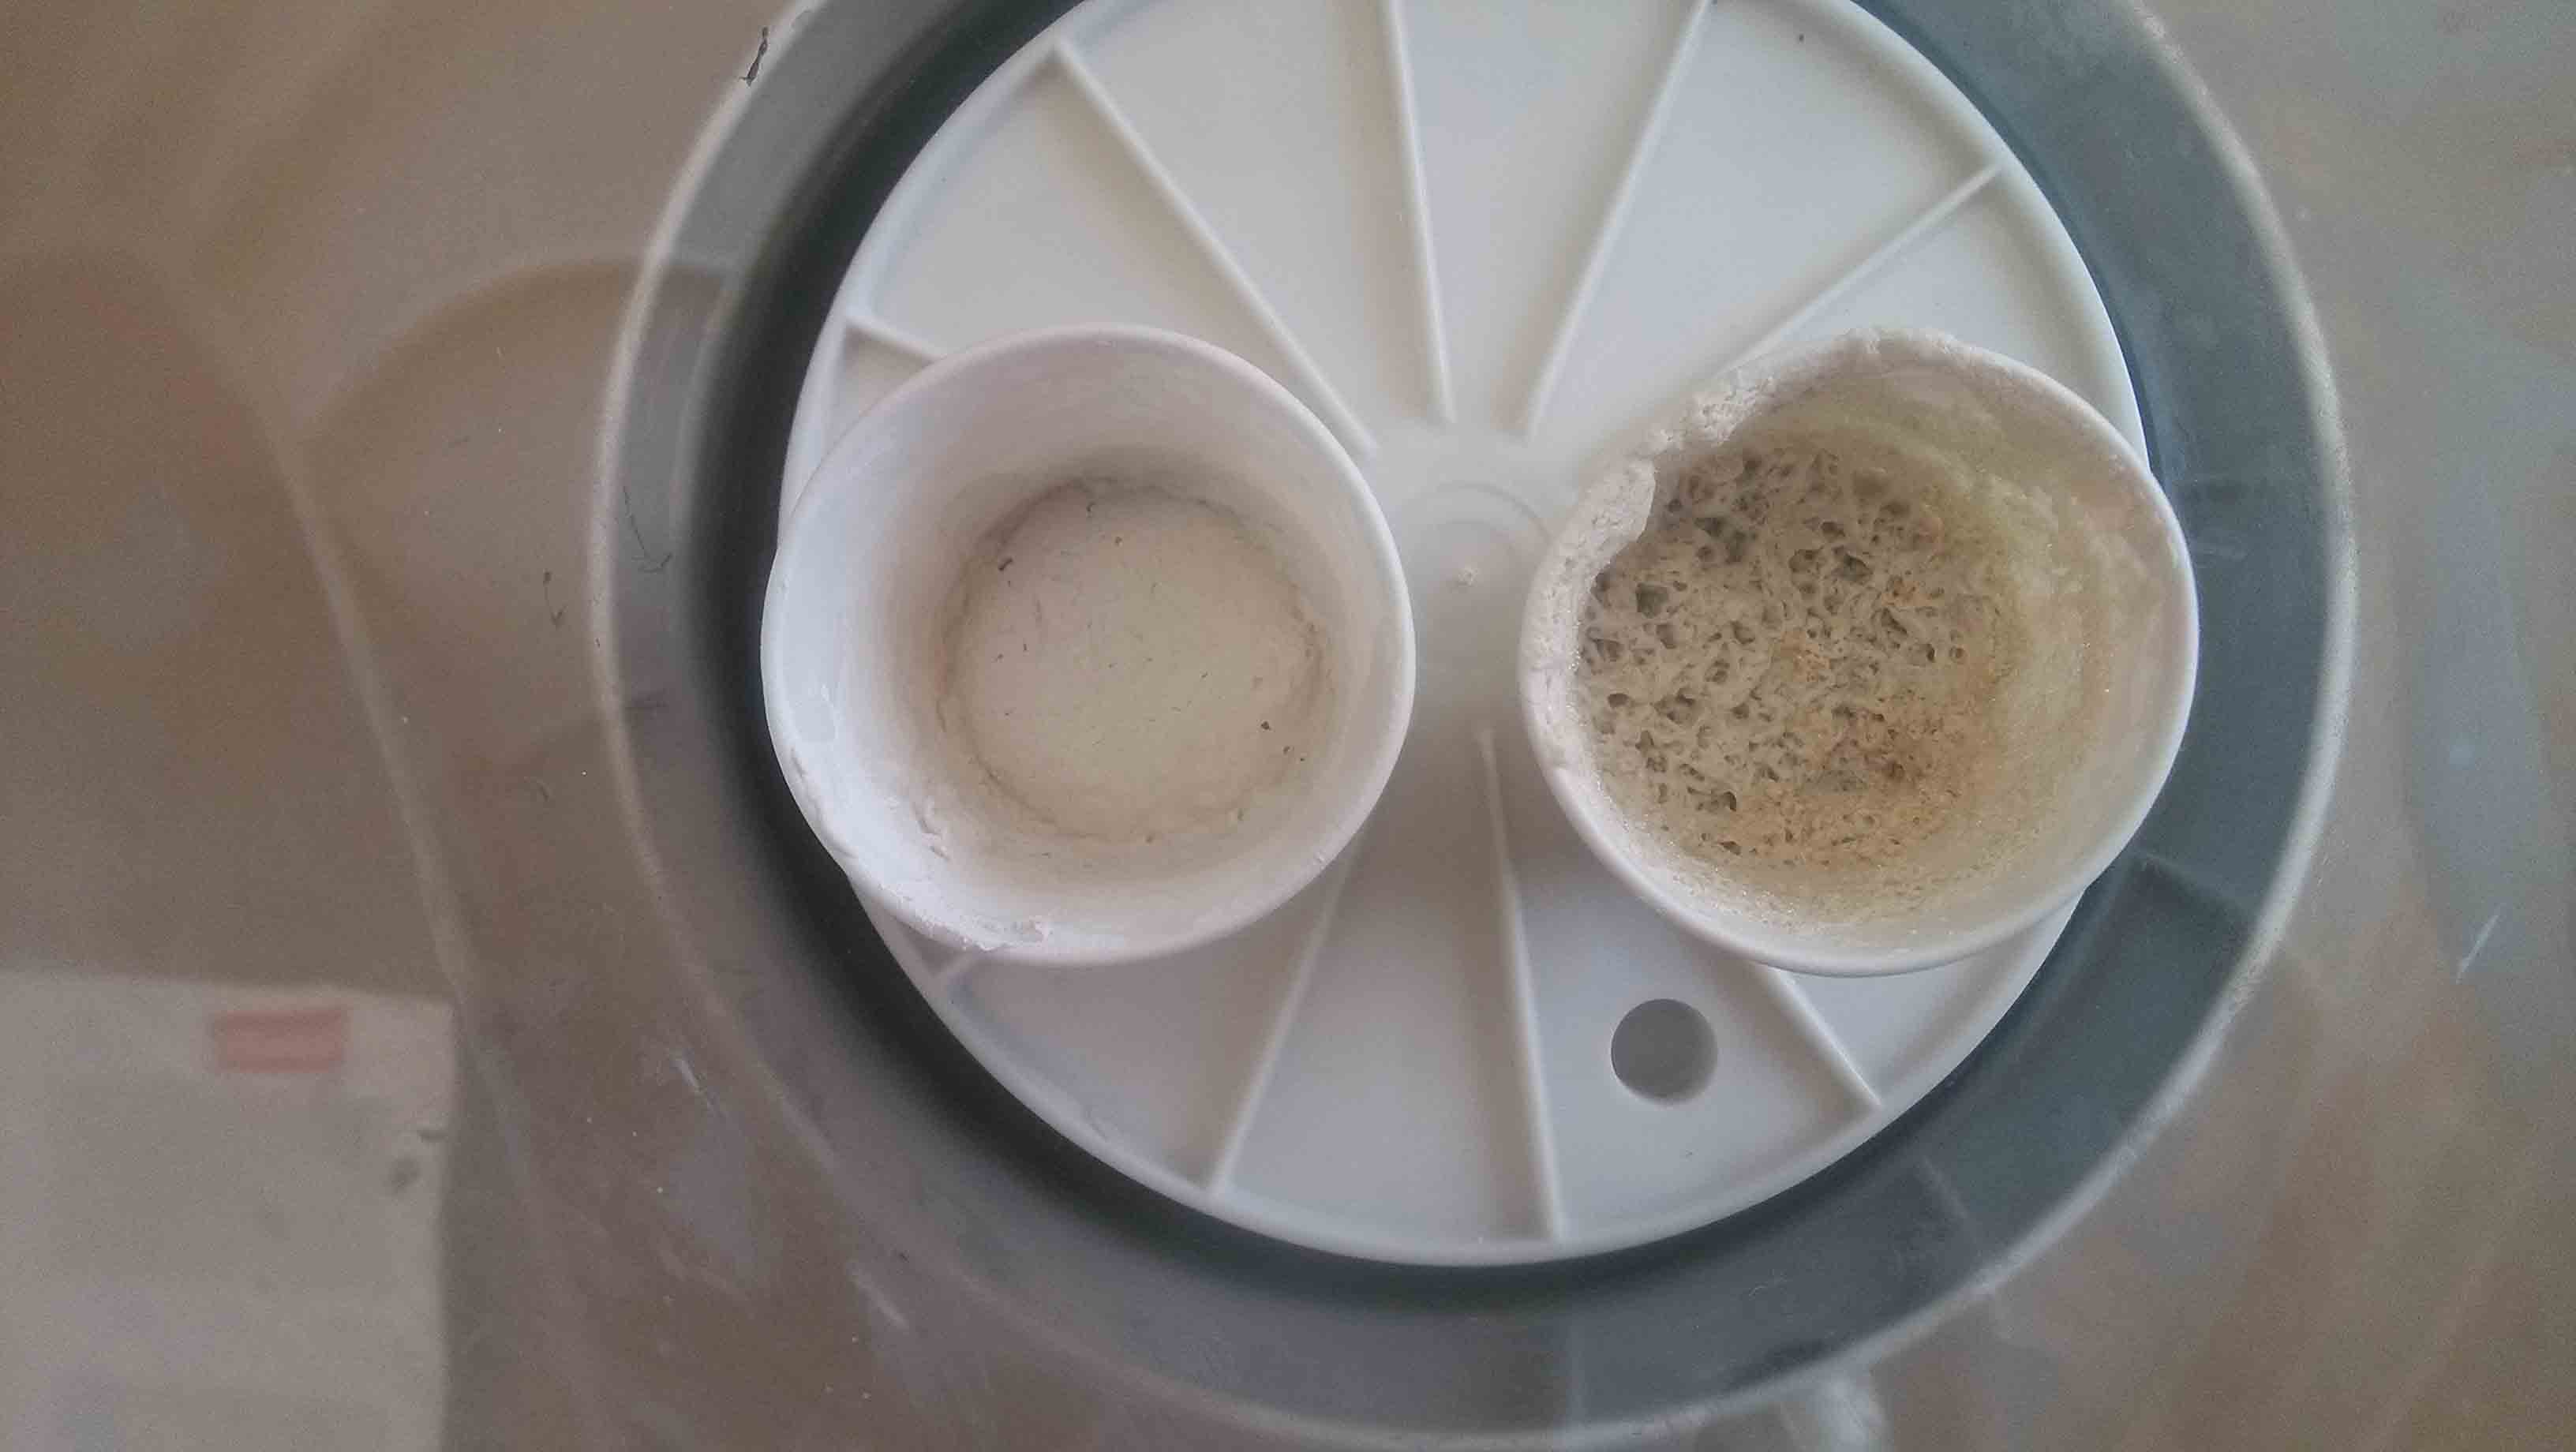
I decided to use the vacuum chamber we had in the lab as a means of aerating while in the mold. I then set about mixing together a variety of different materials, in a very non-scientific way, with the aim of finding something that would foam in the vacuum and hld its form after being released. I first tried mixing dishsoaps with hydrostone, which made a nice heterogeneous aeration, but of course did not hold its form after being released from the vacuum. Pictured here are mixtures of hydrostone and Elmer's glue on the left, and hydrostone and Gorilla glue on the right.
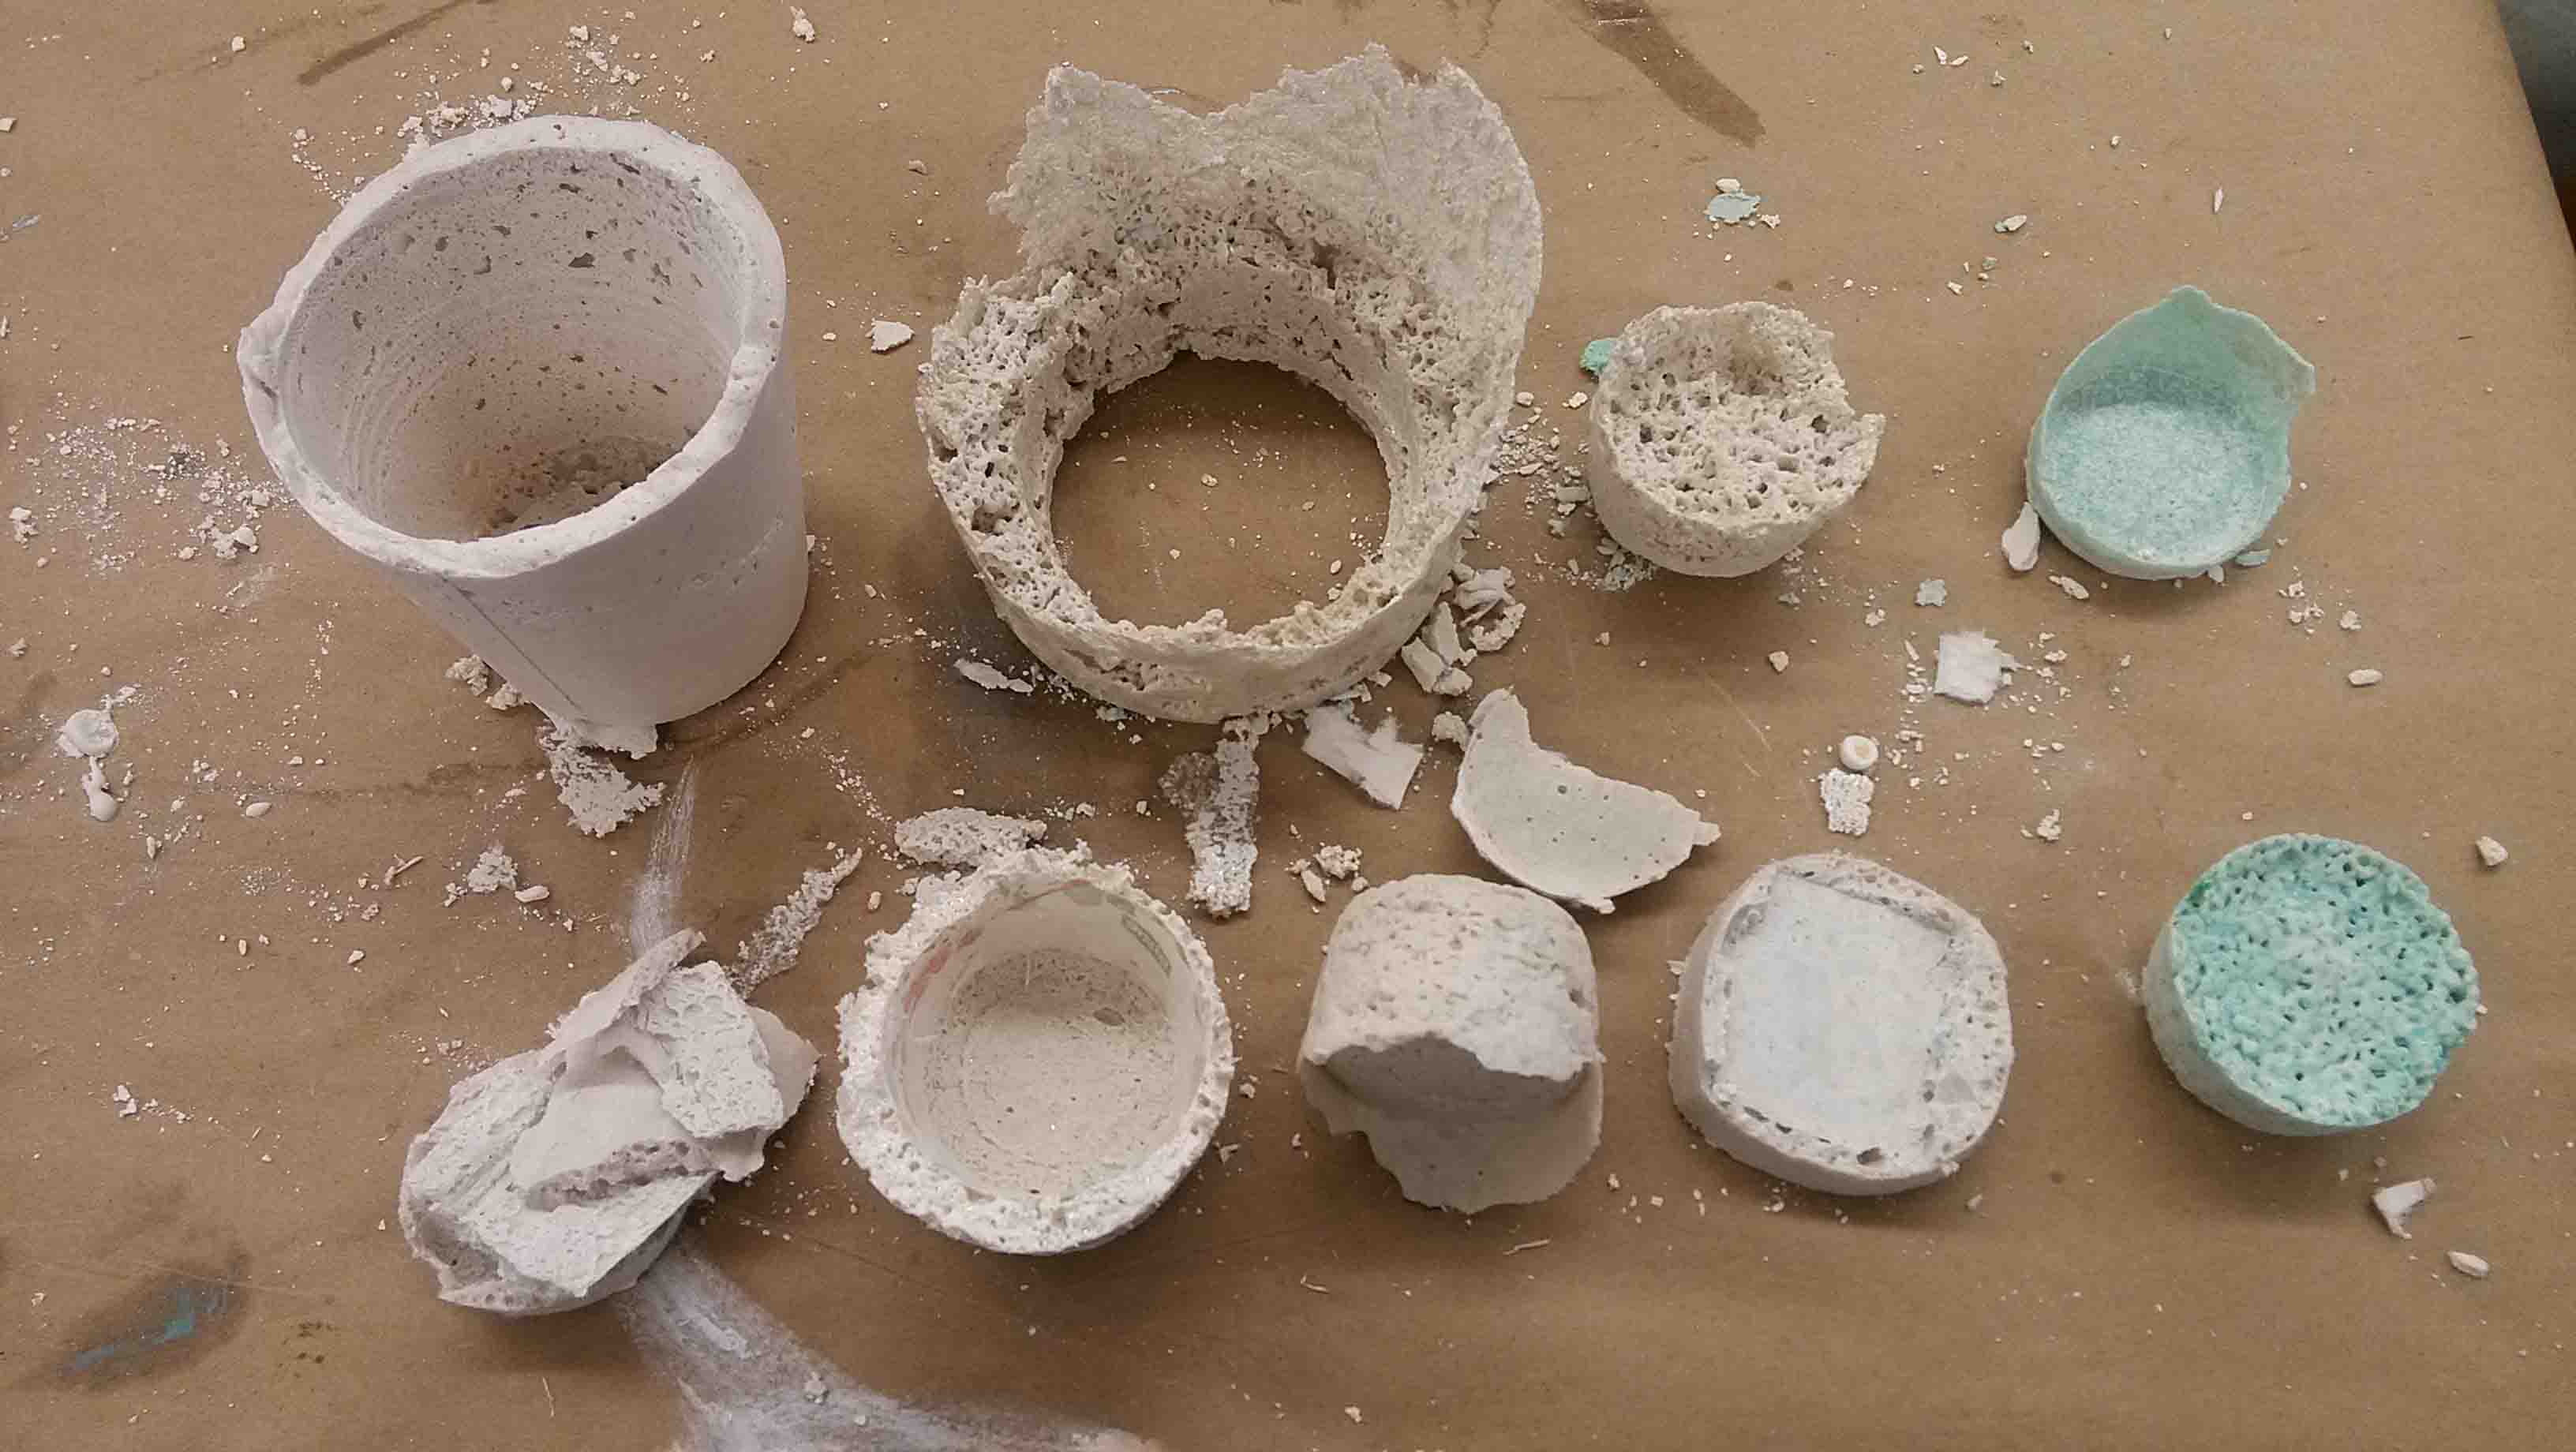
A sampling of different concoctions and how they wound up after being vacuumed. These were just cast in paper cups (sometimes with another cup inside so as to cast a shell shape. Mixtures were all hydrostone based and included Elmer's glue, Gorilla glue, oomoo, and epoxy.
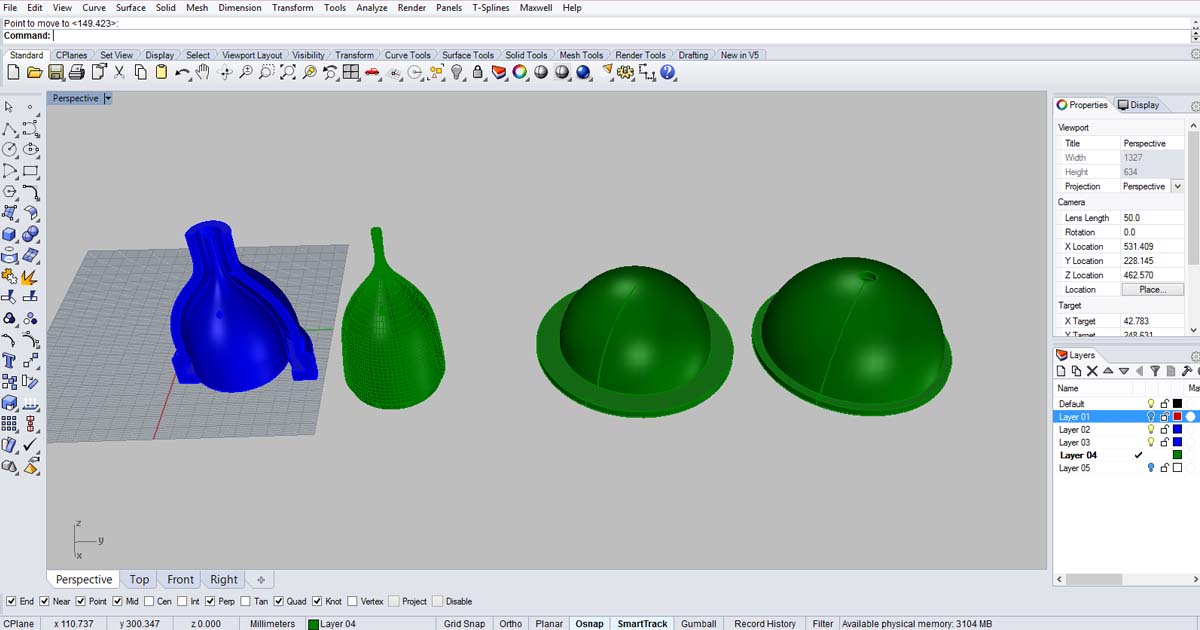
The molds were designed in Rhino and 3D printed. It would have been ideal to mill in wax and cast oomoo, but there wasn't enough time after all the material studies. Also, I wasn't sure how the oomoo would behave in the vacuum. I first used the more elongated shape the the left, then found it was nearly impossible to remove the cast without them breaking. So I went for a more forgiving dome shape on the right. For both the cavity forms a 5mm shell.
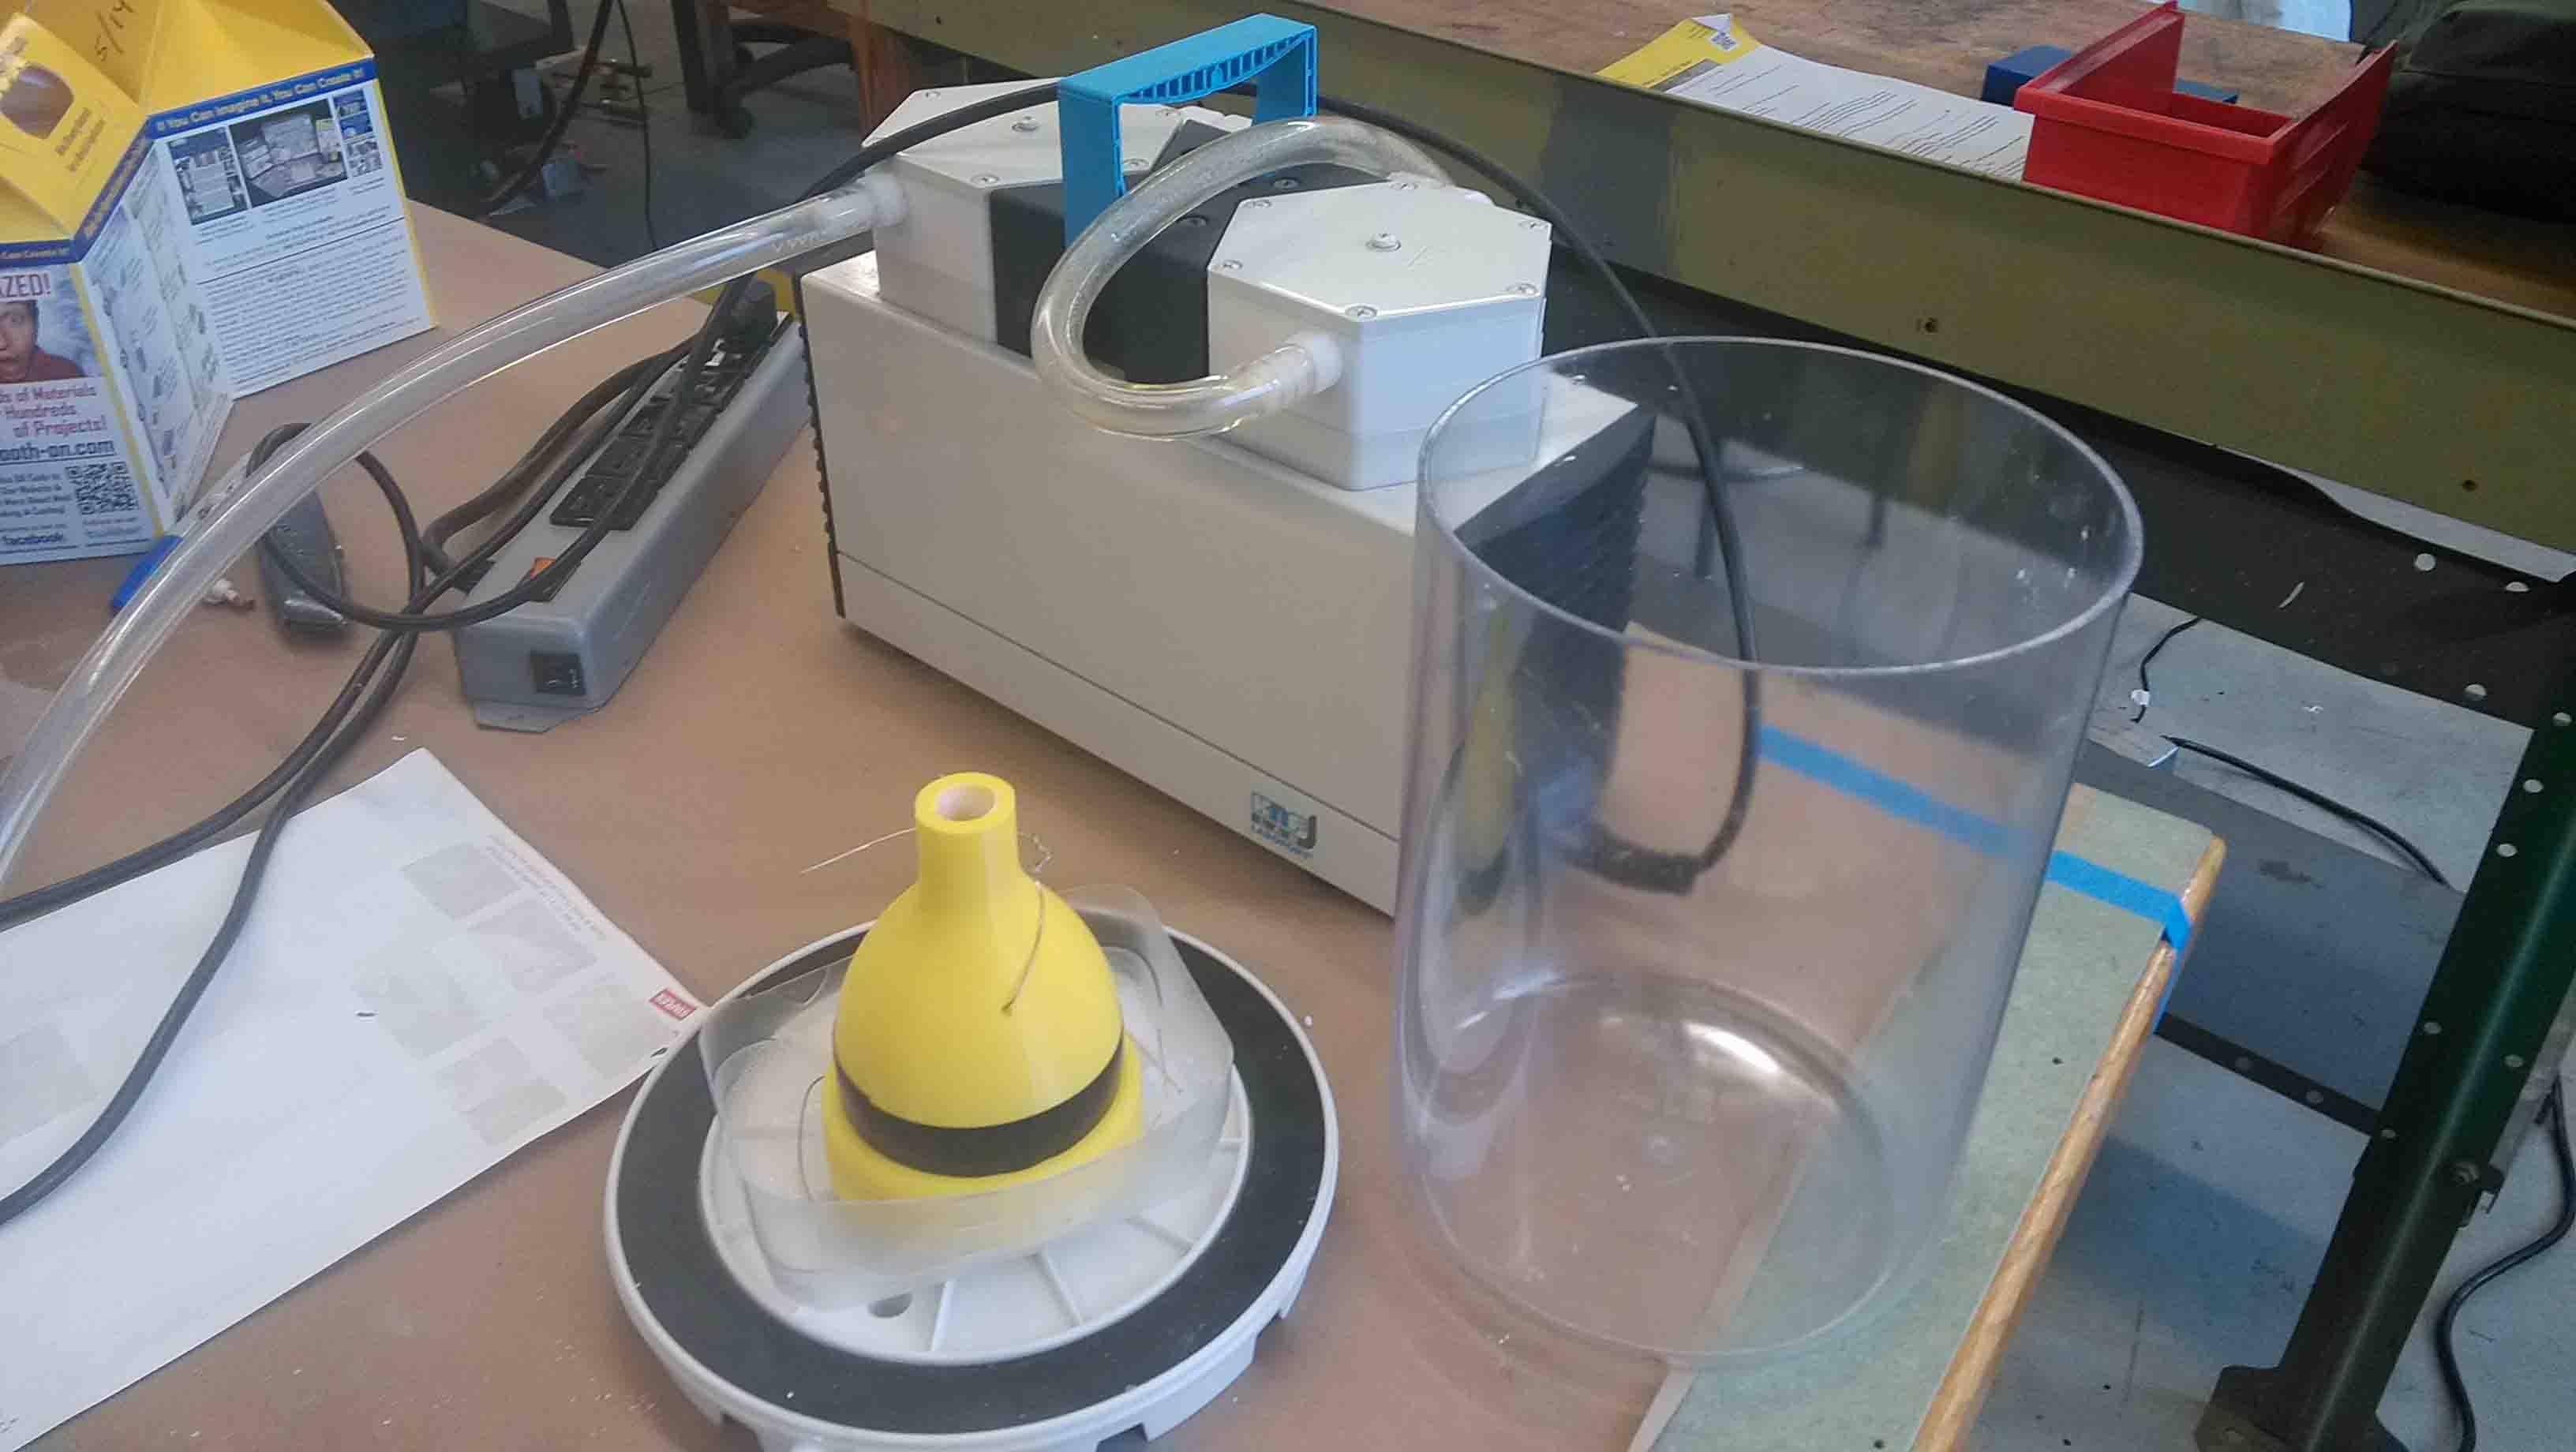
The 3D printed mold is held together with wires that also suspend the interior negative in place. The mixture is poured into the mold and place in the vacuum. I would generally let it sit in the vacuum for about half an hour. The vacuum chamber would start to condense after about 20 minutes (I assume the water was finally being released from the solution) and then I would stop the vacuum shortly afterwards.
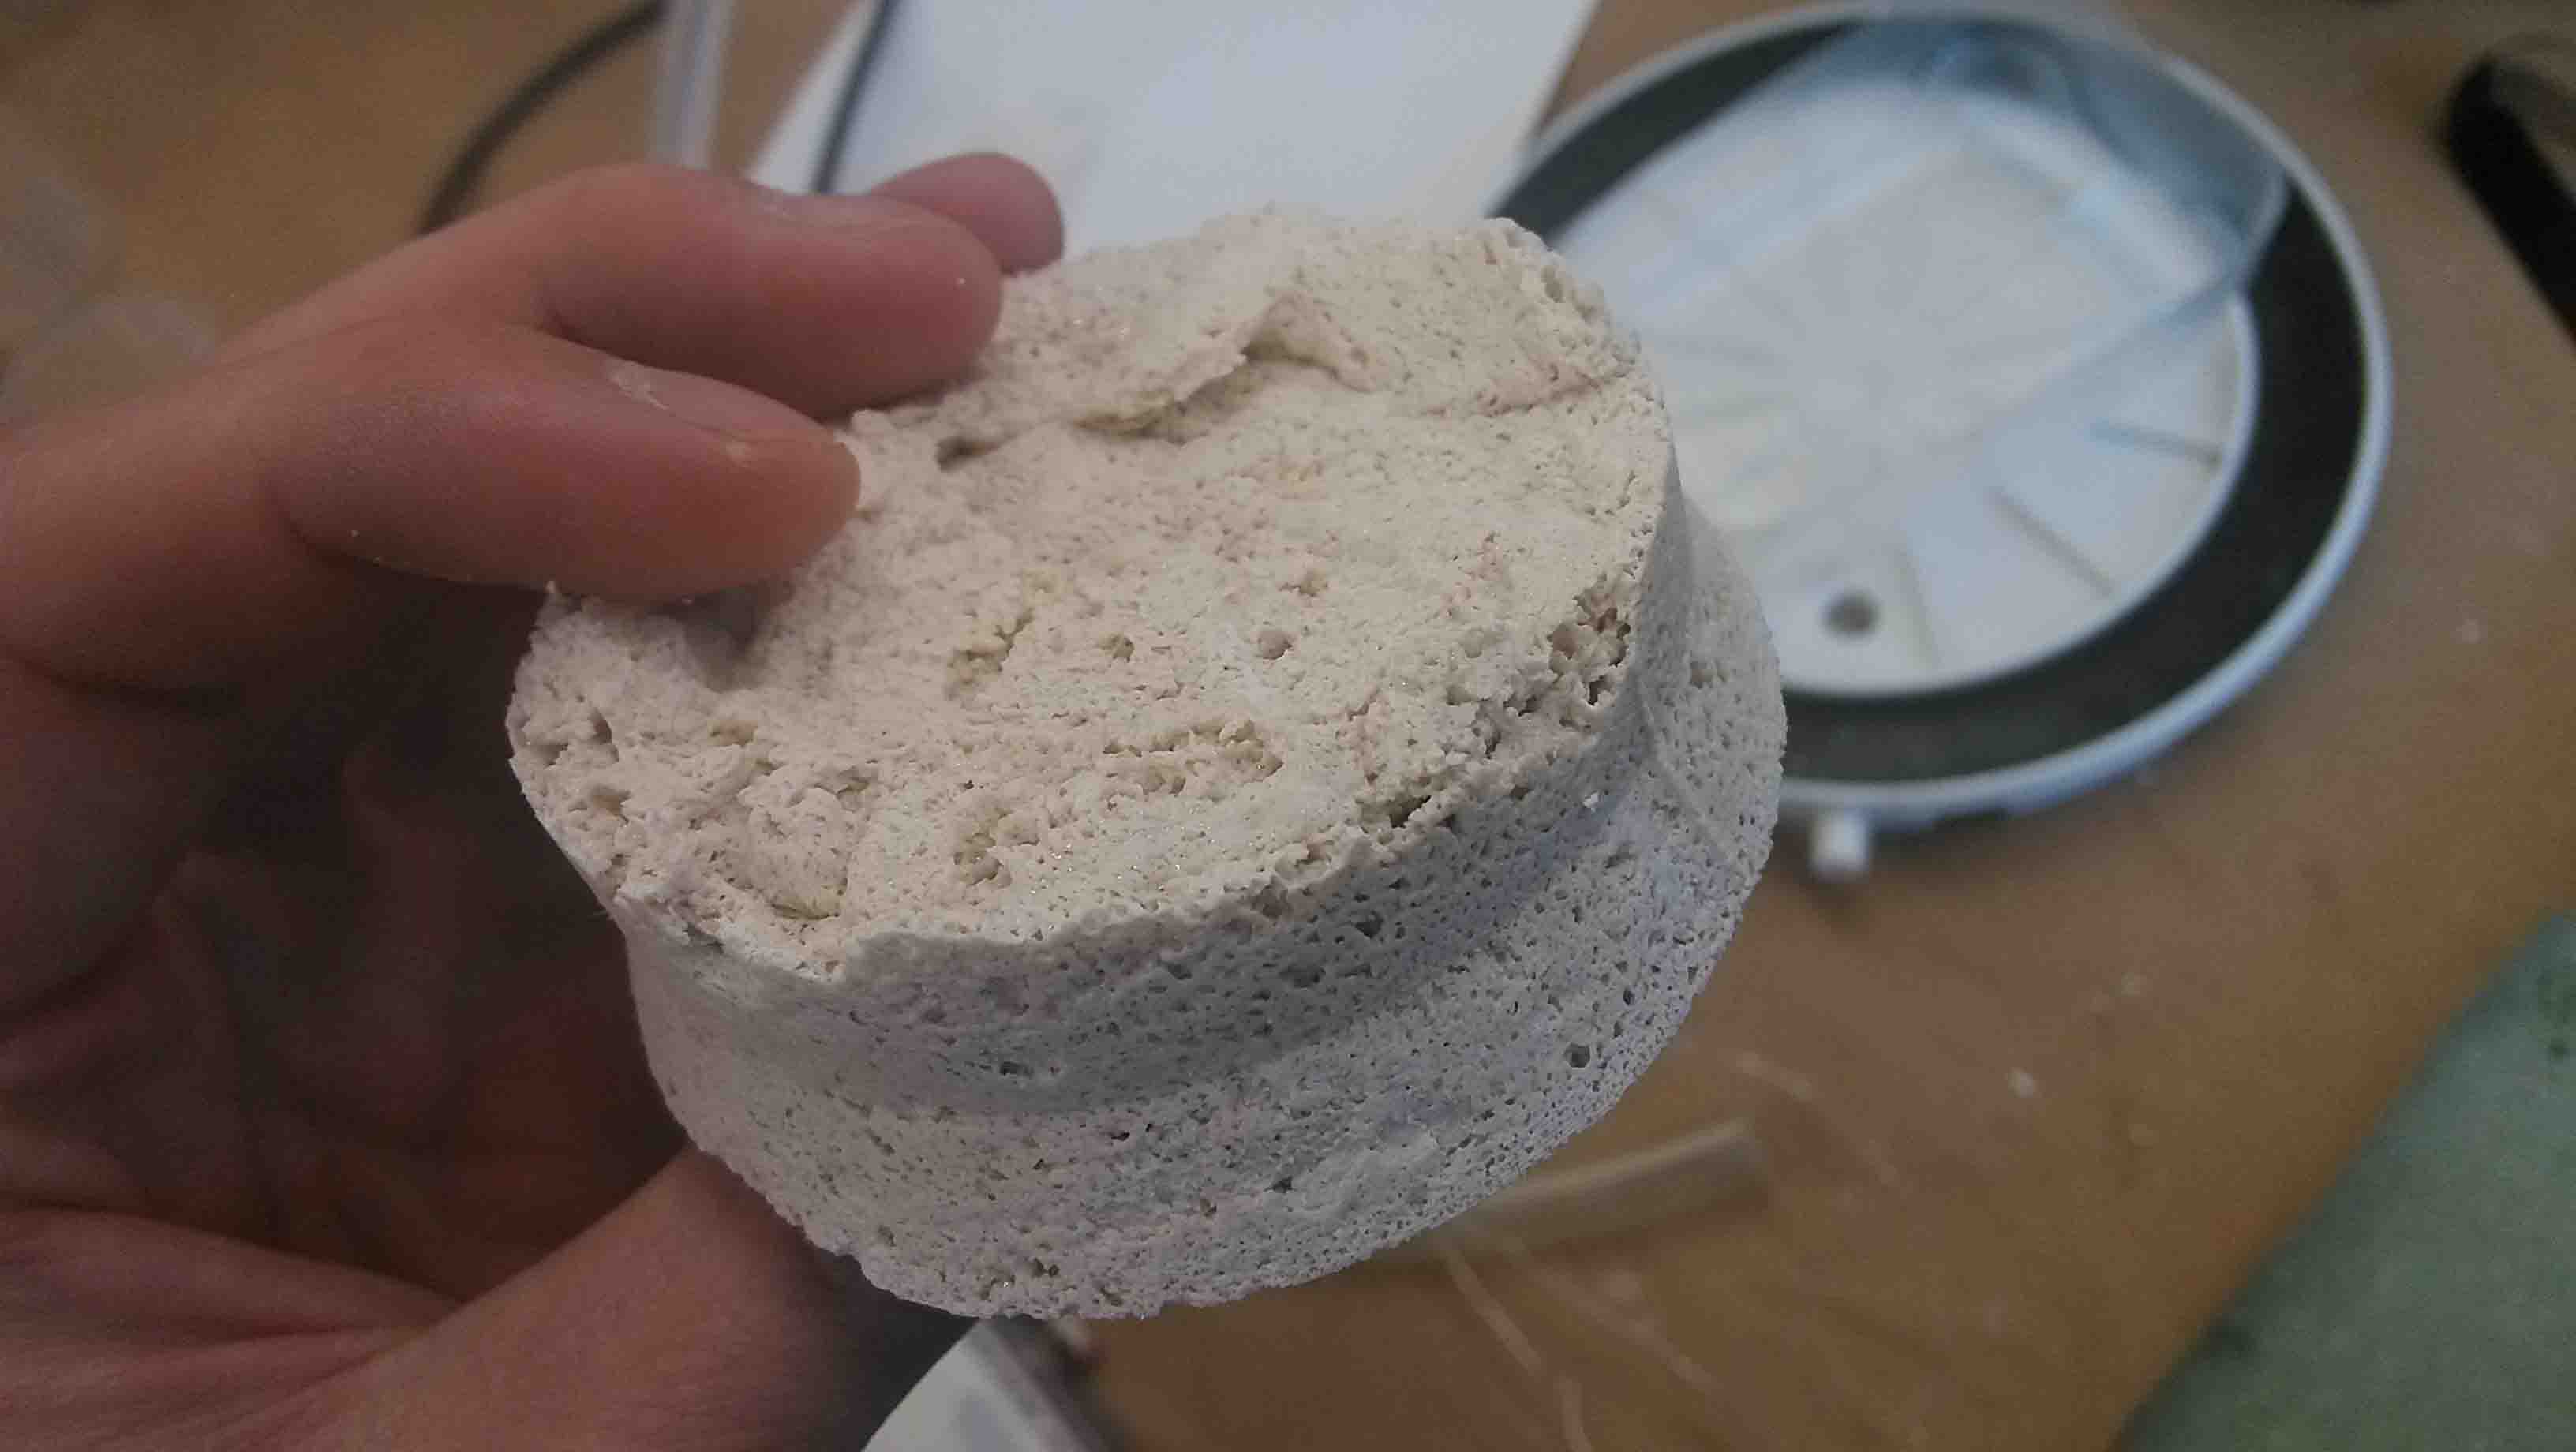
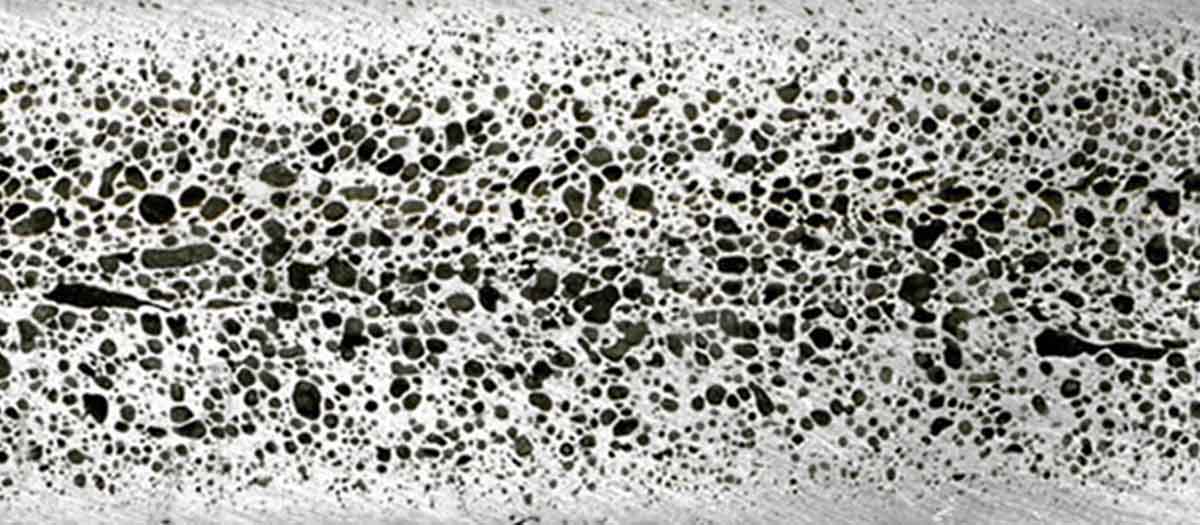
A sample of the expoxy hydrostone mix. It seems rather lightweight and still strong in compression. However, when pourse in a thinner shell form, it became quite brittle.
There were still issues with air bubbles preventing the entire mold from being filled evenly. I realized this was a difficult shape to cast and went for a simple dome shell instead.
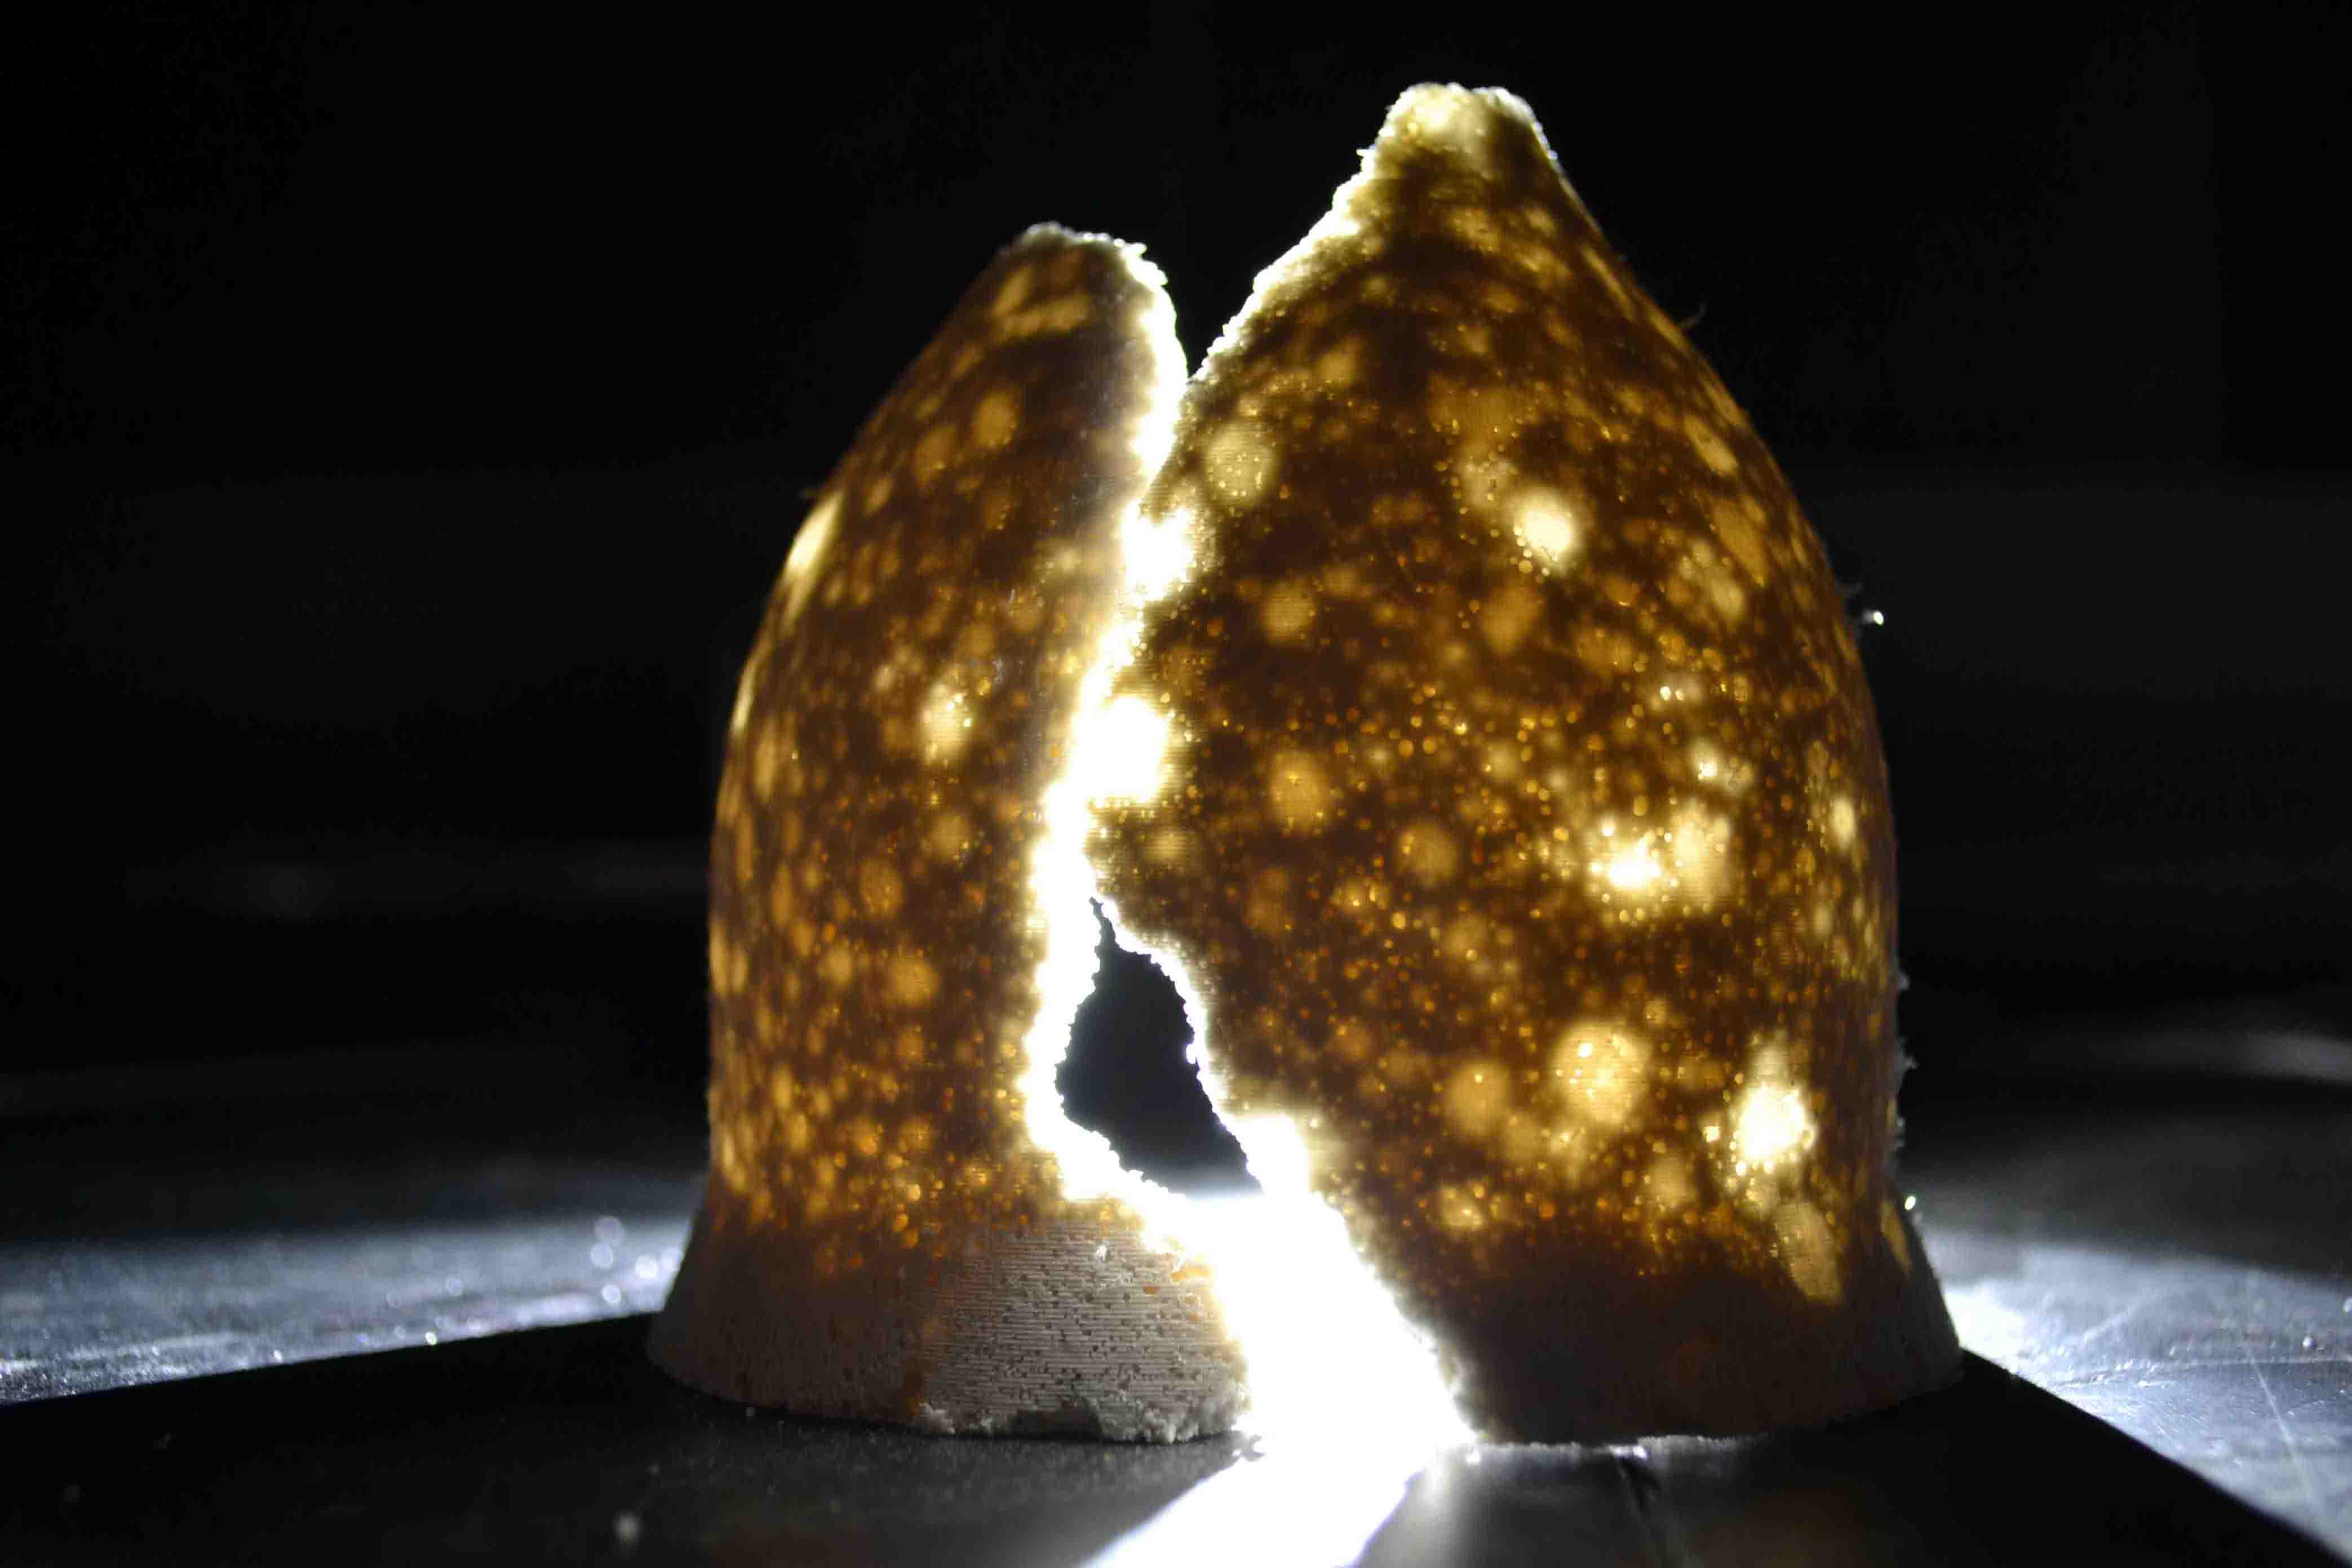
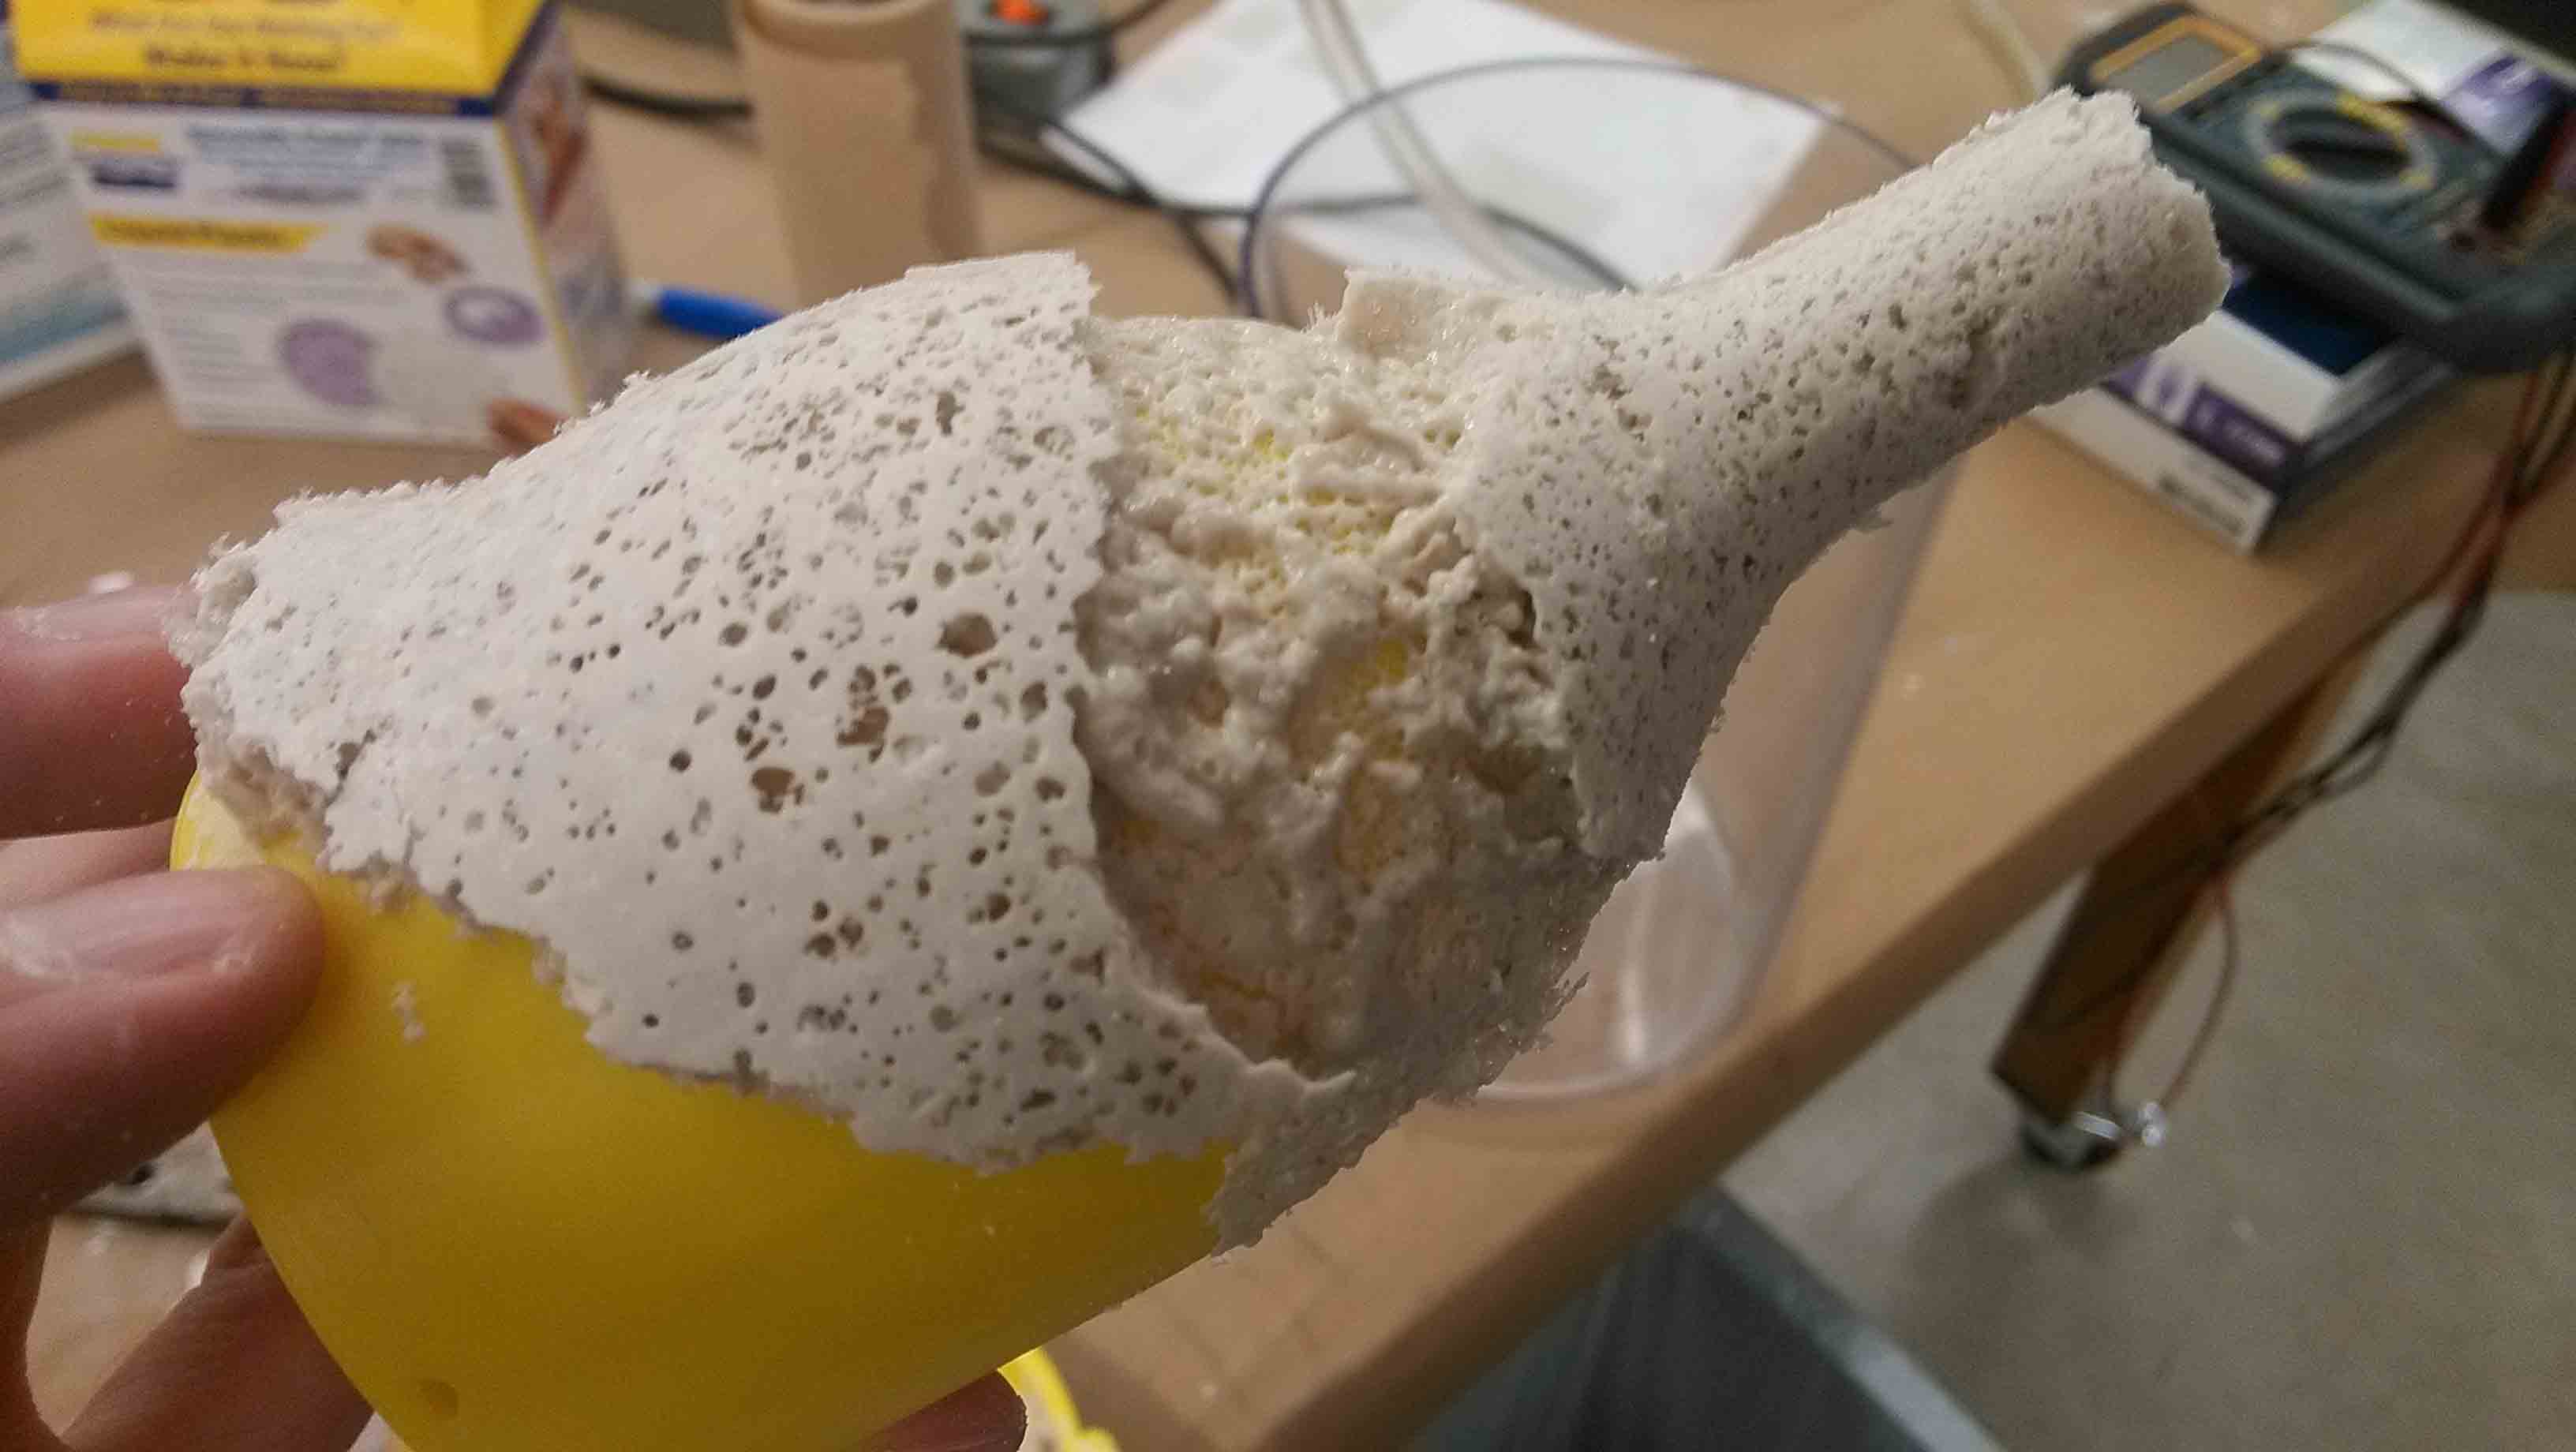
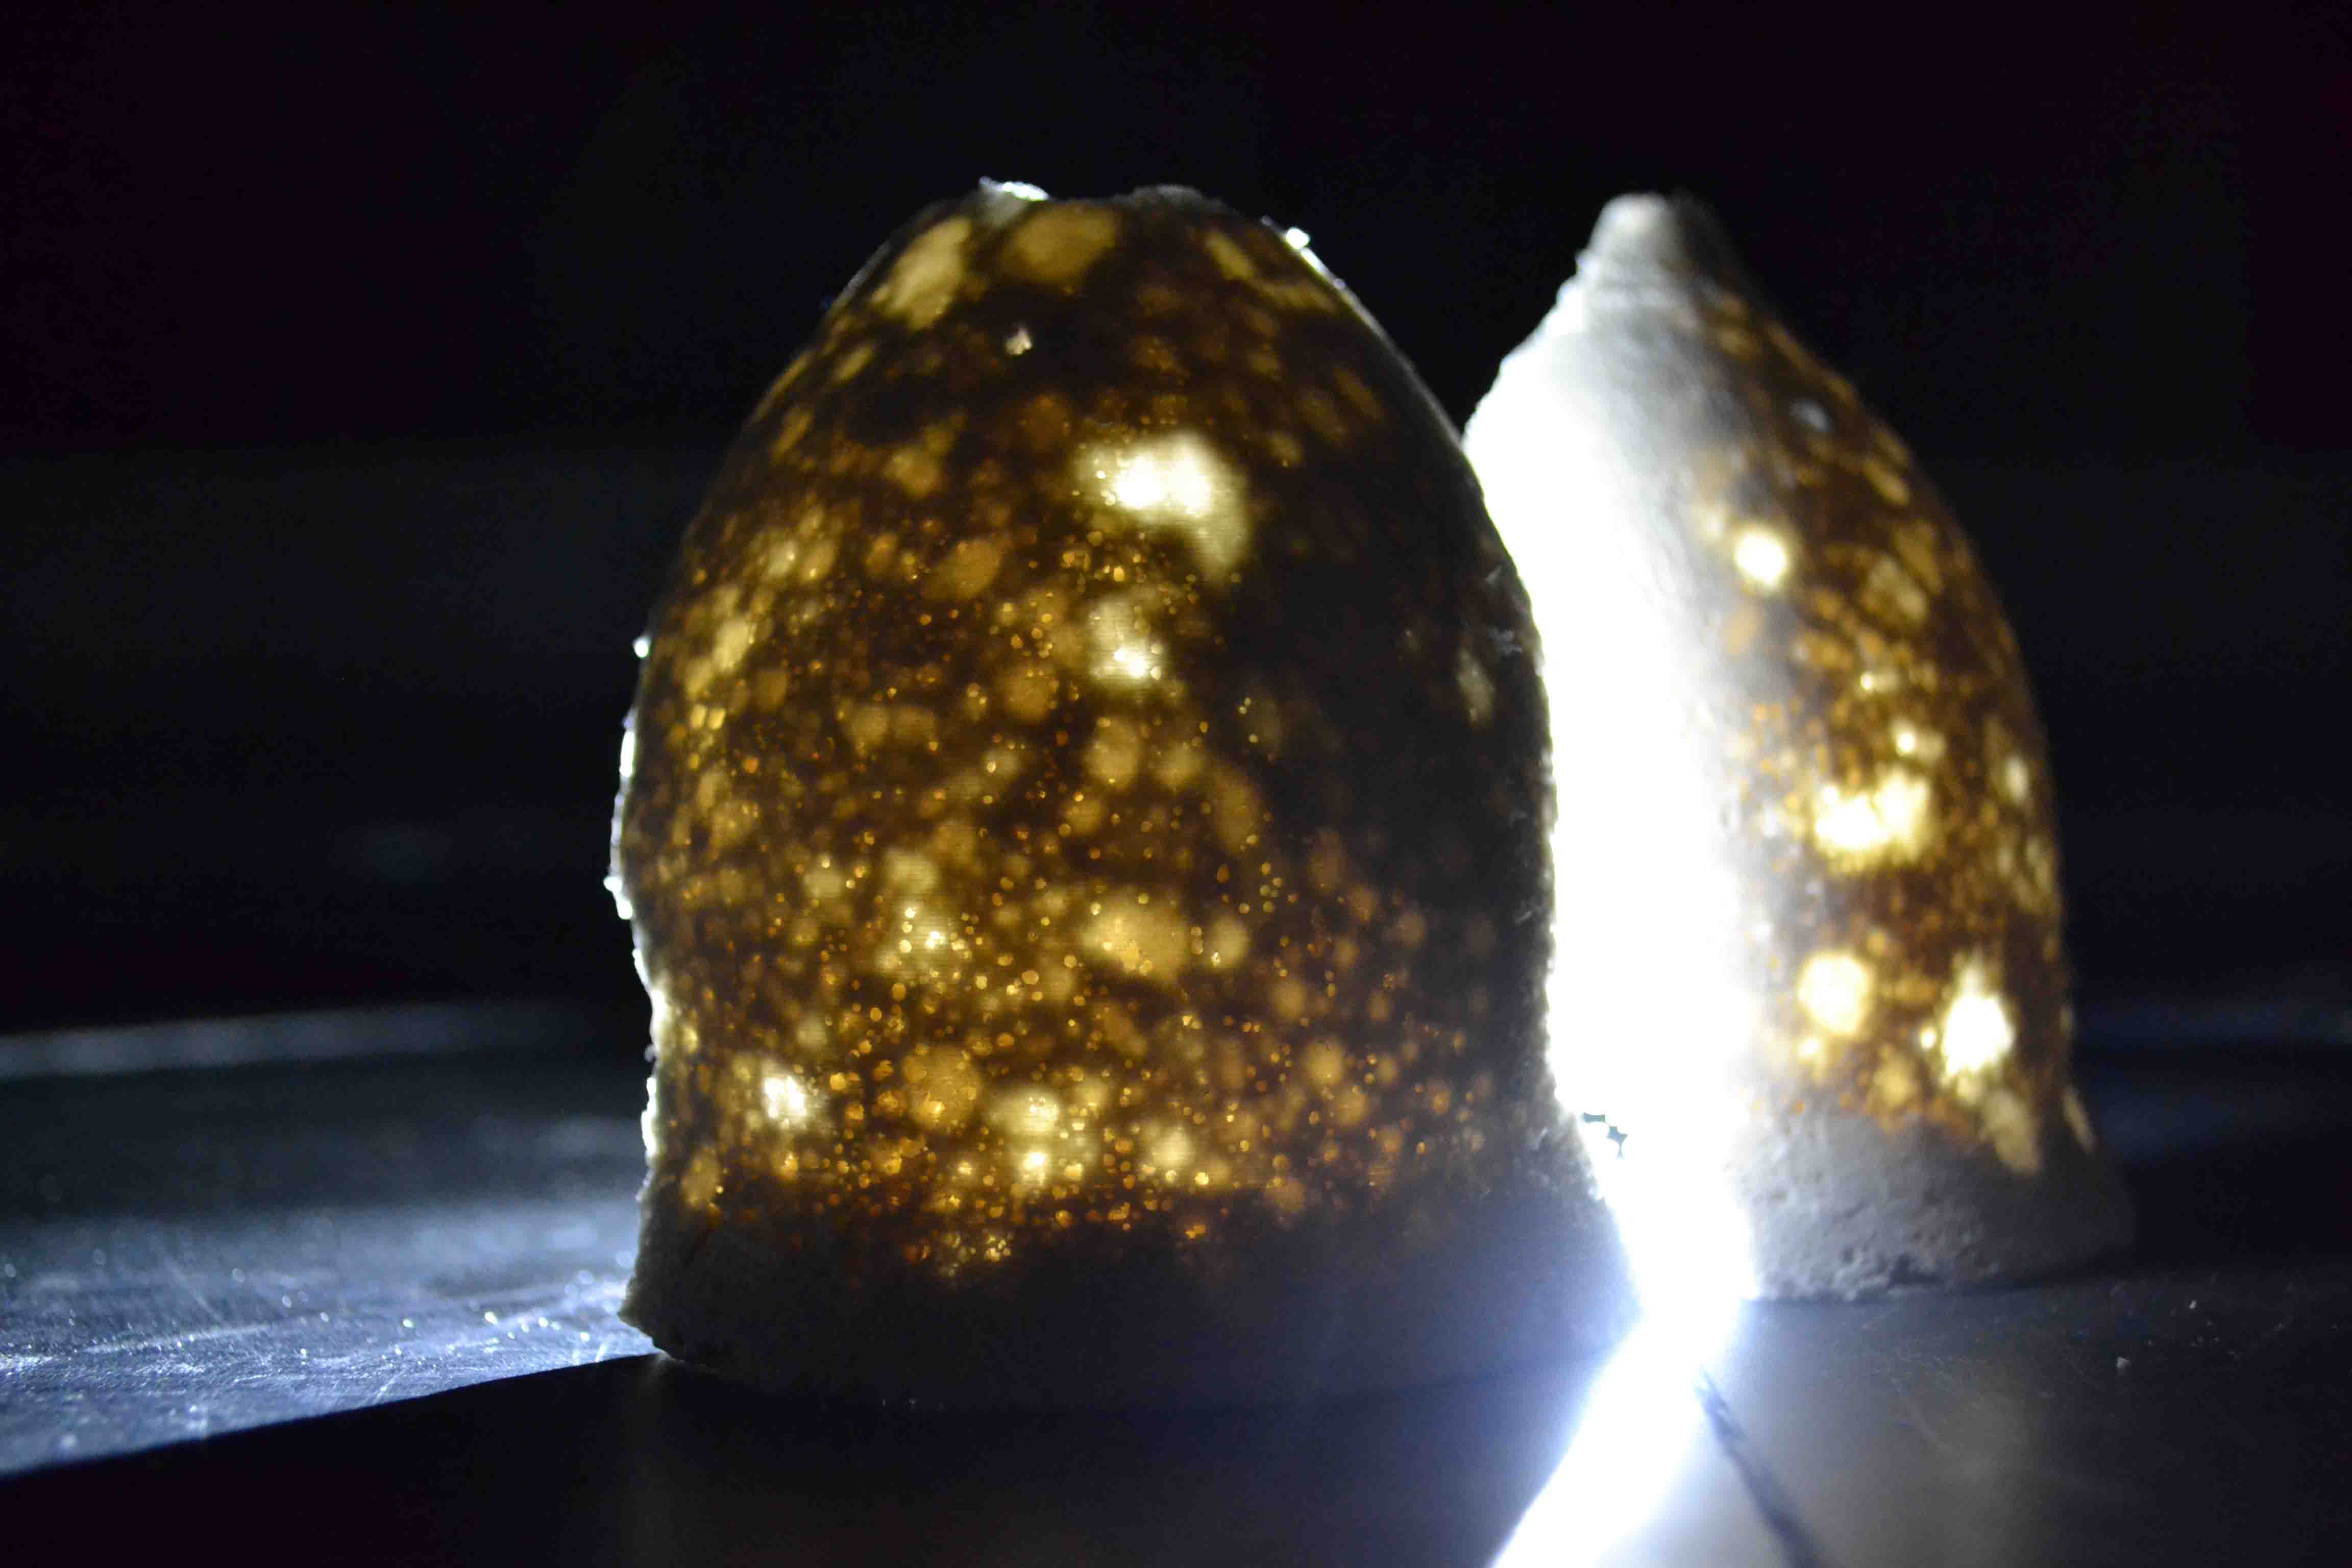
By this point I had not been able to extract an intact cast from the mold, and the first tests with the dome mold were not successful. However, though in pieces, the process did manage to produce aerated translucent casts.
After programming the board, we noticed some odd behavior. The LED would be off until I pressed the button...though after pressing it again, it wouldn't turn off. Actually, nothing would make the LED turn off, other than removing the FTDI cable. We tried adjusting the code and reprogramming, but nothing seemed to work. So for now I'll have to be satisfied with a board that more or less works, and leave the LED mystery until later.
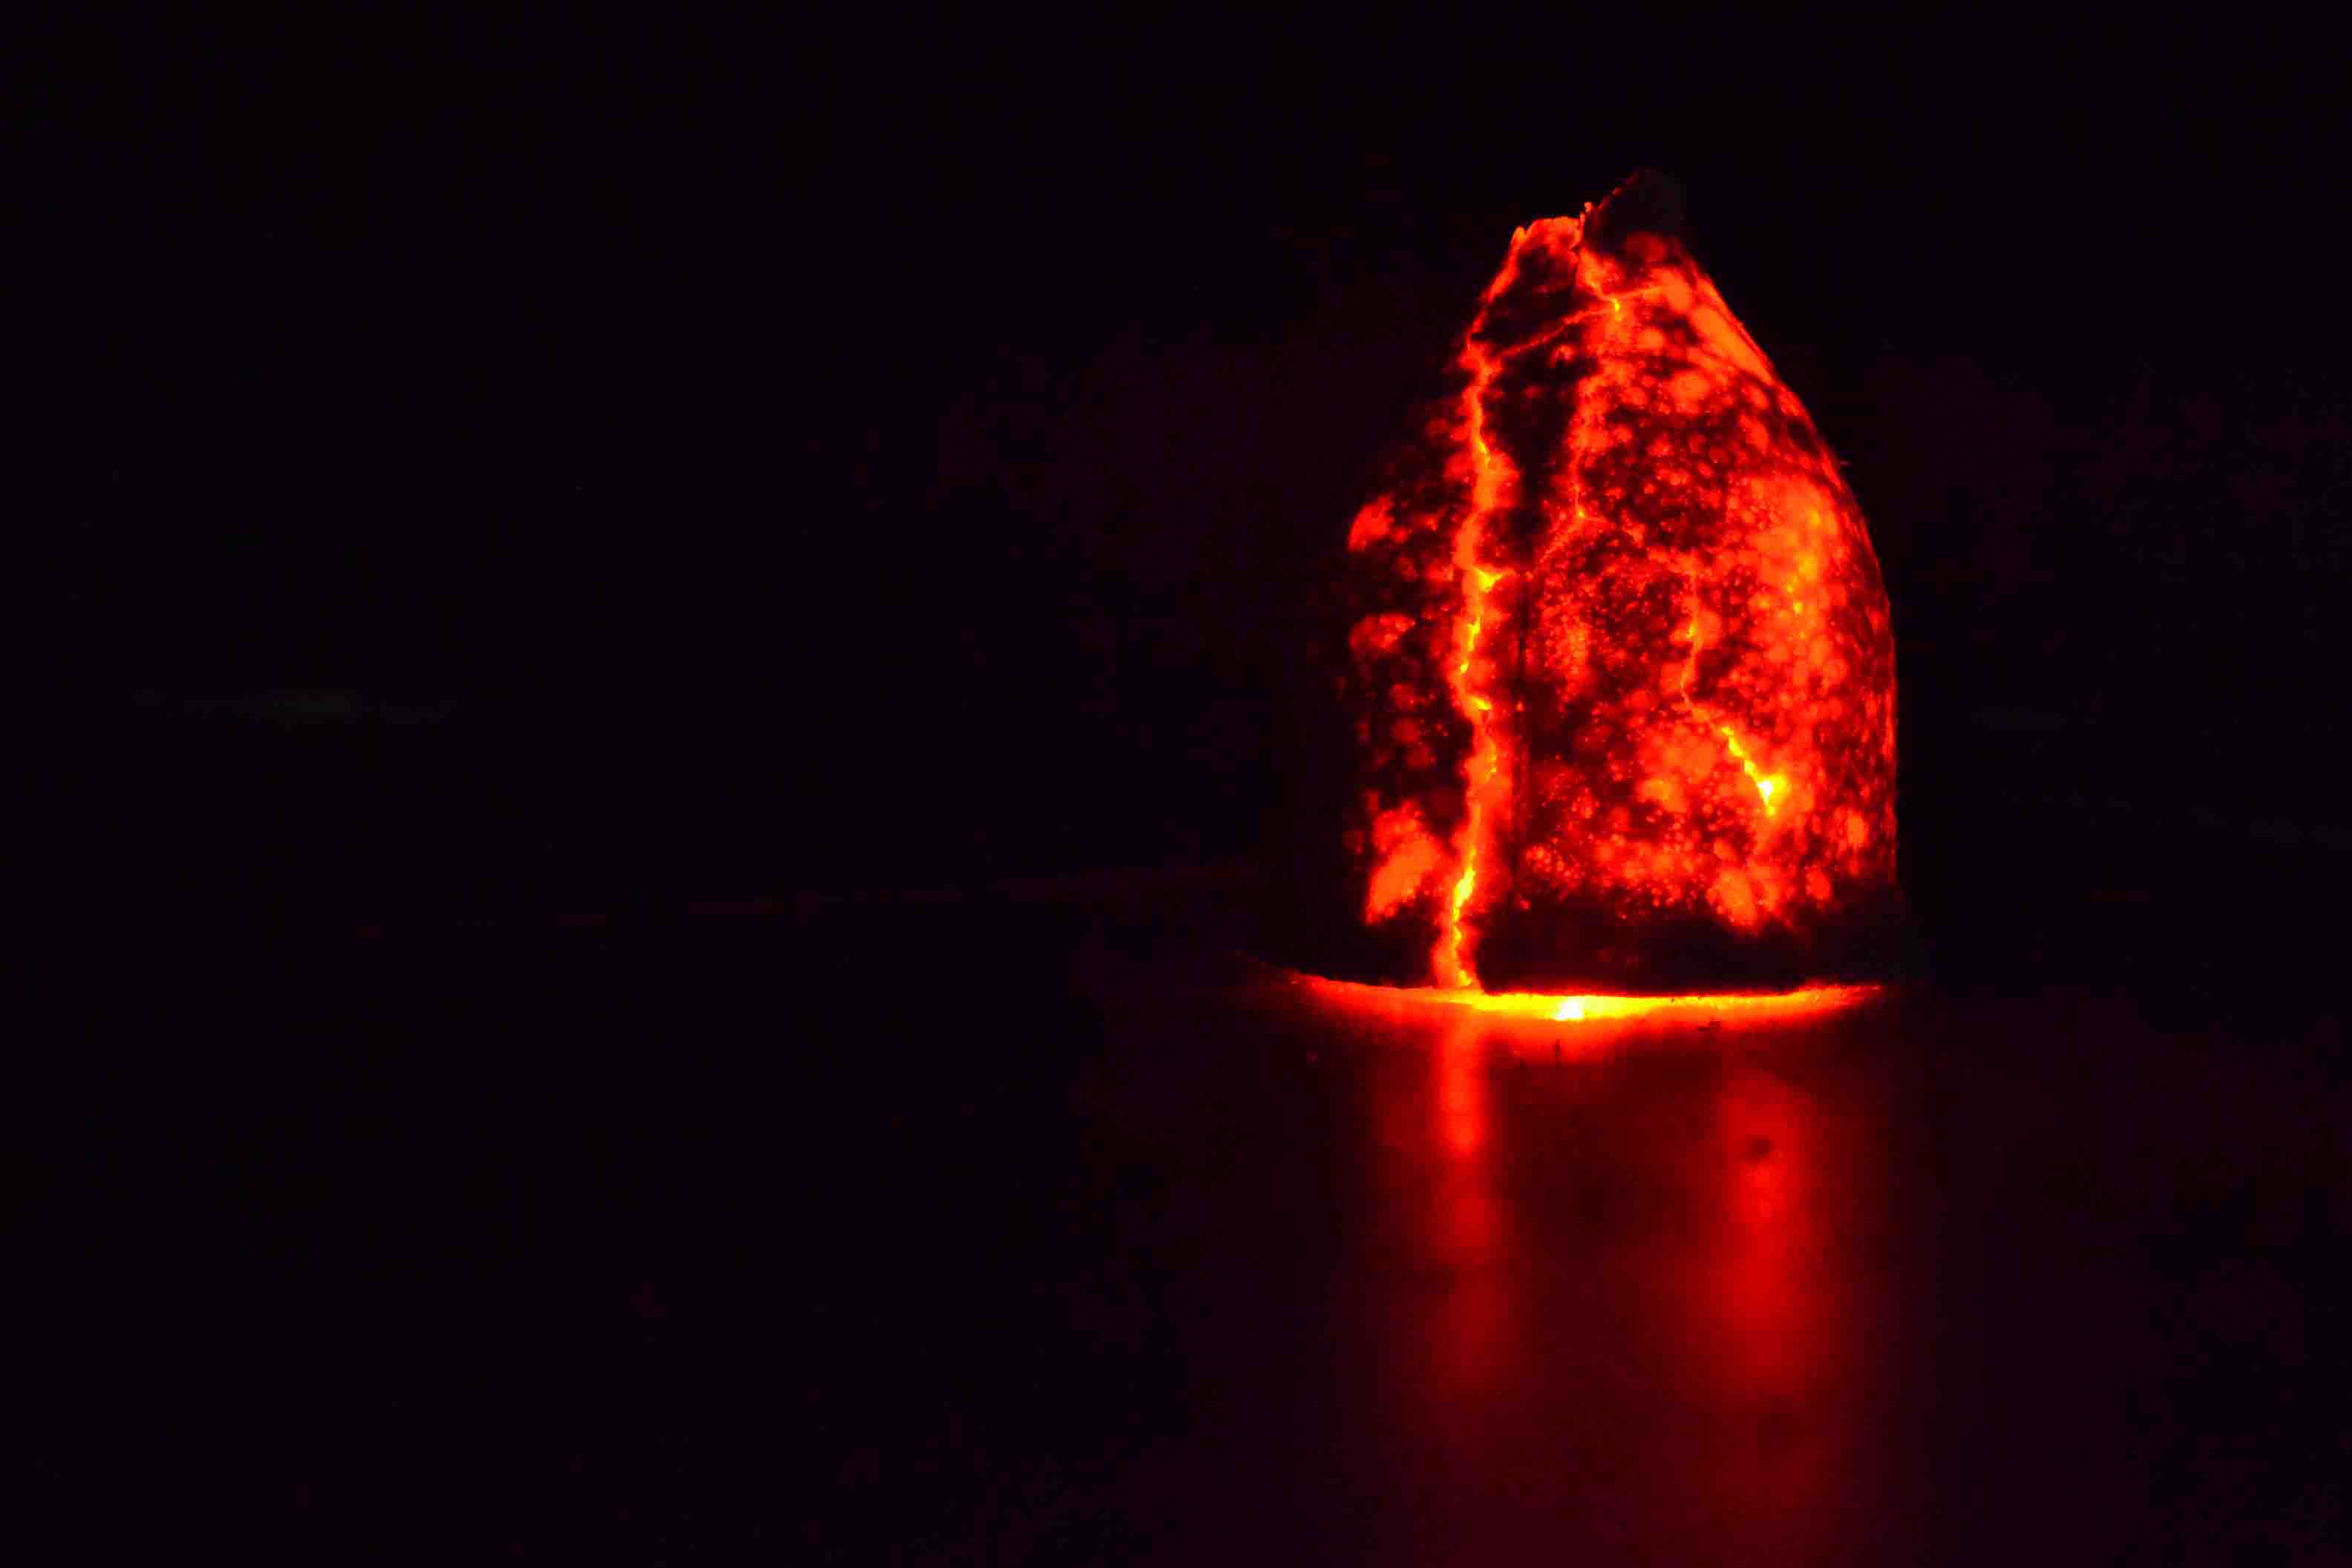
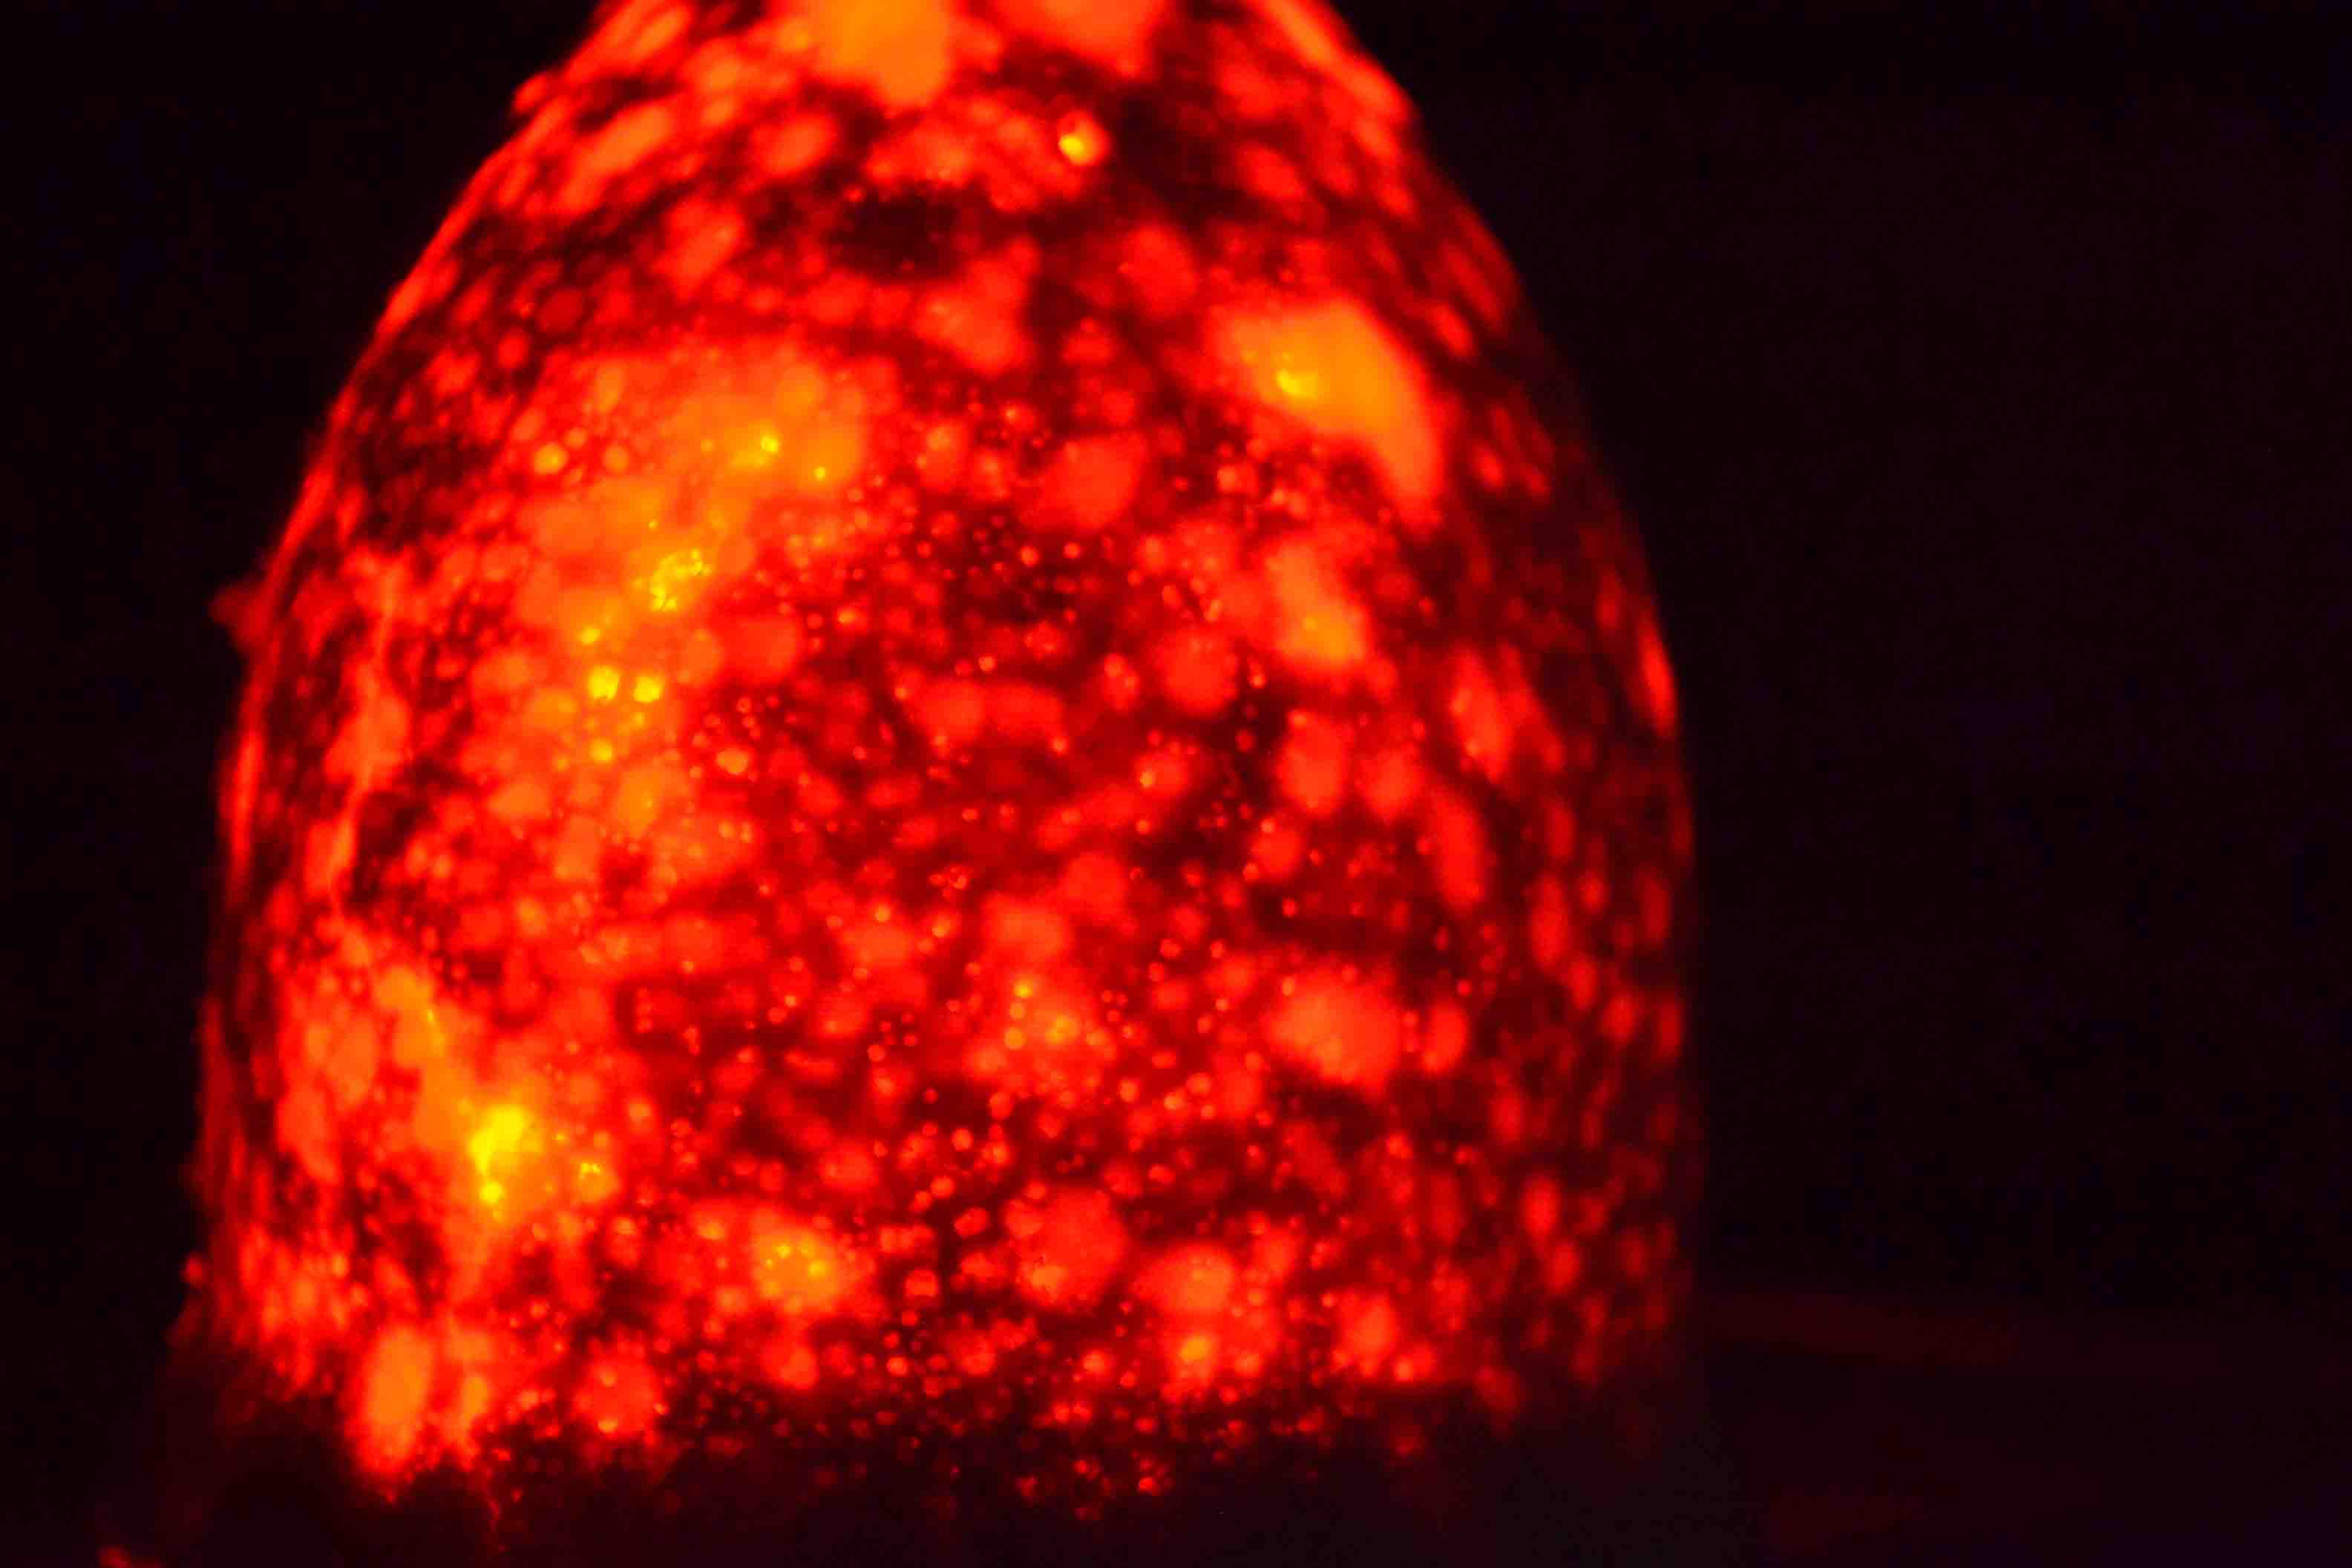
The broken pieces after being super-glued back together and illuminated from the interior with a red LED.