Planning
I had no idea what "composites" is before the class this week. I started to be curious about two things. One is how strong the composites are depending on materials. I wanted to evaluate the stiffness by making something functional. The other is how the characteristics vary among materials we use. I wanted to evaluate various textiles/fibers. For the first objective, I decided to make a laptop stand. I thought that so-called IKEA effect might lead me to a hard worker.
Designing the mold
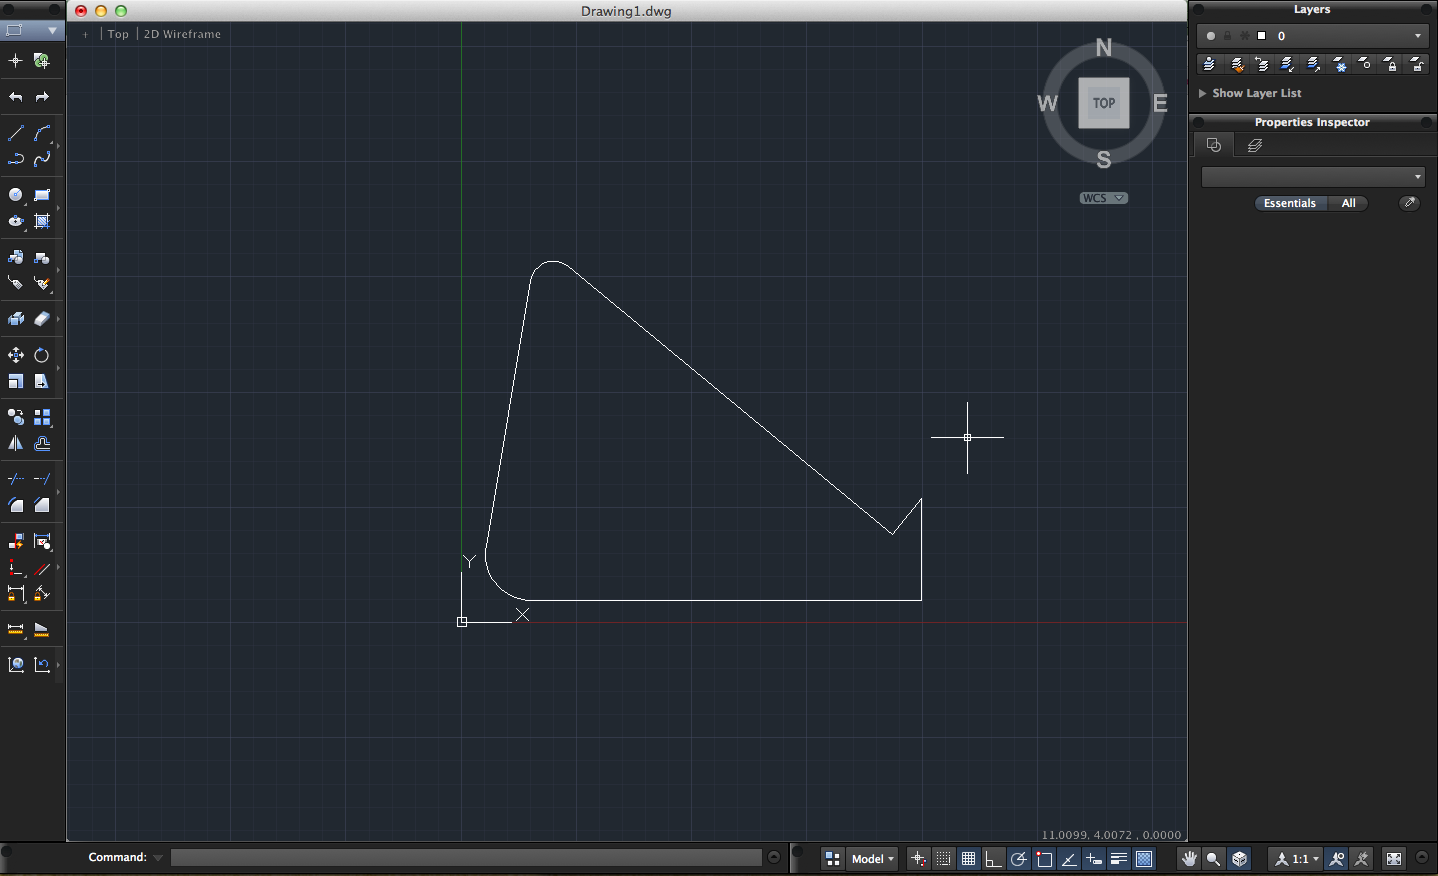
I used AutoCAD to design the mold part. The design is pretty straight forward. I referred to the product specifications of 13-inch Mac Book Air to obtain the dimensions. I used UNIT command to set the unit as inch. I used FILLET command and input [R]adius parameter to have a curved shape. I just used combination of lines. It took less than 30 minutes to export the .dxf file.
Milling the mold
I used two-dimensional path with the Shopbot. It was the third time and started to be familiar with Shopbot functionalities. I loaded the .dxf file and editted the path using VCurve software on the lab PC. I closed the path, copied the part 7 times as an 1x7 array, and set the profiling tool path. I changed the iteration of cuts from 8 (default) to 2 to save the time and worked well. I loaded the foam material on and attached to the platform using a glue gun. The glue cured quickly when we were trying to scatter on the surface of the 8 ft-long foam. We used a cloth tape to attach the one side of the foam to the platform to make sure that it do not move loosely. I used the 1/4 inch Ballpoint tool tip. To cut through the foam material which has the thickness of 50 mm, I had no other options.
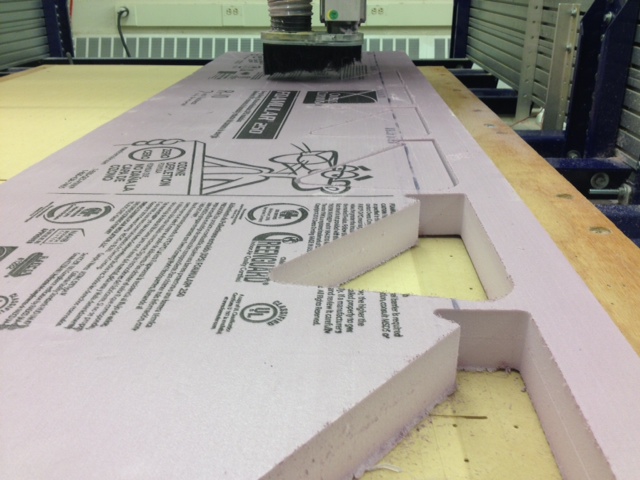
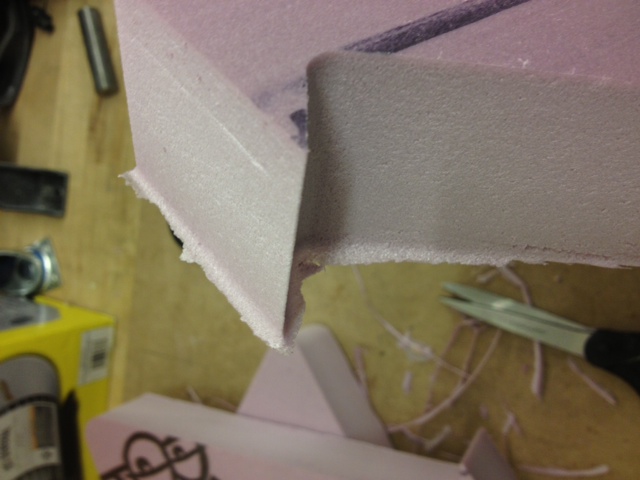
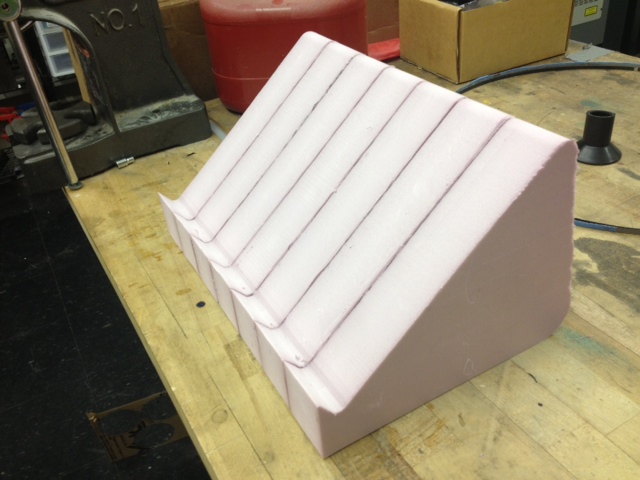
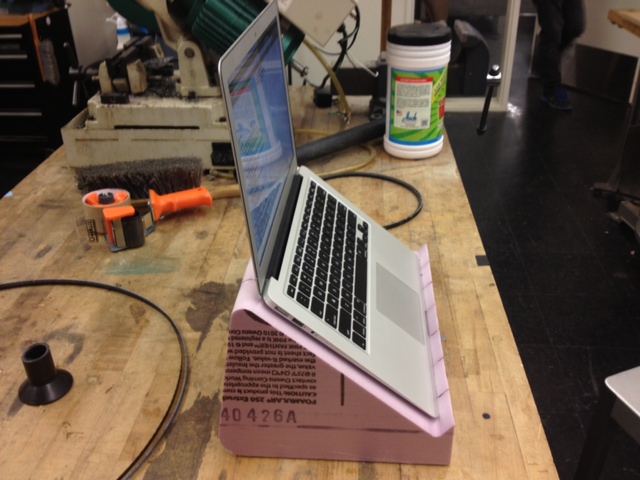
It did not cut through for some of the part but it was okay. I cut out all the parts using a knife. I trimmed the edges using a pair of scissors. The foam mold itself actually worked as a laptop stand. I glued seven parts into one using a glue gun again.
Preparing a bag and materials
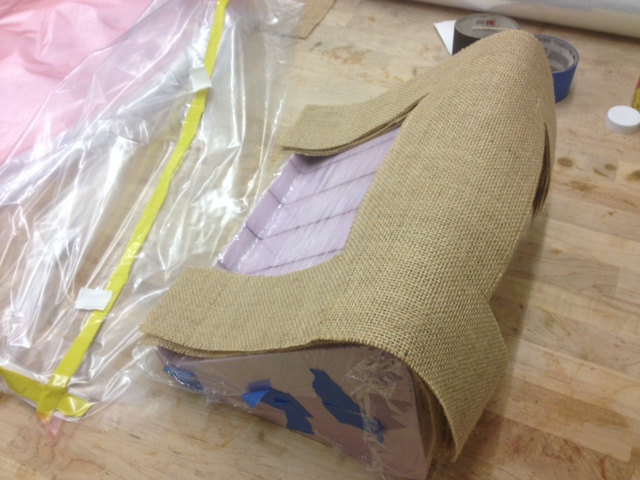
I employed the method vacuum bagging this time. I created a bag with the plastic sheet using a sealant tape. I covered the mold with a plastic wrap as a peel-ply. To make the final product strong enough to hold the laptop, I first thought of combining two layers of burlap, a layer of a textile with a honey comb structure (which was used during the resin infusion tutorial), and another two layers of burlap. However, I ended up with four layers of burlap since one of the TA taught me that the honey comb textile itself does not contribute to the strength of the structure.
Putting the layers together and Vaccuming
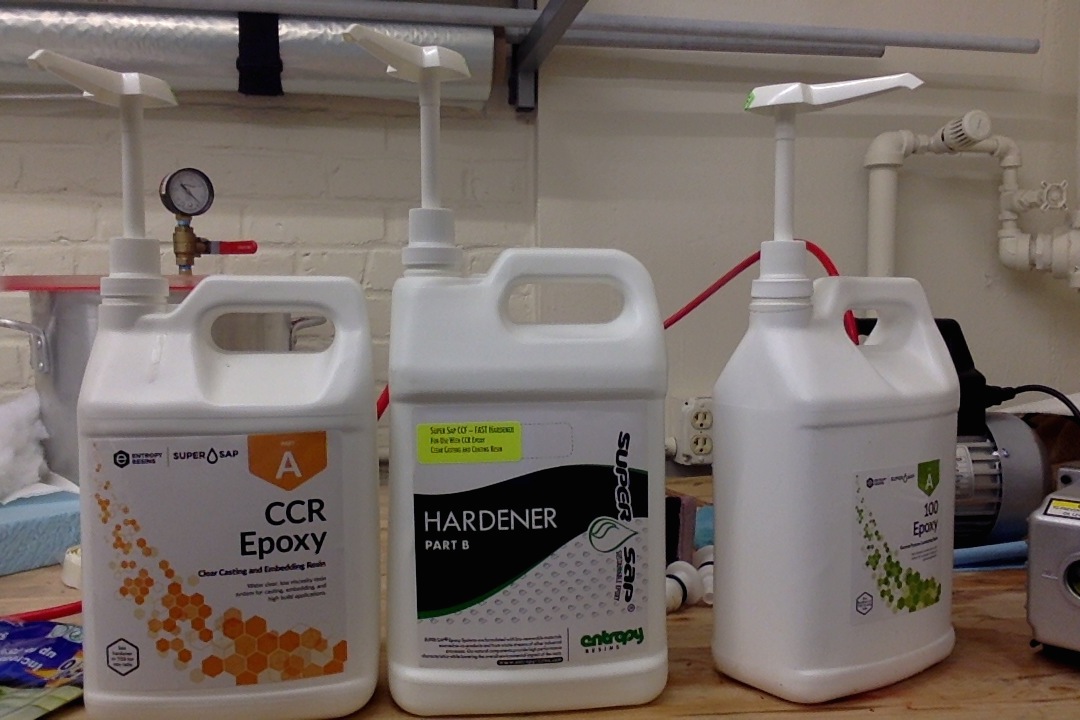
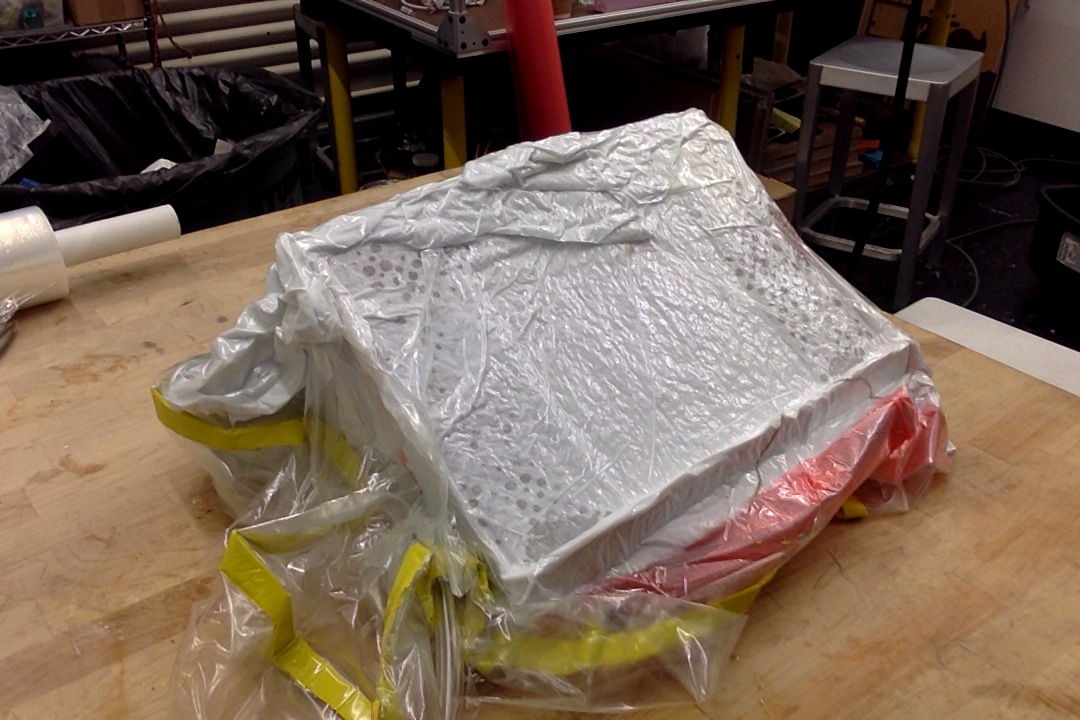
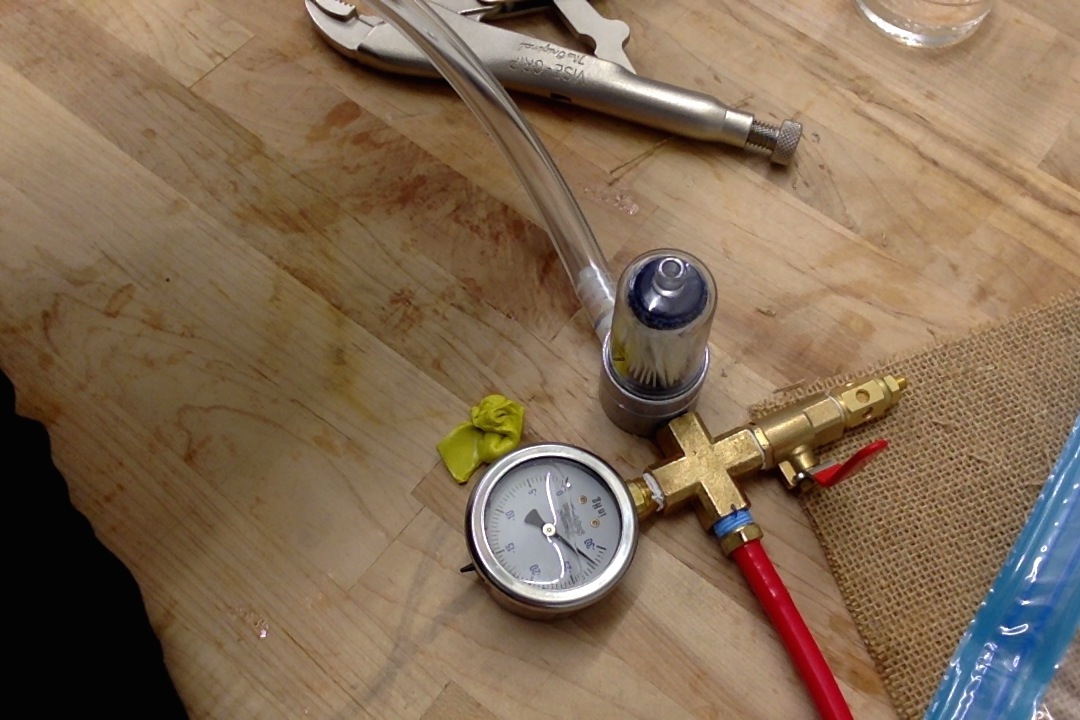
I used CCR Epoxy and CCF Fast hardner. I pushed the pump of the epoxy 5 times and the pump of the hardner for 2.5 times. I mixed them for several minutes in a plastic cup. I poured and spread the epoxy just like spreading butter on a slice of toast. I was not sure how much would be too much/enough. I piled four sheets of the burlap carefully. I put them on the mold. Then I put the pink bleeder sheet on it and resin absorbers on and around. I used a piece of sealant tape again to attach the vacuum hose to the bag.
I turned on the vacuum. After adjusting the hose position several times, the pump sucked the air up to around 28 inHg. However, when I crapmed the hose, the pressure could not been kept. I continued to run the pump for several hours.
Opening the bag
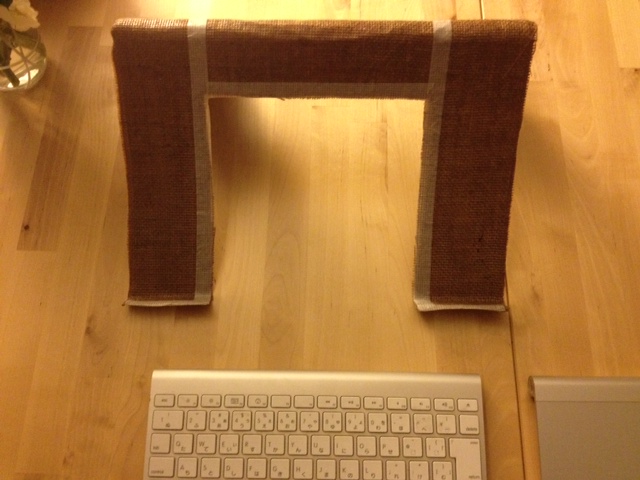
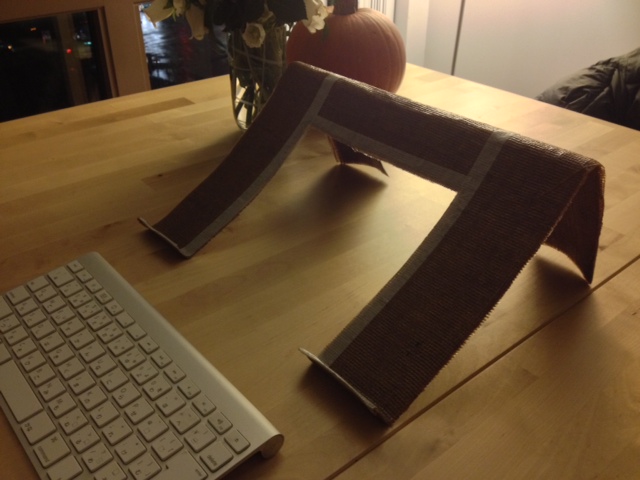
The surrounding parts can be taken off easily. When I opened the bag 18 hours later, the surface was a kind of wet and sticky. I bended the shape at that point and the shape lasted after it completely cured. However, someone told me that it may cut some links between molecules if I bend too much. Here are pictures how it looks like.
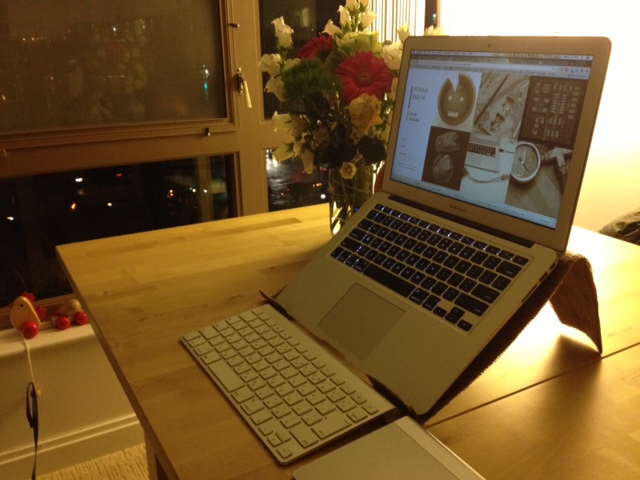
Now I can devote more time on desgining circuit board with Eagle... with less trouble on my back.