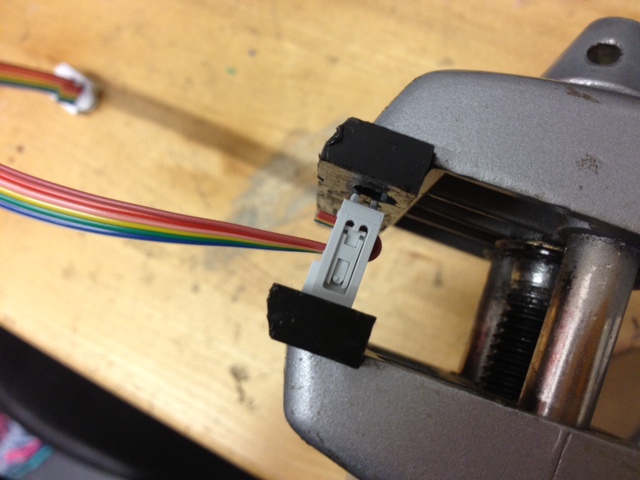
Making 6-pin connector
- Take the ‘rainbow’ ribbon cord on the right-upper hand of our soldering desk at IDC.
- Take two connectors and two headers from the left-upper hand of our desk.
- Make sure they orientations are same. you can check seeing the shape of the connector (two positive parts).
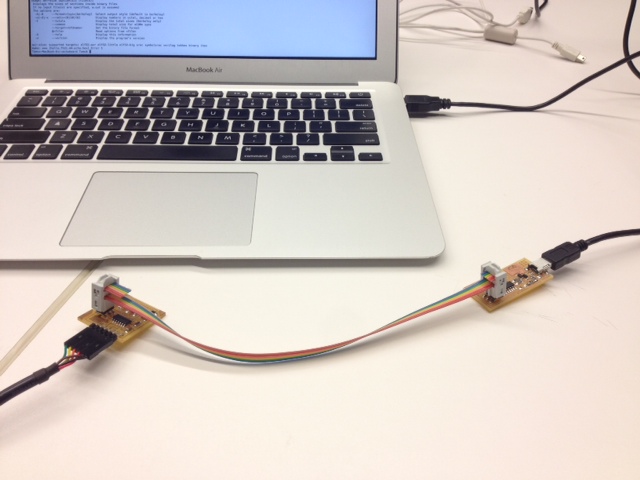
Programming Fab ISP
Make sure that you connect two 2x3 pins properly. No twist on the 6pin cord, exactly same orientation your boards have, and exactly same orientation your connectors have.
I referred to these tutorials:
http://academy.cba.mit.edu/content/tutorials/05_Electronics_Production/Assemble_and_Program_FabISP.html, http://fab.cba.mit.edu/classes/863.14/tutorials/electronics_production/fab_isp.html.
for trouble shooting: https://learn.adafruit.com/usbtinyisp/help.
When you run make clean, hex, fuse, program commands, always make sure that your working directory is same as the .c .make .hex etc is located. When you encounter “initialization failed rc = -1 something” error when you run make fuse or make program, it indicates that your parent FabISP is working correctly but child FabISP is not working somehow. Make sure to desolder two jumper points. One is to make the microcontroller program "Read Only," one is to remove the short of the VCC line.
Programming the echo board
Black wire of the ftdi cable indicates GND. Make sure to connect to the GND pin on your echo board. Download hello.ftdi.44.echo.c hello.ftdi.44.echo.c.make from the tutorial page. See programming for programming instructions.
When we hit the first make command…
Windows 8:
Sean encountered “error 128” first but recovered after replaced .dll files for WinAVR.
Mac OSX 10.9:
I encountered “error 1” and still working on troubleshooting. It turned out that avr-binutils I installed using MacPorts was ver. 2.24. If we use avr-binutils, the version is 2.23.2. In the version up from 2.23.2 to 2.24, somehow the switch "-C" and "--mcu" for avr-size is removed. I have not still successfully downgraded yet.
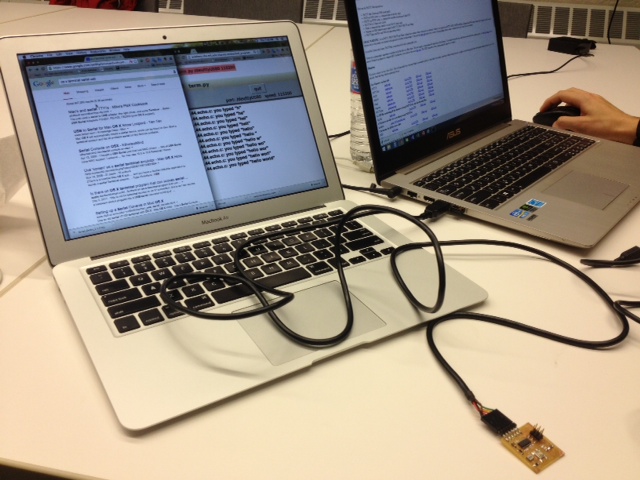
echo board testing
Windows:
We used PuTTY to test on Sean’s PC. It’s one of well known terminal clients (I used when I was working in a telecom company to configure network eqps). http://www.chiark.greenend.org.uk/~sgtatham/putty/download.html
Plug in your echo board to your PC. Check the device manager to see which COM port the echo board is plugged in. It was COM4 in Sean’s PC case. After you launch, punch in the port name and speed (115200) to the configuration dialog you see and hit Connect. You will see the terminal screen and you will see echo backs whenever you type anything.
Mac:
I used Serial(Demo) to test. I did not purchase but used the demo ver. http://www.decisivetactics.com/products.
Plug in your echo board to your PC. Launch Serial (Demo). A dialog comes up to select where to connect. You will see just one line to select if your echo board is the only USB device you plugging in. I set the speed (115200 bps). You will proceed to the terminal screen and you will see echo backs whenever you type anything.