Week 10 - Input Devices
Task: measure something — add a sensor to a microcontroller board that you have designed and read it
Accelerometer? and Buttons
This week I tried to make the accelerometer PCB but never got it to fully work. I also designed a PCB for my final project based of the LCD board and added butttons.
Accelerometer
I tried to first make Neil's accelerometer board since I wanted to make little origami balls that would light up when thrown, but when I got to the leadless surface mount accelerometer piece, I couldn't really get it in the right position. Back on my hall in my dorm, we had a hot air tool made for such things, but my ineptness never got the chip to work.
Failed attempt :(
Measuring Button
I decided to go back to the basics and do things with my FabEcho+LED and Button, just to start. As expected, my computer can sense the push.

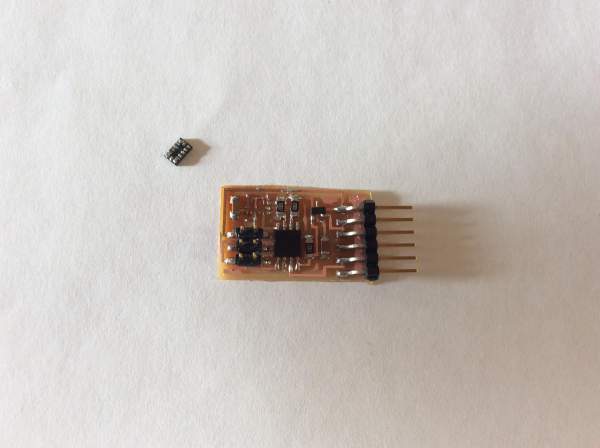
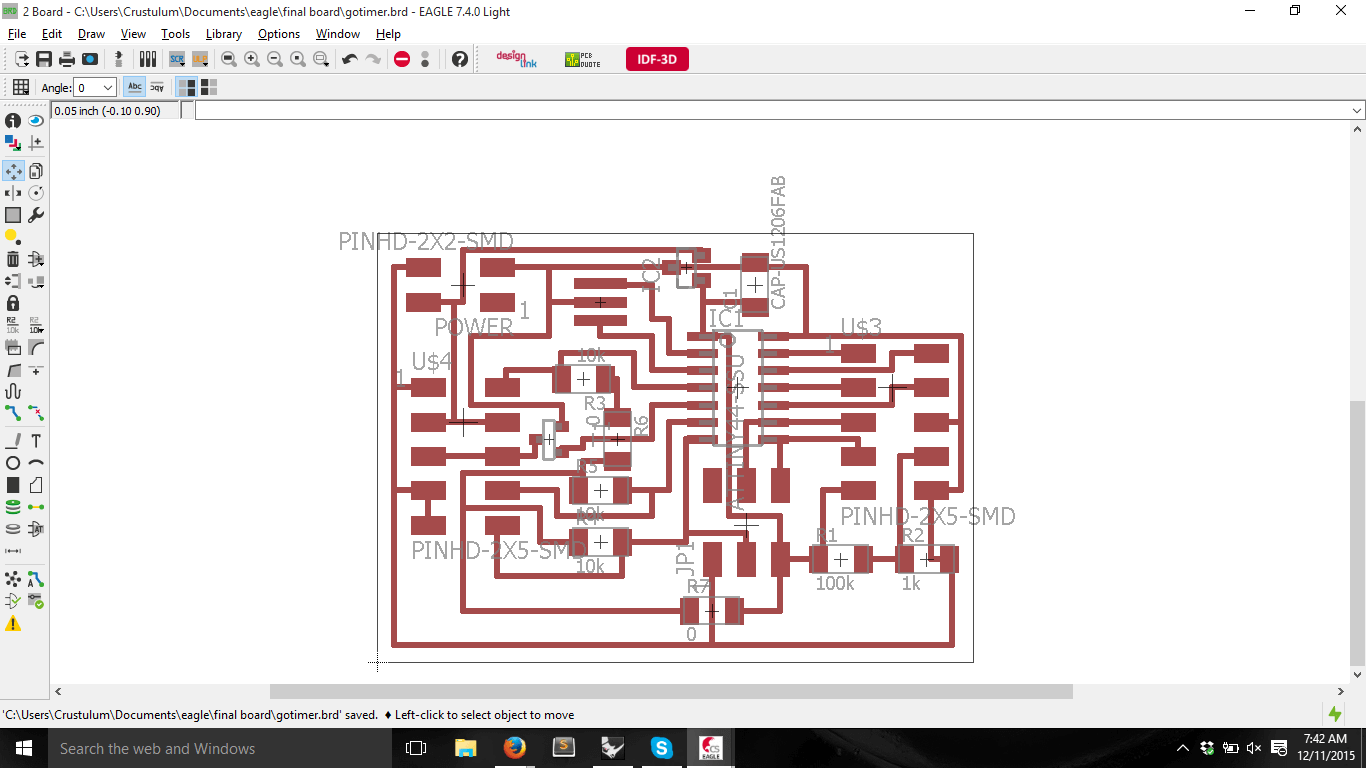
Designing Final Project PCB
With button-pushing mastered, I made a board for my final project. I took Neil's LCD, Speaker, and button boards and combined them creatively. Instead of having many different pins for each component, I combined them into a 2x5 header pin. I also wanted 3 buttons, one for each player and one to push through the options. The ATtiny only had 3 extra pins not being used for the LCD, and one would be for the speakers. Reading through the manual, it seemed like the reset pin could be reprogrammed to an I/O pin. Here's my board:
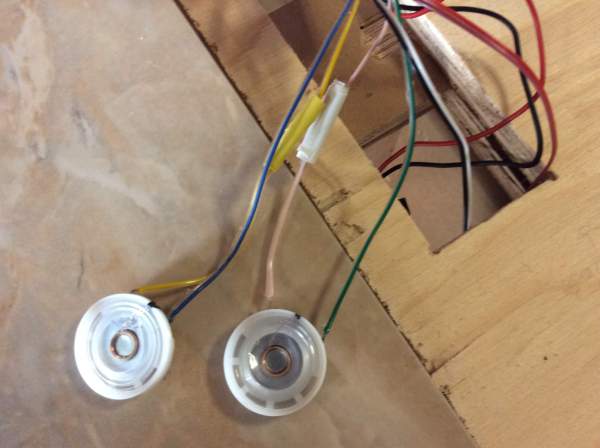
I bought nice buttons from Amazon for ~$5 each for the player's controls. Assembled:
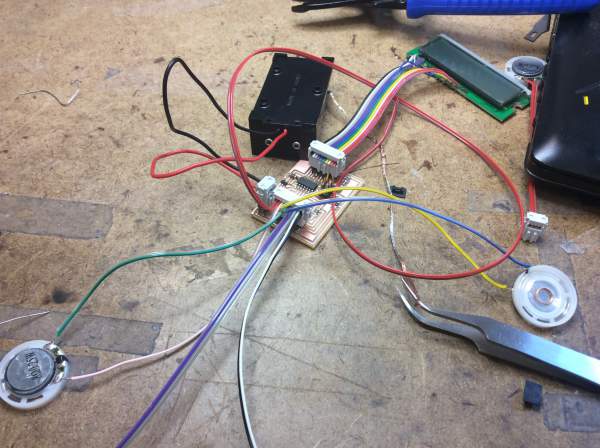
As soon as I put the battery in though, the board started smoking! Turns out that Neil's board wasn't intended for the specs of the speakers in the inventory. I added resistors to the wire and taped them up.