Moulding and Casting
HTMAA tooka look at a classical form of manufacturing this week, with an ultra-moder twist. The topic was moulding and casting. casting, particularly of metals, has been used for millenia to make weapons and tools and jewelery. Where once wax had been shaped painstakingly by hand, this week we had the benefit of 3-axis milling.
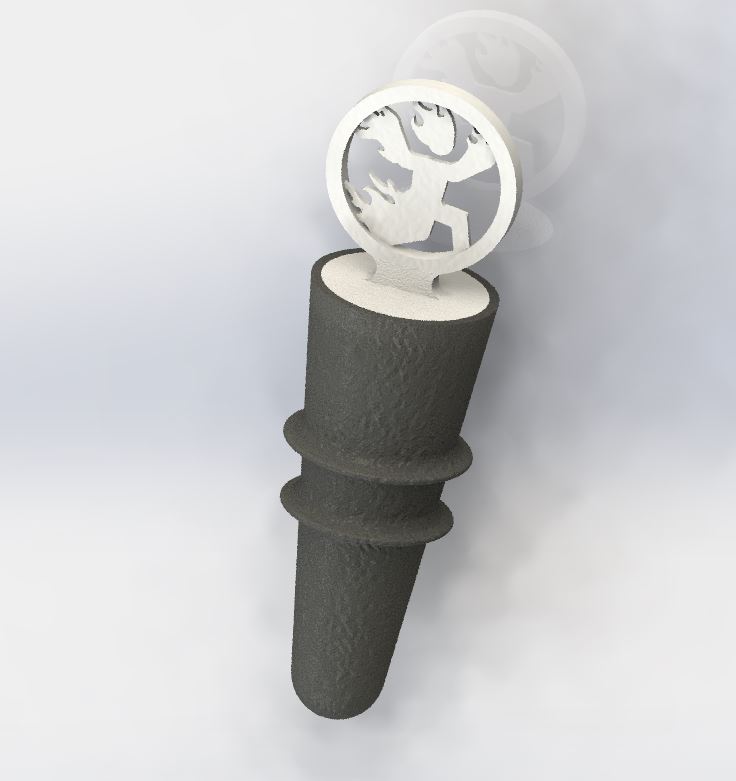
After searching around a bit for inspiration of some shape or form, I decided to try and do a two part casting to make a wine bottle stopper. The principle (If I was successful) was to cast a hard plastic core around which a silcon "cork" could be cast. The resulting stopper would have an artful combination of materials, and display proudly the emblem of my dorm, East Campus. A rendering from Solidworks is below to demonstrate what I hoped the finished product would look like, and the two sub-components. All of the fillets were designed to be cut with a 1/8" endmill, to reduce time spent on tool changes.
I was out of town for a few days, which made everything a bit rushed. I decided to use Mastercam again as I had some previous expereince, and the Fabmodules system was not working well with my model. Though there was a bit of time spent figuring out how to best utilize the 3D toolpaths, I was able to use the ShopBot to cut the wax blanks in a relatively short amount of time.
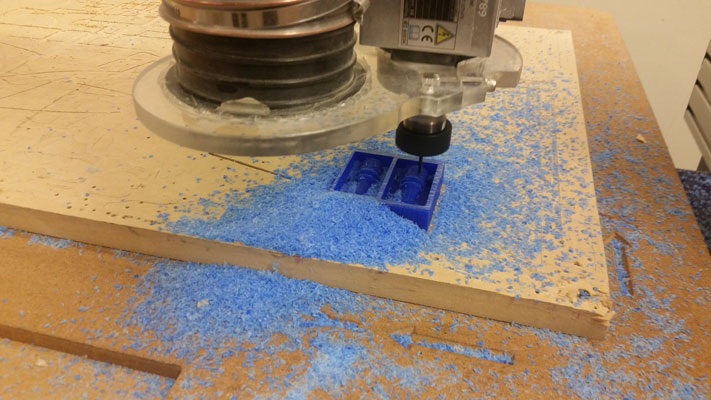
One aspect of my model could not be cut with the 1/8" endmill, the figurine on the top of the stopper. to accomplish this in the most time efficient manner, I decided to 3D print this part, and then glue it into the mould once it had been milled. The print took 10 Minutes, but a poor choice of glue left my part permanently blistered. I learened to check on a sample piece before committing. Fortunately, none of the blisteres appeared to interere with critical surfaces, and the core was going to be imersed in a second silicon casting anyways.
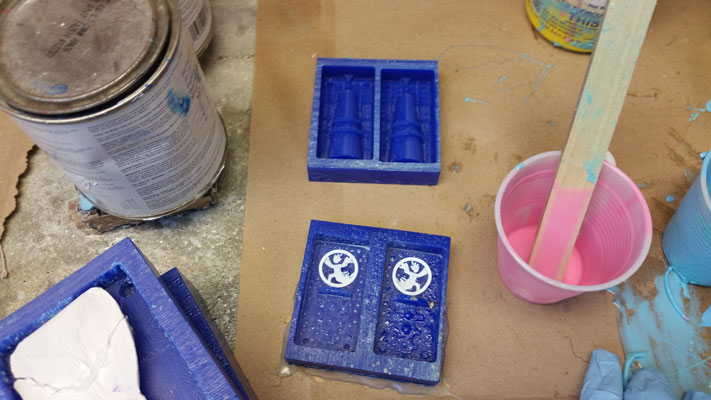
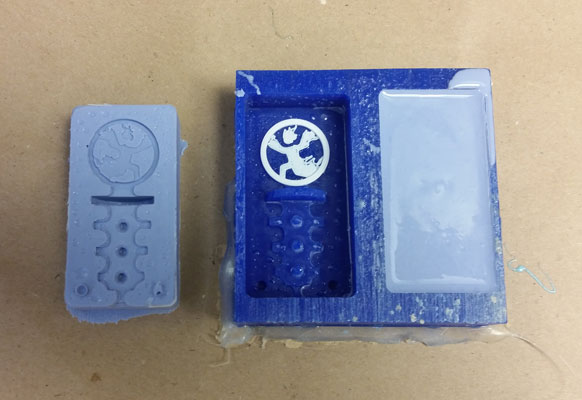
After milling I had two moulds that were ready to fill with oomoo 30, a silcon rubber mould making agent with a 6 hour set time. I poured the mould, and headed out for a day of classes planning to check on them when I returned. Thankfully tey set without issue, and I was left with two moulds, one pristine, and one showing the blisters of glue. I cut vents and was ready to pour.
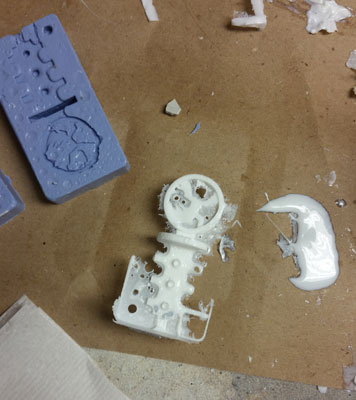
The plastic used for this project is very low viscosity with a very fast set time. This is a blessing and a curse. I quickly realized that my sprue and runner system were not large enough to handle a resonable pour, and the process was going to take some serious coaxing. Further, the squishiness of the silicon rubber was unexpected, and a good deal of flash was likely to result. Live and learn. The set cast, once removed looked as below. The plastic was extremely brittle as I was soon to find out.
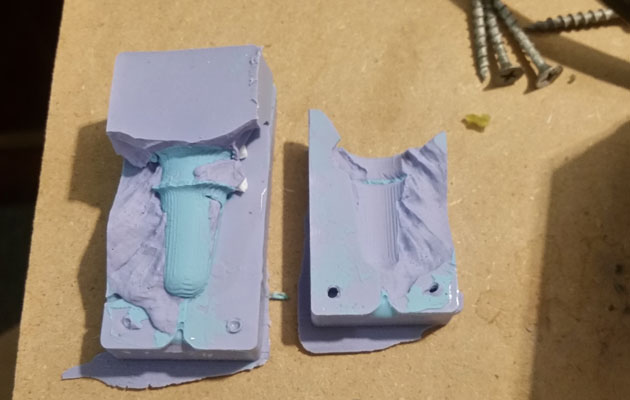
The next set of moulds I was worried about. I was hoping to cast silicon rubber into silicon rubber, and I expected that the surfaces would inevitably end up sticking to a degree that would render them incapable of being removed. First though was the matter of getting the extremely viscous oomoo 25 into the mould. I eventually decided I was going to try a risky maneuver and use the viscosity to my advantage. I applied generous amounds of mould release, poured silicon into both halves of the mould, and quckly sandwhiched them together. 75 Minutes later I would see the result.
Which was this!
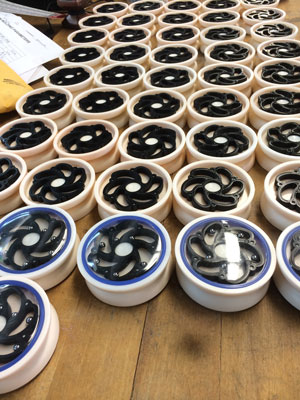
Casting week was not an easy one. Mould design is not an easy task, and particularly small features are difficult to successfully achieve. Interstingly, I foudn metal moulds significantly easier to work with, and was able to fabricate significantly more complex parts, see below. Having said this, I learned a good amount, and reinforced some mould design concepts that I had learned in 2.008, but been unable to apply in detail.
I hope to use moulding in my final project