3. 3D Printing and Scanning
A Rook and a Corvette.

3D Printing
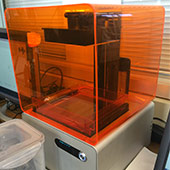 I initially designed a small twisting figure in Rhino that was fairly simple geometrically, but would be impossible to manufacture using subractive methods due to the nature of the curves and a gap between the legs. Of course this didn't get done until Sunday, and the couple of times I went to the lab both printers were busy (once for a job totaling 12 hours). So I went to find another 3D printer. In my Design and Manufacturing class, 2.008, we're also learning about additive manufacturing methods. I'm working on 3D printing all of the parts for the yo-yo that my group is building as a prototype model before we cut the molds for injection molding, but they won't be done in time for this week. So I found a Form1 in the LMP and set off in the meantime! I took an example .stl file we used for the class from FormLabs, then sent it to the SLA printer.
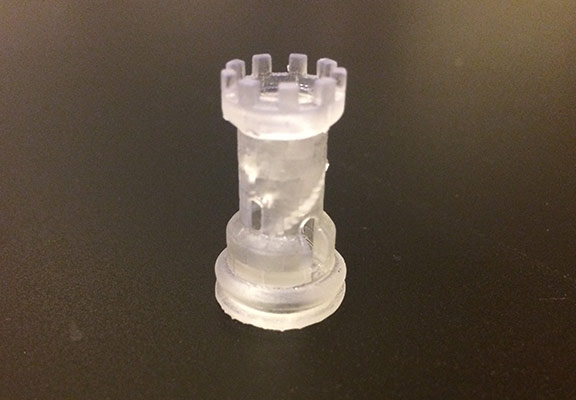
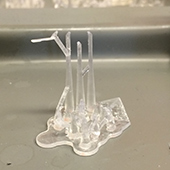 The FormLabs software was pretty intuitive, and after setting up all of the scaling and program generated support material I was able to get the time down to about 50 minutes. A couple of considerations I had to make were printing orientation and scale. Orientation wise, I chose to do the print at an angle so the support structures were able to cover the entire piece instead of just grabbing simply from the bottom or top. I also had to make sure the support feet were small enough to not leave visible damage on the surface. I chose .6mm, which seems to have done a pretty good job of breaking off without causing too much damage. With the scale, I chose to perform the print at the fastest setting, .1mm/pass, to get the time down, so I had to make sure the rook was still large enough to make out all the details (not very hard, these things have amazing resolution!).
Once the print finished I had to break it off the plate and soak it in alcohol to remove residual materials since the print is performed in a vat of liquid. Some spots of the rook didn't seem to be completely cured, and didn't come off in the alcohol bath, but after setting the piece on my window sill for about a day it seemed to cure the rest of the way. Overall a pretty simple process!

Update
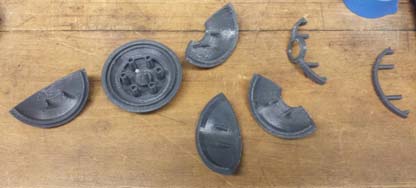
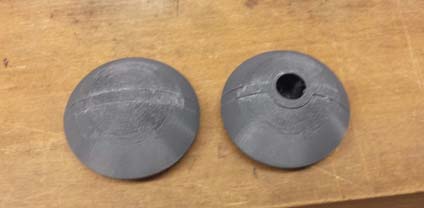
Coming to the site a little late, but I was able to print all of the components for our yo-yo soon after this unit. We had designed a Pokeball yo-yo and needed to test the components for fit and feel. I used the Mojo printer the LMP has set up for 2.008 to print out the components because it was the fastest and most accurate option. This machine prints support material, which had to be dissolved away once the components were finished. Once they were printed I was able to test the fit of all of the components. They all went together pretty well, but were a littl bit snug in the assembly process, we would have to account for this in the final manufacturing process, especially since then we had shrinkage of the plastic to account for as well. I found that the face of the assembled yo-yo wasn't entirely flush and that the press fit edge that we had included for part location wouldn't be enough in the final design to hold the yo-yo together rigidly. After testing this print we included some small location pins that would better hold these parts together and get rid of the gaps in the face of the Pokeball.
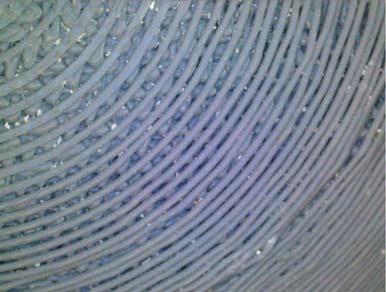
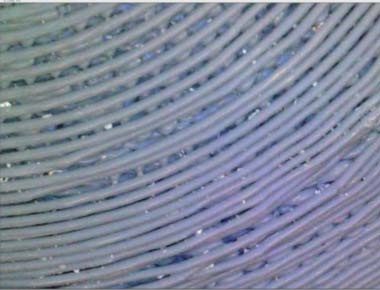
I was also able to get some pretty good microscope images using the cameras in the LMP examining the surface finish of the parts. The Mojo is obviously an FDM printer, and you can see the layers clearly in these images.
3D Scanning
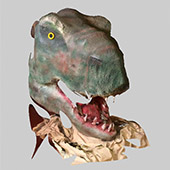
 I used 123D Catch on my phone for the 3D scanning portion of the assignment initially to scan a six-foot-tall papier-mache dinosaur head that a couple of friends and I made for a party about a month ago. The lighting in the room and my ability to get around a lot of the details of the head prevented this from being a very good scan, so I decided to go with something a little smaller and simpler.
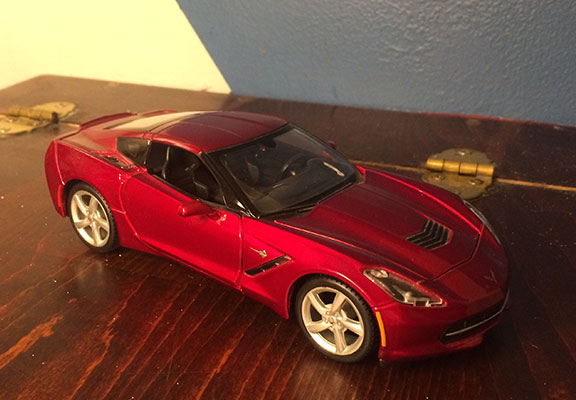
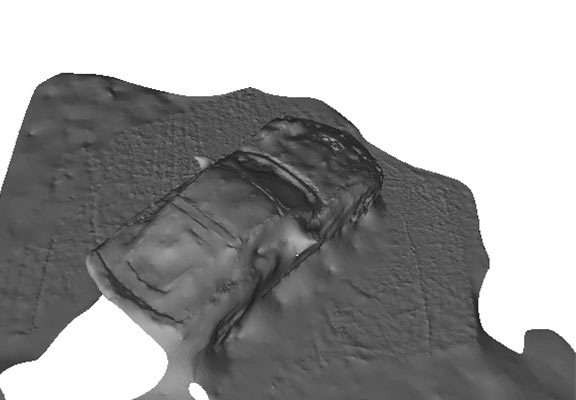
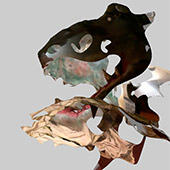
I chose a diecast 2013 Corvette model to finish the 3D scanning with a decent .stl file. The scan worked out pretty well in all of the places but the rear of the car, where a hole formed due to uneven lighting in the pictures. If I were to go back to fix the scan I would first try to use the Sense, but sticking with 123D Catch I would just try to get the lighting across the whole object to be uniform. I would also like to pull this image into Rhino to try to close the surfaces at some point.