
3D Printing
True to form, this week's theme was cat-related. I've always loved the waving cats that are around at sushi restaurants so I decided to make my very own mini lucky cat, complete with waving capability!
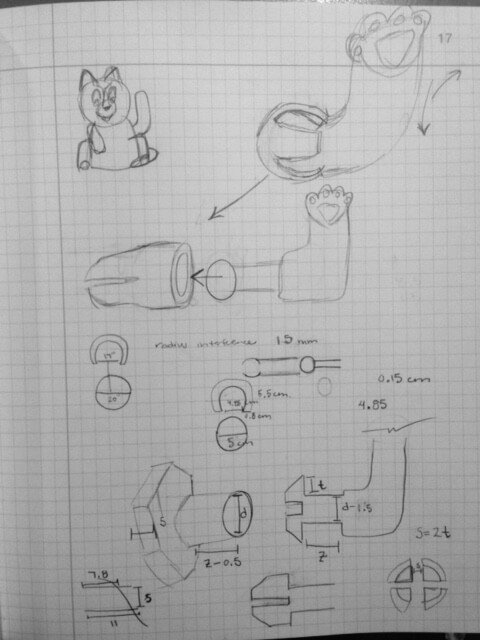

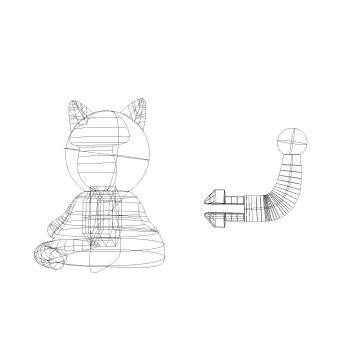


I haven't really worked very much with Solids in Rhino so this was a bit experimental and not quite as detailed as I was originally expecting. The most difficult part of this design, however, was the joint between the arm and the body. I originally thought that a ball joint might be a good joint but then realized that this allowed for too much movement. I then settled on a joint that would snap into the collar and expand on the inside of the cat body. Thanks to Nico, he helped me with some preliminary ideas of how to dimension this joint in particular (seen in the sketches above)
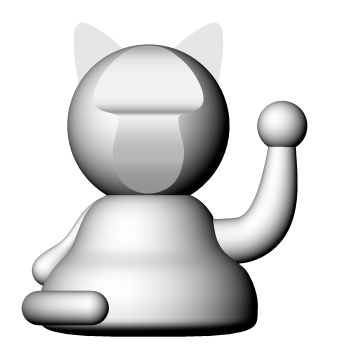
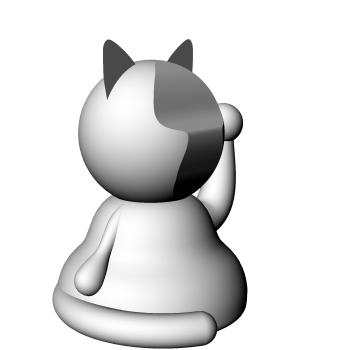
Lucky Cat by chenrot on Sketchfab
Dan also introduced me to Sketchfab which I think is loads of fun to be able to look at 3D models on my website!
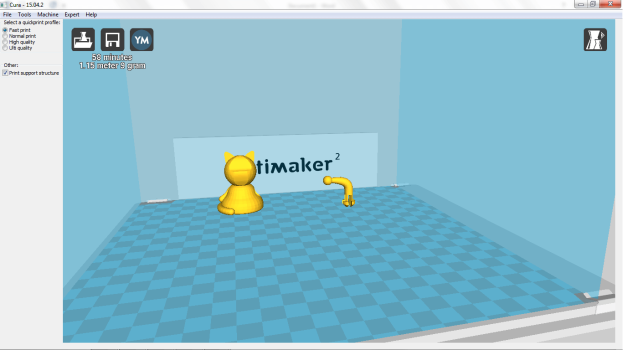
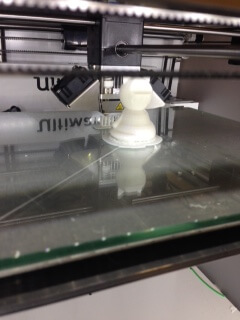
Once I finished my CAD design I had to set up Cura and the printing settings for the Ultimaker 2. This included orientation of my parts, addition of a raft as well as addition of supports. Due to the time constraint I printed my model on quick print settings and it estimated approximately 1 hour print time.
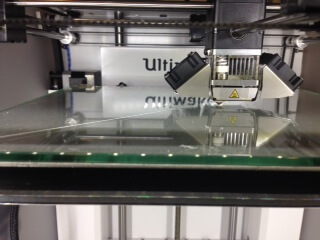

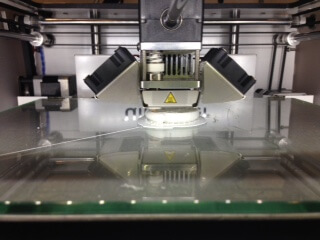
When I first loaded the SD card on the Ultimaker 2 there were a few issues to troubleshoot. The first was that it wasn't the actual gcode that had been saved to the SD card so the printer head was randomly moving around and not doing much of anything, at this point I aborted. The second problem was that the material is quite brittle and the tension on the feeder was too high thus grinding the PLA down. Thanks to Nico's help again, the PLA was refed and was extruding at the correct rate to print.

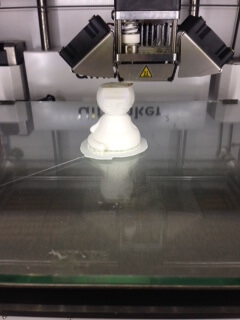
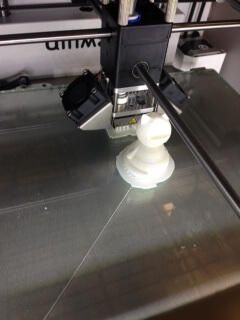
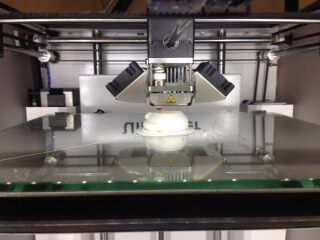
I printed the cat body and the arm separately and was planning on snapping the arm into the hollow space on the inside of the cat body. I designed the hollow part so that the overhang was at a 60 degree angle so that few to no supports would be printed in the hollow space to allow the arm to rotate. The cat body didn't require supports, but the orientation of the arm (chosen to make sure the joint was printed nicely) required quite a bit of support. I would like to see if printing in a different orientation might make the arm even better quality but that's for later.
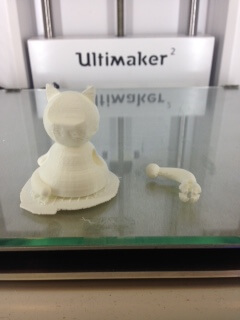
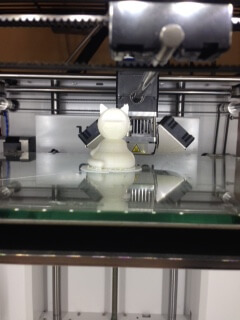
After an hour I popped the prints off the bed and cleaned up the supports. When I went to put the arm into the body unfortunately it had expanded quite a bit and even with the designed compression capability it was a little large. Of course, through my ambition one of the prongs of the arm fell off. Out of luck, this was enough to allow the joint to fit into the collar and snap open in the hollow part of the cat. My little lucky cat now waves! It's a little derpy, and perhaps not representative of physical possibilities but it's adorable nonetheless.
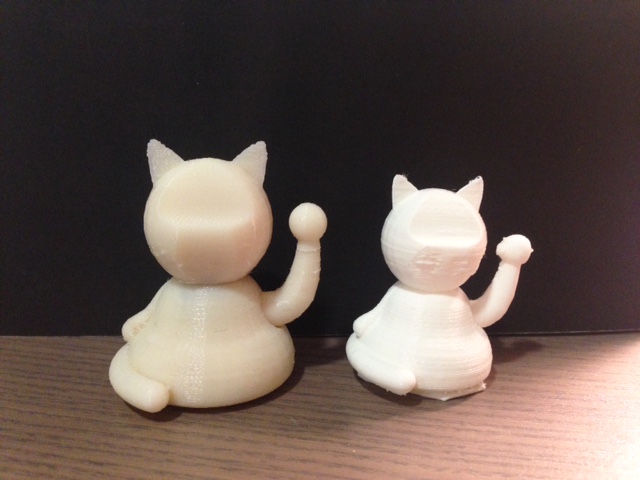
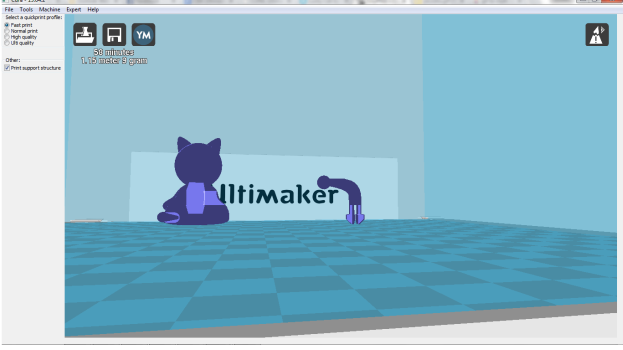
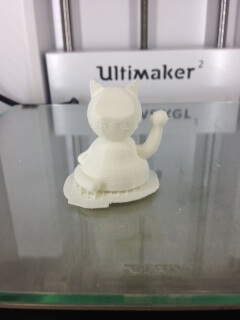
Out of curiosity I wanted to see if printing the cat on a higher resolution machine with soluble supports would make the cat even better. This time I decided to print the whole cat assembled (perhaps this was the real mistake), thinking that the supports on the inside would dissolve. Unfortunately this is not the case, but hey my waving cat has a statue friend now. No harm done and interesting lessons learned.
3D Scanning
I was pretty skeptical of 3D scanning from a phone so I decided to give it a shot with 123D Catch. Unfortunately, I never got a chance to play around with the Sense but hope to go back and work with it as I've seen some awesome scans come out.
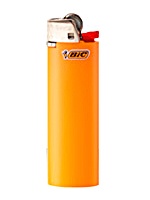
123D Scanned Lighter by chenrot on Sketchfab
Conveniently, as I was thinking about how I needed to scan an object there was a lighter on the lounge table, so I decided it was as good an object as any. Above on Sketchfab you can see the resulting scan. A lot more of the room was put into this scan, which was probably a mistake on my part. Next time maybe putting the object on a platform might help mitigate this. The scan itself turned out really well considering what I was expecting.
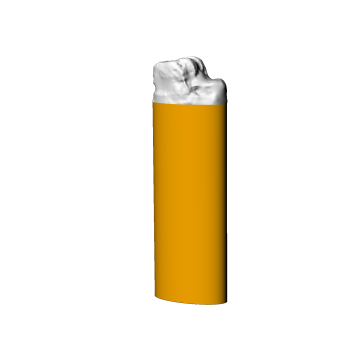
I brought the .stl into Rhino to try and edit the model and make it a little nicer. Turns out editting meshes is a little difficult. I tried a few programs including Meshmixer and Meshlab, none of which ran particularly well on my computer (probably the file size). I did well enough editting the meshes to at least focus on the actual object I had scanned. I managed to clean up the bottom portion of the lighter but not so much the top. I'd like to work a little bit more closely with Meshlab to see if perhaps I was just overcomplicating the process of editting the mesh. Either way, the 3D scanning worked pretty well and I'm very impressed by its quality considering I used my phone!