
For a while I've been contemplating buying a new shelf to solve the eternal problem that institute furniture is just not big enough to nicely store my clothes. This assignment was a great opportunity to make a shelf that was exactly the amount of space I wanted. Not to mention promote a little more organization.
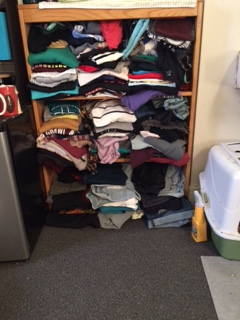
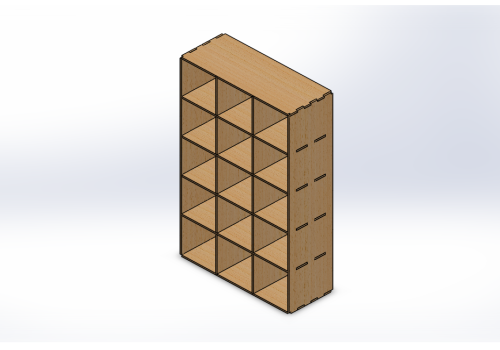
The design is very simple as I wanted to be able to assemble the shelf without any hardware, just press fit. The cube sections I thought would not only help with structural stability but also be a nice way to organize my clothing a little better.
Test Joints
As I learned making a press fit kit I needed to do some test joints to make sure all my dimensions would fit nicely together.
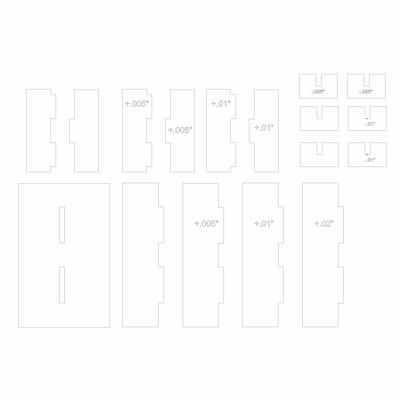
I made examples of all the joints I would be using in the shelf. I had slots to hold the horizontal shelves as well as hold the horizontal and vertical spacers and corner joints. I stepped up the joints from exact fit to intereference fits of 0.005", 0.01", and 0.02".
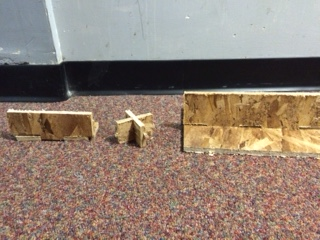
I tried all the new joints and settled on a corner interference of 0.015", and the slots to be 0.005" intereference fit.
Building the Shelf
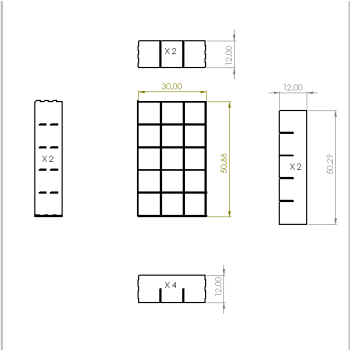
I went back to edit the interference fit into my design. I needed to cut a total of 10 pieces, 6 horizontal and 4 vertical pieces.
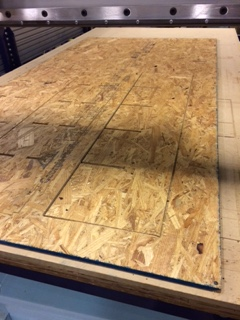
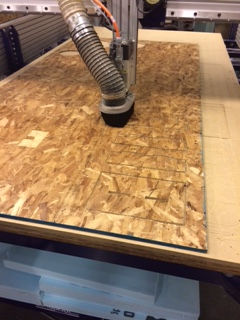
I tried to use the leftovers of pieces of stock that others didn't use as I wasn't sure how much material was available in the lab. So I ended up using three different pieces of stock. Unfortunately I didn't know this would lead to a bit of an issue later on.

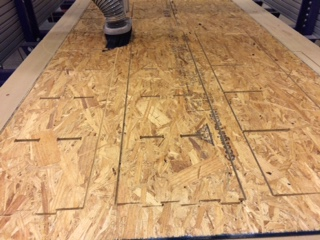
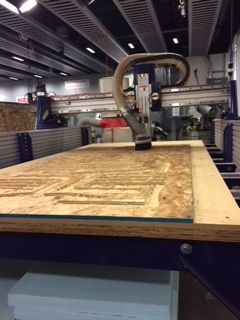
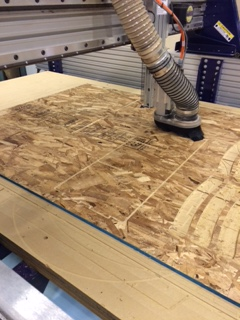
All the milling went smoothly. I've used a CNC router before, and am pretty comfortable with MasterCam. Partworks is a much simpler version of Mastercam and I only needed to use a 1/4" end mill. Most of my tool paths were also profile cuts so there wasn't a ton of nuance in terms of toolpaths necessary. I must say though, removing the parts and trying to get rid of the tabs that were left behind was not a very fun task. I really don't like OSB for this sort of work, unfortunately, I didn't have time to buy my own stock. This meant that there was quite a bit of post processing: getting rid of splinters, tabs etc.
Assembly
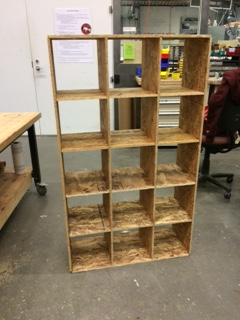
As I mentioned before, I used three different pieces of 4'x8' OSB stock, unfortunately I made the assumption that all the stock was the same thickness. Womp womp, it wasn't. Only a few of my shelves fit perfectly due to my joint testing, but the thicker material was not so great. I ended up having to file some of the slot openings wider, and used quite a bit of hammering to get the inner spacers to be flush to each other. Although this meant that because everything was not quite right I had to add a few nails to the corners to hold everything together. Not exaclty what I'd hoped but I'm still happy with the result.
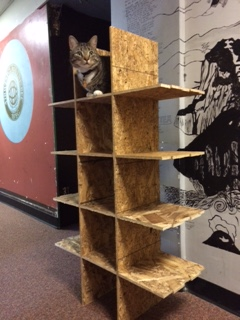
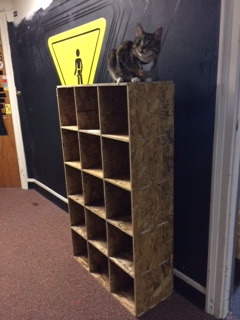
Big plus: Rupert likes the new shelf too! Part storage unit, part cat jungle gym!