
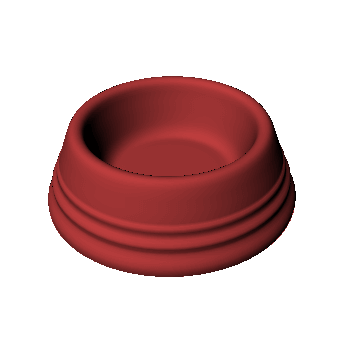
After the terrifying realization that we are half way through the semester, I decided to start orienting my weekly projects towards my final project. This week I've decided to make a cat bowl prototype. In essence, it is a mini catbowl for a hypothetical cat of mini size. But it was very informative as a proof of concept for the bowl portion of my final project idea.
Wax Mold
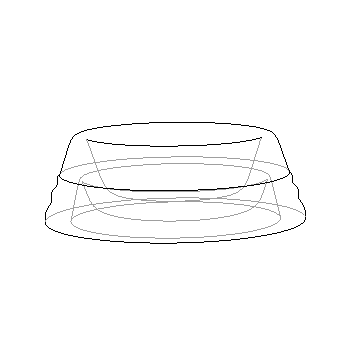
I pretty much took my CAD models from week 0 and editted the profile slightly and scaled it down to a size that would fit in the wax we were provided.
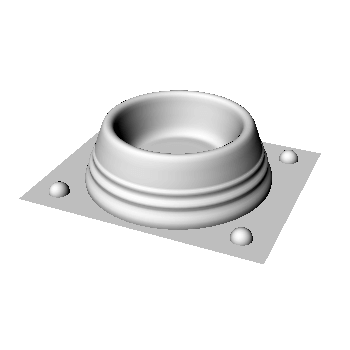
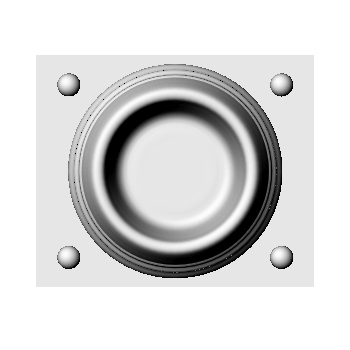
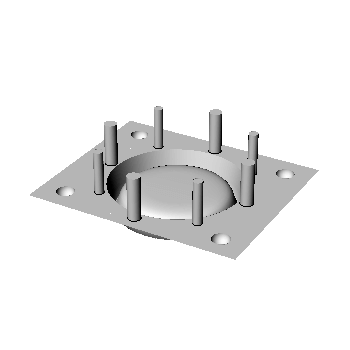
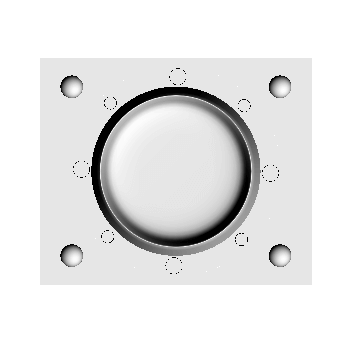
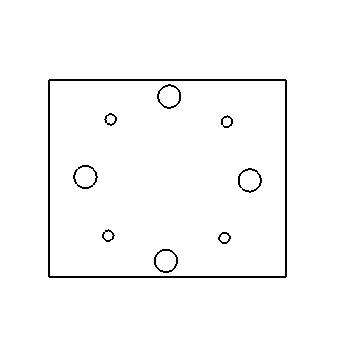
I'll be honest, it took me a little while to wrap my head around the positive mold to make a negative mold to make the final part, but after 20 or so sketches I finally understood it. I've worked with injection molding before so my gut reaction was to make a negative immediately so I almost went backwards in my thought process. I designed the mold such that the parting line would be at the very bottom edge of the bowl. While the useful part of the bowl could have been cast with a one part mold I wanted to play with the underside details a bit as well, mimicking what real cat bowls look like. I also decided to put the sprues on the bottom of the bowl so they wouldn't be visible in its proper orientation. There are 4 sprues and 4 air vents, as the piece is circular and I would be casting the drystone flat it made the most sense to cast through 4 sprues to ensure that the entire negative volume was filled. I also created a profile of the top of the second mold to laser cut a piece of acrylic. This was to make sure that the sprues in the oomoo would be held in place and not compress when casting.
Next, I brought my molds into Partworks 3D to make toolpaths. This was again pretty simple and just required making sure the tools were set correctly. For the roughing pass: 1/8" ball nose, pass depth: 1/8", spindle speed: 6000 RPM, stepover: 50%, feed rate:120in/min, plunge rate: 60in/min. For the finishing pass: 1/8" ball nose, pass depth: 1/8", spindle speed: 6000 RPM, stepover: 10%, feed rate: 120in/min, plunge rate: 120in/min.
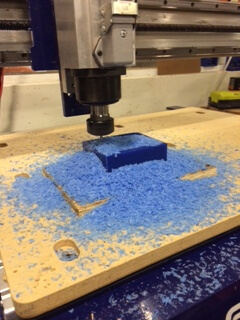
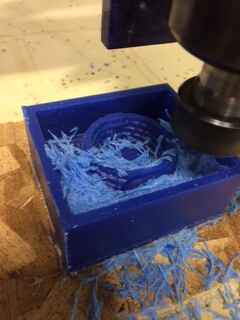
No problems on the roughing pass. I enjoyed just watching the wax pile up as the tool path continued.
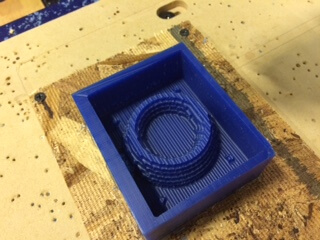
Ahhhhh, of course there needed to be one issue. For some reason, between loading the roughing pass and the finishing pass the z direction zero changed. Instead of happily jogging above my mold, the mill plowed straight through the wall and went deeper into the wax on the bottom of the mold. Oh well, I made a point of double checking the z-zero positionbetween tool paths.
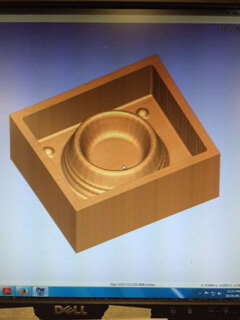
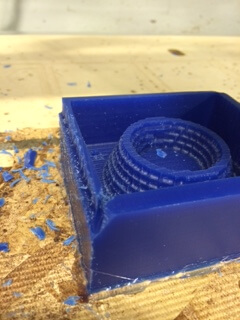
I redid the roughing pass as the mating of the molds wouldn't have worked in the oomoo since the mill plowed into the bottom surface. Finishing pass went nicely, and it was exciting to see 3D milling in action. Thankfully, the mold looked like a bowl, not a huge surprise but quite a relief!
Next mold, there were no issues with the milling portion, but this time with the design. I predicted as I was creating toolpaths that there would be a possibility that I lose the posts for the sprue and air vent just due to lack of strength of a thin piece of wax. I only lost two brave soldiers so I still had sprues leftover, phewph.
Oomoo Mold
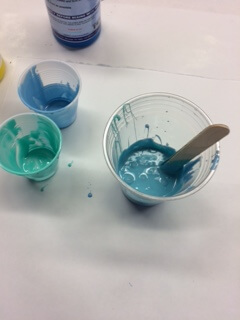
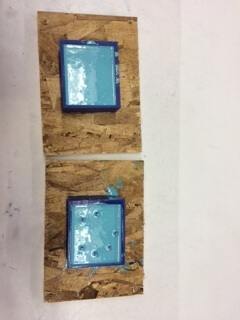
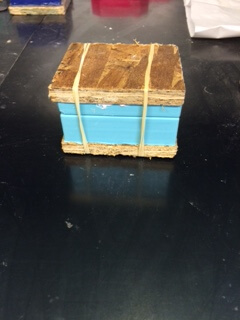
OOOOMMOOOOOOO! I like this stuff it's quite fun. I was sure to be very thorough in my stirring. On one mold I had forgotten to dry out the water that I had used to get an approximate volume and therefore had a gooey mess trying to get bubbles out. I left the molds to cure over night.
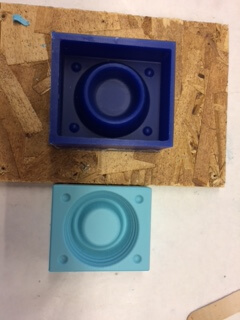
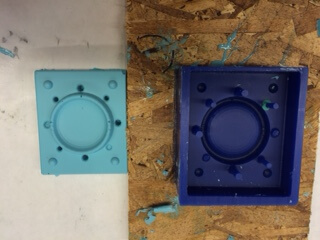
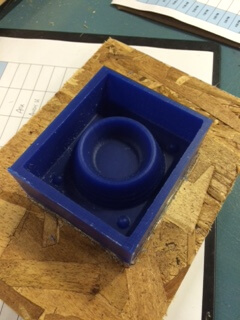
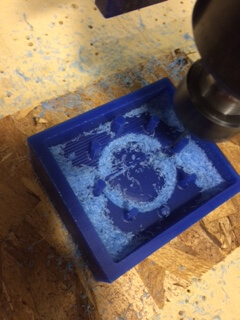
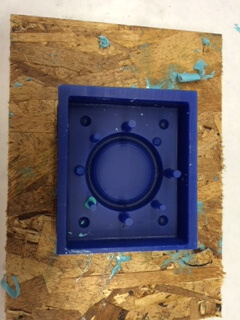
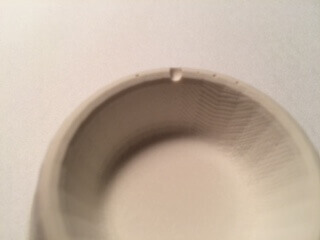
I had a slight bit of anxiety when I first tried to remove the oomoo mold from the wax, I wasn't sure if it was ever going to come out. After a bit of coaxing and a few popsicle sticks I pulled out the upper mold. Very satisfying to see how well the mold worked out, it's incredibly high resolution (which makes me think I should mill my wax to a higher resolution next time). On the bottom mold I lost one more poor sprue soldier, bringing the deceased count to 3. The oomoo still had the sprue but if I were to try to make a second oomoo mold from the wax I would unfortunately be without. This is something I'll definitely have to redesign when I cast my final cat bowl.
Drystone Casting

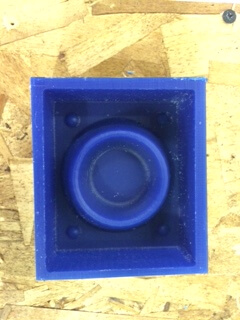
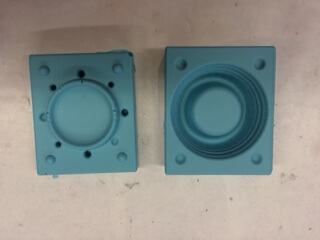
Last step was to cast the drystone. I glued the acrylic to the top of the bottom mold and mixed my drystone properly. I began casting through the sprue holes but quickly realized that a. I was too impatient for the viscous flow and b. the drystone was not the best consistency to flow through small small holes. I think this will be less of a problem on a scaled up version of the same design. Instead I filled the top mold almost to the top and just pressed the second part of the mold into it. I did this knowing that there may be some flash on the sides when I demolded, but I figured it'd be easy enough to remove.
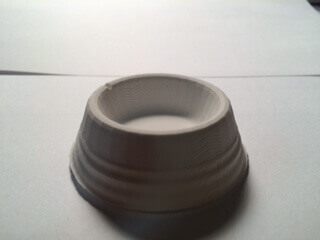
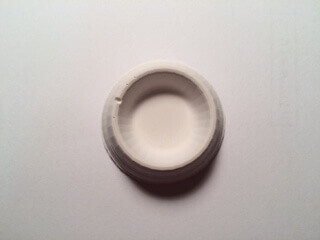
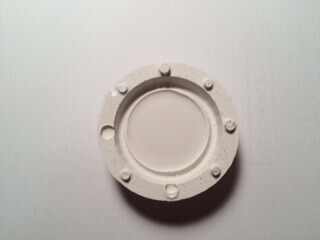
Turns out the extra material went up into the sprue holes, so I got sprues without using sprues... HA! Otherwise the cast turned out awesome. Just one blemish/bubble but otherwise it's super cute. I'd also like to figure out a nicer way to post process the drystone to get the remaining mythical sprue stubs flush with the bottom surface. Very happy with the outcome and stunned by the resolution of the cast! Really excited to iterate on this design again for the final project.
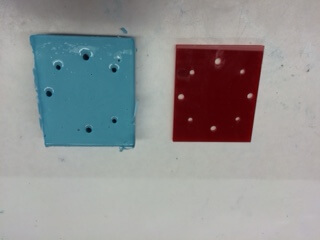
A note on baby powder and metal casting...
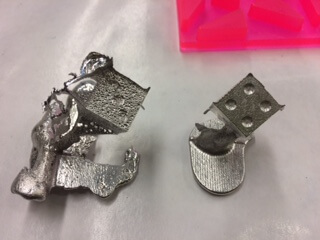
Basically, you should remember to use it. No baby powder is incredibly obvious and the surface finish isn't super nice. The picture above shows very nicely how different the outcome is. Thanks to Dan and Jonathan for an informative lab section!