This week, I wanted to make myself a custom controller for Downwell, a procedurally-generated minimalist action videogame I enjoy playing. The game only has three buttons; my goal was to create a nice little three-button arcade panel, which I would then use next week in the Embedded Programming module to act as a USB keyboard with the buttons wired up to the game's corresponding keyboard inputs.
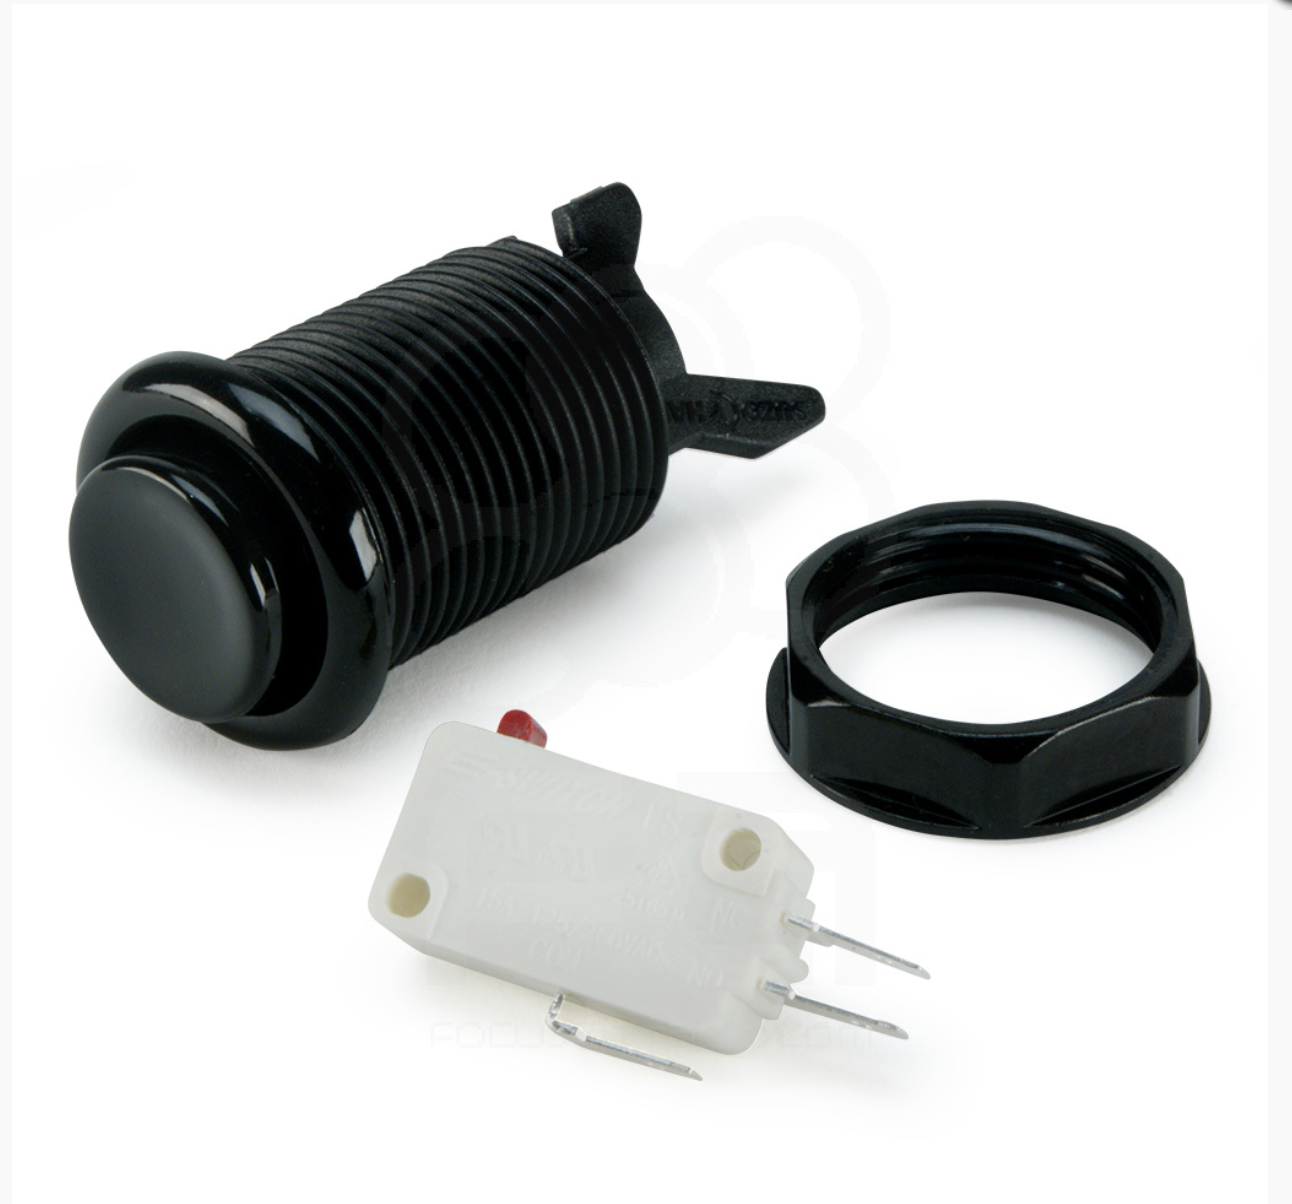
This week was fairly straight forward. I used the same Suzo Happ buttons I wrote about in Week 4, with the main difference being that this week I intended to actually wire them up to my own microcontroller instead of just using a Raspberry Pi's GPIO.

I only ran into a few very minor issues.
The first was that I wanted to use screw terminals to connect the wires from the buttons to the board, but the screw terminals we stocked in the Fab Lab were push-through rather than surface-mount, an issue I didn't notice until after milling the board. My quick fix was to bend the pins on the screw terminals flat, so that I could still mount them on the surface. If the terminals were designed to have cables inserted and removed from them many times I'd be worried about the structural integrity of the connection, but that shouldn't be the case here.
I also ran into some very minor issues with Eagle output. Previously, to export my images for milling, I'd been blindly typing the command display none dimension to show just the outline and display none top to just show the traces themselves. However, the screw terminal components I was using had the pads on the "pads" layer, which meant the `display none top` command didn't show them. A great experience to learn about how Eagle view layers actually work, both in terms of the CLI interface (it turns out Eagle executes layer names in series, so display none top pads hid all layers, and then showed both the "top" and "pads" layers) and in the layer view edit UI pane.
Finally, once I had the board actually working, debugging the input devices required setting up a serial connection to the computer. While this was fine, in future designs I'll probably add in at least one LED so I can debug basic input without needing to use serial!