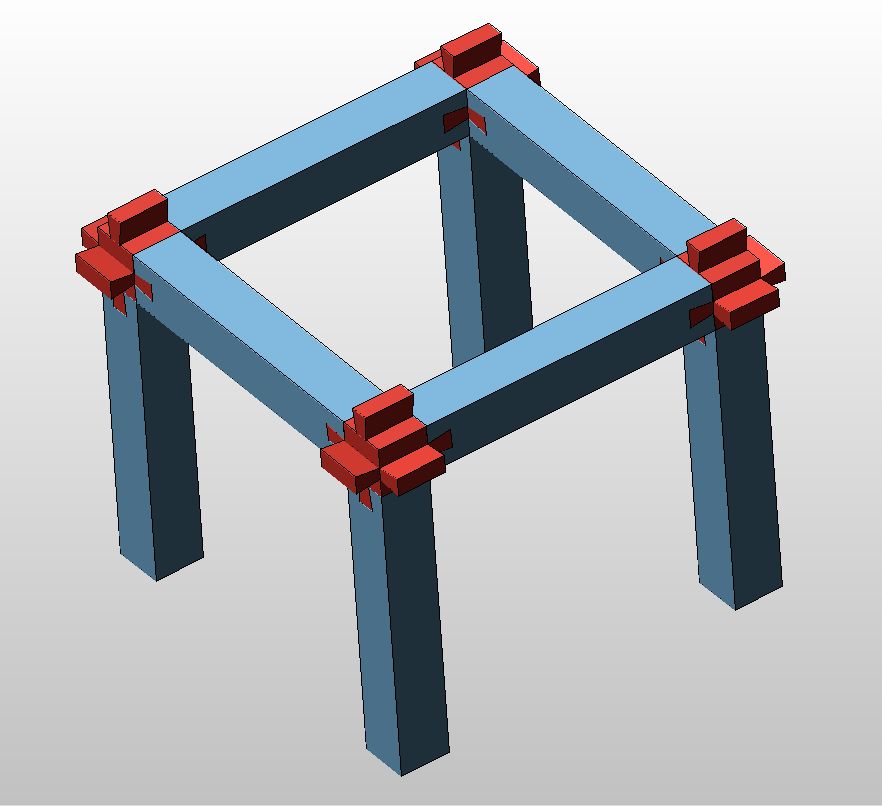
My project this week was to make a connector piece for a 3D construction kit/toy that I am designing as part of an EdTech class that I am taking.
An initial prototype of my piece consisted of two pieces: a connector piece and a beam/column piece.
The goal was to model and mill positives of the pieces, make negative molds of the pieces with omoo, then cast positives of them in hydrostone.
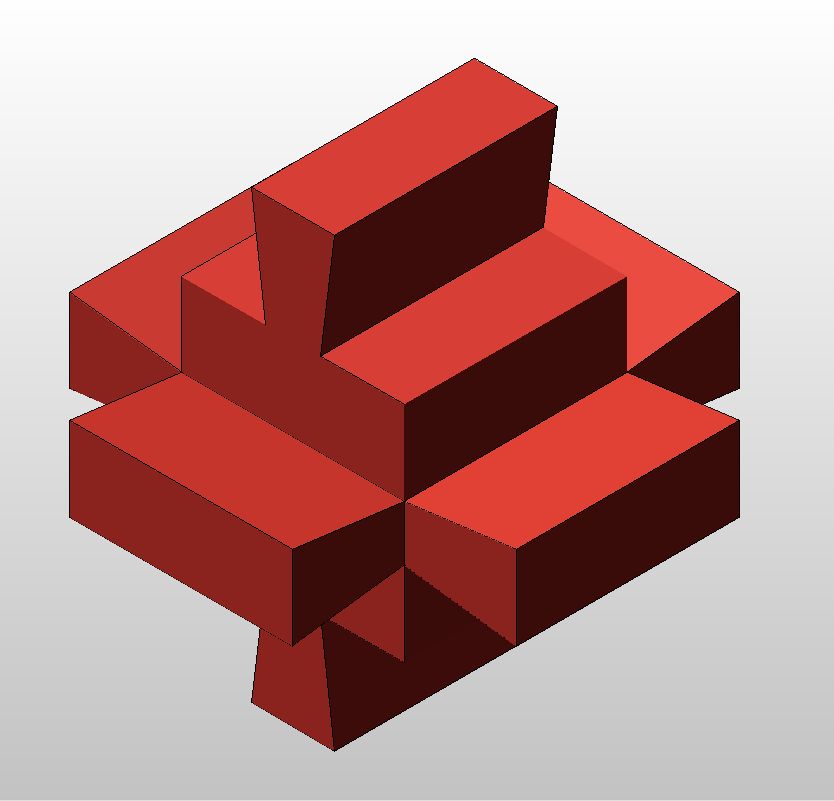
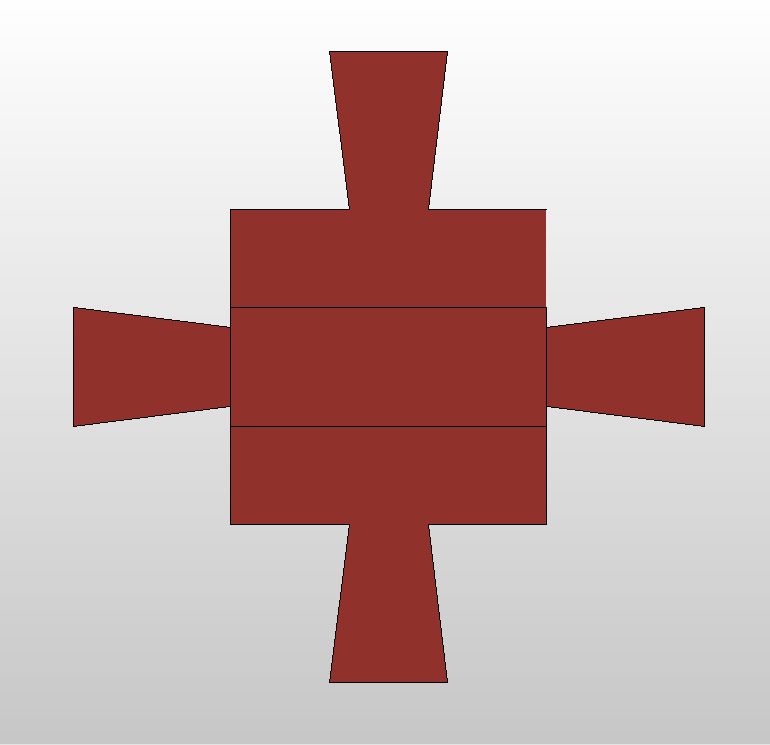
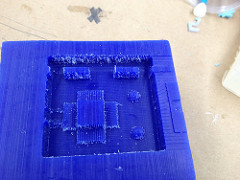
I modeled the two pieces in KeyCreator, adding vents for air to escape during casting. I cut all pieces in half in the model to prepare for milling two halves of the positive.
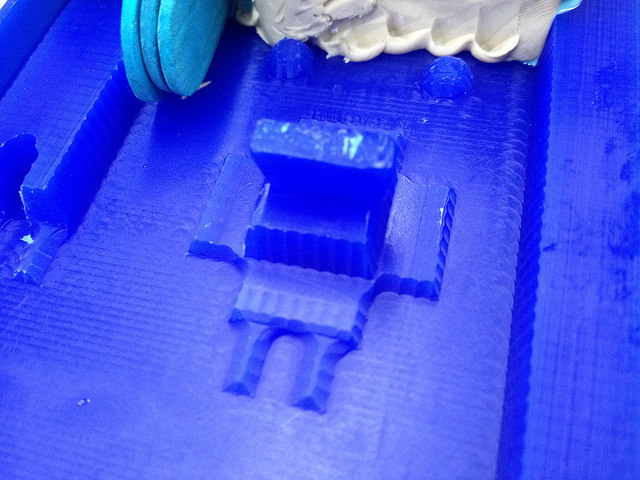
The connector piece was difficult to do because it has undercuts in all three dimensions, while I am only able to mill undercuts in two dimensions. I worked around this by removing the undercuts in one dimension and milling them separately. These are shown in red in the image below.
My plan was to attach them to the connector piece (with a hot gun or by melting the wax) after milling.
To mill, I used fabmodules to generate a toolpath. These are the settings that I used.
-Z min: the program kept importing different numbers. I set this manually to the maximum height in my model.
I have since learned that I probably wasn't using fabmodules correctly. The default z-min should match the model.
-Stepover: 50% for fough cut; 75% for fine cut
-Cut depth: 1mm. I could have gone lower because of the detail in my model.
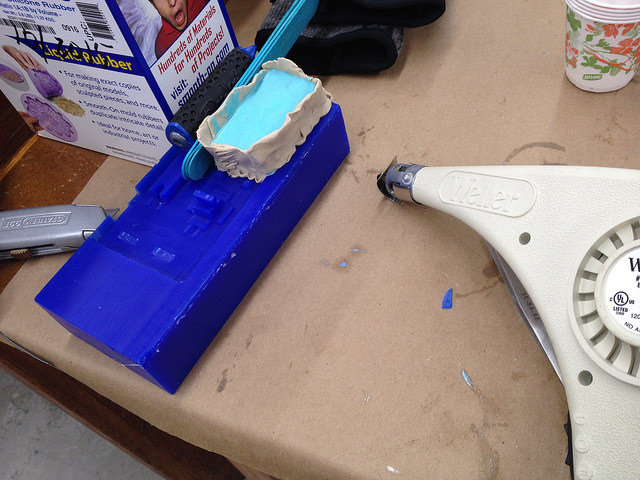
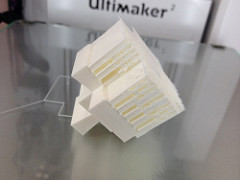
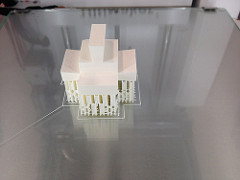
After milling, I attempted to attach my joints by melting the connector and placing the joints on it. This was difficult because my piece was small and hard to handle, but also because the wax solidified quickly after the heat gun was removed. If I used too much heat, it deformed the piece. My resolution was to 3D Print instead of milling so I could get accurate undercuts for the vertical connection joints. I scaled the piece to two times its size to make handling easier as I cast. In future, I might be interested in taking it back to its original size.
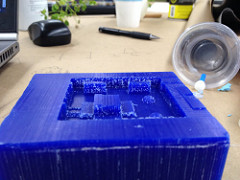
Making the Omoo mold was also difficult because I neglected to add a containing wall for the Omoo in my model. I used clay to build a wall.
It was a terrible mold. I gave up on it quickly and decided to 3D print the positive instead. I scaled it up for ease of handling.
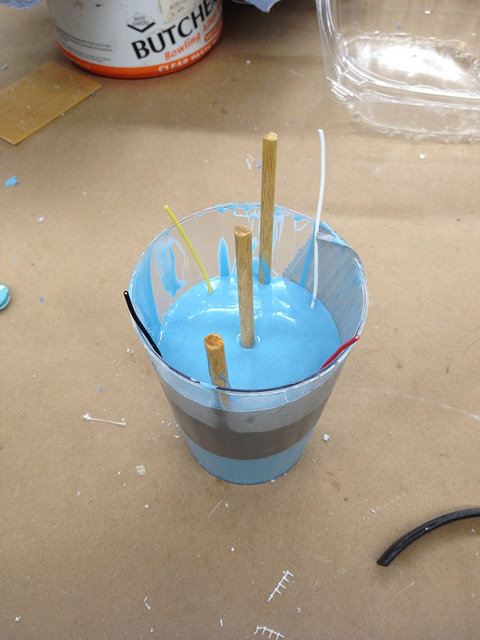
I prepared this part for casting, which I did in two parts - top then bottom. I poured Omoo into a plastic container and dipped the bottom part of the piece to create the bottom half of the old. I was sure to spray generously with a non-adhesive to keep the Omoo from adhering to the part.
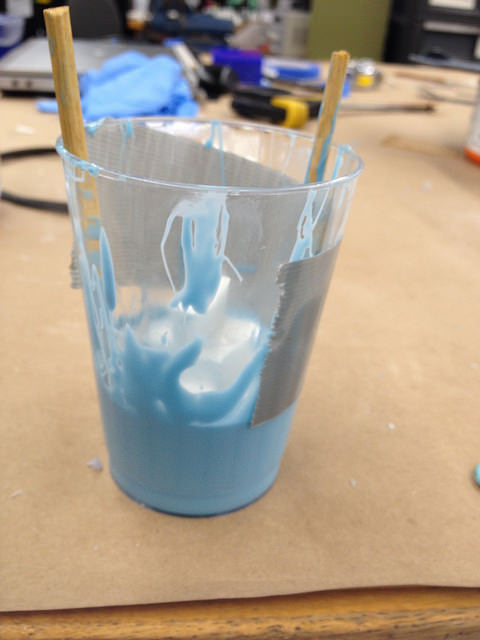
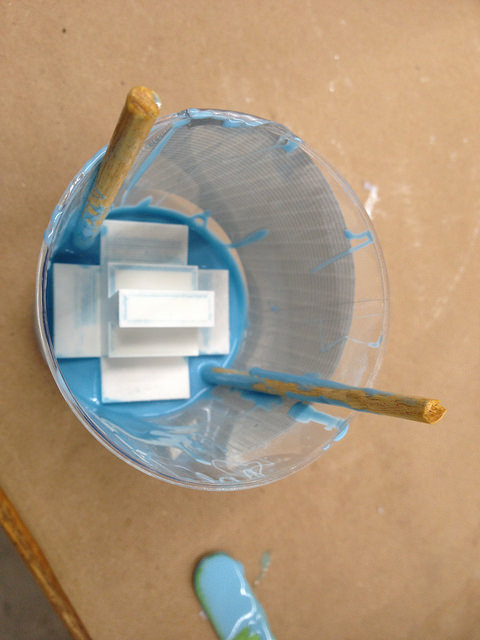
I let this set before spraying again and pouring Omoo over the second half. I created a model without a pour hole or air vents because those would have increased print time significantly. Instead, I added a wooden dowel to create the pour hole and electric wire (any thin tube could have worked) to create the tubes for air to escape. I added two other wooden dowels for alignment. I allowed the omoo to set overnight. It advertises that it only needs 45 minutes to set, but in reality, the omoo mixture was still wet and sticky after an 1.5 hours of setting.
I used hydrofoam for casting, which I prepared by mixing it with water in the proportion 100:32 by weight. I added the hydrofoam powder to water rathar than the other way round.
Here is an image of my final piece.