so i decided to change course, still sticking with the skateboard. then later i can still incorporate the original idea, or at least gain some experience making skateboards.
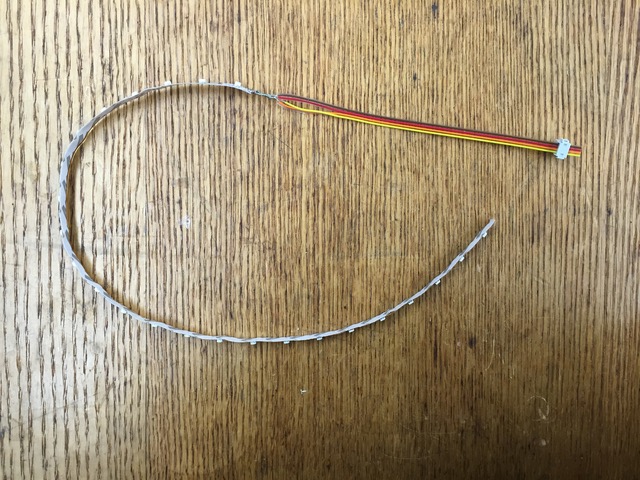
i remembered the infinity mirror that i had not gotten the chance to tack on to my little boxy coffee table from week 4. i thought about sandwiching plexiglass with two sheets of the mirror film and adorning strips of led around the sides that communicate with an accelerometer to make a skateboard that emitted cool "infinity" lights (that blink and stuff) as i CRUISE ON MY SKATEBOARD. so i cut some plexi (the 1/8 inch stuff that was in the science center shop):
then i realized how lame and puny the "infinity" effect was on my (too thin, i think?) sheet of acrylic:
(terrible photo)
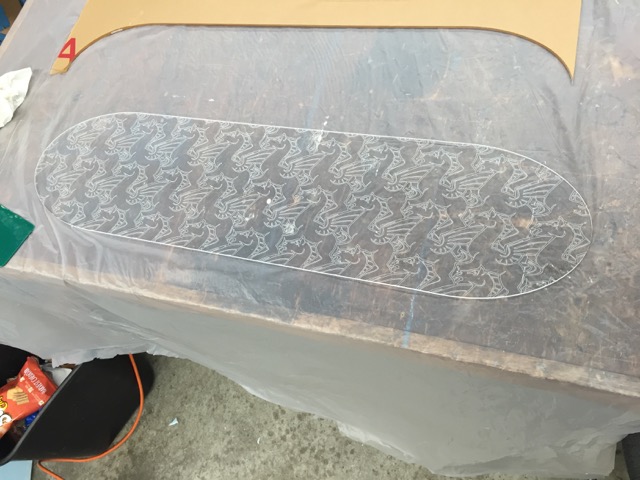
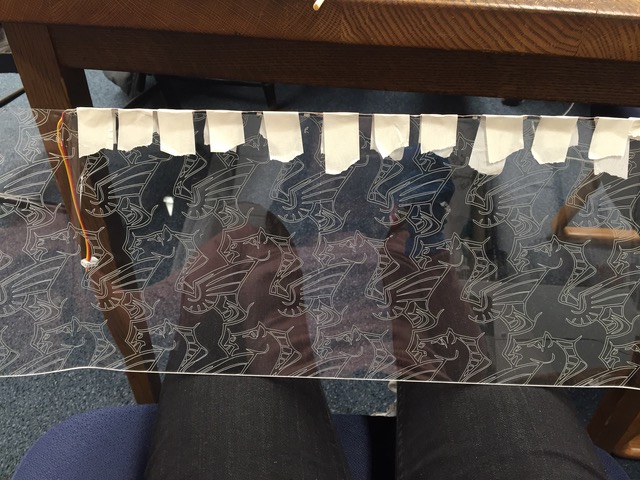
next idea was to engrave some design with the laser to refract the led light. i found a coloring sheet of a pegasus tesslation by m.c. escher (etcher, lol!) online and imported that into corel draw to trace this:
with light, looks like this (this was my test piece of acrylic):

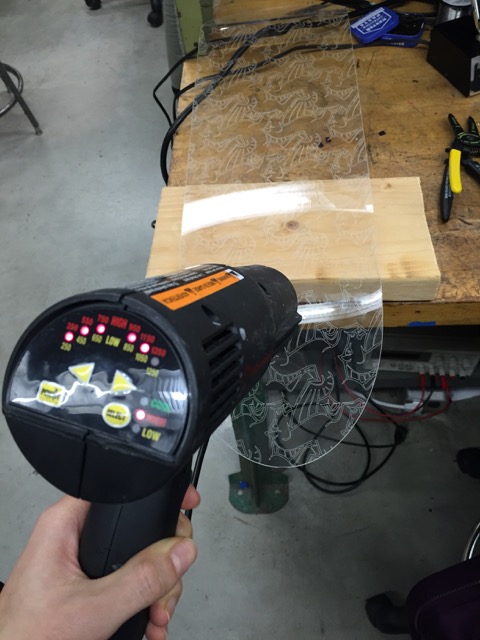
then i bent the ends with a heat gun:
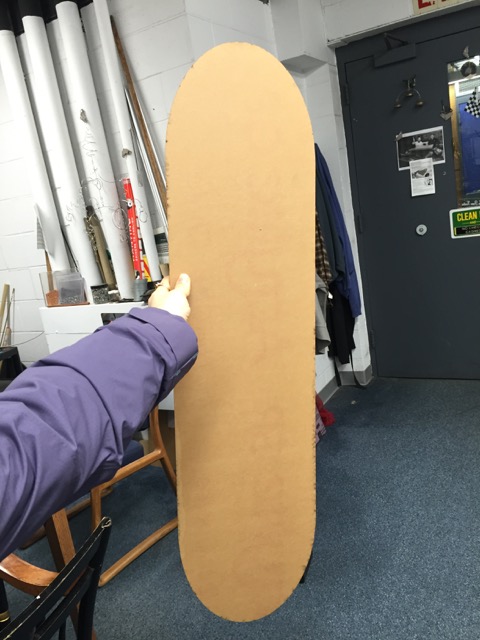
and finished with a dope old-school skateboard shape. ALSO, lots of thanks to Daniel R. for assistance with laser cutting.

unfortunately, all of the elegance ends here. the burlap composite soon takes over and
 and quick-dry (five-minute) epoxy with which i tried to fix the strips to the sides of the skateboard deck:
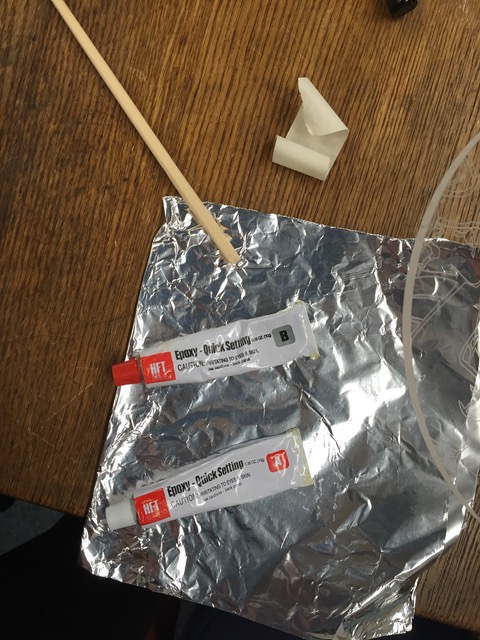
results weren't terrific; parts of the strip easily came off.
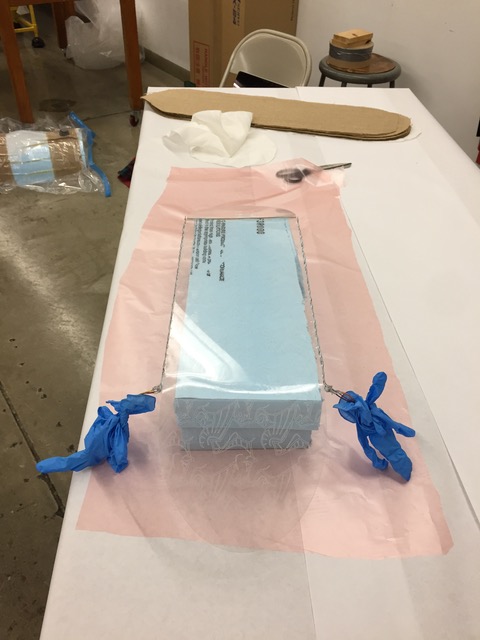
and here is my little set-up with cute little lab gloves tied around the 2x2 headers to protect them from the resin!
i used a total of nine layers of burlap and two sheets of linen on the more visible sides. (i used so many layers because i wanted to protect the acrylic from shattering... i ended up with a pretty heavy skateboard.) i left the composite overnight after eight of the total eleven sheets because the epoxy got REALLY SUPER hot and i freaked out. then finished in the morning. as suggested by Dan, i left the composite in open air and not in a vacuum bag so as not to get resin all over the pretty side of the board. shoutout to Luke for being my composite-making buddy.
then in the meantime, i started setting up the trucks and wheels i had ordered. Oliver showed me a brilliant way to get the bearings in:
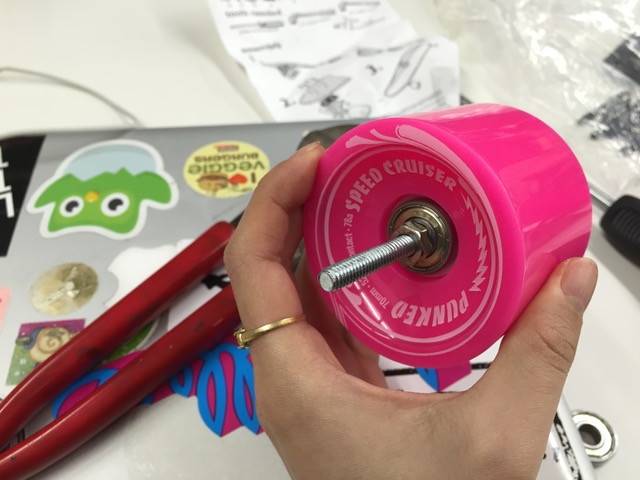
just had to twist the nut in there. and here's my cured composite:
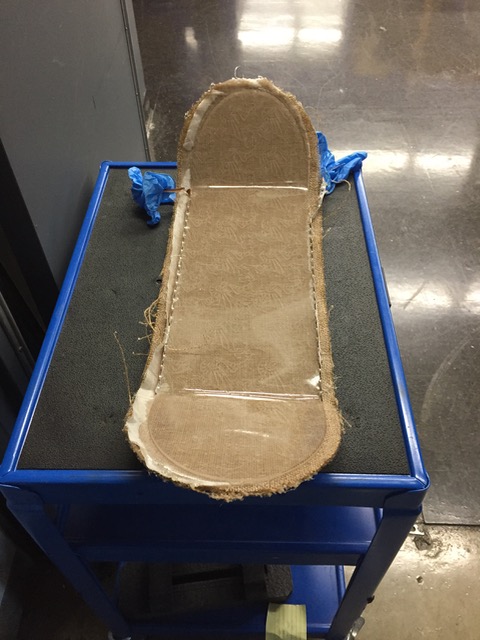
the burlap+epoxy had definitely pushed the nose and tail down while curing. that slope is ridiculous...
i had cut the composite sheets about 1/4-1/2 inch (with some tapering) larger on the four sides than the acrylic deck hope that it would drape and protect the edge of the acrylic. well, it didn't work and then i had to saw off the edges, first using the first available handsaws in the shop and then the jigsaw which was much much much faster. it was a really messy job, i ended up killing a few leds on one side (that i can probably fix with solder?), and tremendously energy-consuming. (and much thanks to everyone who helped me look for various saws (especially since i broke three of the smaller flimsy ones), keep my board stable in the vise as i sawed, and even taking turns with me when my muscles got too exhausted: Gabe, Gabe's friend Albert, Luke, Daniel R., Rob.)
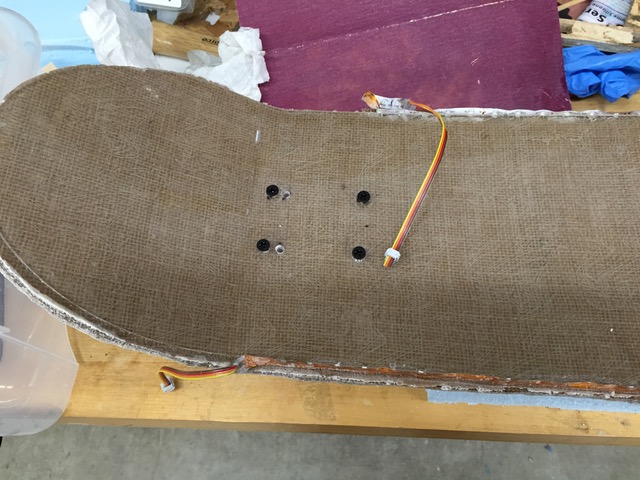
so then i marked and drilled some holes and mounted the trucks and wheels. thanks a bunch to Oliver for the skateboard consulting! check out these rough edges (and this is the good half!)
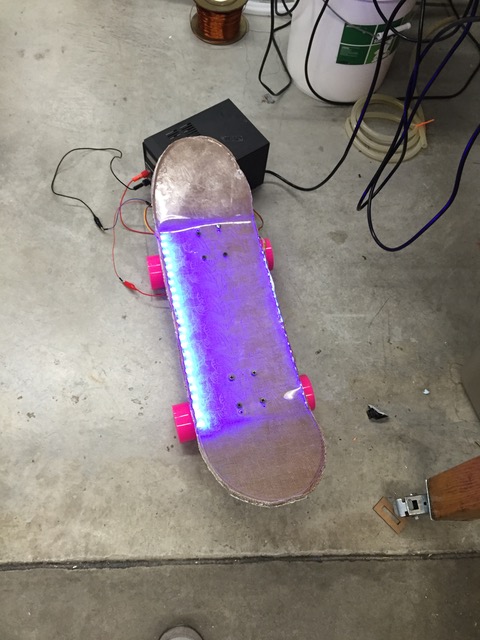
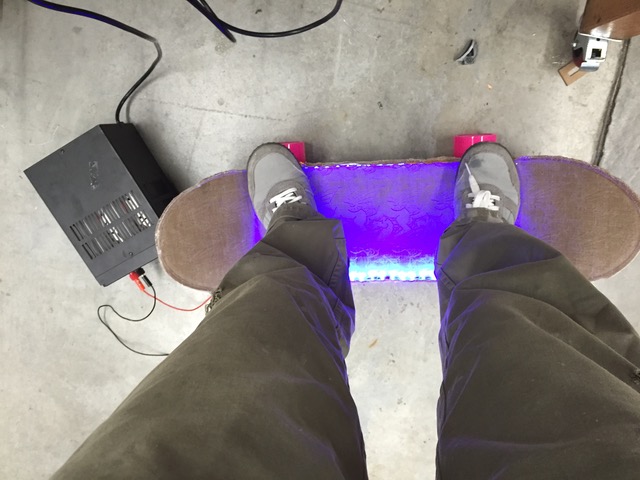
with one side (the not-messed-up one) lit:
look, i can stand on it. (those pants are totes shabby chic too.)
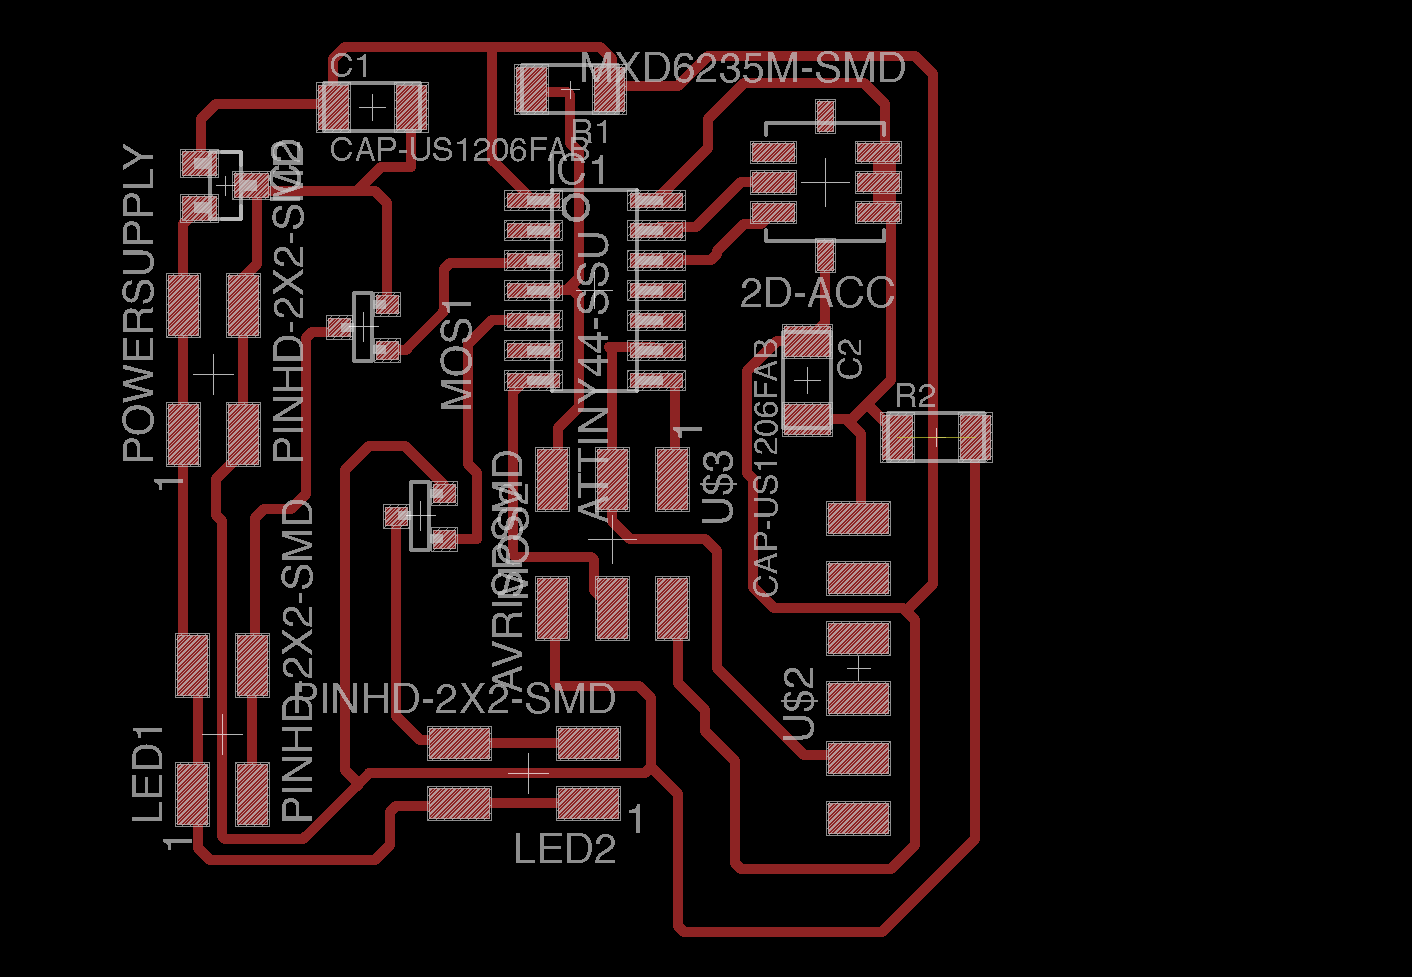
ok, back to electronics (lols). i had designed this board earlier on eagle. it features a 2-D accelerometer and two headers for the LED strips each paired with a MOSFET because the LEDs take 12V whereas the accelerometer and microcontroller take 3.3V.
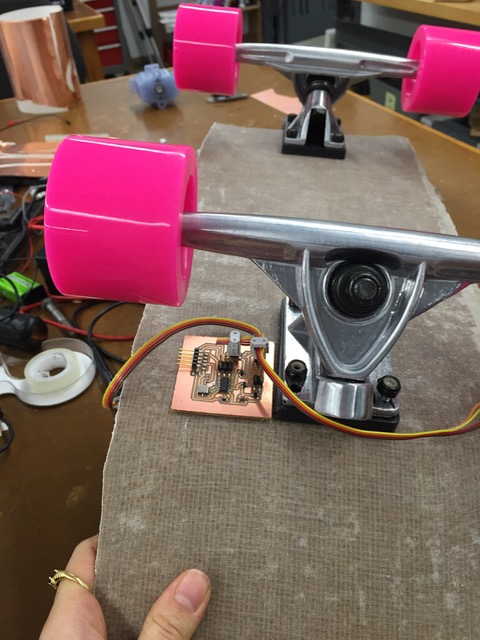
the real thing:

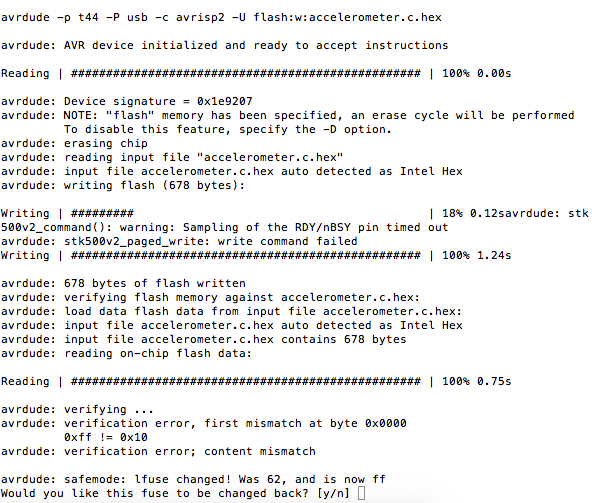
programming was unexpectedly difficult for this relatively simple set-up. largely because it was like really, really late. i had some trouble in the beginning with the avr-isp. it seemed like the connection was a little problematic, the light flip-flopping between green and red. i would often get a communication error and then try the same set-up successfully. i also got this weird error two times:
other fixes included getting a float in the right form (thanks, Brendan!). here's the gist of my program:

this way, i could have a sort of "turn signal" each time i lean to the left or right.
here's a video of when it was working (ha!)video
you can see that i've set the xvalue and yvalue to be too low or too high for the tilting aspect. you've had to pretty much fall off the skateboard to get one side to light up... so my plan was to later test the tilt while standing on the board connected to my computer through FTDI and see which values might be more appropriate by looking at the python interface.
and then i hot-glued the board to the underside of the skateboard:
this set up is just missing the batteries. i also tested the tilting after hot-gluing while connected to the power source and the sides lit up as desired. however, this morning (just beofore the final project presentations) tried it with a 12V battery pack (thanks for your generosity, Gabe!) but it didn't work. then i realized that nothing works. the avrisp doesn't even turn green and it seems like there must be a short in the circuit because between ground and vcc of the microcontroller, i read .06V whereas the input was ~12V. in the pressing final hours, i tried to test my connections and in my desperation even popped off my microcontroller and replaced it with a new one. but it didn't work and i didn't have enough time to find the source of the error. so this is, at the moment, a project waiting to be troubleshooted...
it was pretty fun though. lots of thanks to Rob for advising me through the whole process and to the entire Harvard section for the company and laughs during the last few days and final push. and of course, thanks to Neil and the entire course staff for this crazy semester. i am truly looking forward to developing all that i've learned.