Week 3: 3d Printing and Scanning
A bust and a ring
Fall 2015
See it, model it, print it. Design it, make it. That's what we did this week.
What if you could see an object or person in real life, make a 3D model of it/them on your computer, and then make it -- in 3d?! What if you could design something in software and then print it out? If you could have a 3D model of yourself, would you make it? What if you could make your own Jewelry?
Here's how:
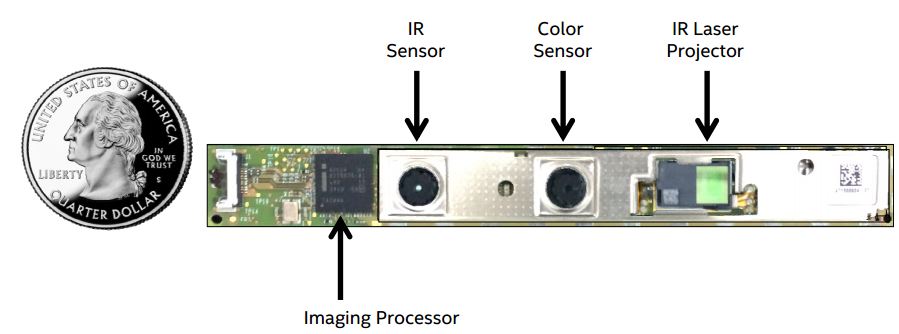
First, here is the Sense scanner
vid of before scan - real ericker - bust scan from Eli on Vimeo.
The bust, as it showed up after being scanned. This was exported to Cura so it could be sent to the Ultimaker printer. It took less than 30 mins to print. Cura - overhead view of bust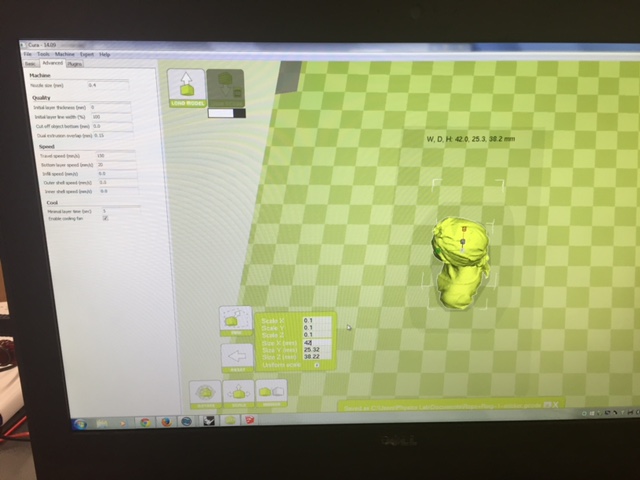 Partway through...21 mins left!
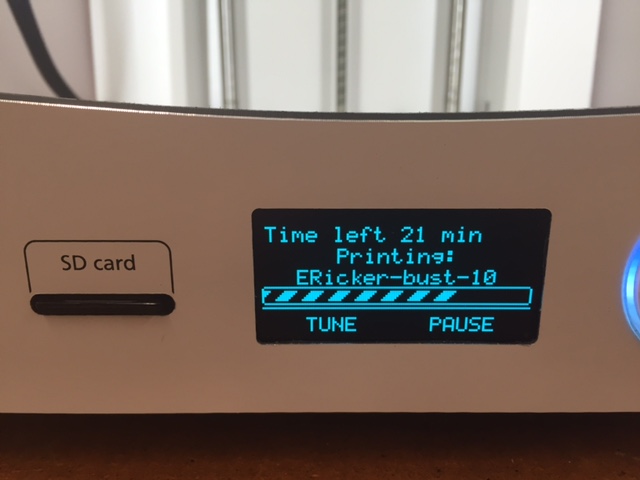 ultimaker - 21 min left - over half done
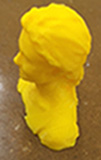
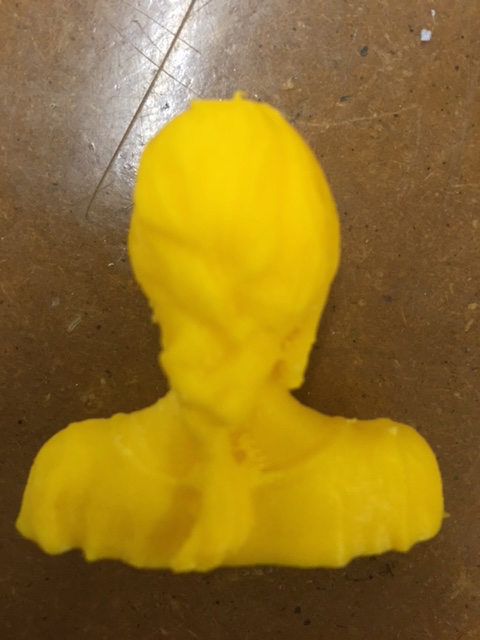
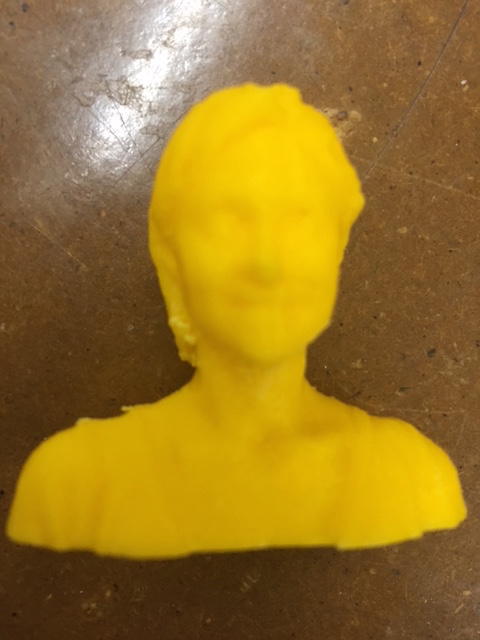
These are the after photos - the finished products!
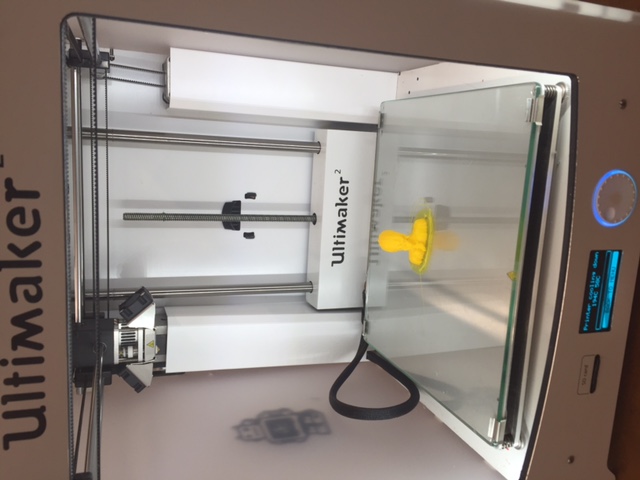 side view - bust - finished
 rearview - bust - finished
 front view - finished - bust
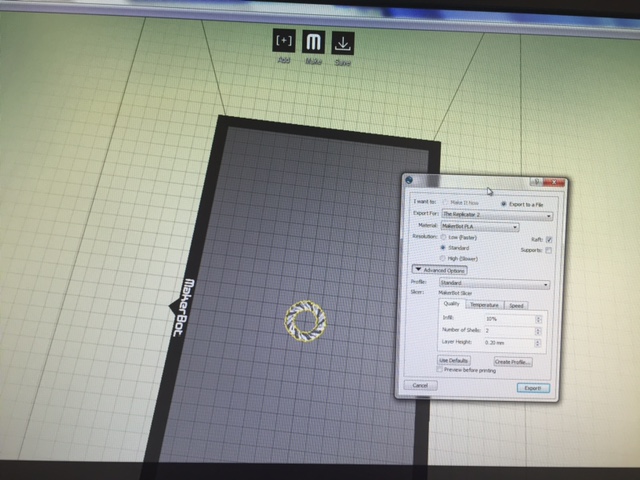
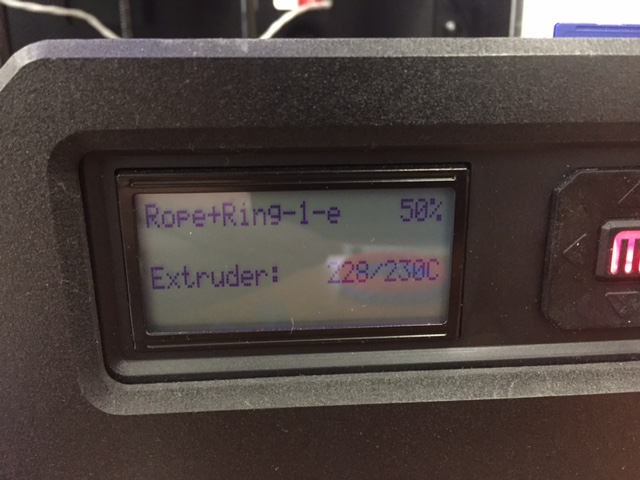
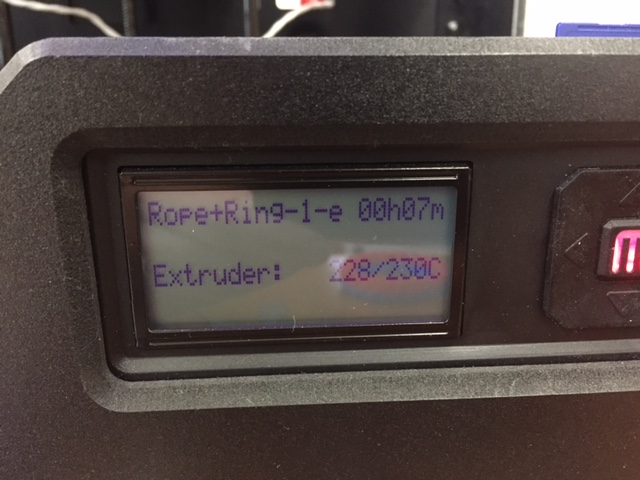
 This next object -- a rope-like ring - was designed in software and then printed. I found a template from Sketchup, then I modified it slightly (changed scale), exported it to the Makerbot software, and then printed it in less than 20 minutes (it was 50% through at the 7 minute mark).
Original template for the design of the rope ring
https://3dwarehouse.sketchup.com/model.html?id=44361d5988bd845c615b9405e01a7a03
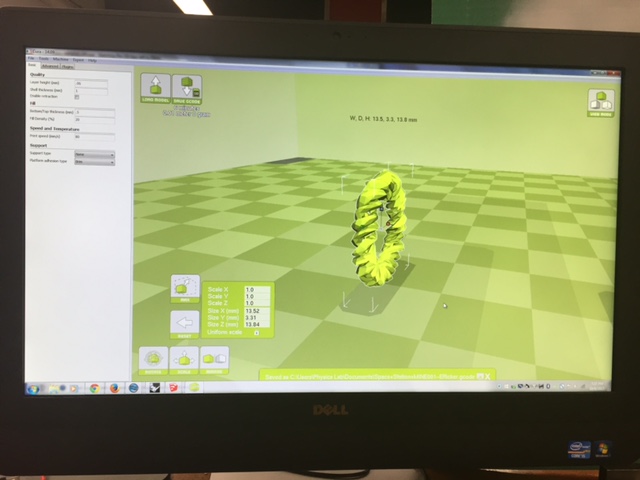
In software, first in Cura:
rope ring in cura sw
 Now, exported to Makerbot software, after I'd edited/modified it in Cura
rope ring in makerbot sw program
 partway through...
rope ring 50 percent done in makerbot
 rope ring in makerbot 7 mins left at 50 percent done
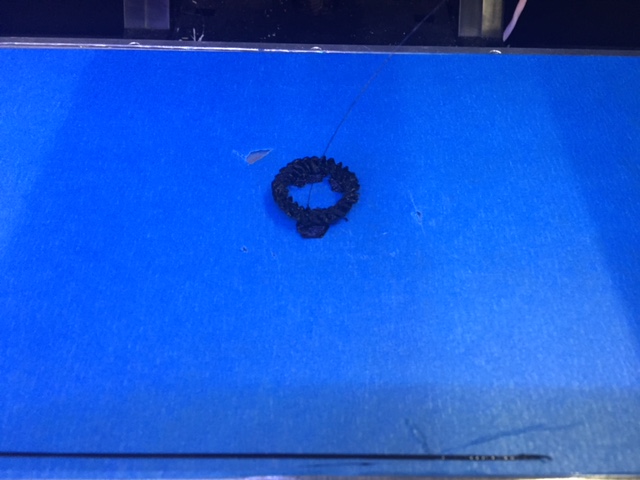
 It's finished!
ring just finished - sitting in Makerbot
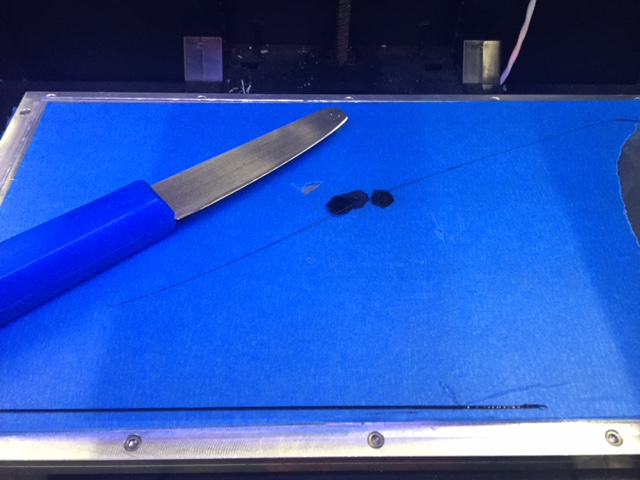
 Scraping it off the bottom:
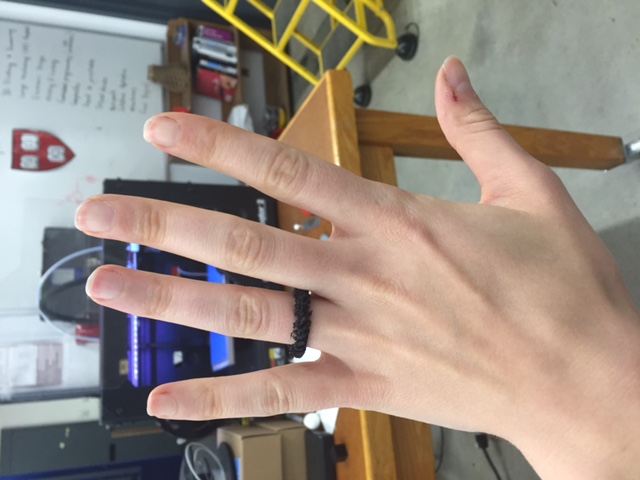
 Finished product, modeling it on my fingers:My 3d printed rope ring rope ring on my hand
 There you have it.