Week 6: Molding and Casting
A star-shaped electrode
Fall 2015
This week, the goal was to go from design to machinable wax to oomoo to (in my case) metal alloy object. Lecture notes here. I chose to create a star-shaped electrode in order to take a first step toward my final project.
Professionally built electrodes here and example image here:
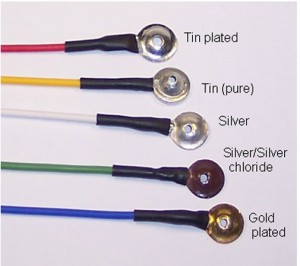
Estimated timing: 30 mins to design, 30 mins to mill the wax mold, 20 mins to prepare the oomoo cast, less than an hour to let the oomoo dry, 1 hr to heat the oven to 425 F and less than 30 mins to cast it in metal.
Estimated cost: commercially from $8-$90 but I'll be making it for less than $2.
Instructions and guidelines on electrodes from: DIY passive electrode guide
Constraints on the design: 10 mm for the diameter of the cup (source: http://www.biopac.com/product/gold-cup-electrodes/?attribute_pa_size=au-cup-electrode-green-reuse) and inferred that a thicker electrode would probably impair the electrochemical performance (http://www.sciencedirect.com/science/article/pii/S0013468612005270). Some concern that the metal I'd be using (a bismuth based alloy) would not be conductive enough, but apparently it has a reasonable tin content, so I was convinced it was viable to use this as a proof of concept for my electrode.
Decided to make it a star, because, well, why not. Realized that if the circular design was playing some important role, I'd be losing it if I kept the same diameter as the original cup, so I made the distance between the tip of one arm and it's opposite longer than 10 mm. Used gray scale in the following manner: the black is 100%, the dark gray is 85%, and the registration circles are 50%.
Ultimately, my design in Illustrator looked like this.

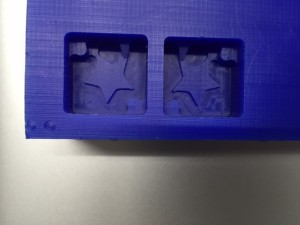
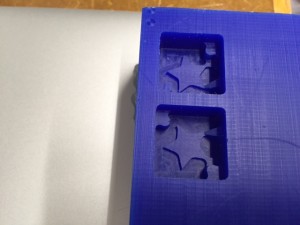
I exported the design as a PNG and loaded it into fabmodules.org and had it talk to the Roland Mil. I cut machinable wax to create the first mold (used a rough cut and then a smooth cut at 80% overlap that worked well; first pass took about 6 minutes and smooth cut took about 8 mins), and it looked like this ultimately.
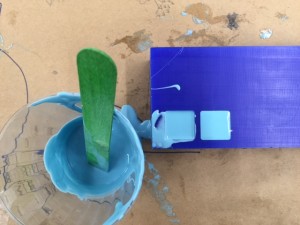 Mixing up the oomoo in the cup and then dribbling it into the negative space created by the wax mold resulted in the lovely blue globby mess that you see below. The oomoo mold is a silicone rubber that provides the shape that the metal gets poured into.

Now, the oomoo mold. I added talcum powder so the metal alloy would get into all the nooks and crannies more smoothly and easily. Rubber bands to keep it all together while the metal alloy is poured in. Warmed the metal alloy (it was a bismuth based alloy ingot)
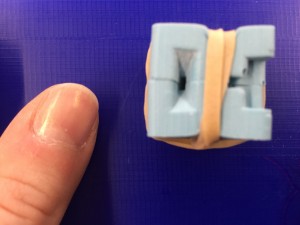 Heated the metal to 425 degrees and poured it into the funnel shaped opening I'd made in the mold. The vents helped here.
 The metal with its oomoo mold.
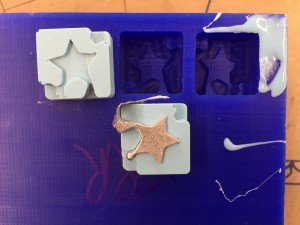 Sawing off the excess metal...I also filed it down once it was cut.
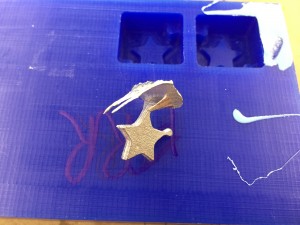
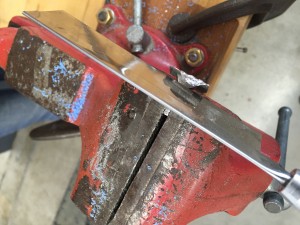 The result.. I found a plastic covered wire with a BNC coaxial connector cable on one end by cutting off and exposing the inner wire on the other end. Then I soldered it to my star-shaped electrode to. Not my best soldering, but it did the job.
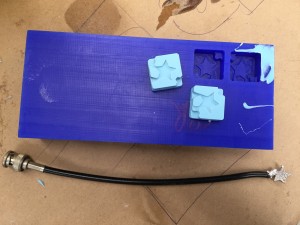 Note that when I soldered the electrode to a coaxial cable, I used a BNC coaxial cable. I should probably use an RNC in the future, given the EEG literature.