Ideas
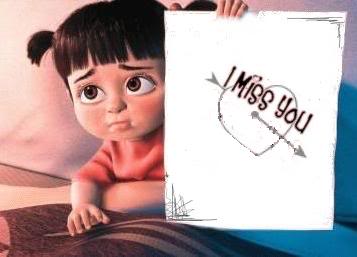
“Sometimes I feel lonely because I study abroad.”
“I just miss Tina, but I actually don’t have anything special I want to share with her”
“Long distance is hard, finding a time to chat with my boyfriend is hard. Sometimes I just miss him, but I don’t really want to bother him”
“My mom always calls me while I’m in class.”
“Catching up takes times, but sometimes I just want to let someone know that I miss them, but don’t really want to spend time to catch up for half an hour.”

As we grow up, it’s actually harder to connect friends and family, and it’s harder when we live long distance because of busy schedules and time differences. After interviewing 10 people who are in long distance relationships with family, partners or friends, 7 of them reported contacting their partner every day, only 2 contacted their famliy every day, and none of them contacted their friends everyday. The commonly cited reason: “It’s hard to find a time that is good for everyone.” Nowadays, when we miss someone and want to chat with him/her, because of busy schedules and time differences, what we need to do is no longer simply picking up the phone and making a call, but sending a text message first to make sure if he/she is free instead.
One other situaction is that we just think of someone, but don’t actually have a lot to say to them, or we are busy, and we don’t have enough time to catch up. What we want might be to just give them a signal to let them know we are fine and we miss them.
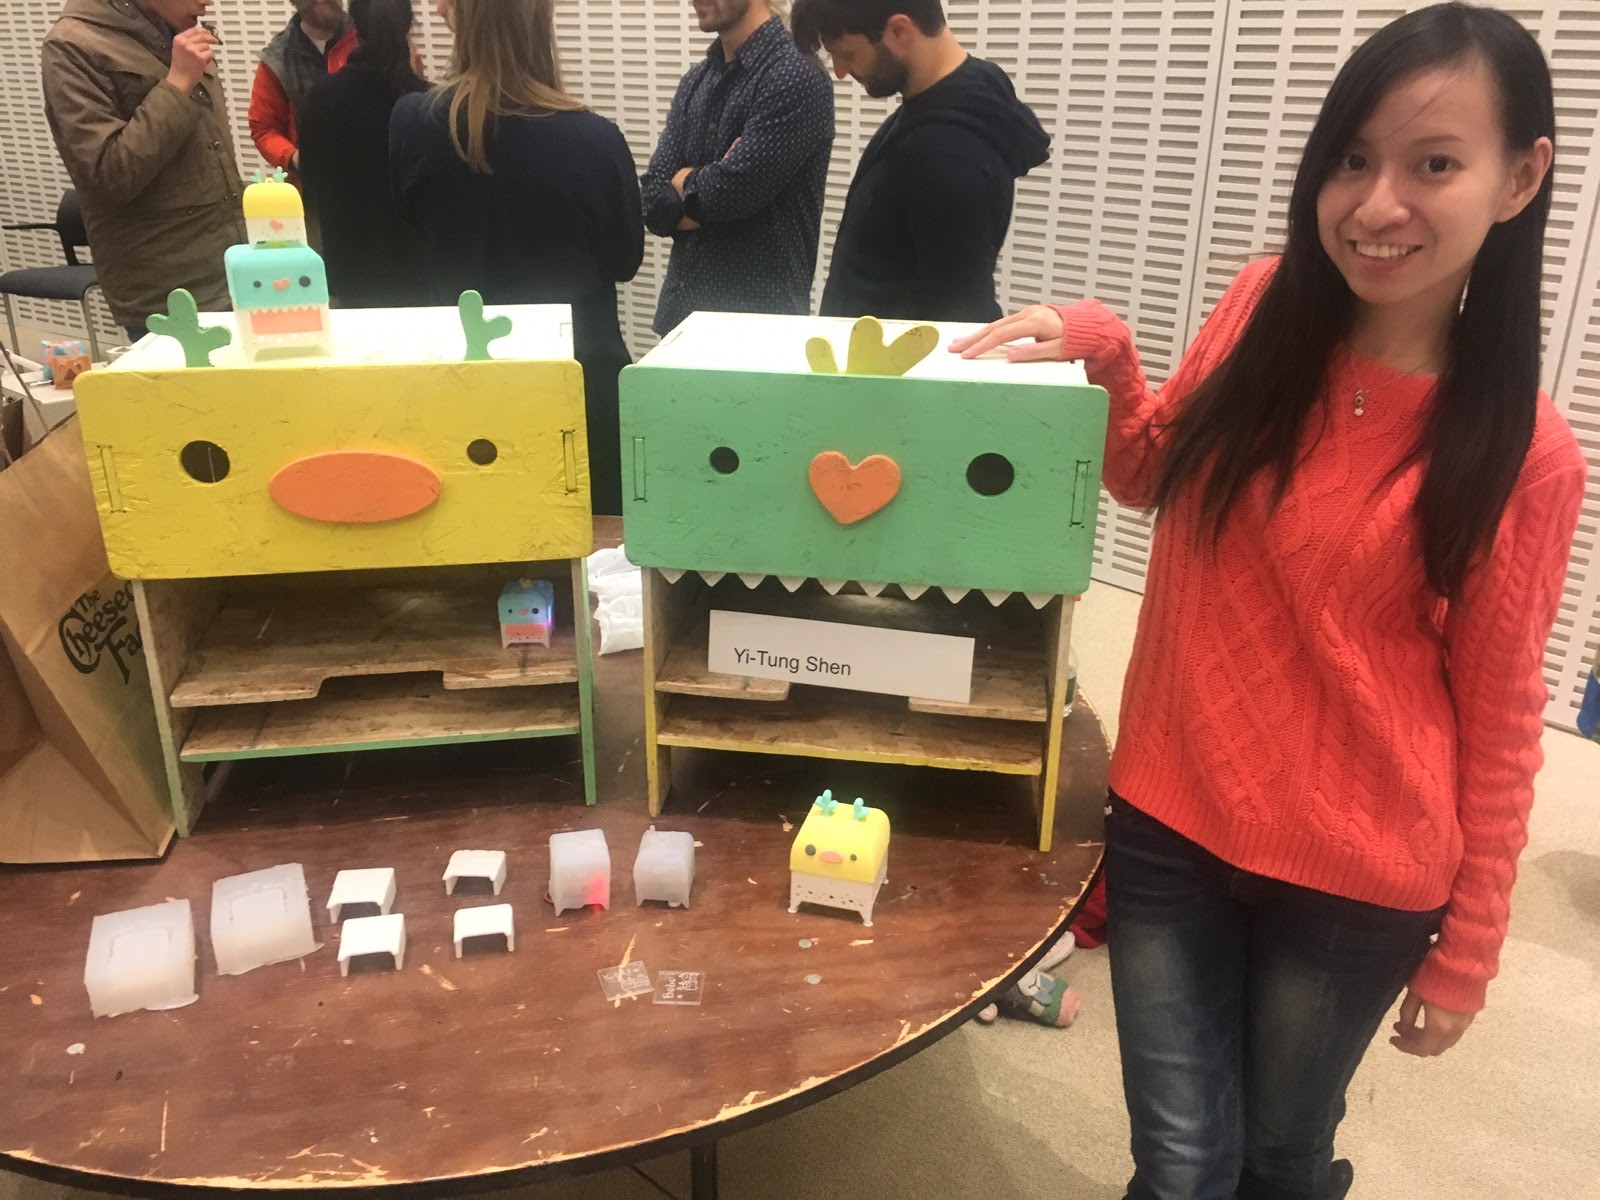
Kiki & BoBo are designed to slove those situation
CAD Design
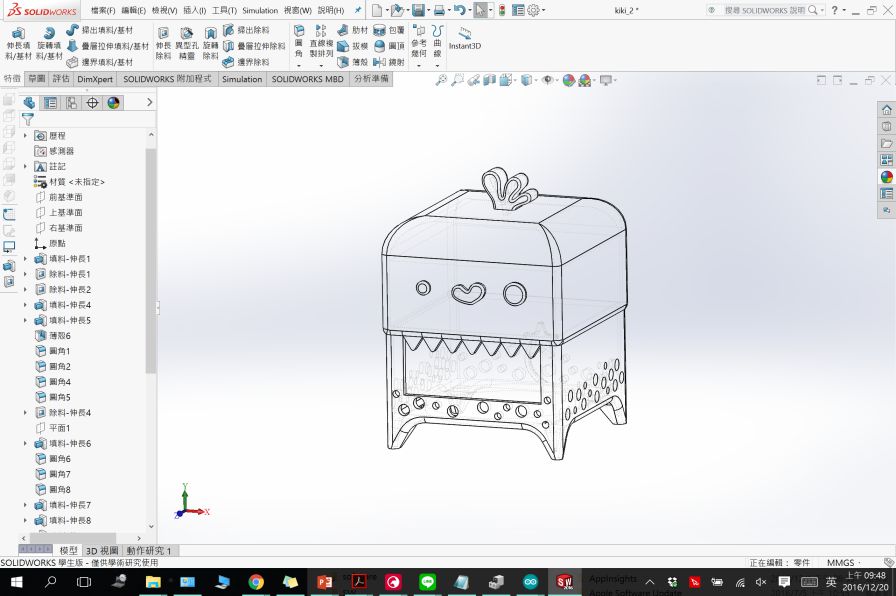
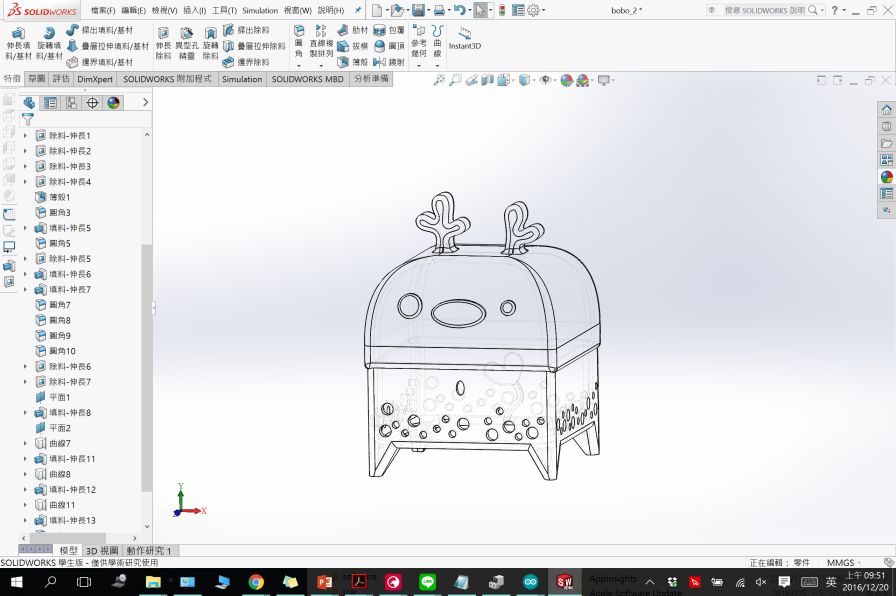
After week 5, I created these two cute small figures called "KiKi & BoBo", and I decided to make them as my final project outlook! I first used SolidWorks to make CAD files for each.
KiKi
KiKi is the one with green head and yellow hair
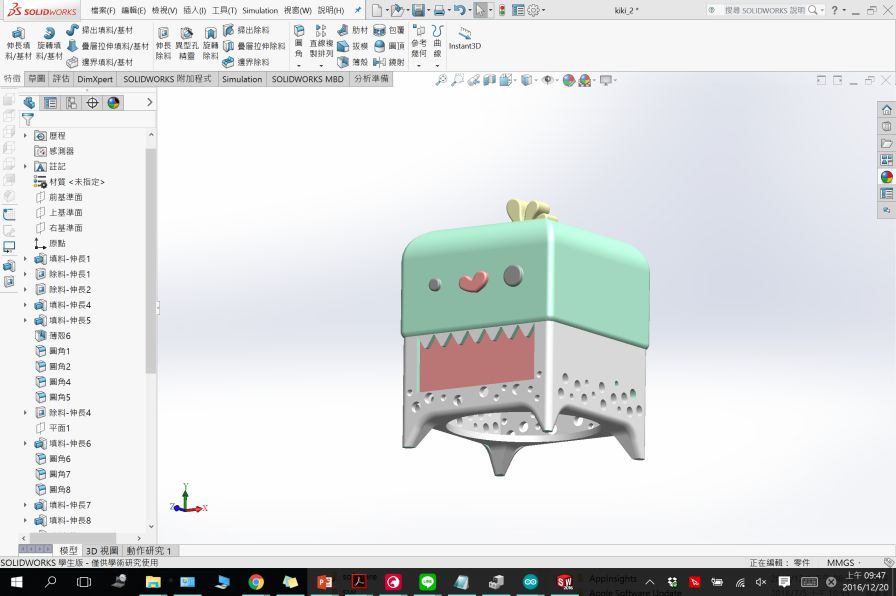
BoBo
BoBo is the one with yellow head and green raindeer corns
.jpg)
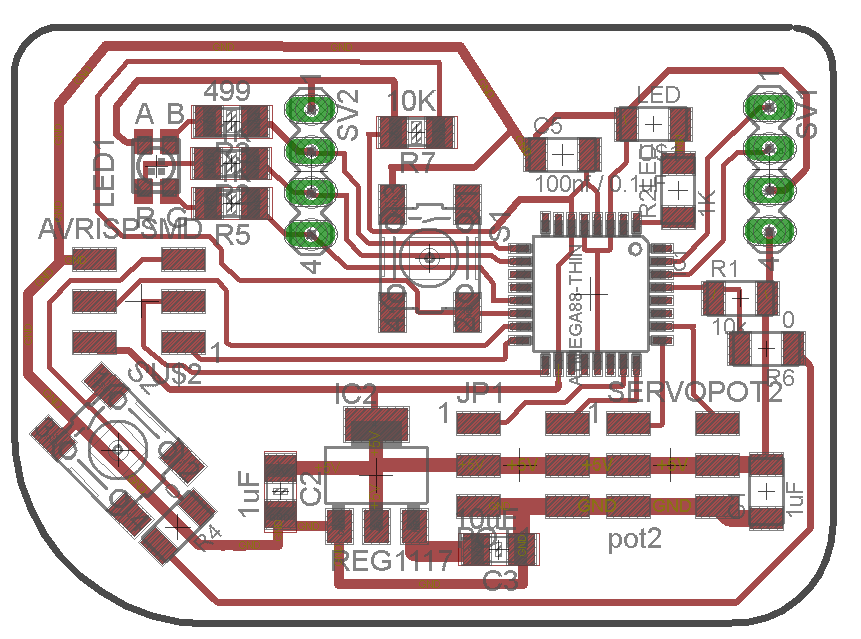
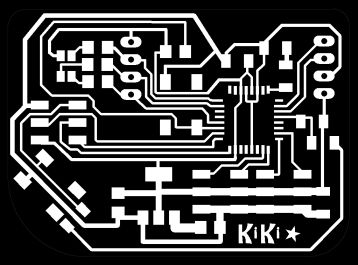
PCB Design
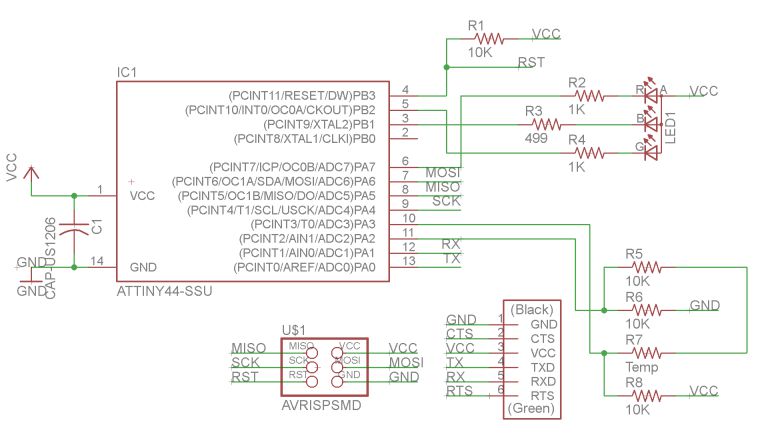
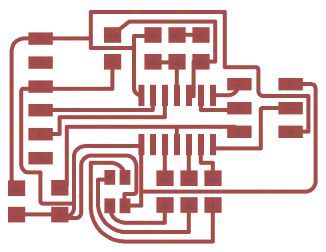
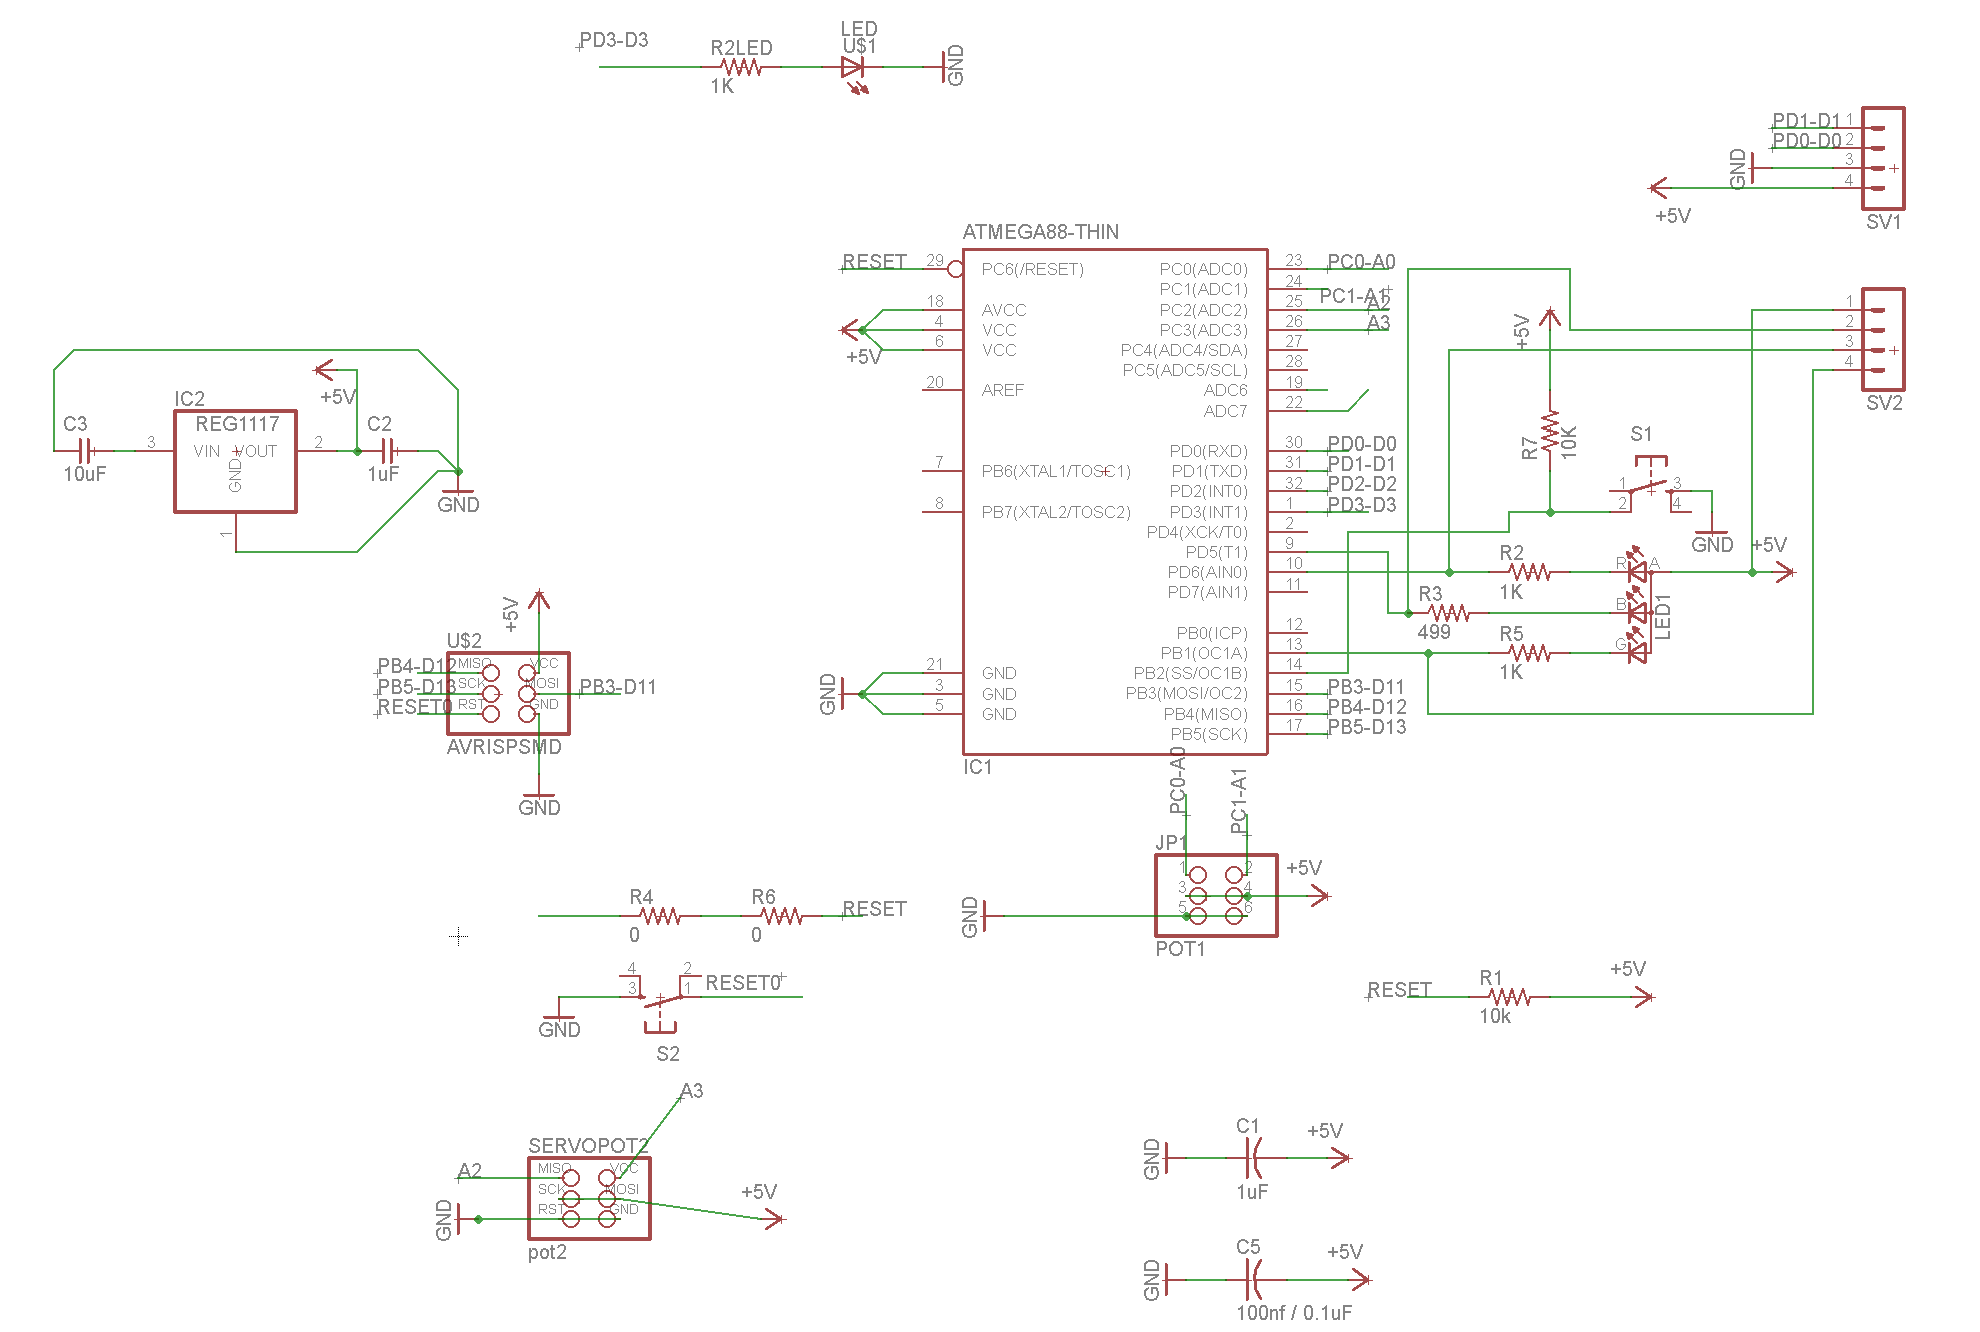
Version 1. Control LED with Temp sensor
At first, I was trying to use temperture sensor to be my input device, however, temperture sensor sometimes not so accuate, so I ended up using just a single button to be my input.
Version 2. Change to ATmega328P
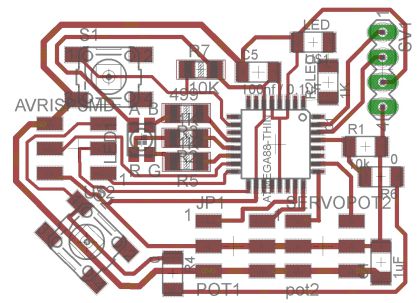
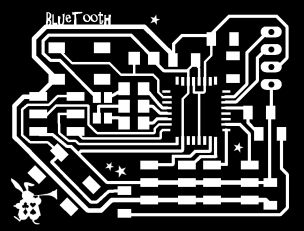
To get enough pins for bluetooth modules, I changed my microcontroller from ATtiny44A to ATmega328P. I followed Dan Chen's website and redesign my own board for Bluetooth
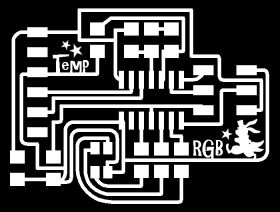
Final Board
For my final board, since I want my device to be all wireless, I added on a 5V regulator, so that I could power my board by battery.
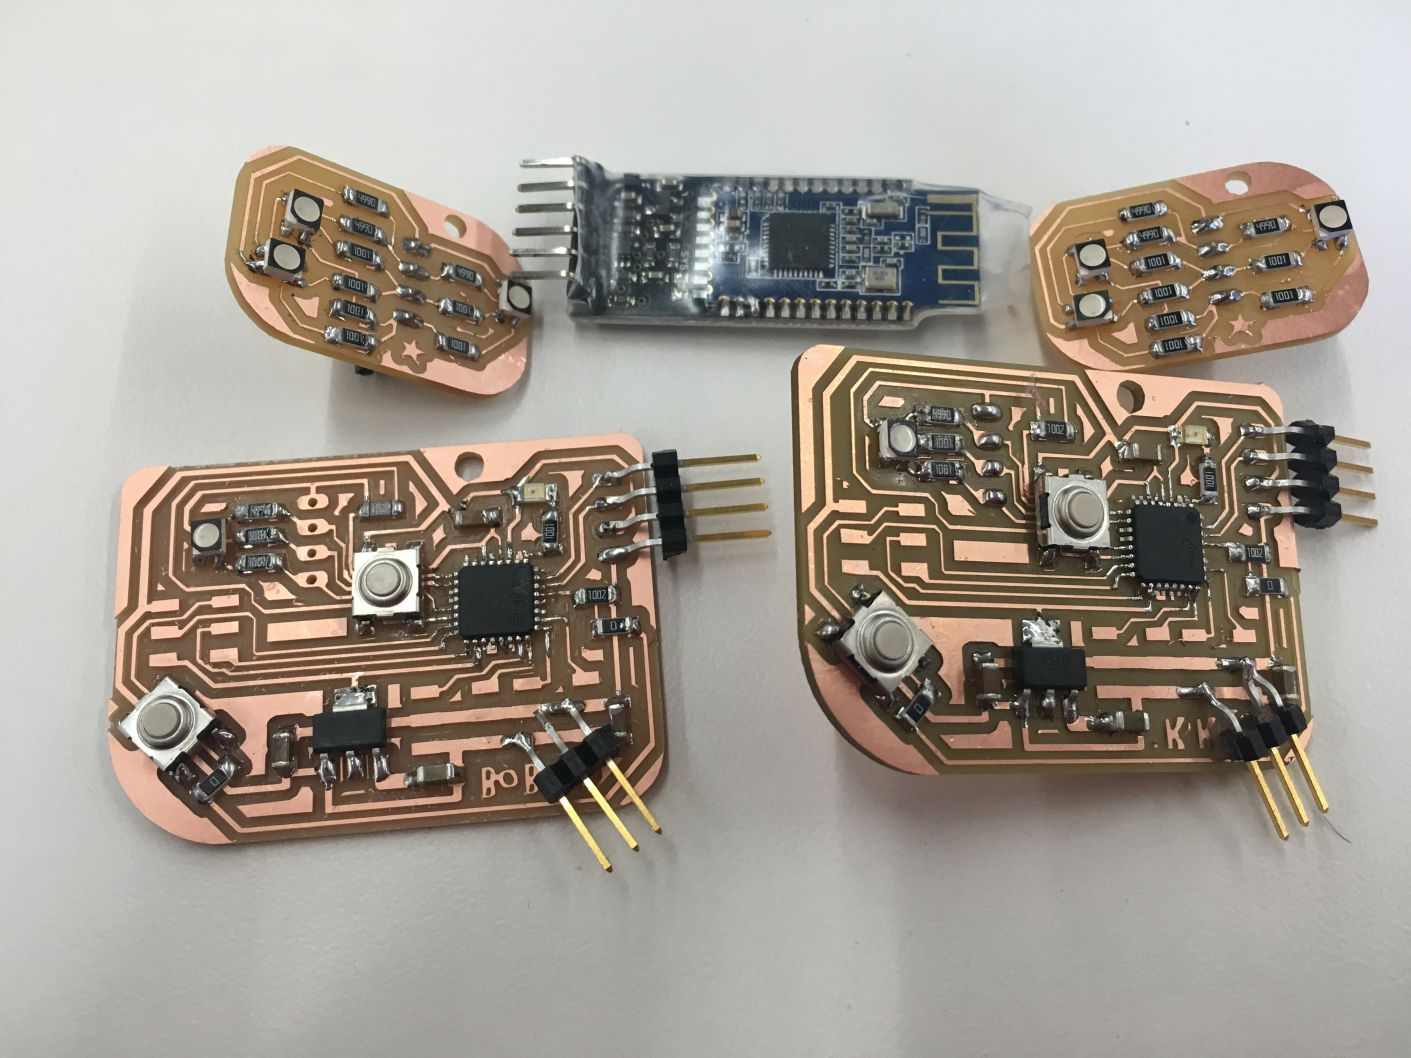
Here is the video of how I soldering my boards.
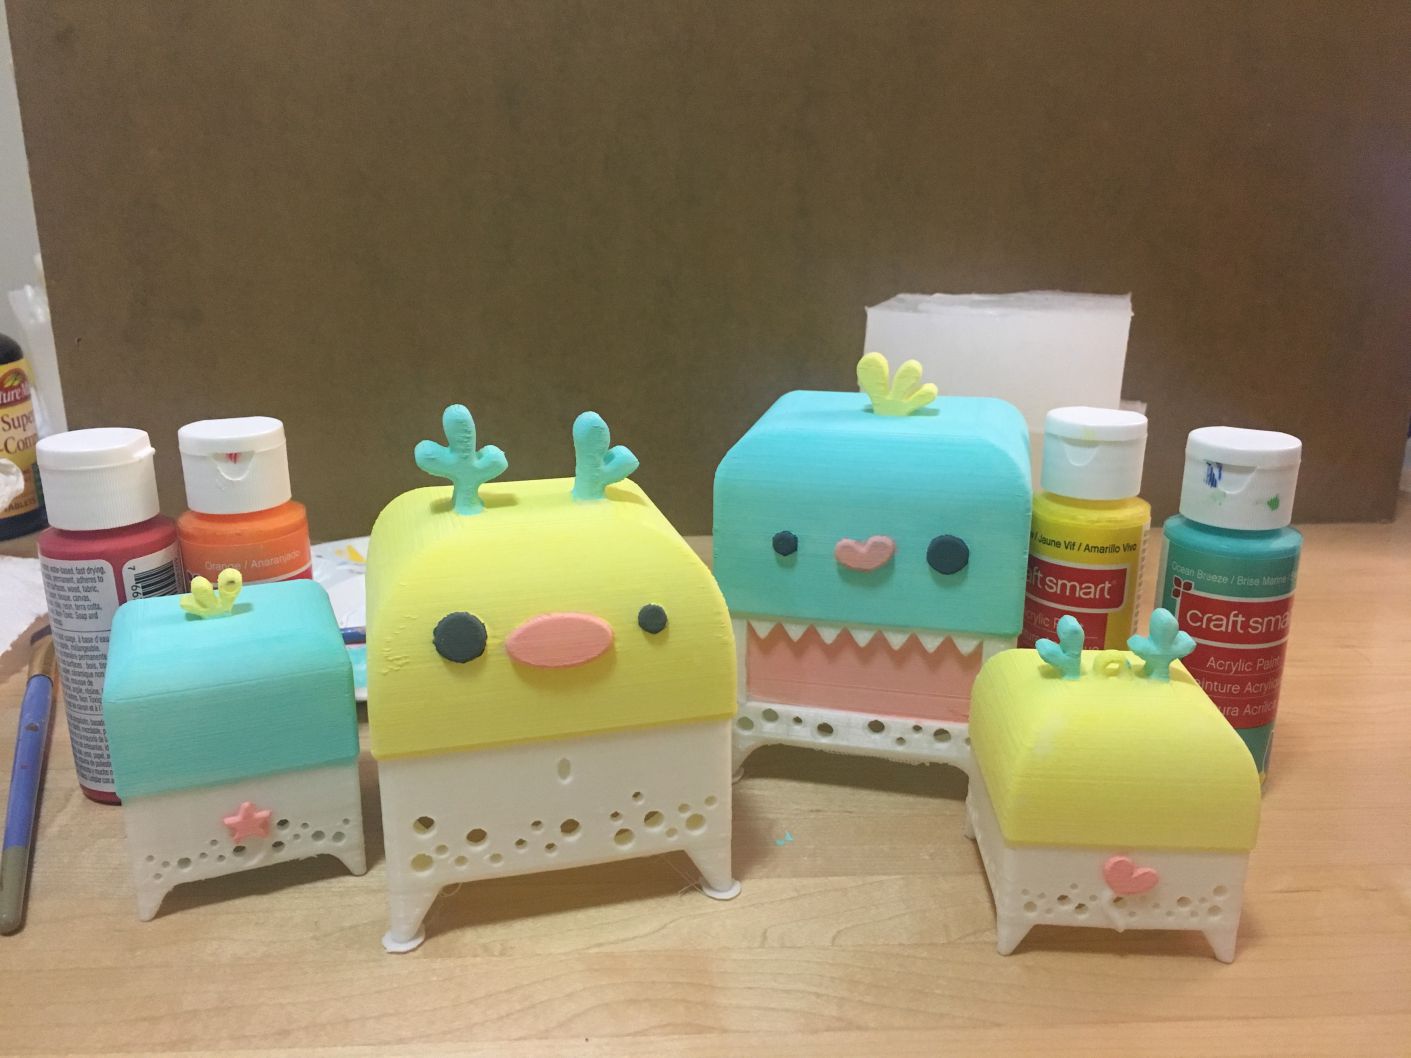
3D Print
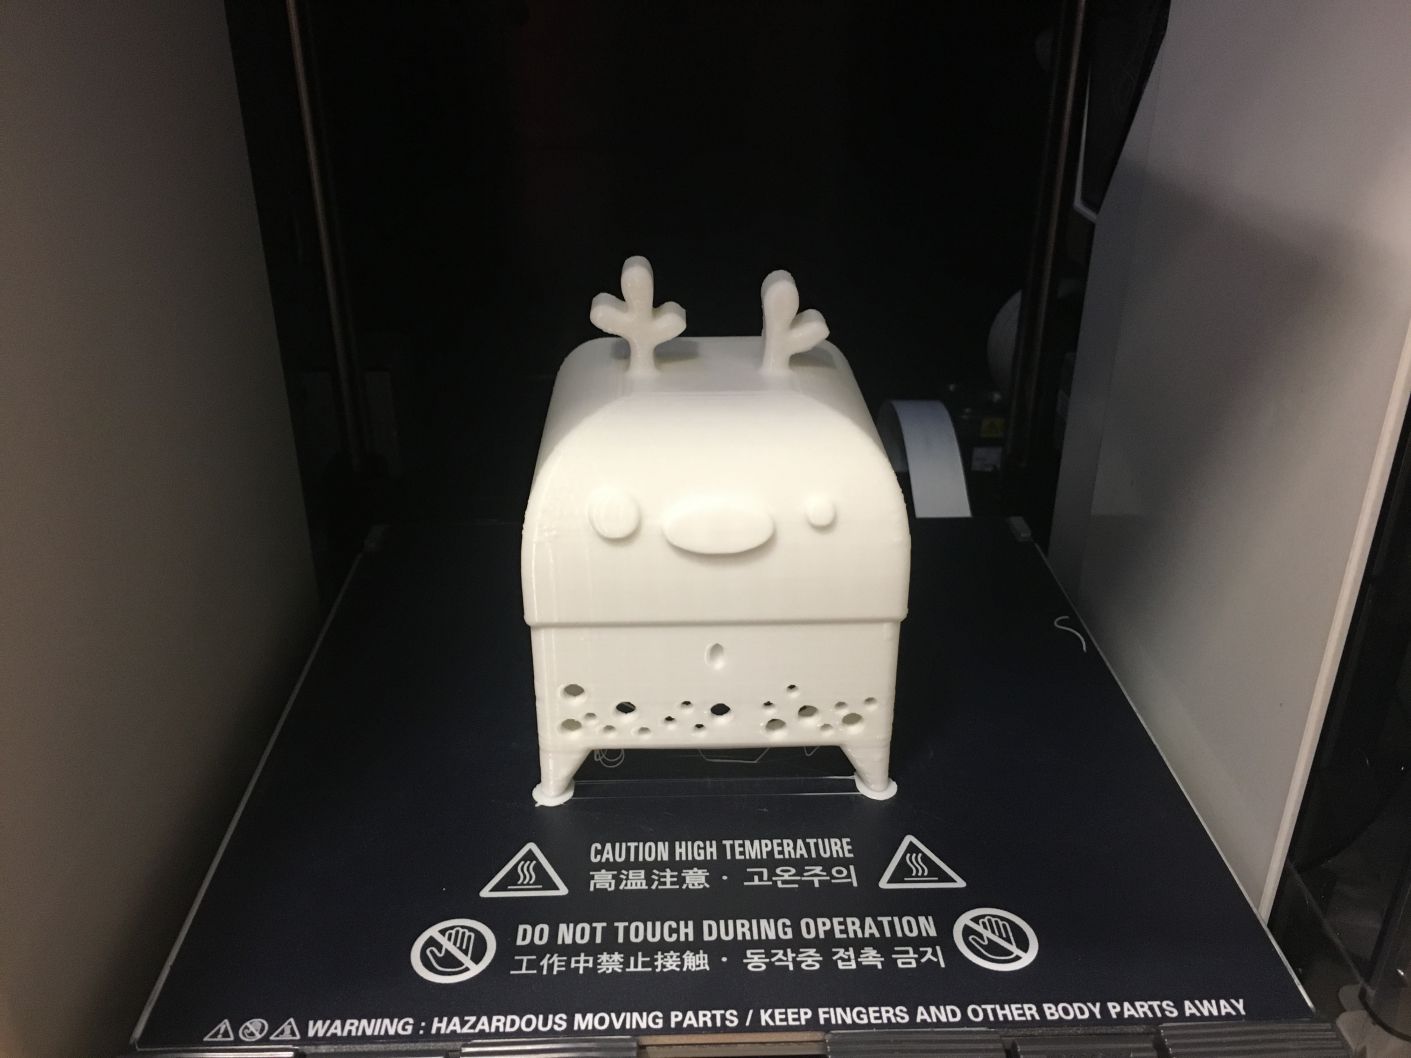
At first I was thinking just use 3D print to make the shelf of my final product, and I 3D printed out Kiki and Bobo with different size to try which would be my final verson.
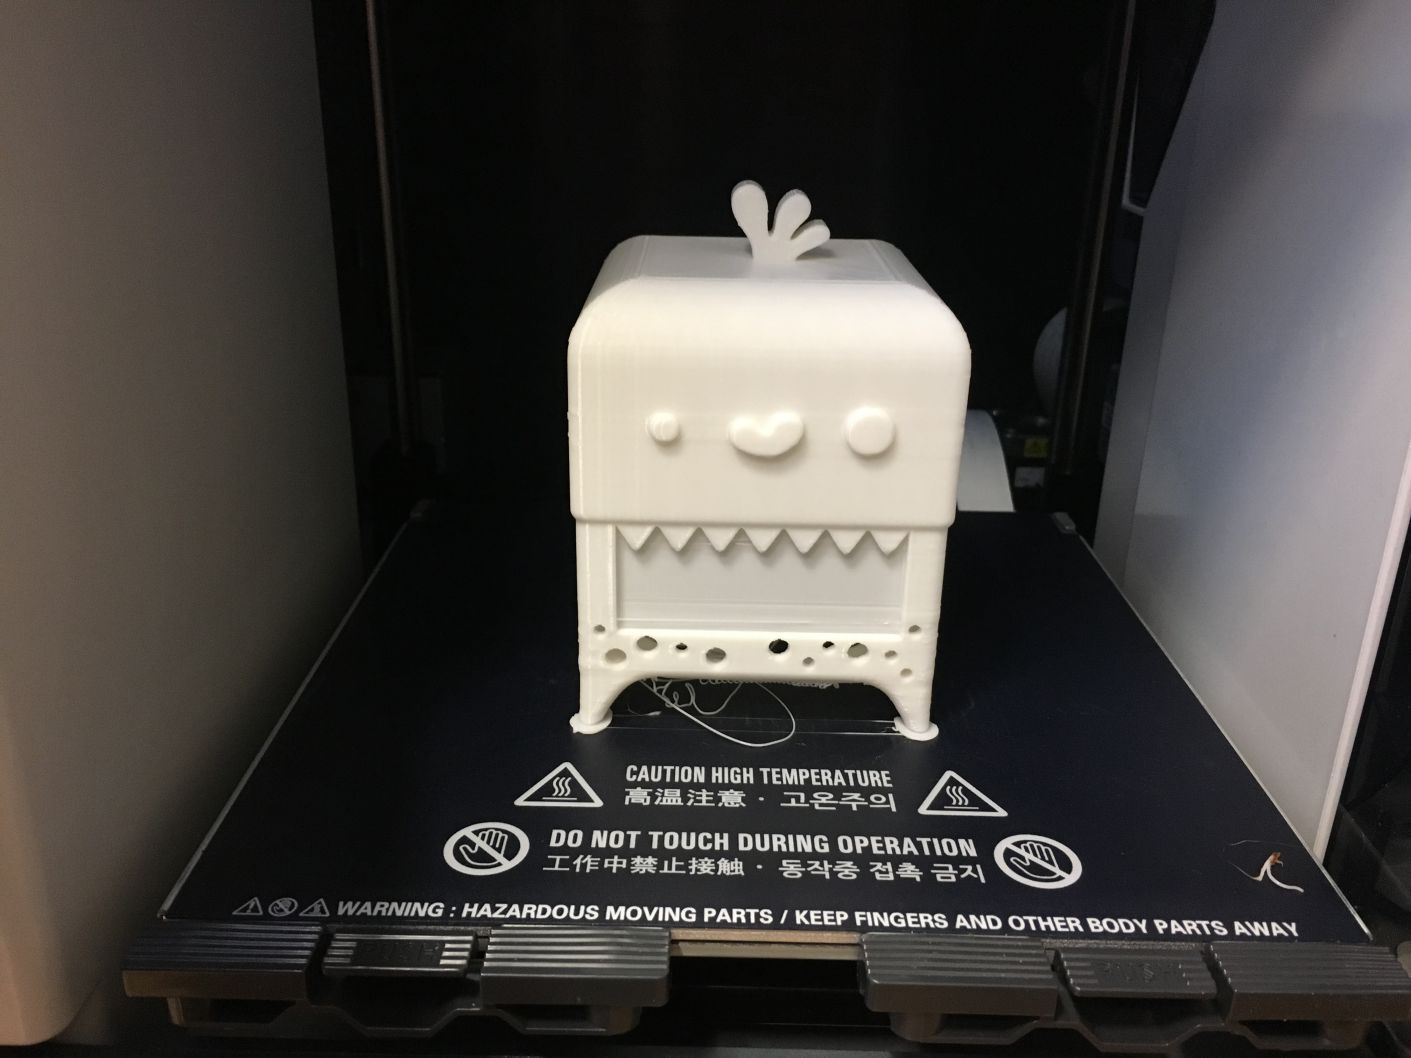
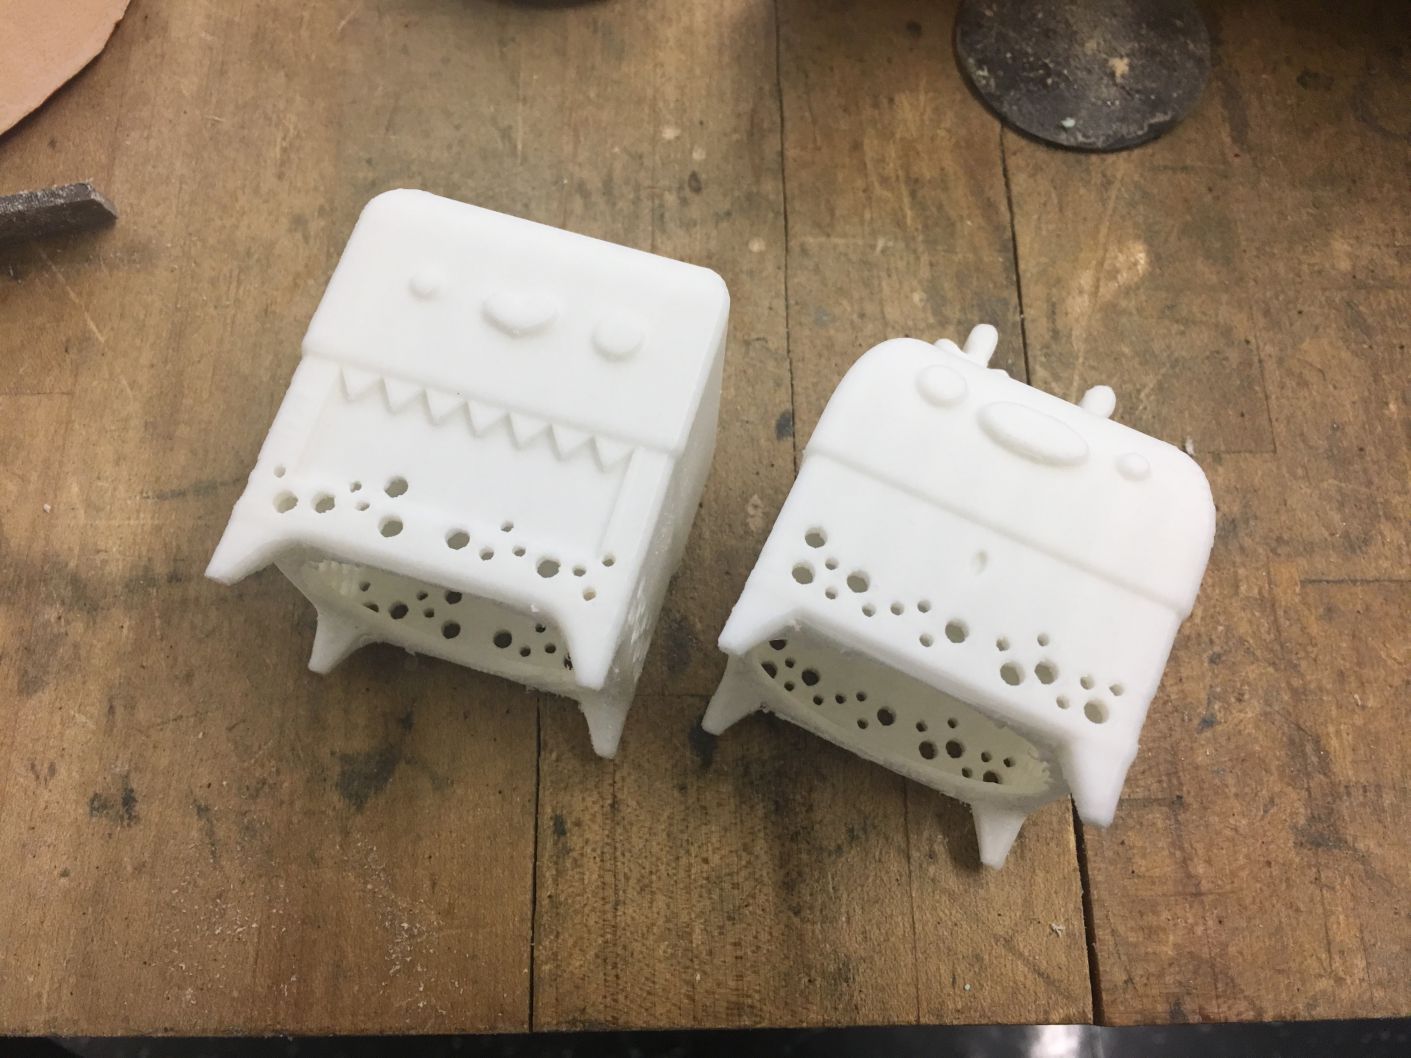
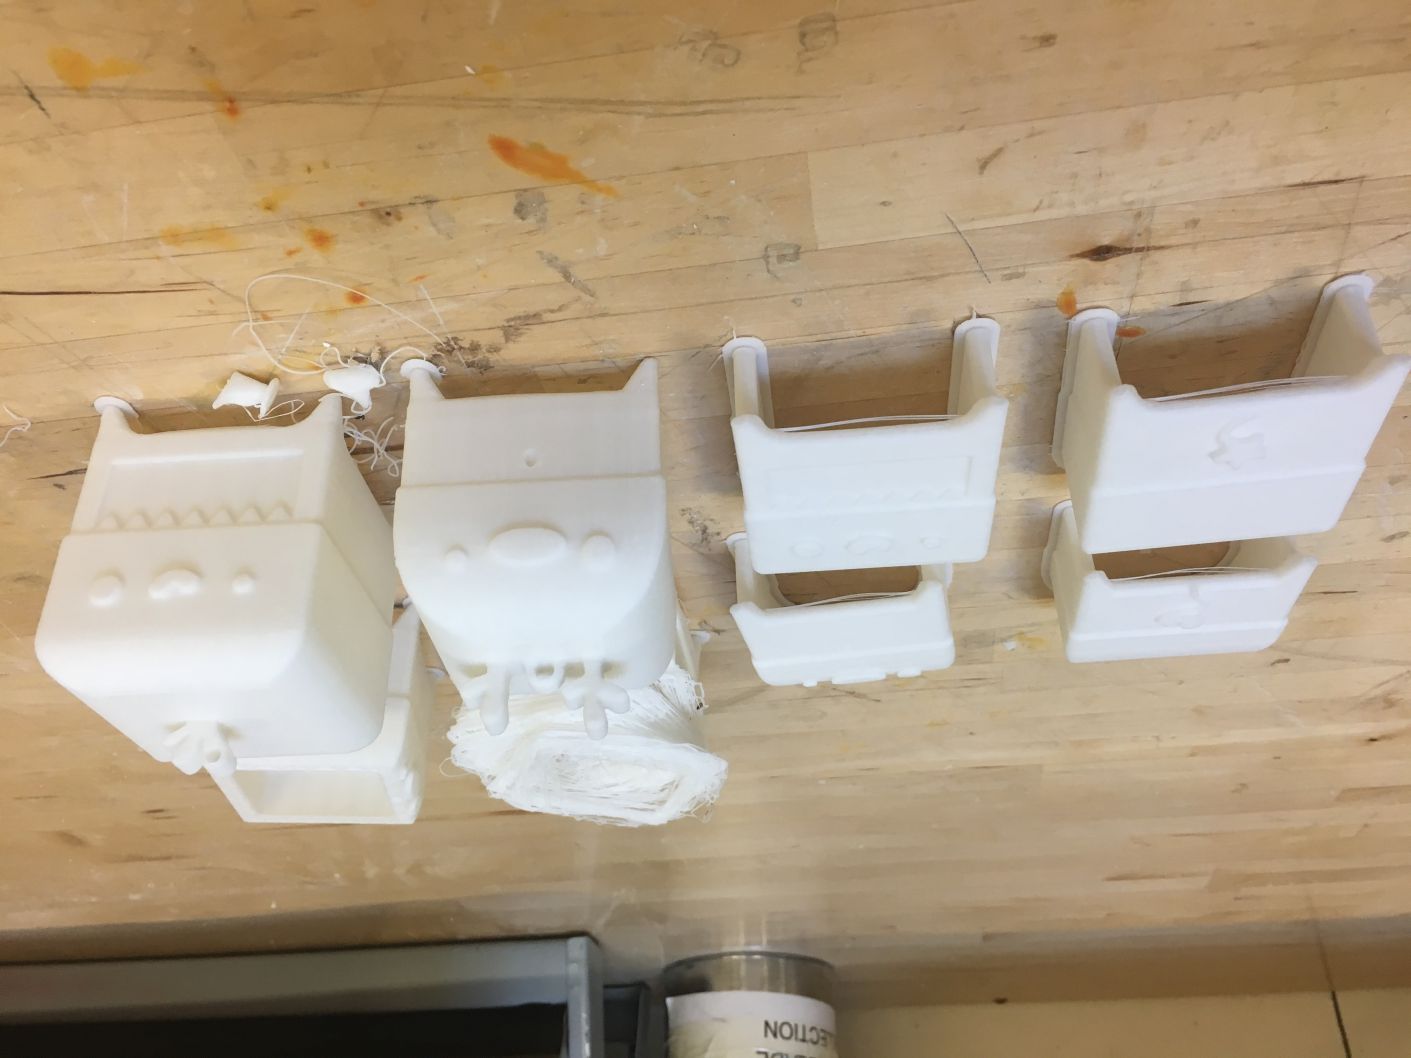
There are also some failure during printing.
After printing, I used the RGB led I made in output device week to test how the lighting effect of PLA. It actually looks pretty nice!
Prototype1
Molding & Casting
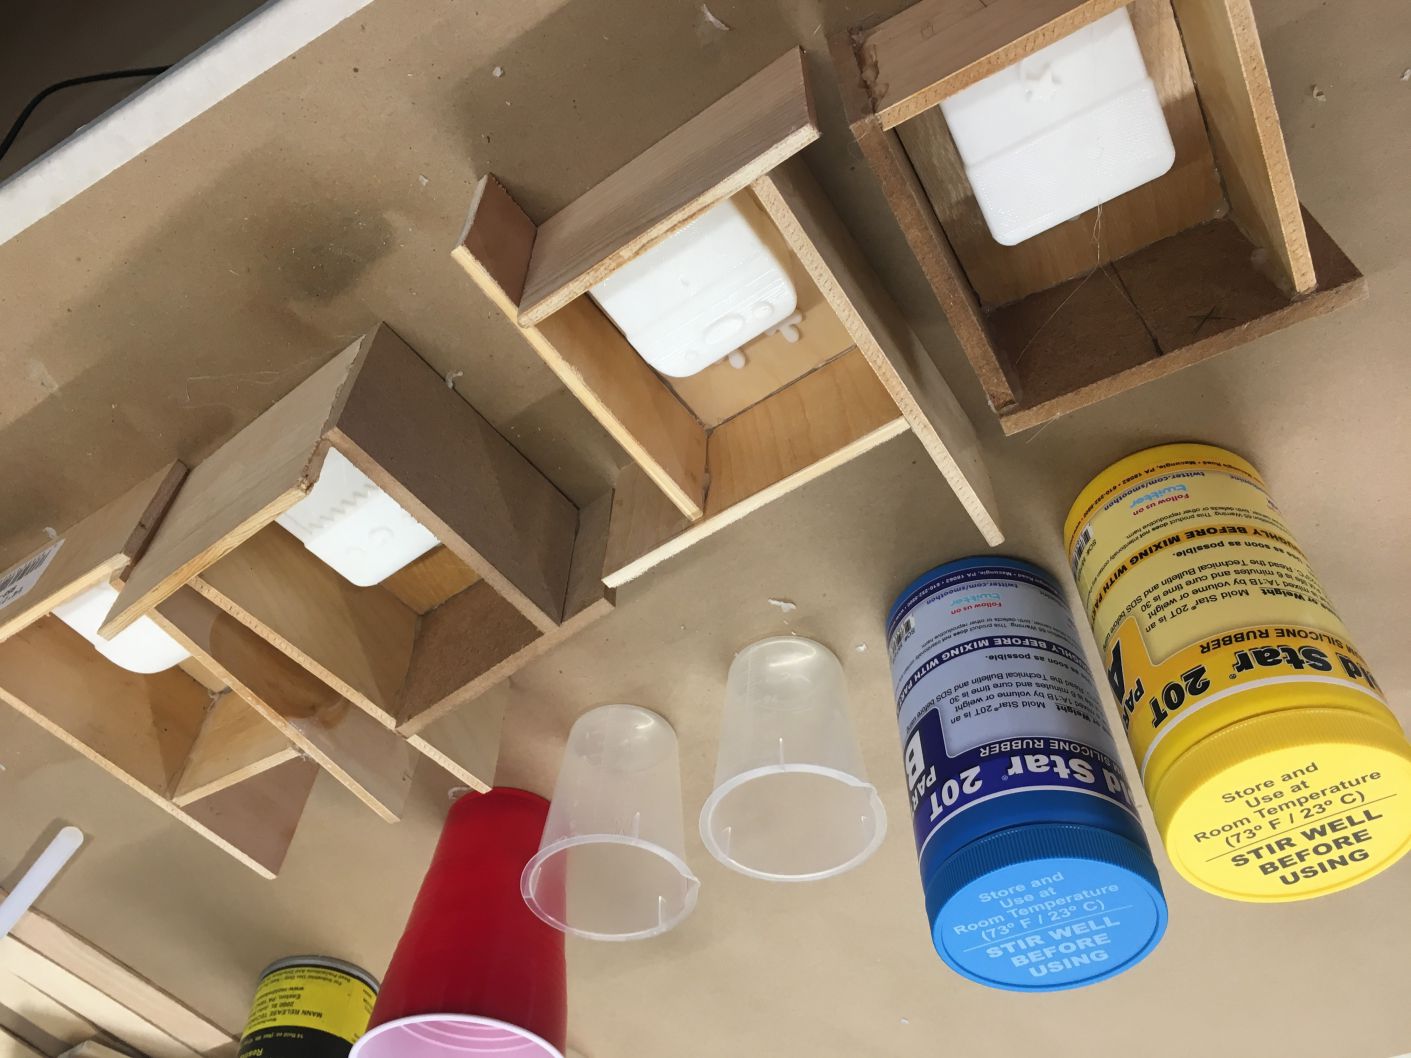
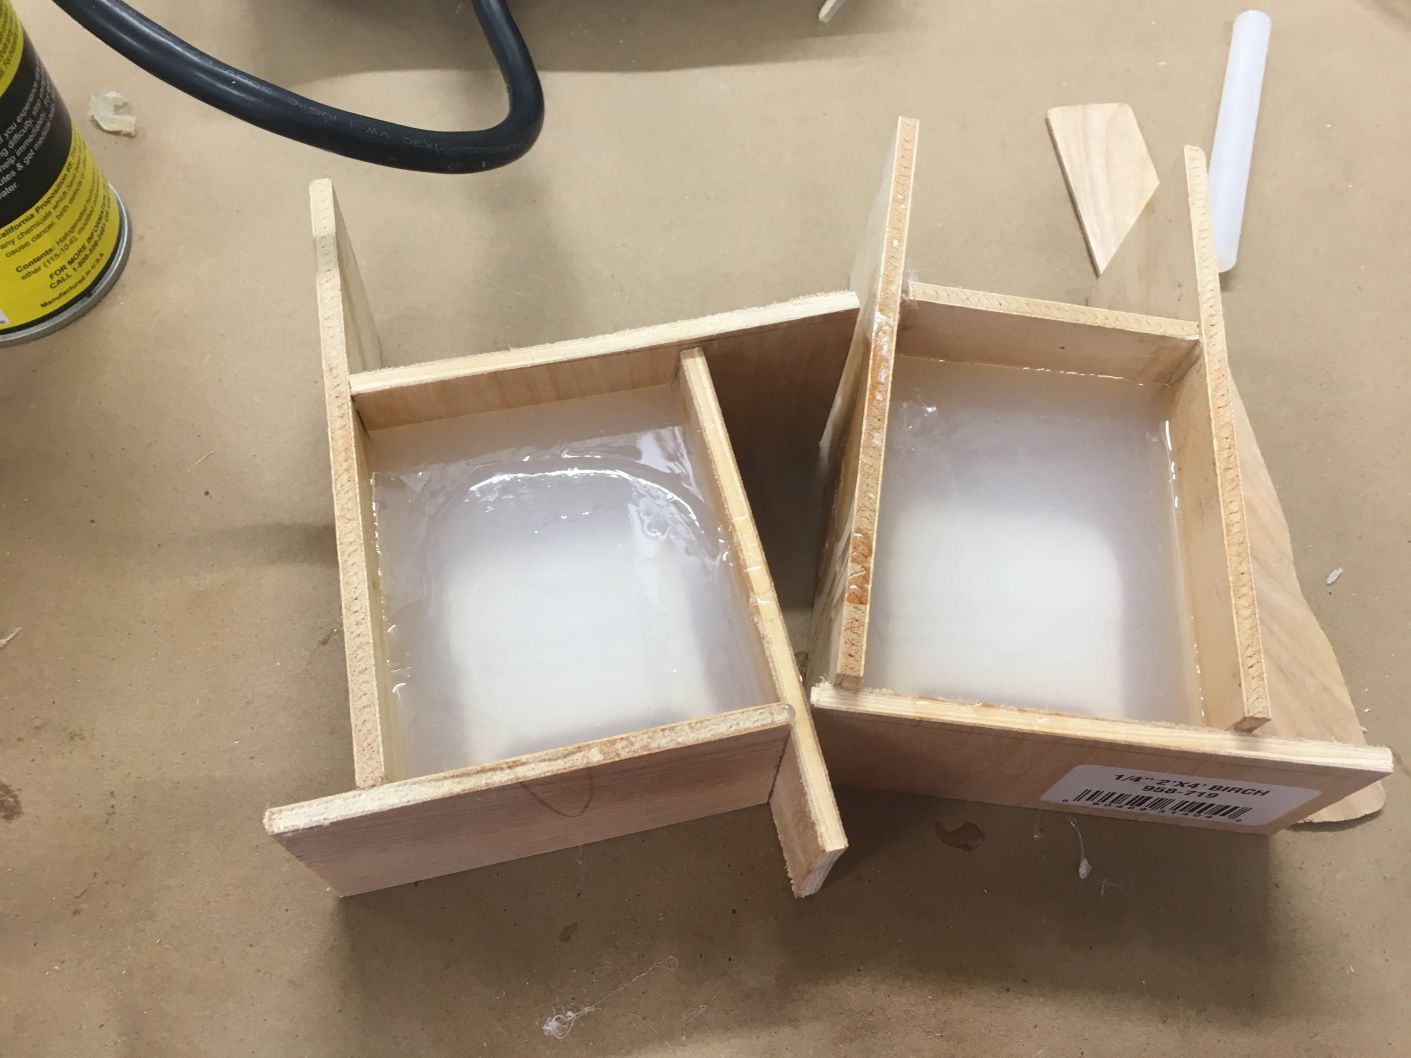
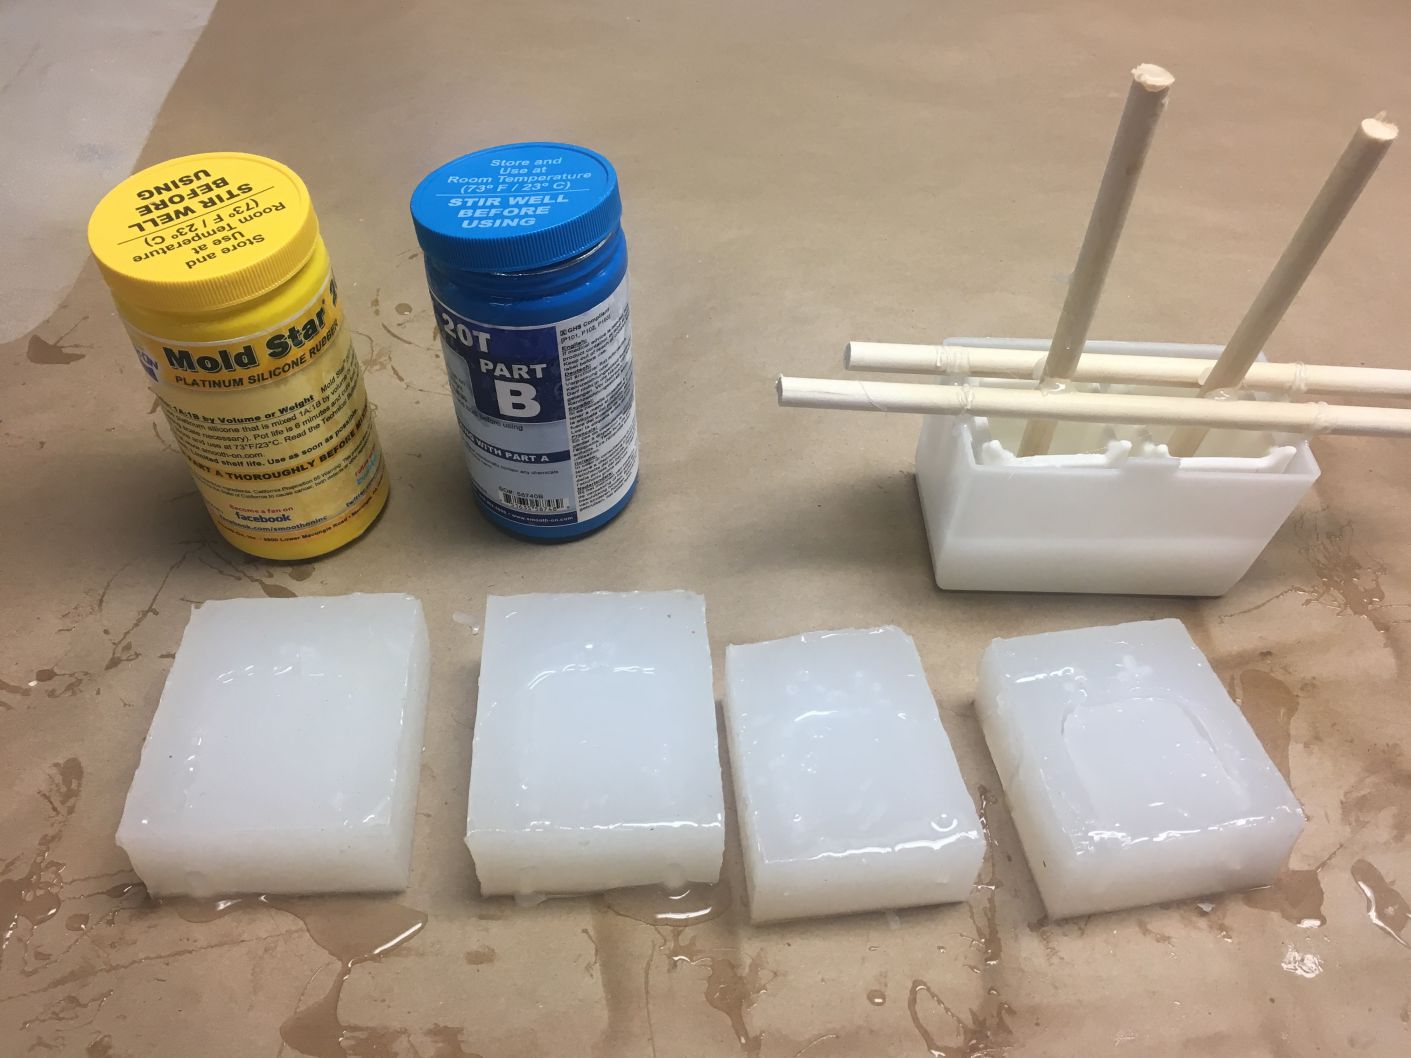
To make my final product more emotional, I decided to use Mold Star T20 to make a silicon Kiki & BoBo, for this part, I want to special thanks to Harvard Shop to give me the T20. I 3D printed out half KiKi & Bobo to remold it.
For T20, the process is actually the same as OOMOO25, I need to pure equally Part A and Part B and mixed them together.
There is something that need to be careful is that T20 won't cure in Oomoo, but it can cure in itself. so if we want to cast T20, the mold should also be T20. And remember to spray lots of mold release!
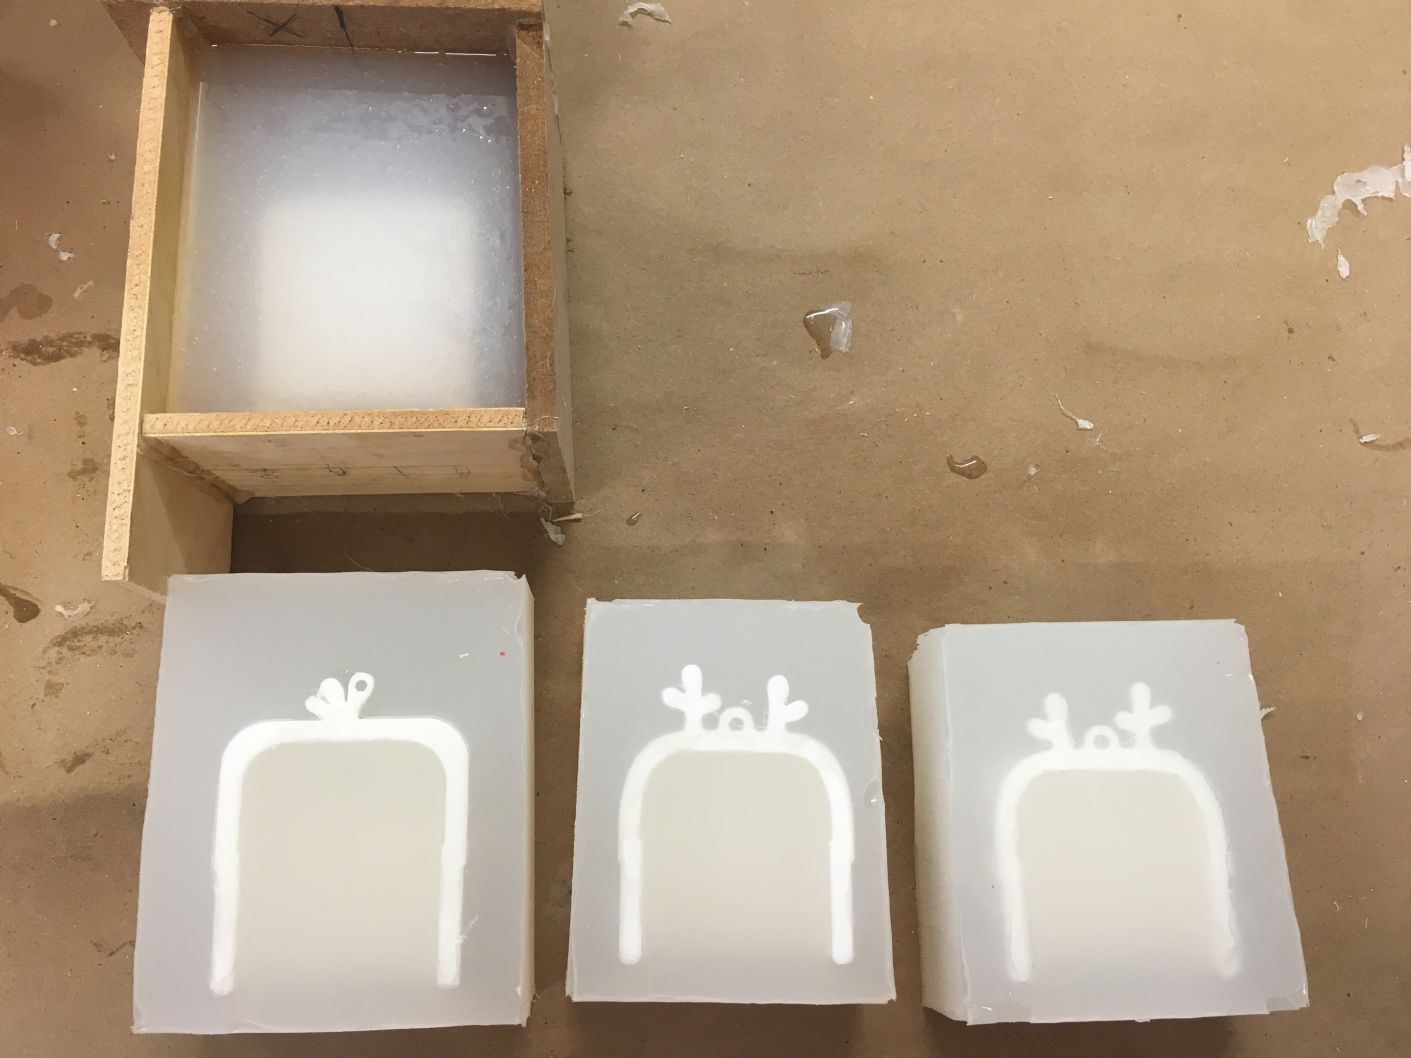
I really like how the way light goes through these translucent silicon!
Networking & Coding
The most important part of my final project is the networking part. As I mentioned perious, I want to make a twin devices that one can communitcate with the other. The idea is to let people with long distance that can easily transfer their emotion to say "I miss you" without bothering the other one. Using Bluetooth might not be the best solution since it can't use for long distance, however, it is a good way for prototyping the idea. For networking, there are more details on week.12
I use CC2541 (2.4 GHz Bluetooth HM-10) to do networking. To achieve this part, I want to special thanks to Calvin.
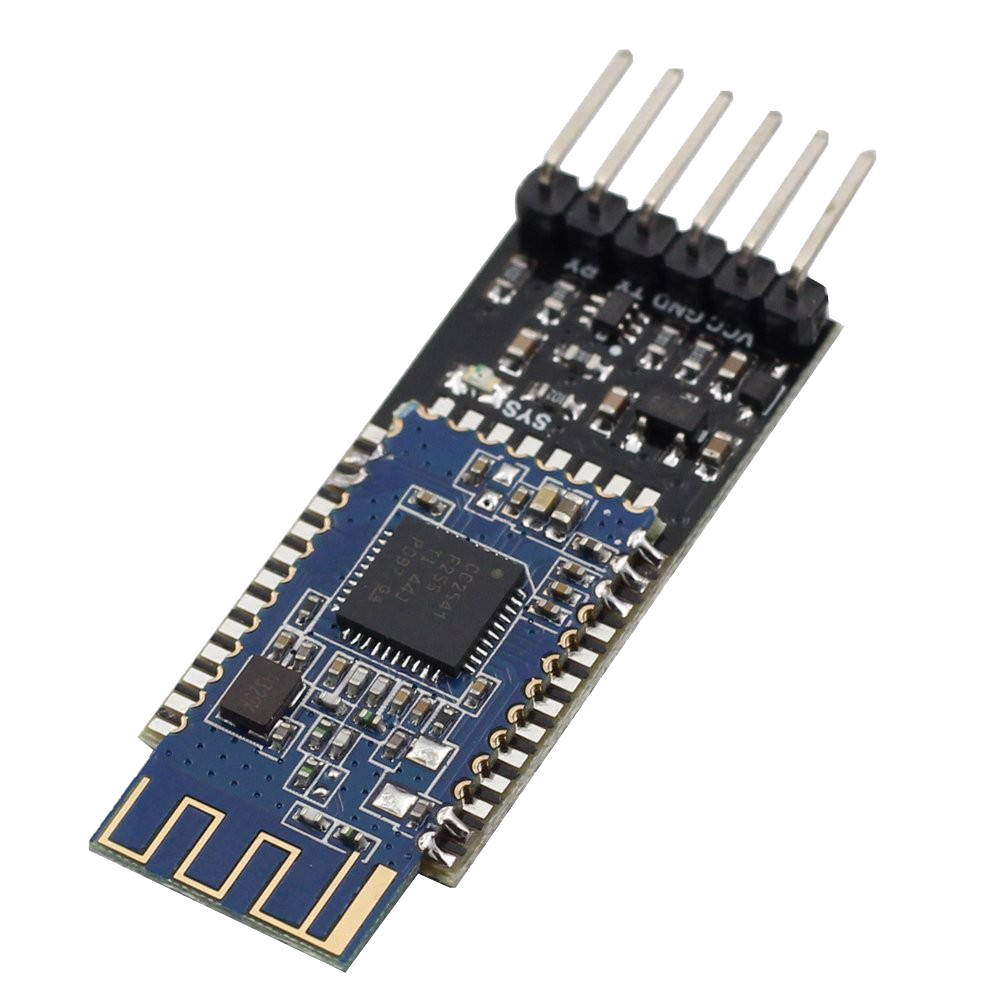
HM-10 is a BLE module for embedded system to get BLE wireless communication with BLE capable devices (e.g. iPhone and iPad).
The Bluetooth 4.0 HM-10 is basically a breakout board for cc2541, it broke out the LED pins, RX/TX and also adding the voltage regulator that regular 5v to 3.3 v.
To make the communication work, we need a FTDI cable and 4 female to male wires to hook up to Bluetooth 4.0 HM-10 / BLE
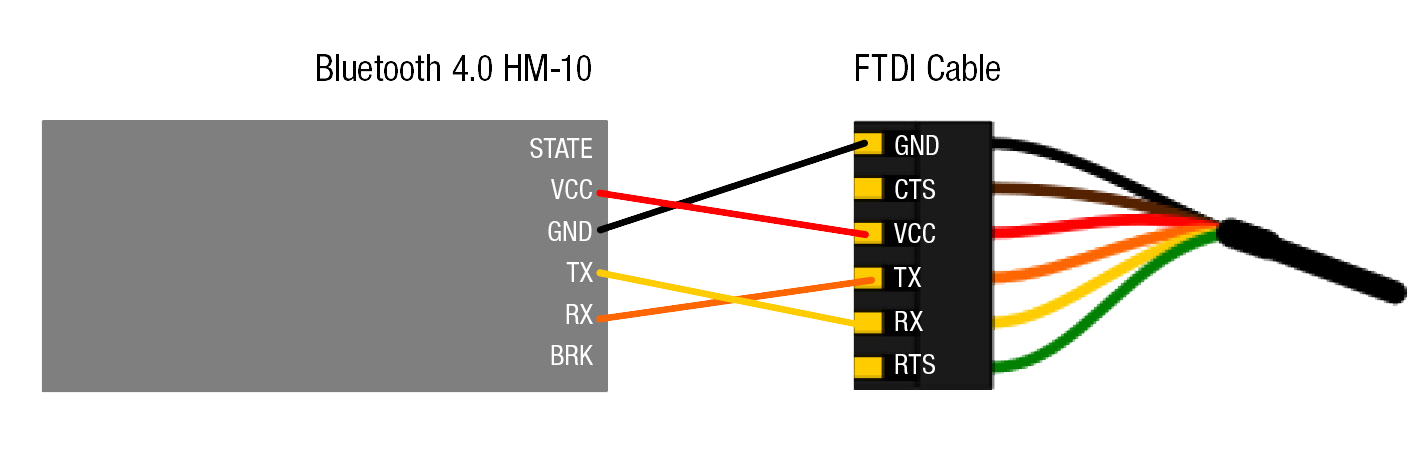
And then use AT command in Arduino to set up and pair the boards.
The thing is, actually from few weeks ago, I never successfully program my ATmega328P by my computer... (Well, ATtiny44A works...), and it's also not working on the computers in the shop, so I need to borrow others' computers to do so, which increase the difficulty for my final project.
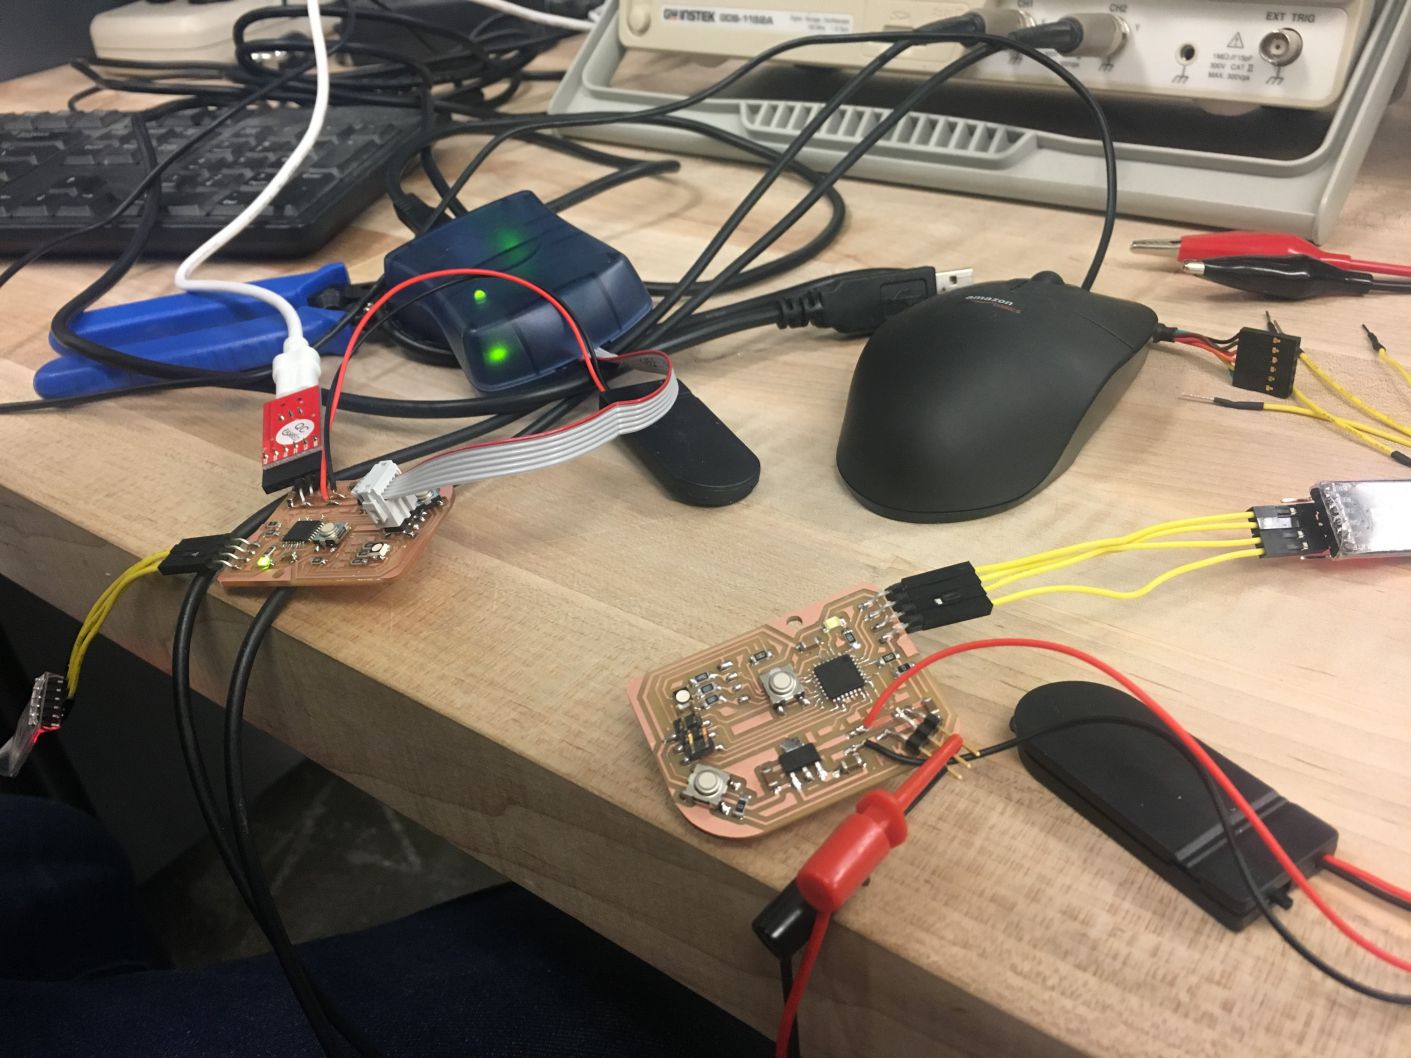

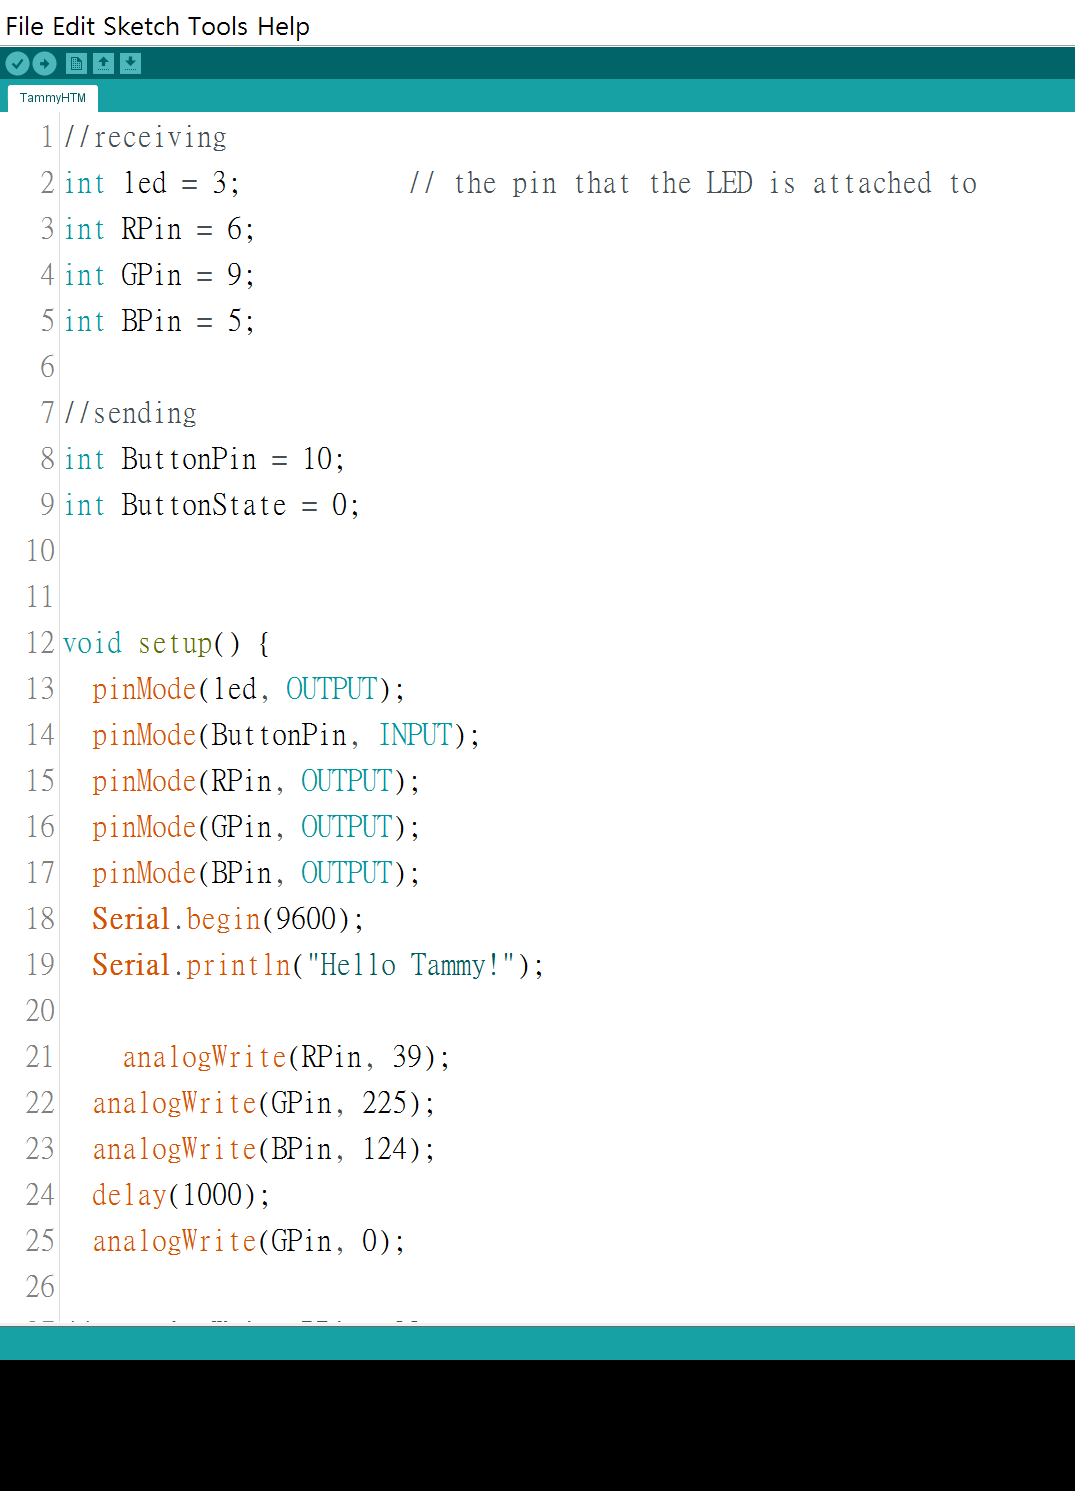
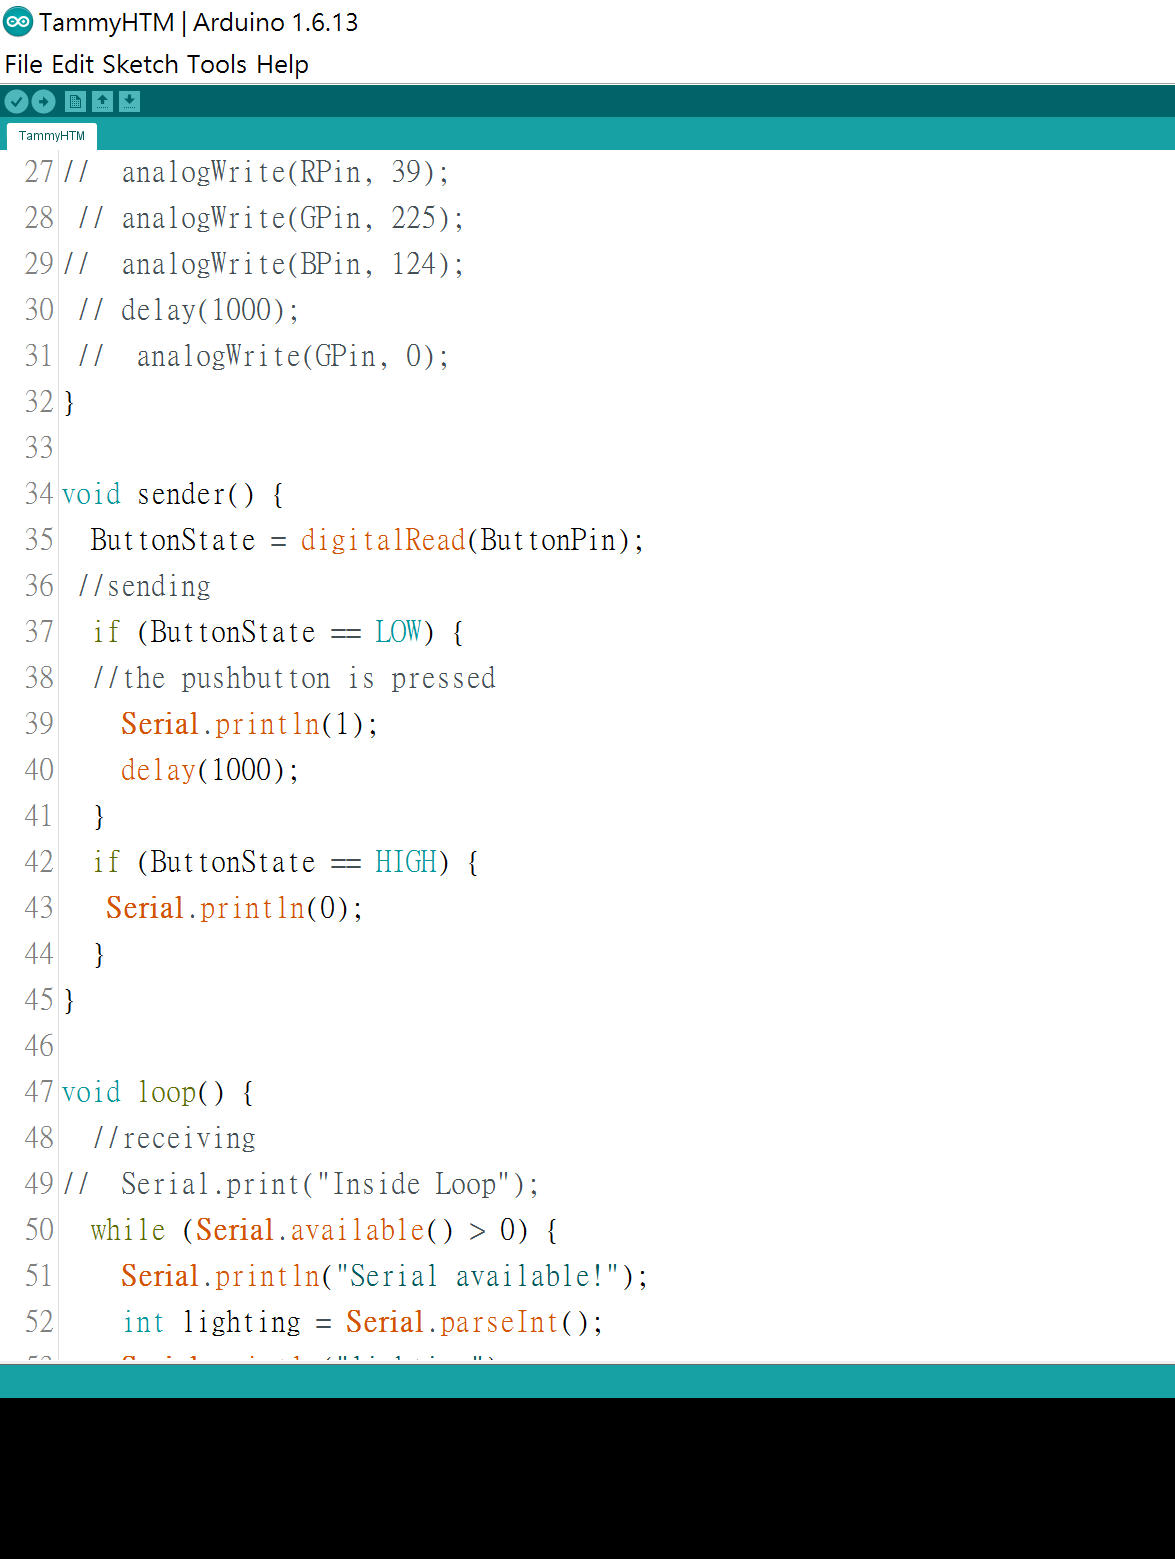
After successfully linked my two bluetooth HM10 modules, I started programming them and here are my Arduino codes.
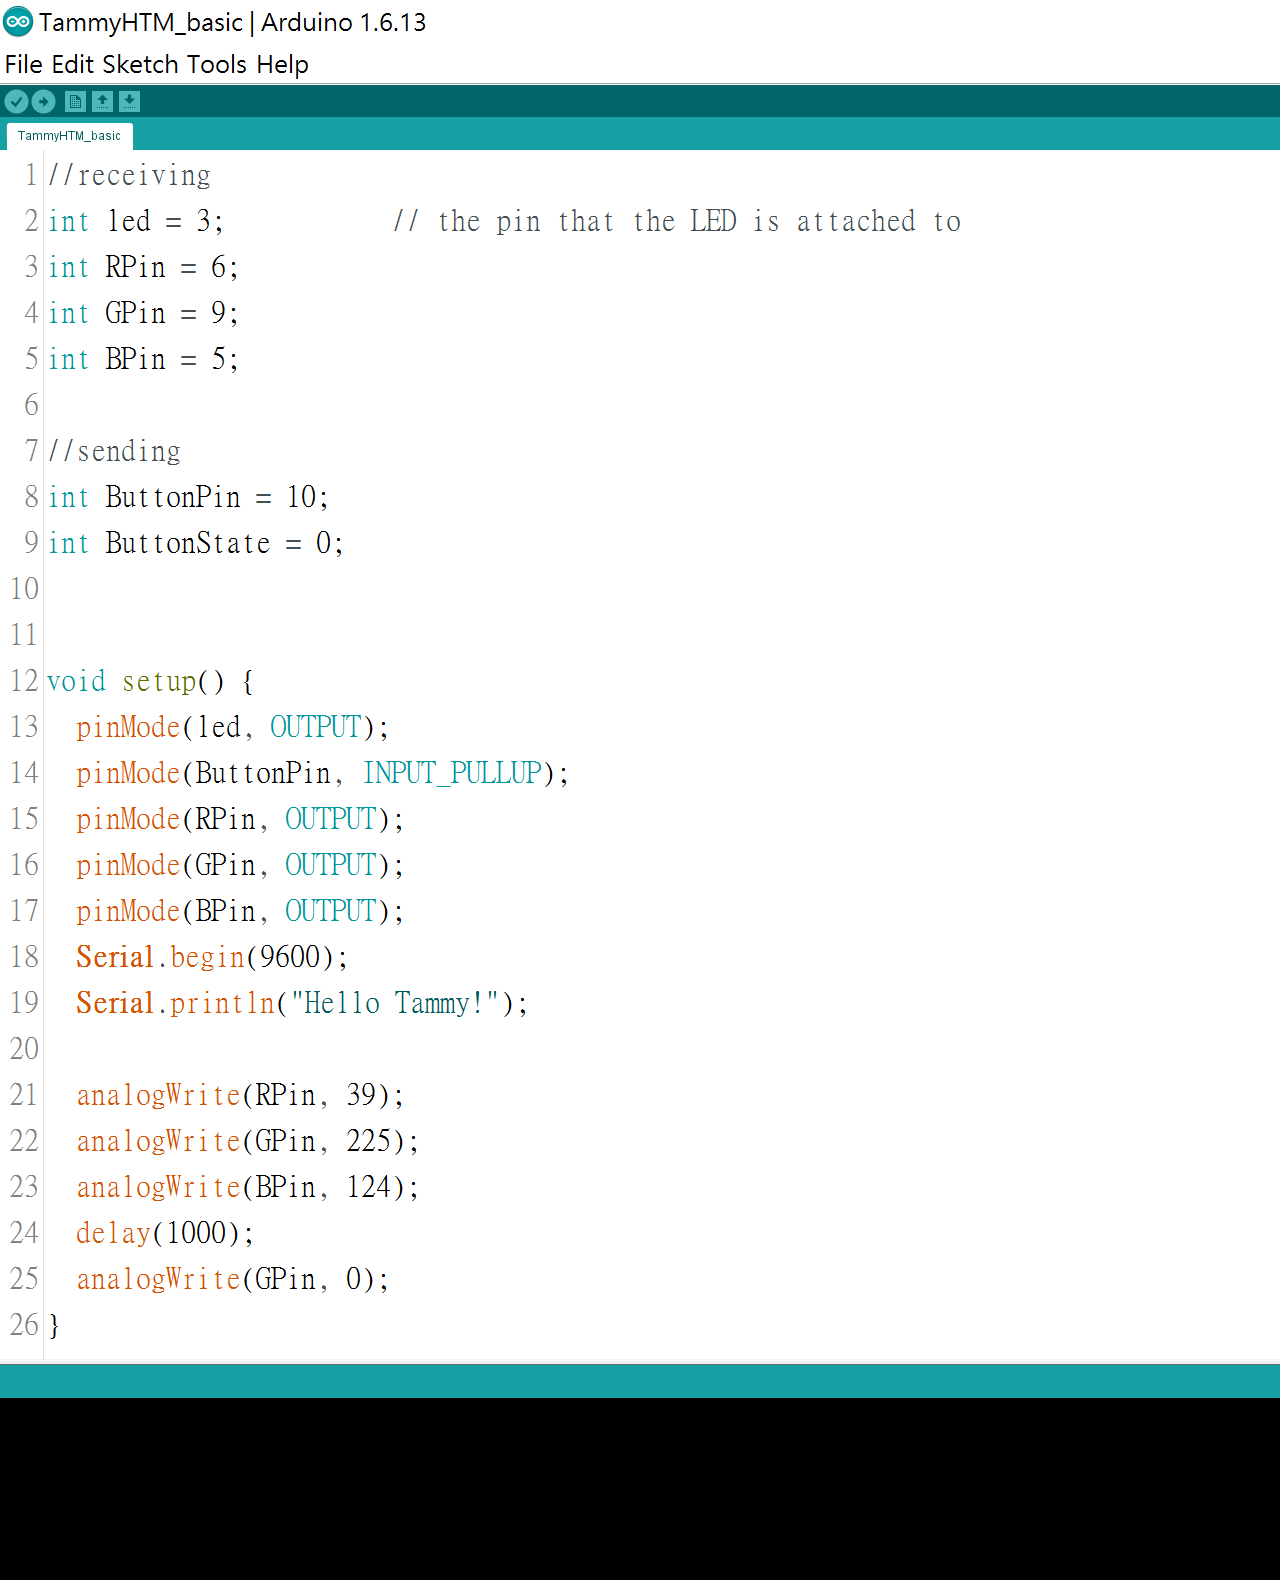
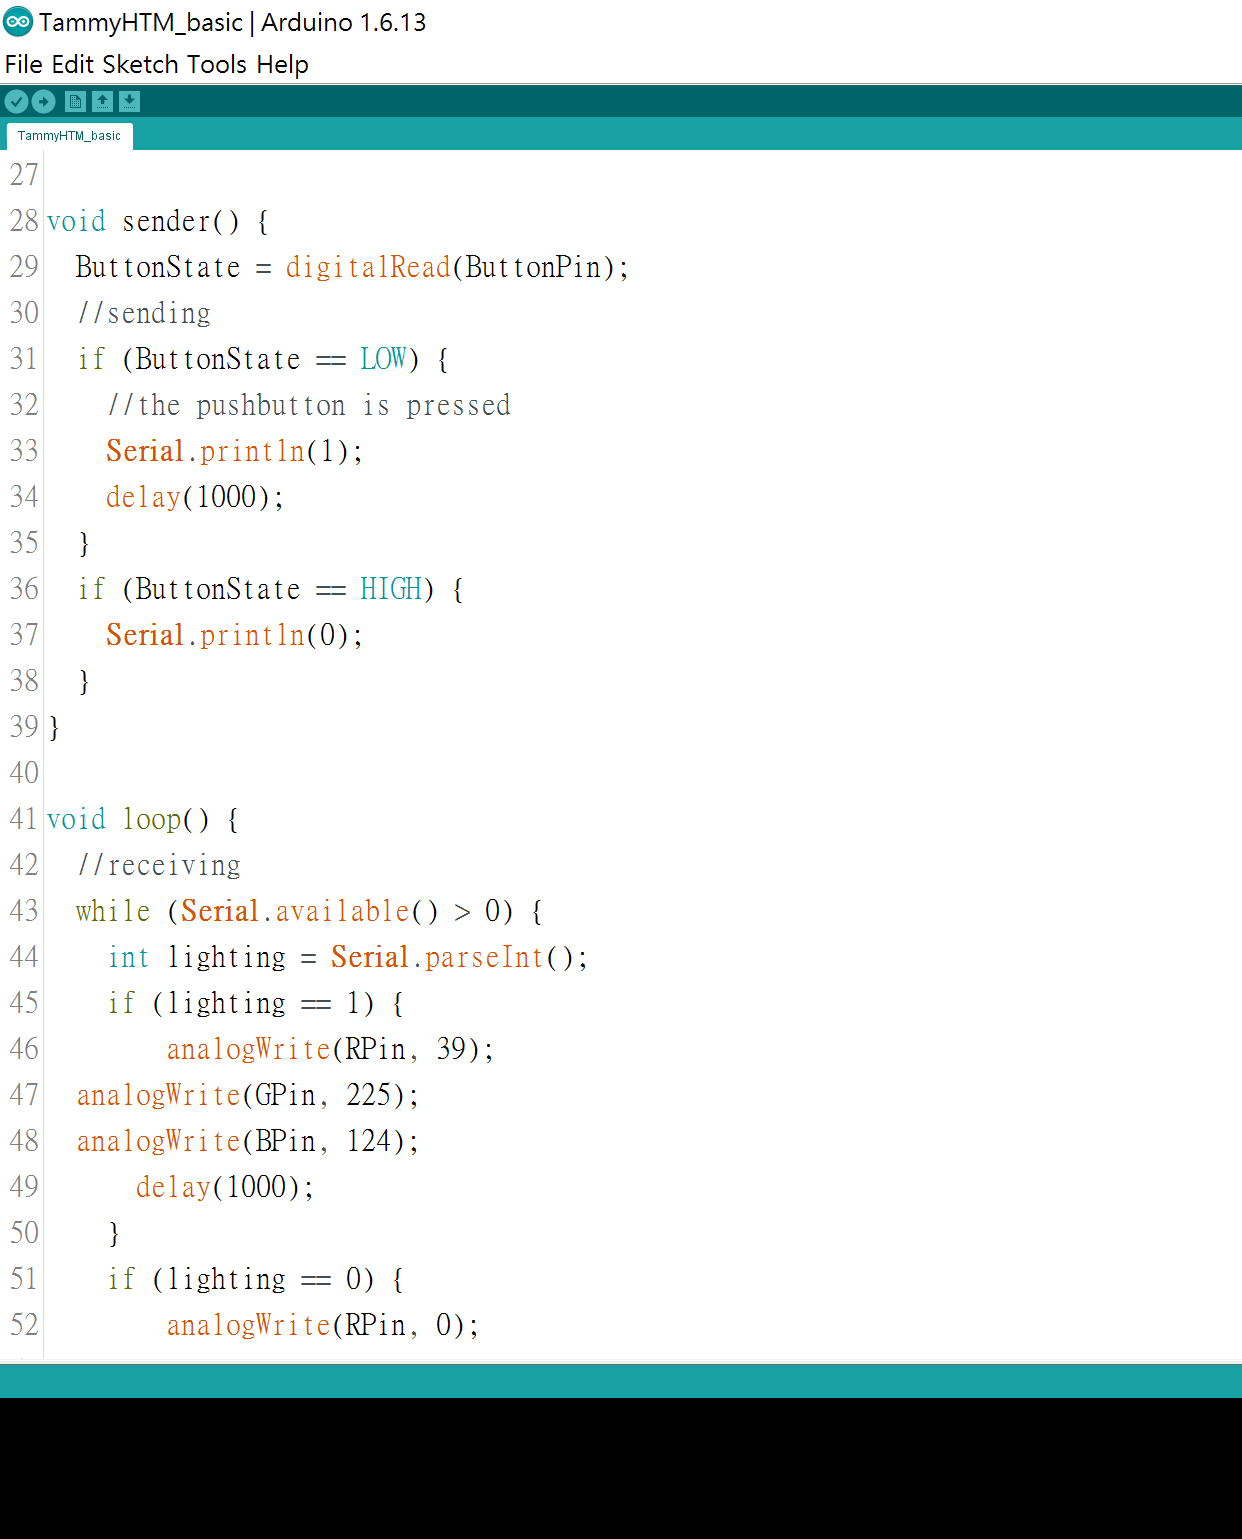
Basic Version
This is just the simple version that LED will light up in purple when pressing the button.
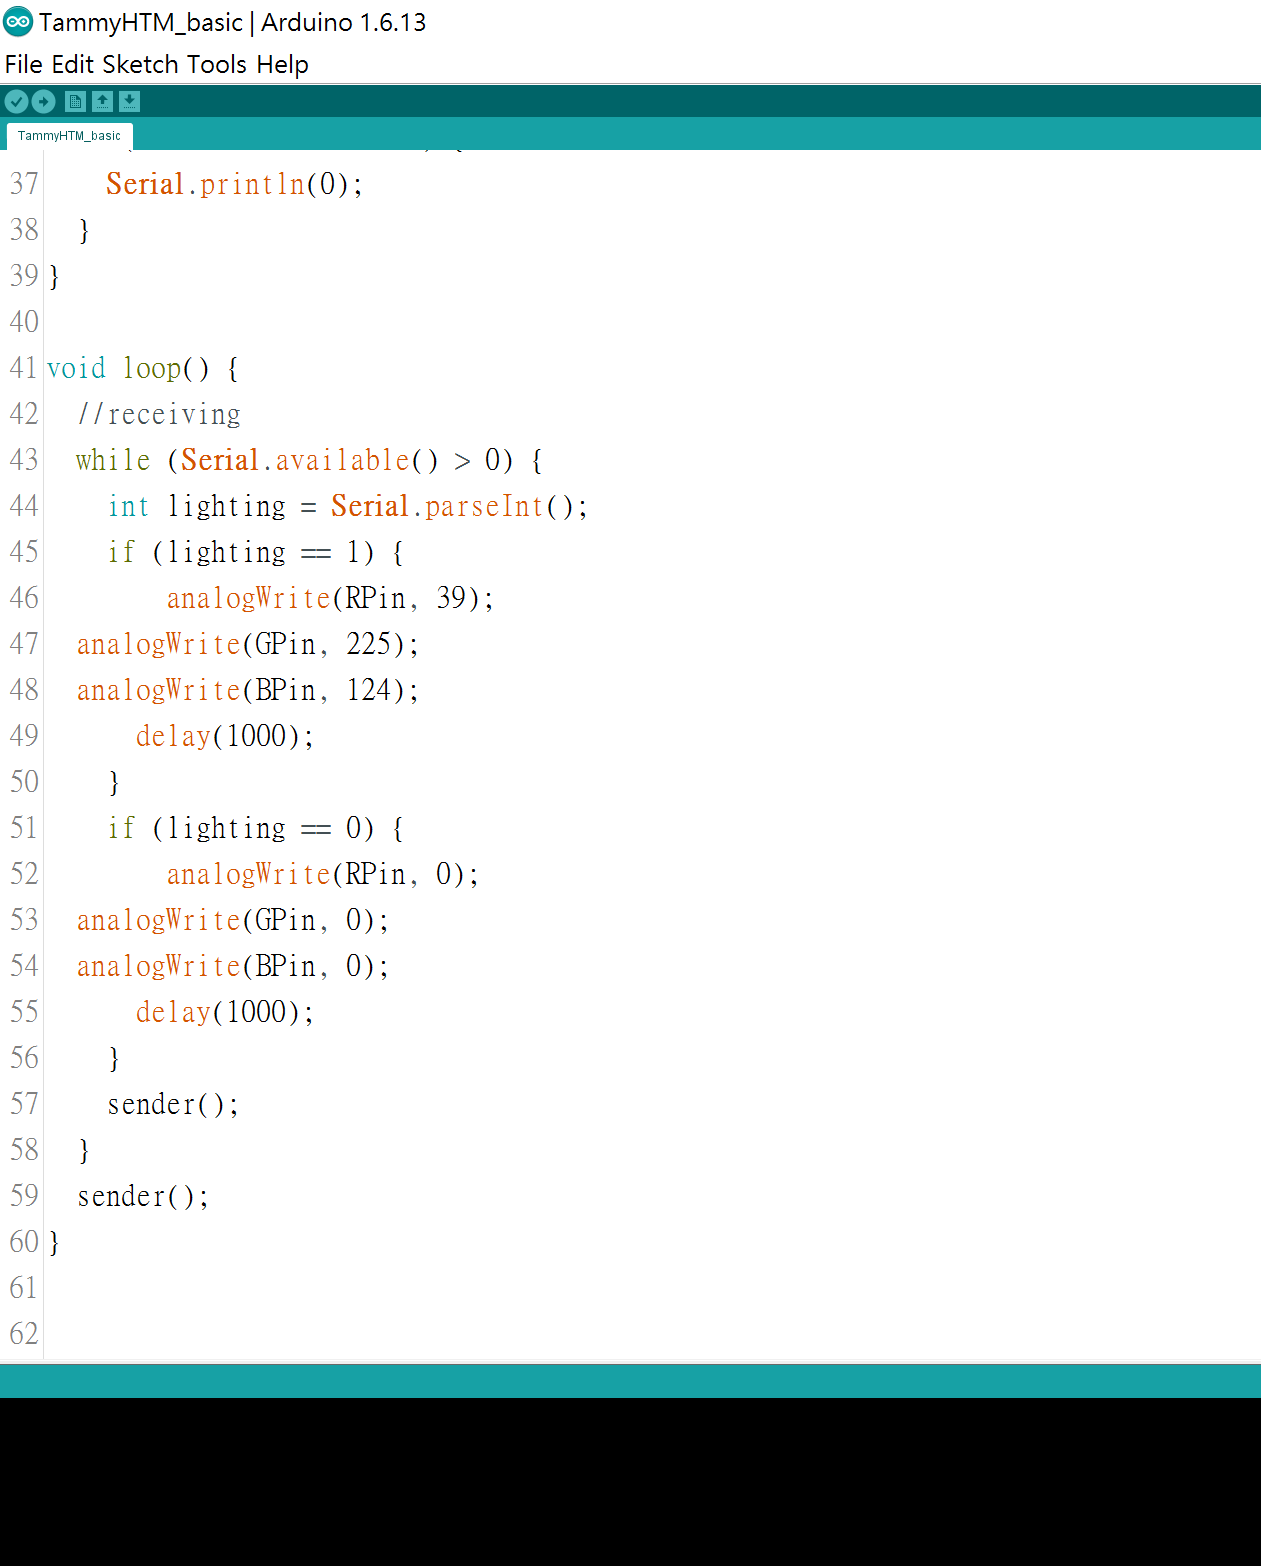
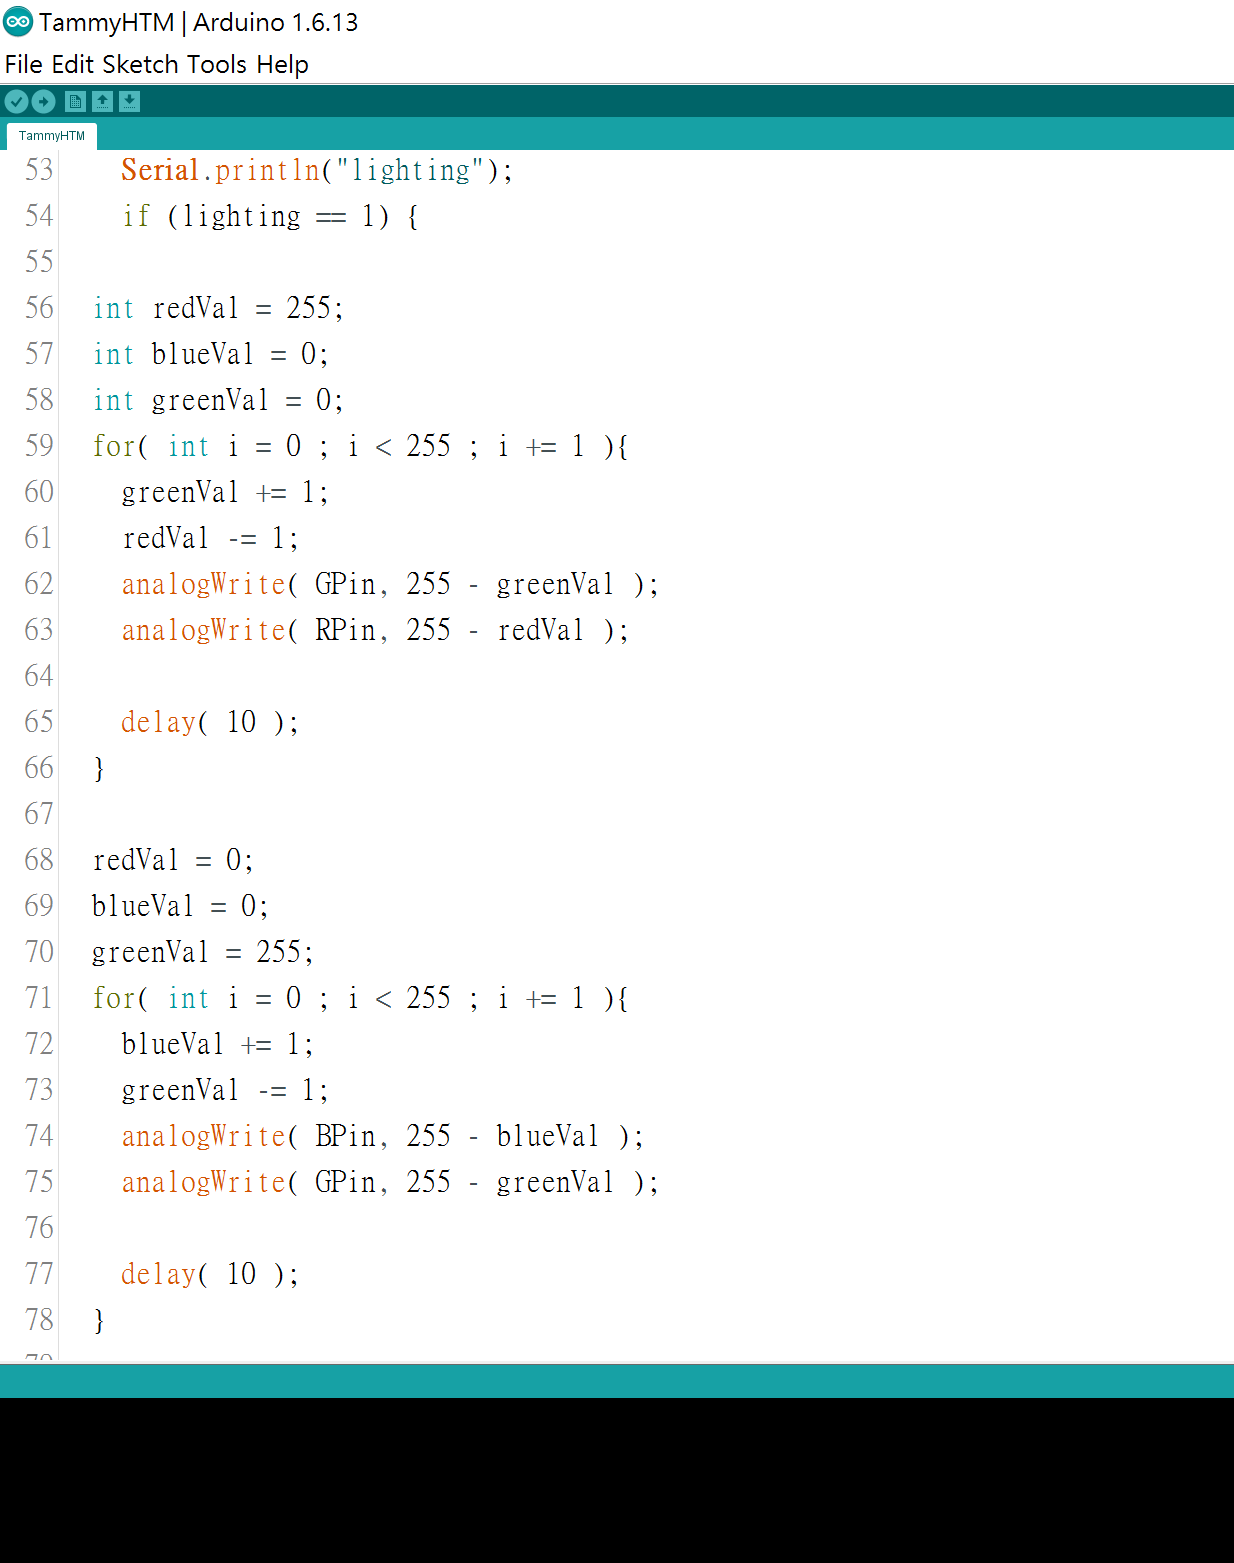
Final Version
At the end I made the LEDs to light up with different colors.

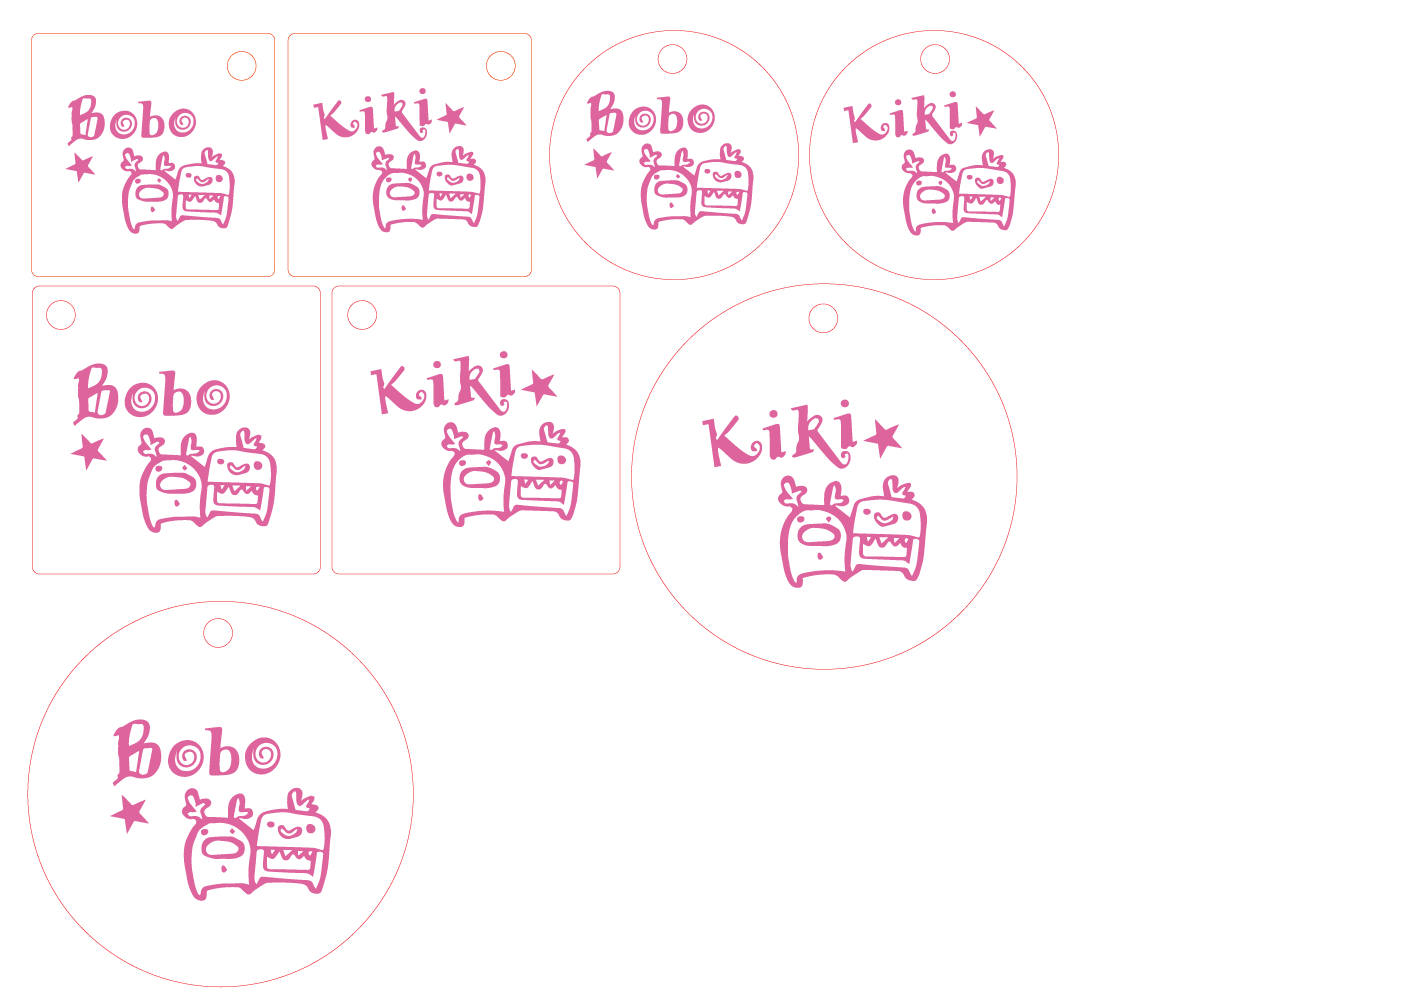
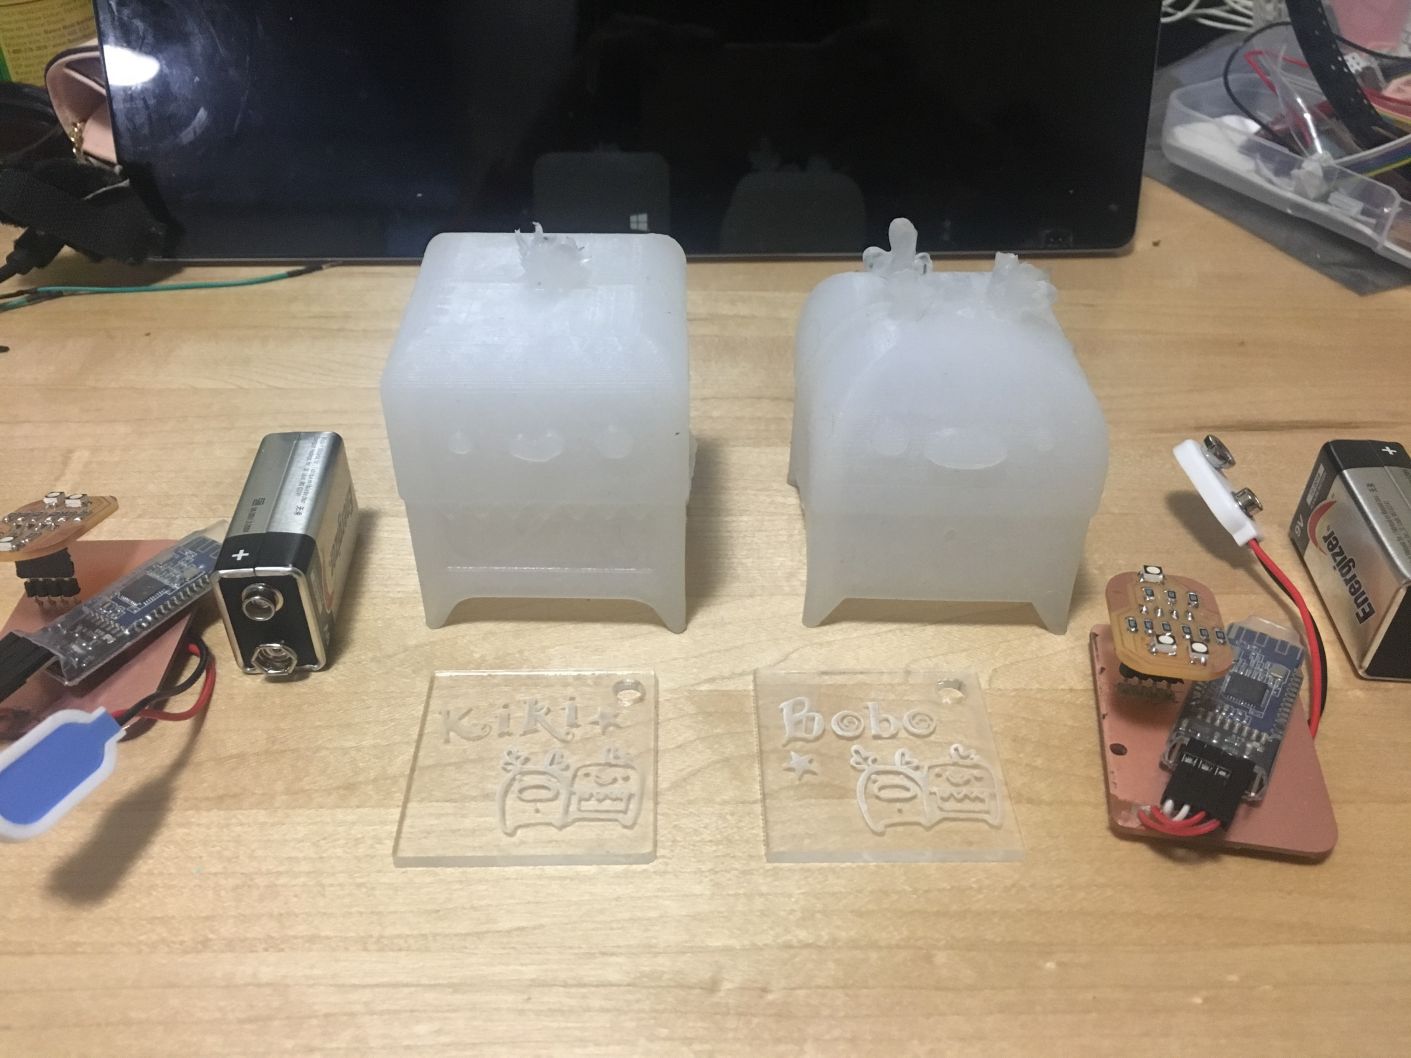
Laser Cut
In order to cover the button of my mode, I laser cut some pieces with Kiki & BoBo's illustration on them.
Assembly
After getting all the things done, the final step is assemble them!
In order to make all the components fit in my silicon mode, I desoldering the ISP and power pin on my board and use battery to power my boards instead.
Future Plan
In the future, I hope to integrated this device not only just a small device on hand, but also a room decoration, which means that if you have one device and you press the button because you miss someone, the other device could not only be a small device, but might be a furniture that lighting up.