Week 2: Vinyl and Laser Cutter
For week 2 we had to create something with a vinyl cutter, and with a laser cutter, design a press fit kit that can be utilized to create something else.
Vinyl Cutter Creations
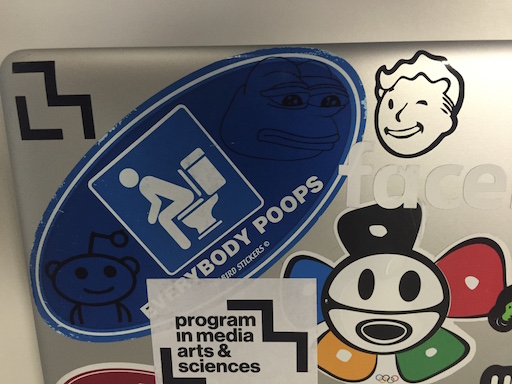
I got trained by tom on how to use the vinyl cutter. Tom taught me how to make vinyl stickers. I had a wide vinyl paper, so I decided to make the most out of it and ended up cutting out a pepe the frog, a pip boy, a witcher medallion, some Media Lab logos, and the reddit alien. The first time we tried to print out the stickers, they just failed because we had misconfigured the page dimensions. The second time around, they printed out smoothly, with the pepe frog losing a piece of its cheek.
Vinyl "Creations"
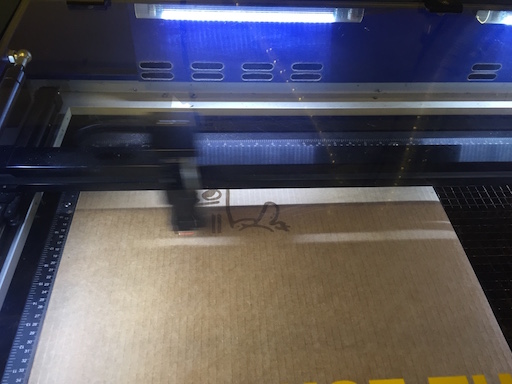
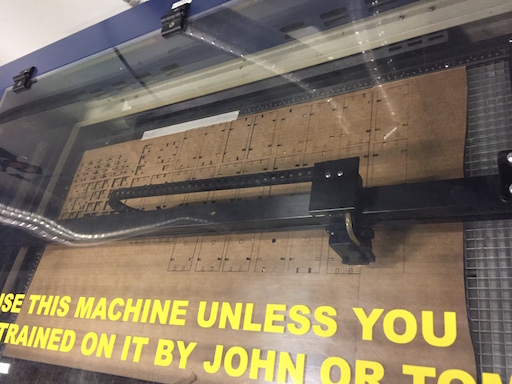
Initial Laser Cutter Test
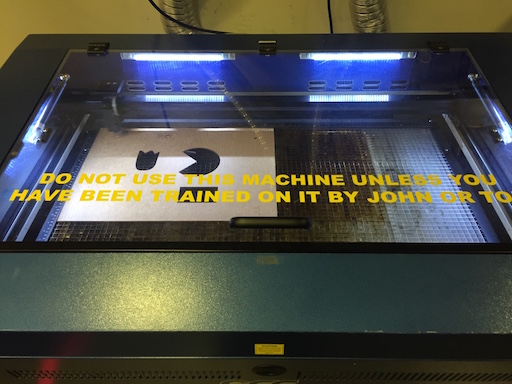
Cutting out Pac Man
I got together with Mina and Anna to explore what we could do with the laser cutter, and the workflow in the laser cutting station.
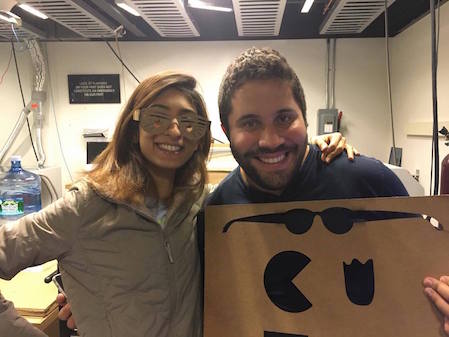
Proud of our results
We laser cut some Pac Man characters and some bendable glasses (which served as an inspiration for my personal laser cut project).
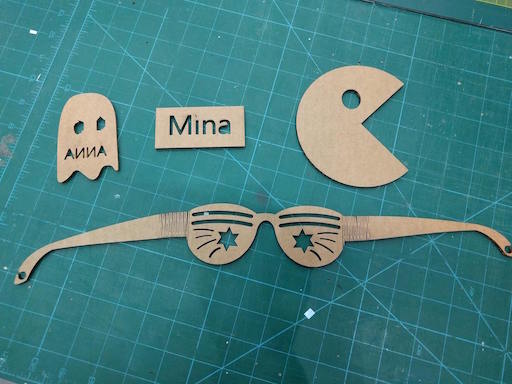
Initial cuts
We realized that the default settings for the GCC printer were enough to get us through vector cuts. After this, I decided to do some tests in rasterization. Naturally, I decided to see if we could etch out a dick butt.
Initial rastering test
We ended up using the default settings once more. The etching was a success, and the best prototype/test ever was born.
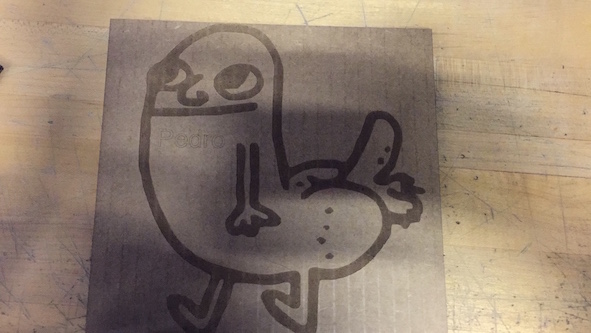
Completed rastering test
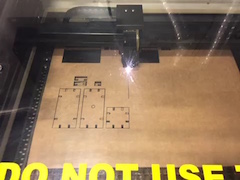
Press fit tank

Initial tank designs
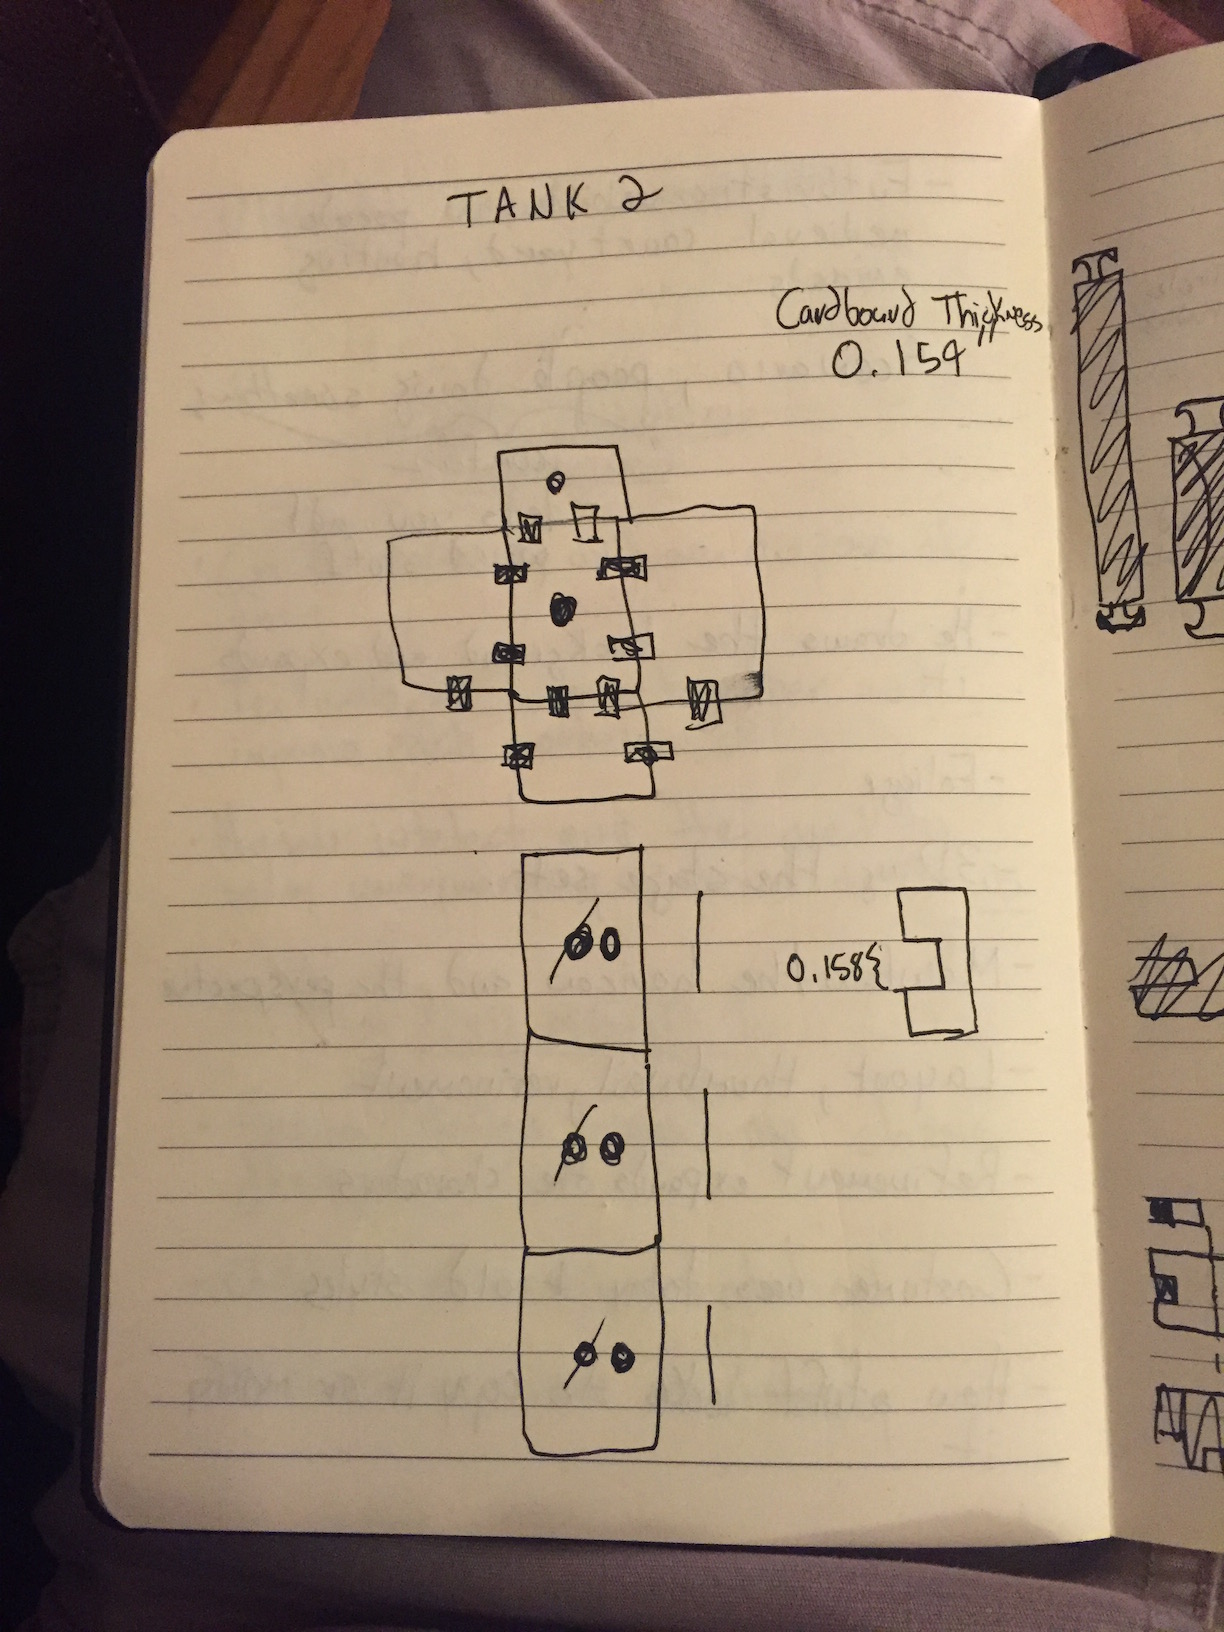
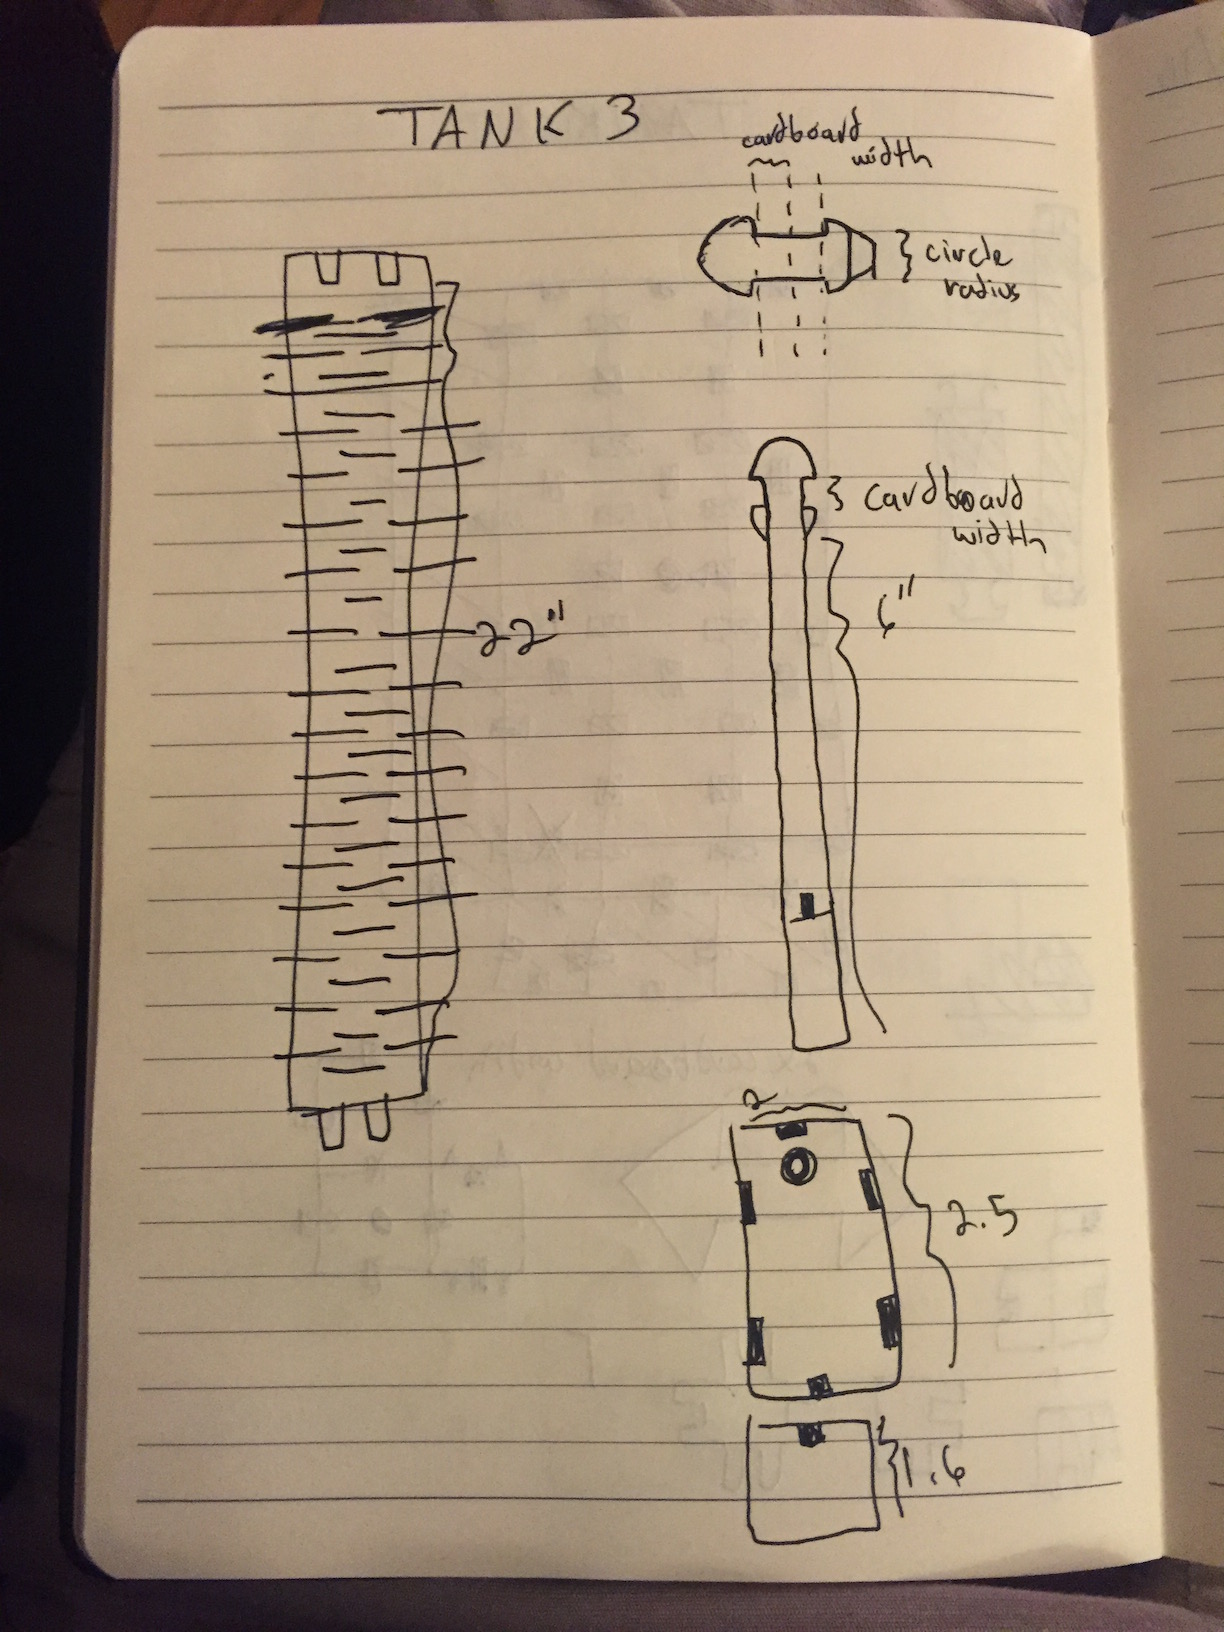
This week's major assignment was to make a parametric press fit creation. I decided to do some brainstorming, and ended up deciding that I would like to make a press fit tank. I am not in favor of weapons of mass destruction or violence, but I am fascinated by military technology. Now to make the design, I had to first come up with a design. I used Inkscape to do my design. I began trying to do it parametrically with duplications. Half-way through the design when I wanted to resize one of the joints, I realized that the action for it to be parametric was actually cloning. I simply decided to finish the design with what I had and forget about the parametric design, or I would have to redo all the work again. In the files link down at the bottom of this page you can find the design files I used.
Initial press fit pieces
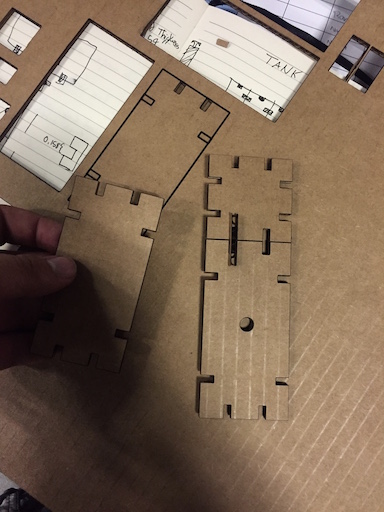
Separated press fit pieces
After printing the first set of pieces, I realized that I was missing a lot of L and T joints. I decided to print some more, and also tried to do a "wheel" and a joint for the top of the tank. The wheel consisted of a pin that would latch onto a circle opening and the top joint was a similar mechanism. The second set of pieces were a bit of trouble. When I went to print them out, there was a glitch in the .svg file which impeded me from printing some custom joints for the wheels, the top of the tank, and the turret. To remedy this, I converted the svg into png, which then when converted into vectors, resulted in a double border. This double border cut the pieces smaller/larger than what I had originally designed, but they fit in together perfectly.
Assembled pieces
Once I had assembled the pieces, I began to assemble large parts of the tank, and proceeded to join those last parts into the design. The only set-back that I had was that the wheels were not in accurate proportions so I decided to scrap them and simply utilize the tracks that I had printed with a cardboard separator. Overall, I was very satisfied with the final assembly :D.
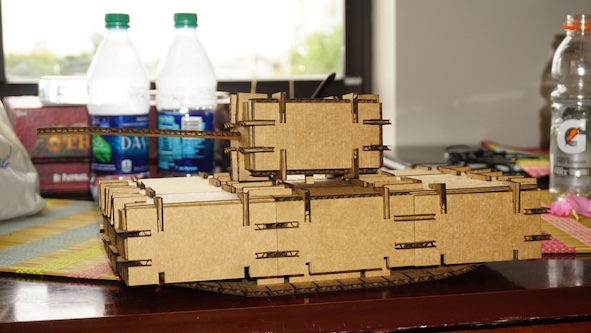
Finished assembly
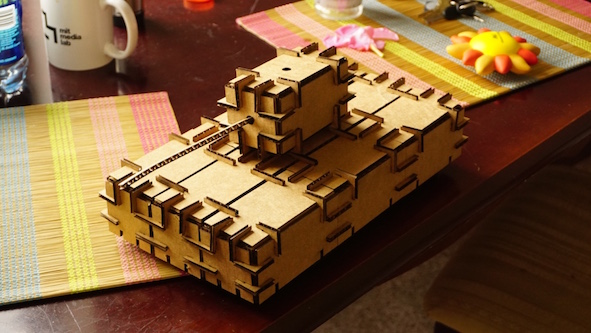
Success!
Files
Here are the files that I used for the renderings and models.