I Have Truly Found Paradise?
I ended up working on was an old project of designing a nice piece of decoration based on MIT's informal motto IHTFP. The idea was to do the same thing: have the mold as an initial template for the shape and then simply cast different materials out of it.

I first got inspiration from the web: MIT t-shirts with the logo written in MIT-fashion and colors were the main drivers of the mold template. As Rhinoceros allows PictureFrame to add pictures for us to base our 3D models on them, I used much of it
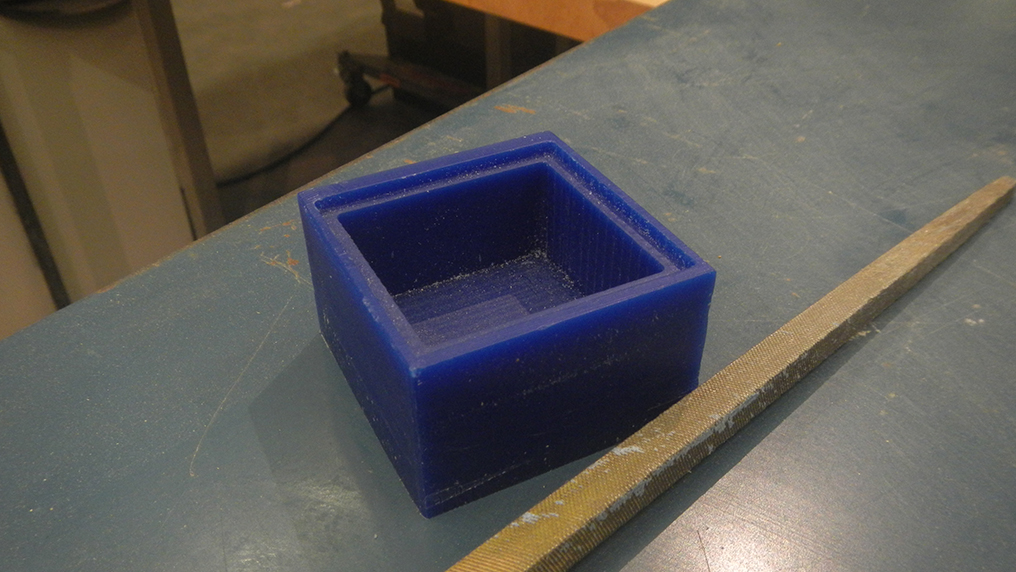
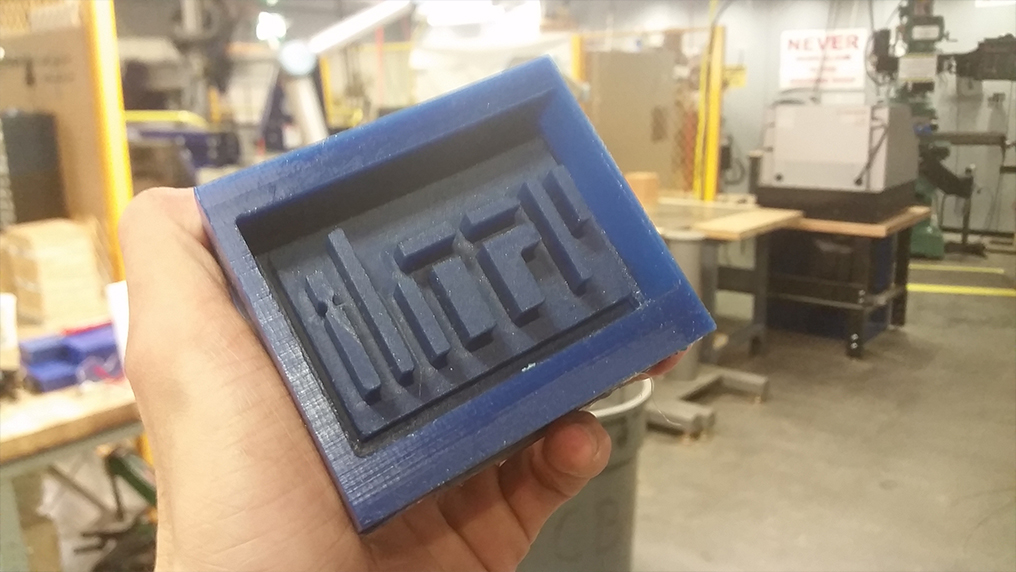
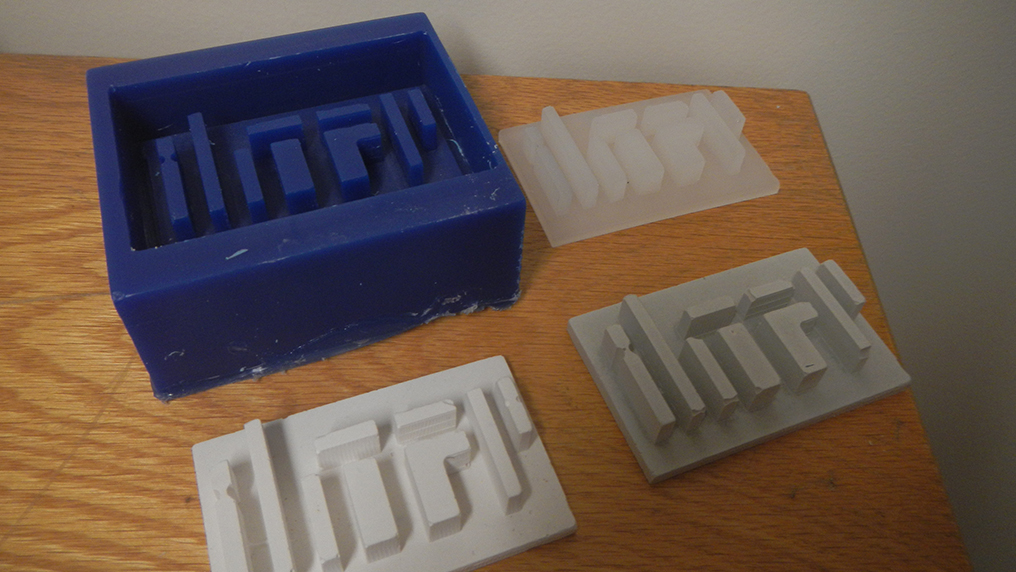
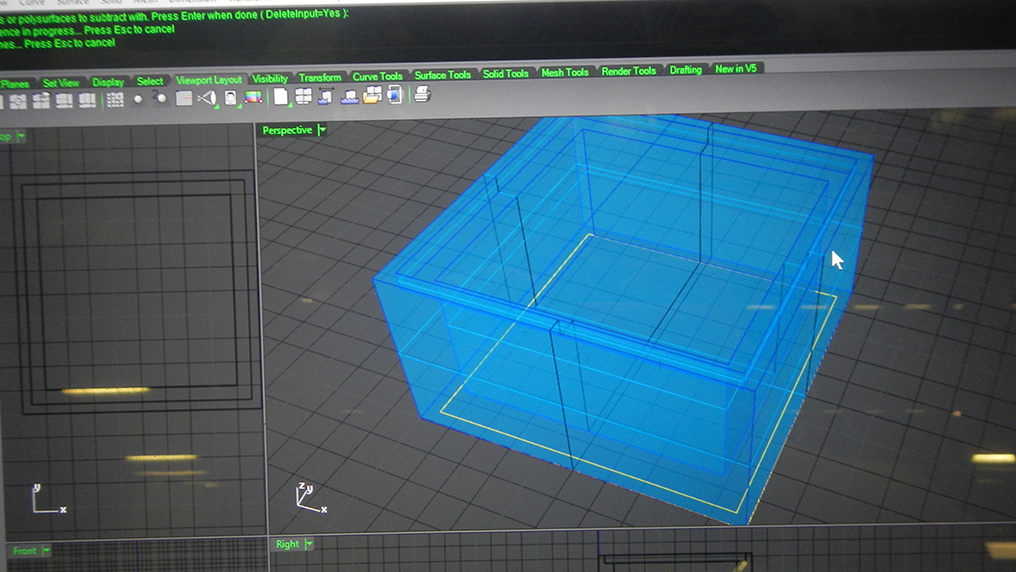
Here's the final model of the whole block of wax from which we shall get the mold
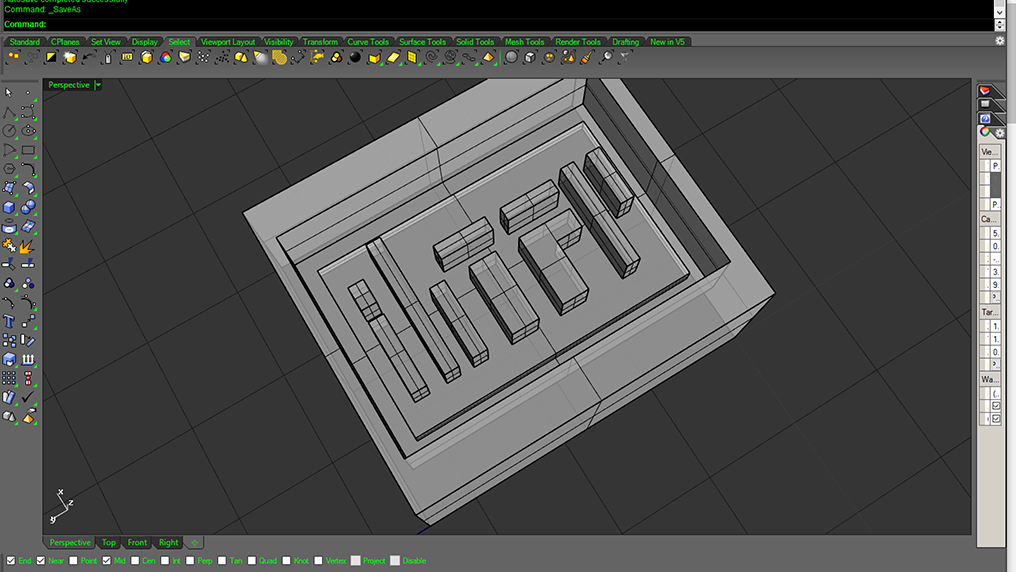
I had to come back to 3D modeling at least three times: be certain that the gaps and the cutting diameter in your models are within the tools limits! The letters I had in my "IHTFP" were separated by 0.1 inches - but the end mill had a diameter of 0.125 inches. Remember to measure and keep track of the design rules for the project.
Milling
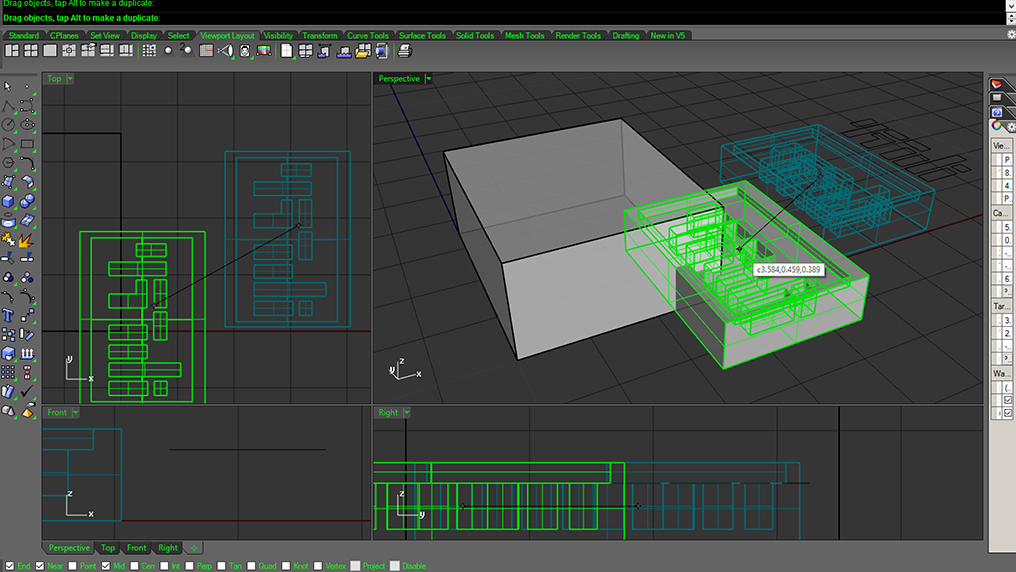
After a whole adventure of iterations of 3D modeling, I finally got the vector file of rough and finished paths for milling.
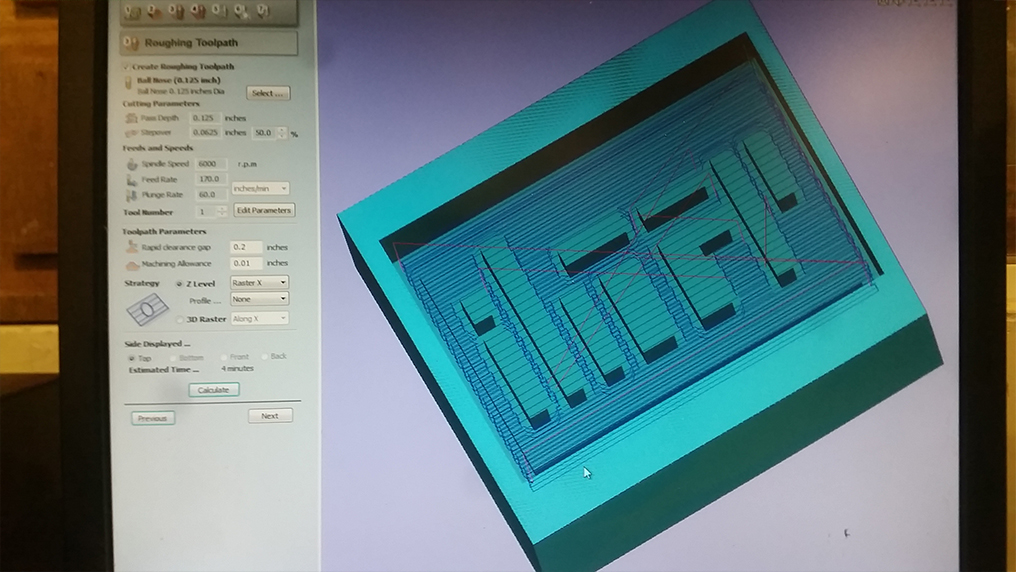
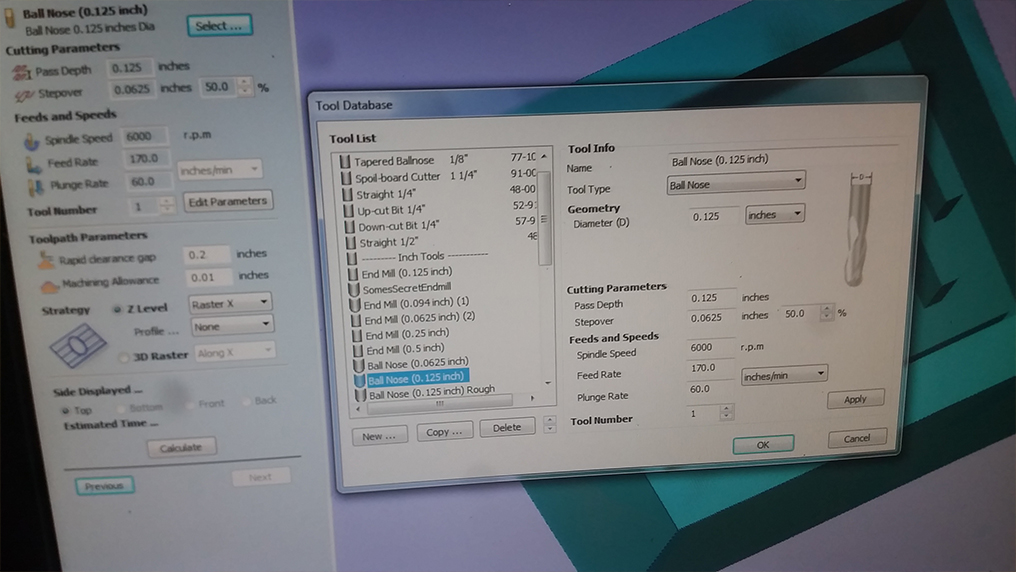
I re-checked all the parameters with Tom and had Pranam help me with the buddy system. Those are the parameters I used:
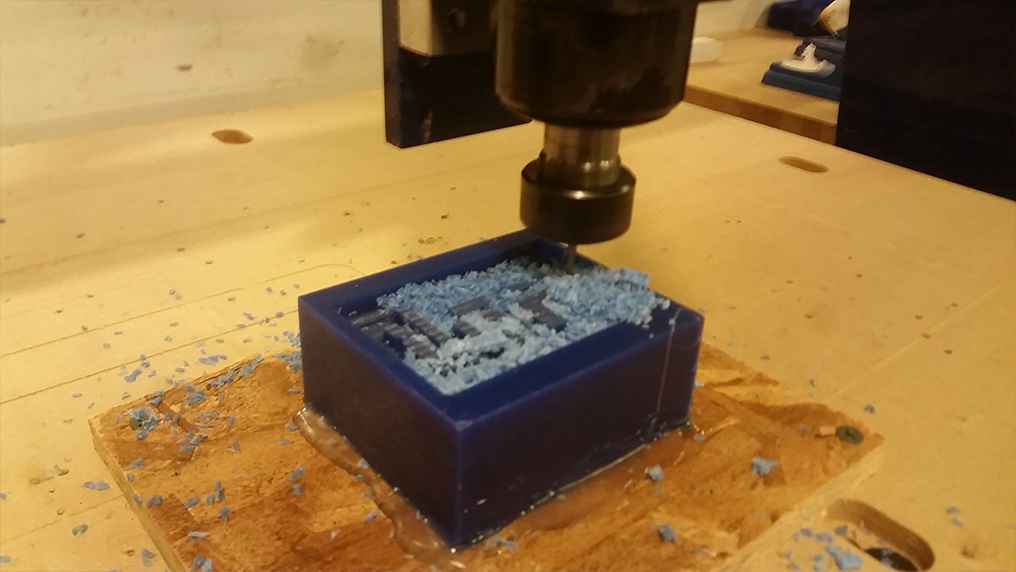
And finally, having checked parameters, simulated the milling and exporting the file, I got the shopbot to work
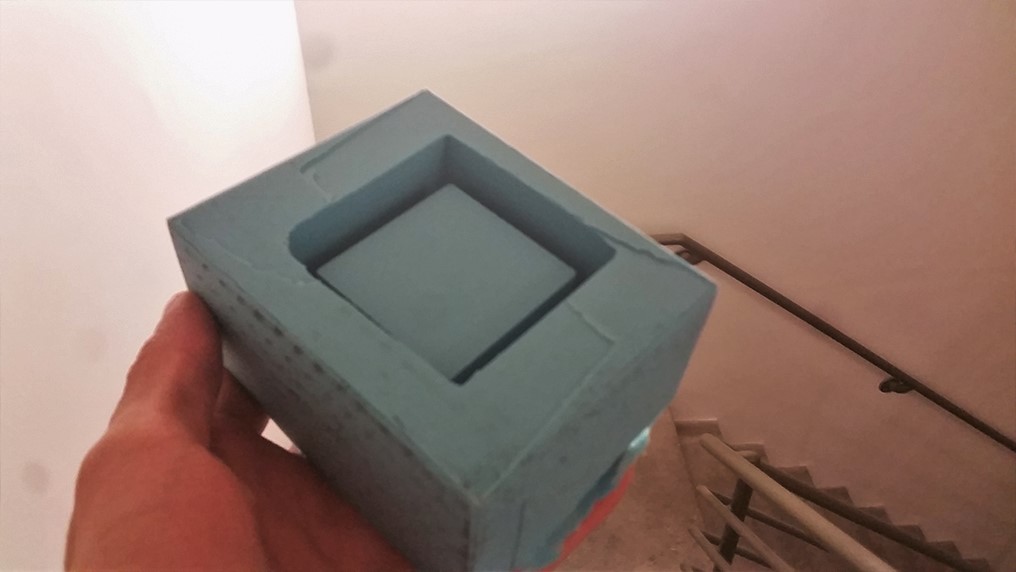
Molding
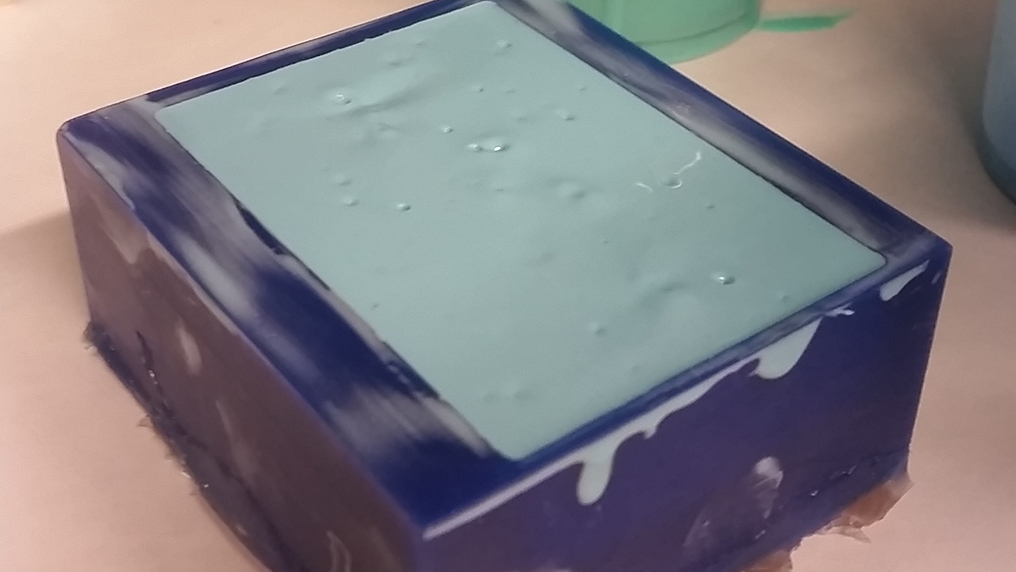
Molding was literally like cooking. And I don't know how to cook.
The thing that helped much was using the vacuum chamber. especially when doing it the first time, my final mixture turned out to have many bubbles and was clearly filled with air. One can solve that by lowering the pressure significantly with the vacuum chamber and leaving the mixture there while bubbles pop. Even when I already had the mixture place in the mold I would use the vaccum to get rid of bubbles.
Then, I just left it overnight to cure
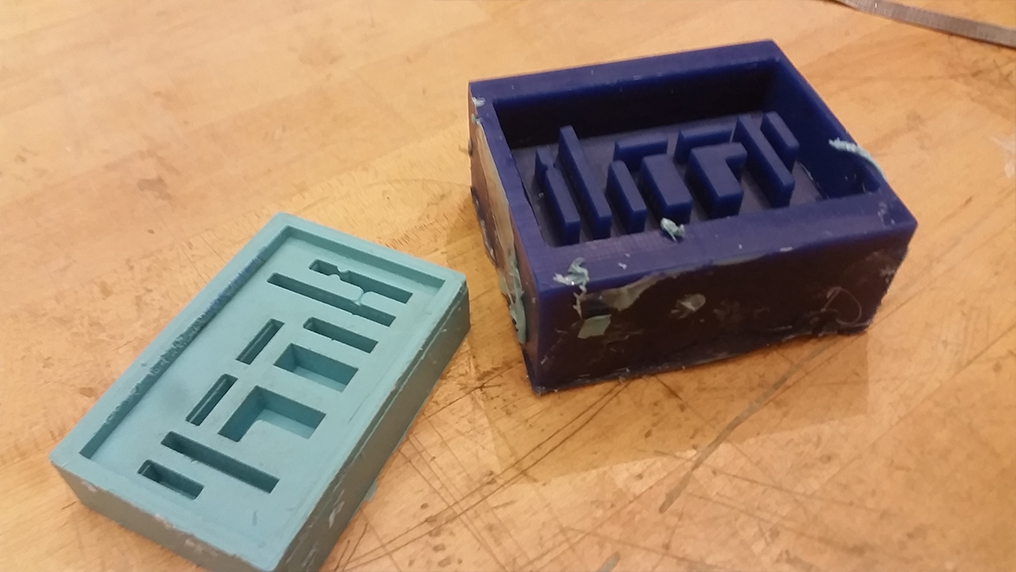
Casting
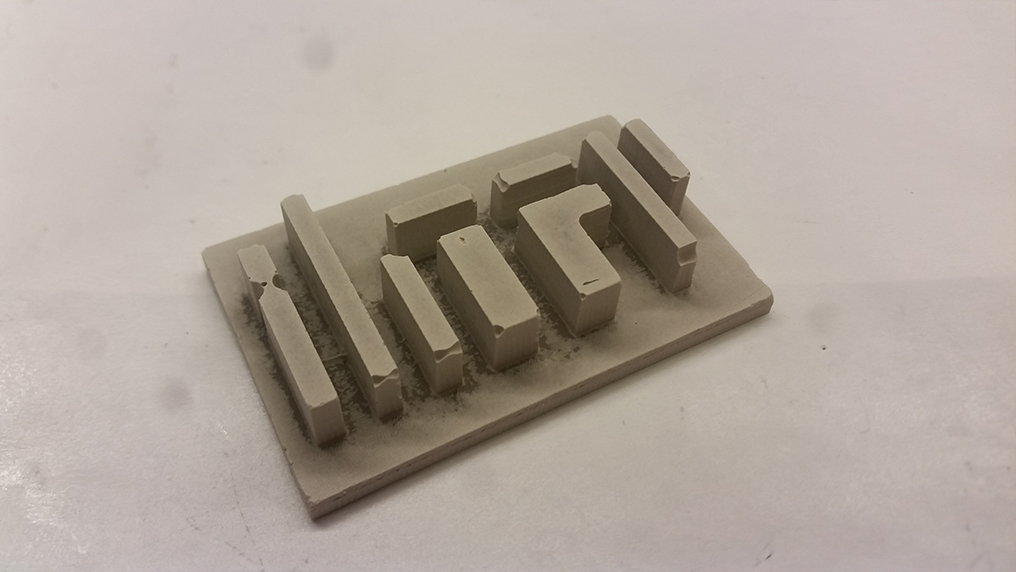
Now we used dry stones. I used masks and was much more careful with mixing and spilling. Yes I was. Nevertheless, the process was the same: mix specified amounts, get rid of bubbles with the vacuum, place it over the mold and leave it overnight.
After visiting Reynolds (see below), I also used Smooth-Cast 61D and eventually tried it with hydrostone too.
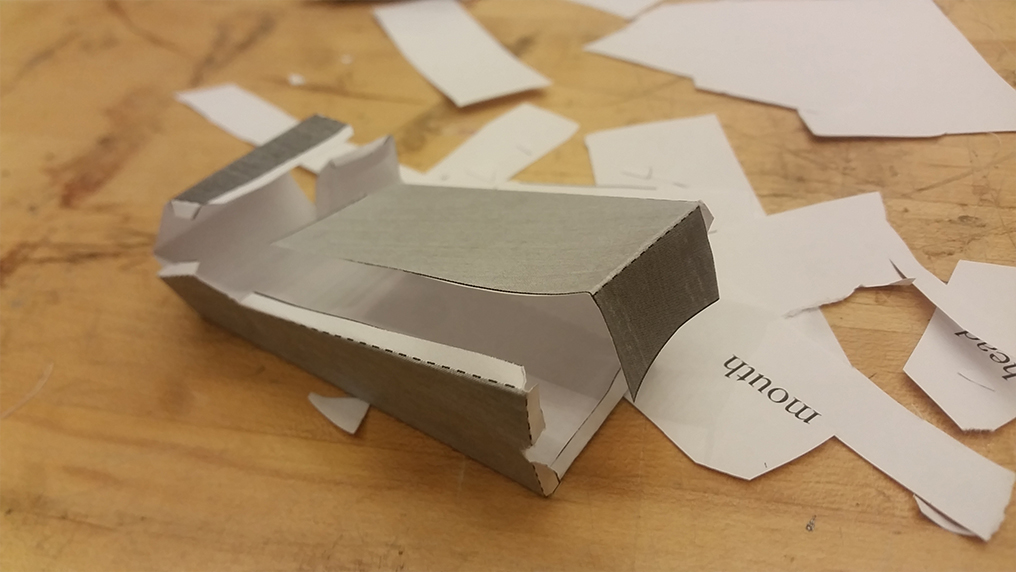
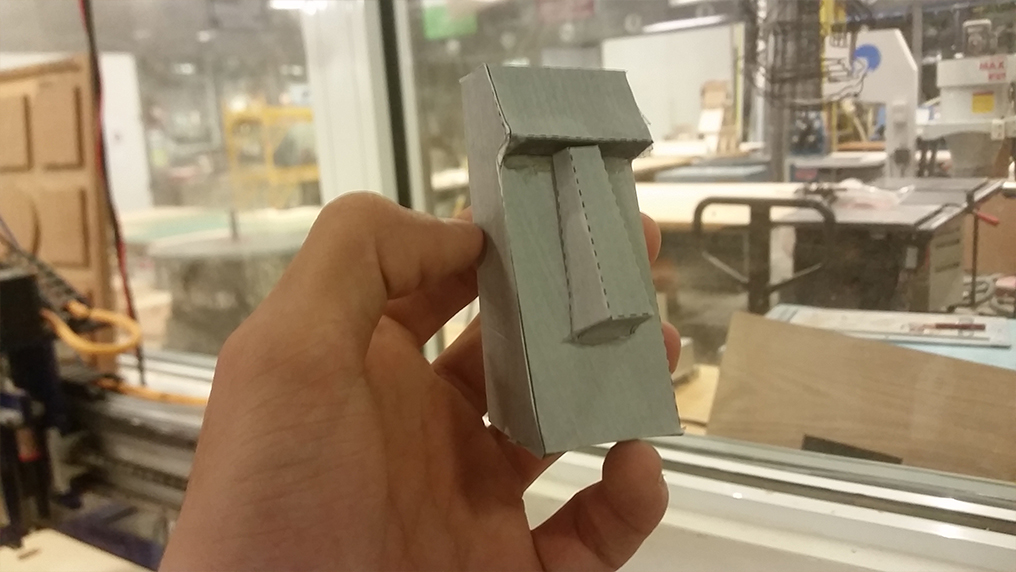
Using Paper
A friend of mine suggested trying to make molds out of origami or papercrafts. I'm not skilled (or patient) enough to build fancy papercrafted sculputures, so I downloaded a simple Easter Island Moai and tried to get a mold out of it. Unfortunately, I couldn't get it out of the mold without breeking it. But I did get the sculpture - even if broken:
Aiming for Finals
This section is better explained in the Final Project page
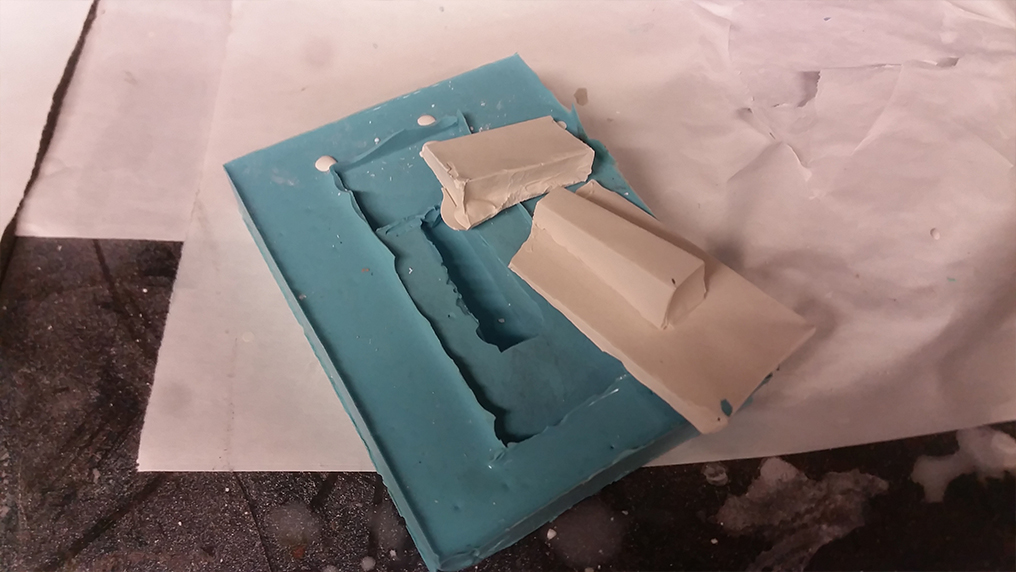
The prototype of the table is already designed from some couple weeks ago, and it's time to start focusing on both the software and the hardware side of the modules.
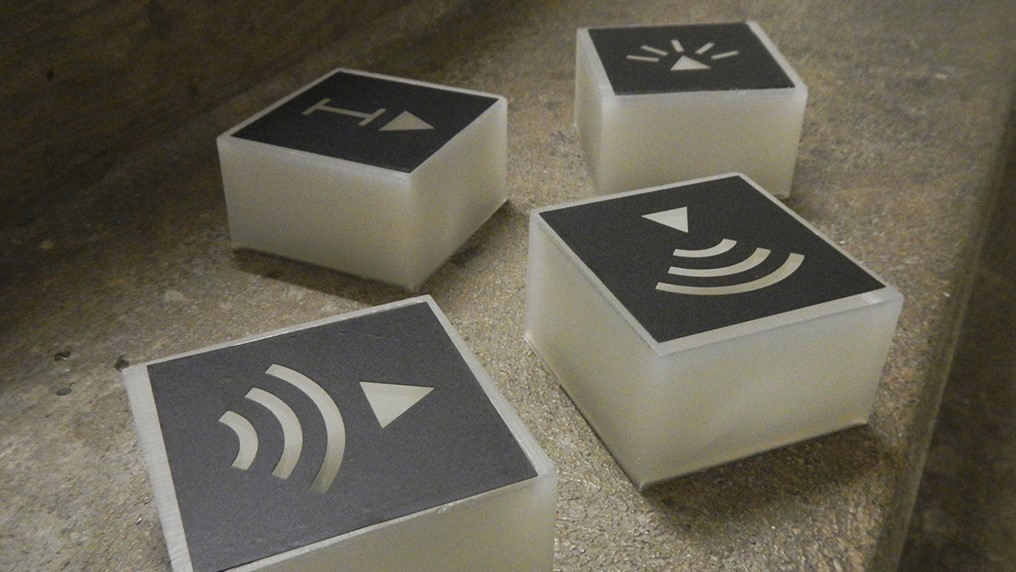
The challenge this time is to have a physical version of a module: how to design a piece of hardware that communicates with the digital side of the project and still has an user-friendly, intuitive interface? Having already updated a more user-interactive, touch-screen-adapted version of the website version (wait for next week's documentation), I have modeled my physical modules based on their digital counterparts
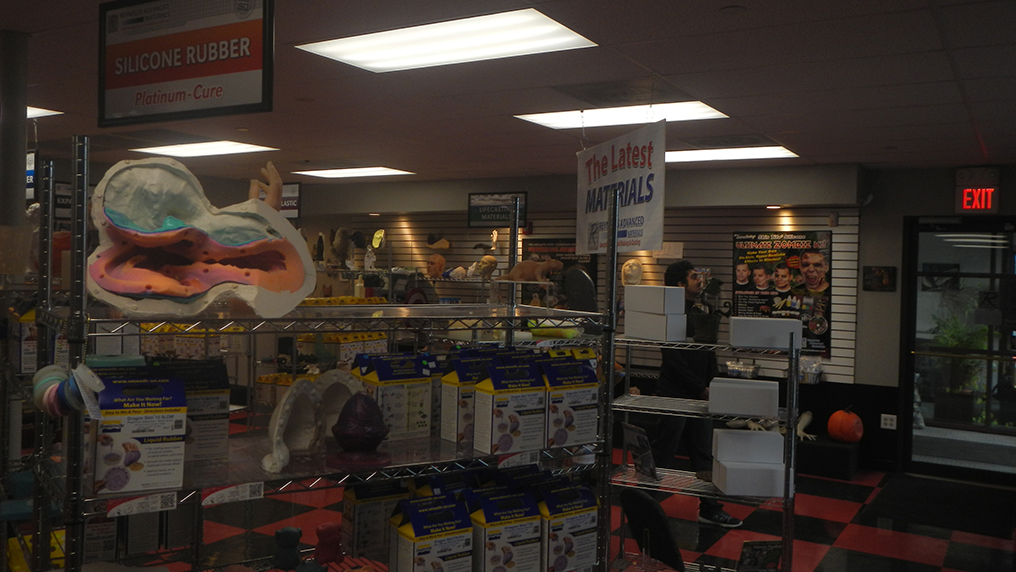
I then coordinated with some friends for us to explore Reynolds (and in the way stop by Home Depot to buy materials to the table prototype)
After running into much trouble with the milling machine (see the Final Project page for explanation on this), I finally got the model and had it casted; here are the steps and the final modules: