This week we explored electronics production. Our task was to assemble at least one version of the FabISP programmer. The FabISP board is fabricated by using a Modela MDX-20 milling machine on FR1 (phenolic paper) single sided copper boards. The board is then stuffed with surface mount components using a soldering iron and a steady hand.
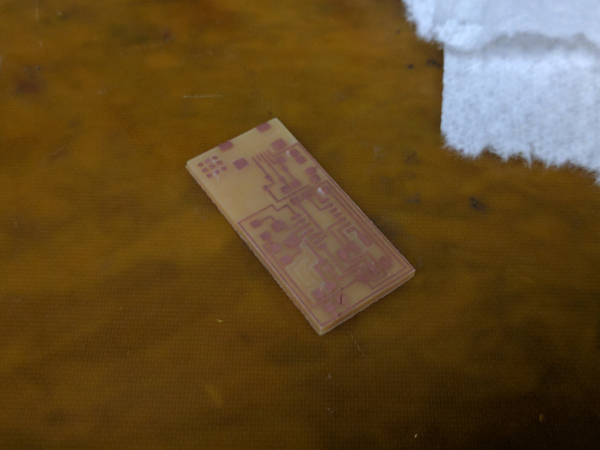
For my first board I wanted to create the basic hello.ISP.44 programmer. My first attempt at milling the board was a success. The fab module worked as expected and the cut depth of 0.0004" worked perfectly.
I have a lot of experience soldering through hole components, but surface mount was a new challenge. The fine tip of the soldering iron was essential for working with these small components.
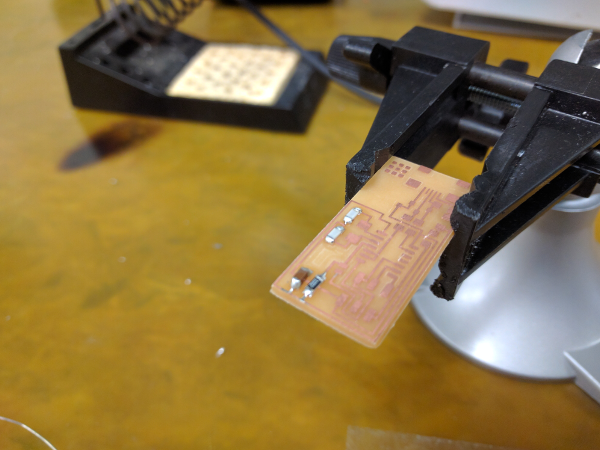
Soldering went smoothly. The solder wick was definitely useful in getting the tiny USB and ATTiny44 pins soldered. My strategy was to apply a generous amount of solder on all of the pins and them come in after with the copper wick to pull the excess solder away.
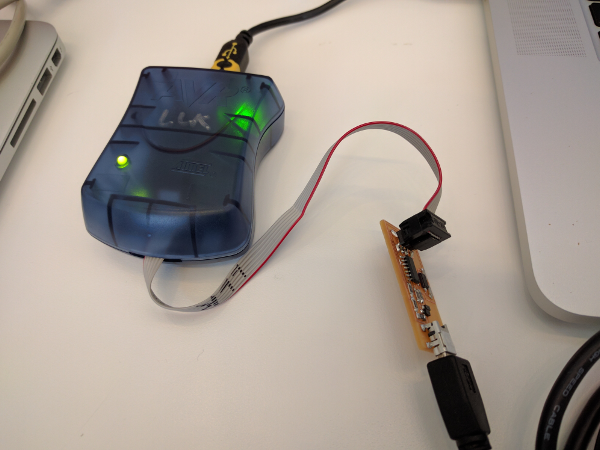
The green light on the ATAVRISP2 came on after connecting my FabISP and applying power. Success!
I used Arch Linux to program the board. The 'make fuse' and 'make program' commands had to be run with elevated permissions because my local user account did not have permission to write to the USB device. Since I will be using my programmer throughout the class, I will create a udev rule to avoid having to use elevated permissions in the future.
After finishing the programming, I removed the solder jumper and the 0 ohm resistor to allow the FabISP to program other boards.
Now that I had the basic FabISP working I wanted to try to make one of the more convenient board designs with a built in USB connector. I decided on Andy Bardagjy's design. I didn’t want to waste another copper board so I tried to reuse the board from my first cut. Unfortunately, I didn’t take into account that the design file was rotated horizontally and the milling ran over the edge.
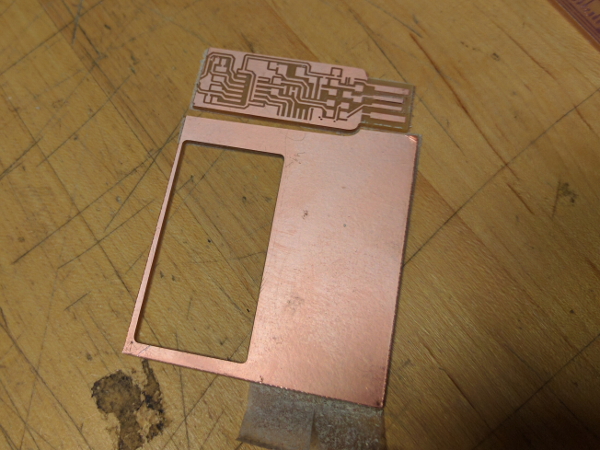
Fortunately, before I tried to mill the board again I realized that Andy Bardagjy had designed it to incorporate a level shifter to program 1.8v targets. I won’t need this additional feature (at least for now) so I decided to try to make Valentin’s breakaway version of the FabISP.
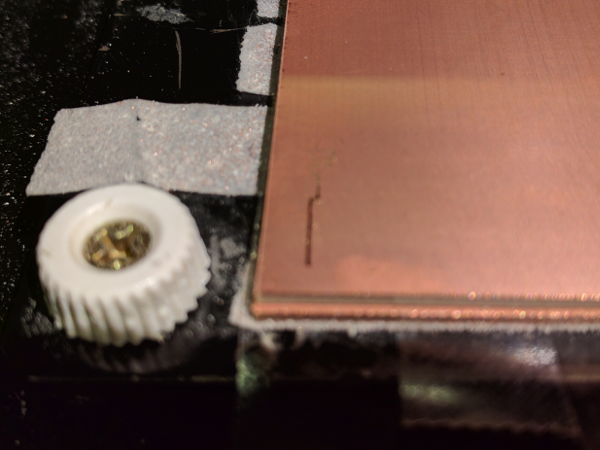
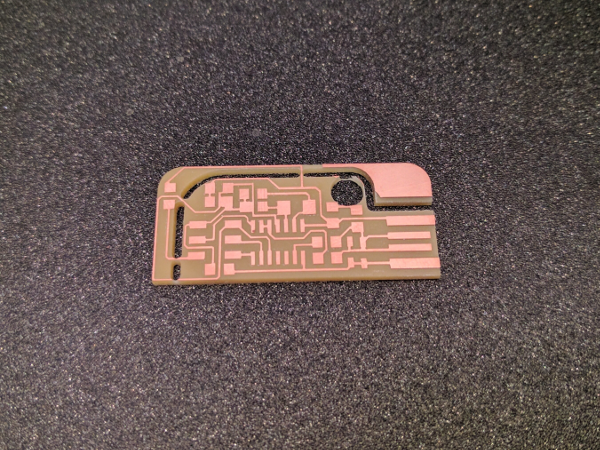
This time my attempt at milling the board didn't work on the first try. The end mill wasn't cutting into the copper deep enough. The board also didn't appear level since the cuts were deeper towards the front but fadded away as the end mill moved back along the y-axis.
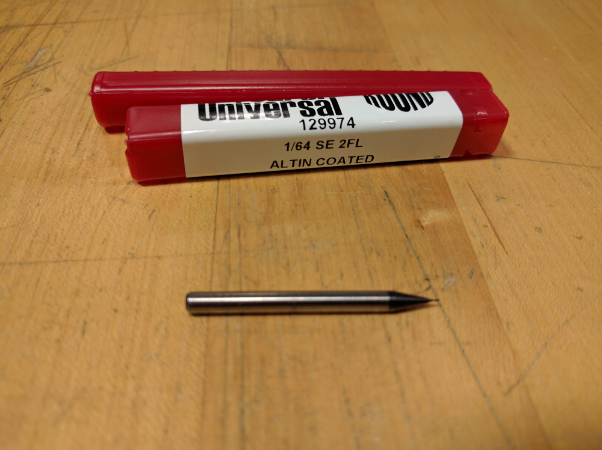
After investigating the end mill I realized that it was most likely the cause of the shallow cut. I swapped out a brand new 1/64" end mill and sure enough the milling worked perfectly.
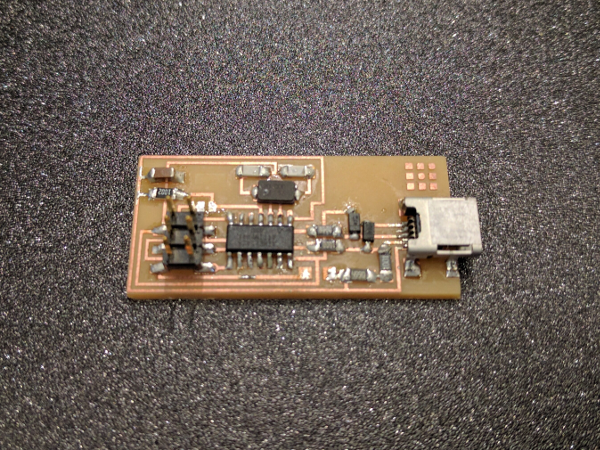
Now that I had a properly milled board, I proceeded to solder in the components. I couldn’t find the 18pF capacitor that the schematic called for in the electronics lab, but I was able to track some down in my group's space, the Lego Learning Lab. After finishing up with soldering I connected the board to the ATAVRISP2, but I got a blinking yellow light. I inspected all of my solder joints and everything looked good so I wasn’t really sure what was causing the issue. I decided to use the hot air gun to try to reflow my solder joints, hoping that this would fix the issue. I knew I had to keep the hot air gun moving to try to prevent overheating the components, but I didn’t keep it moving enough I guess.
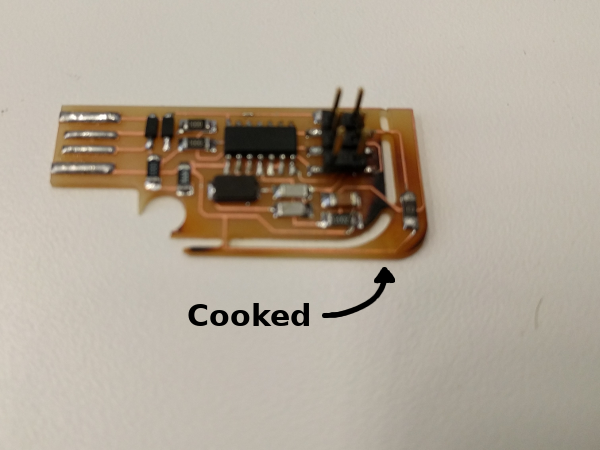
The damage appears to be isolated to the board itself, but there is probably a high likelihood that some of the components closeby may have been fried. I will have to continue investigating this board to see if I can get it working in the future...