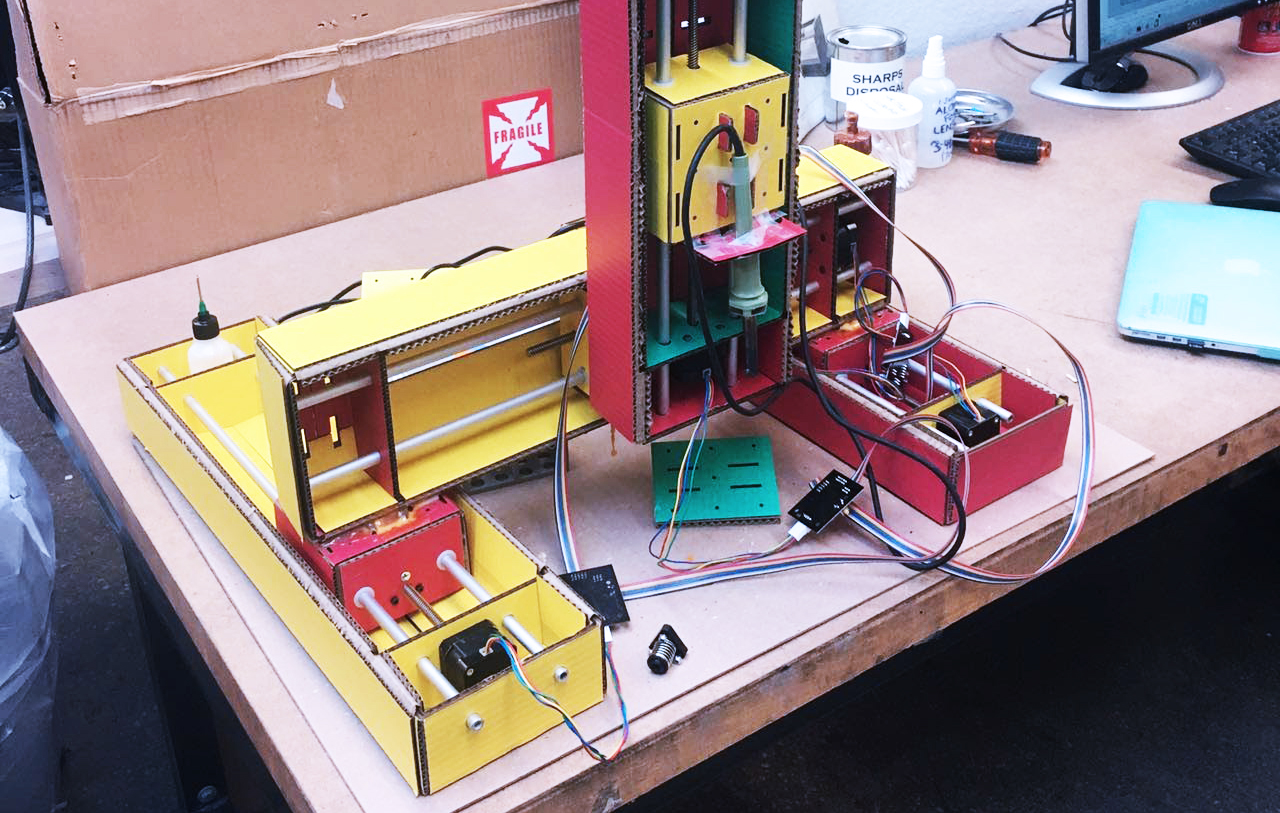
The main goal for this session of the course is to automate our machine. We decided we would make Neil's face toasted into bread.
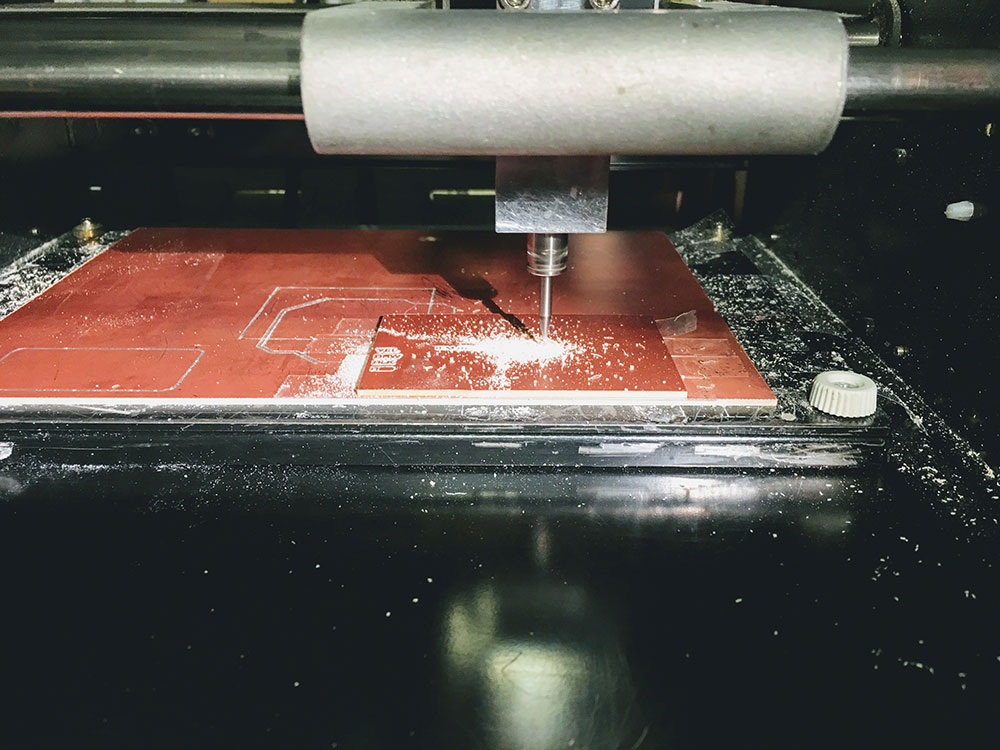
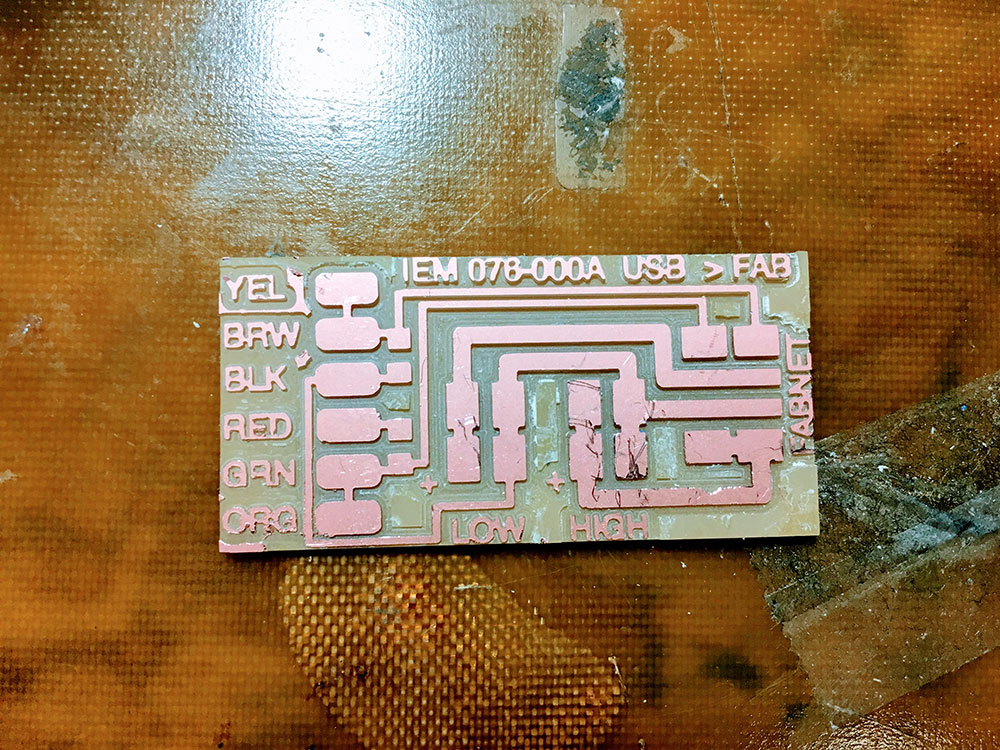
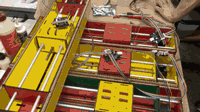
We all met at the CBA shop and worked on the machines in little groups. Each group had a task. My group had to mill and solder the board used to program the PCBs for the motors.
The milling was good but we left copper next to the traces. As we are going to use high voltage it is better to remove the copper to avoid having trouble with the power given to the board. So it is better to mill the board removing all the copper that is not going to be used. As we didn't do it this way, we had to remove the copper left on the sides.
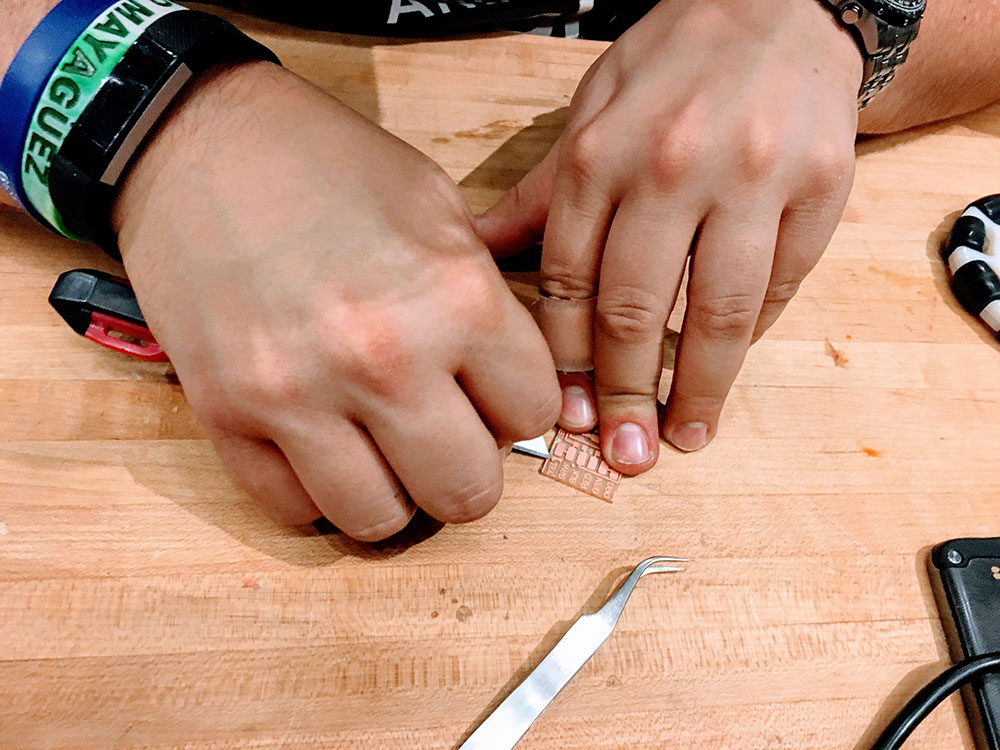
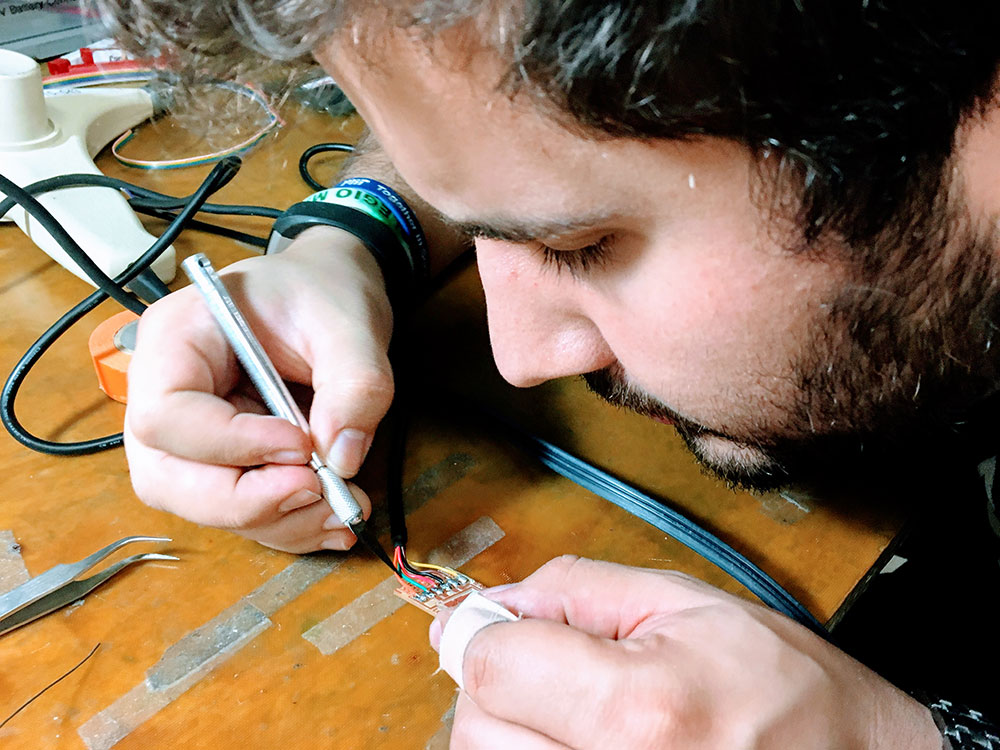
We then soldered the components to the board.
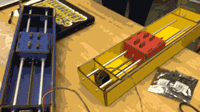
Another group was in charge of laser cutting the different parts for the machine. They stuck them together. We then added the boards for each motor and started programming them. We first tried with two axis.
We plugged the cables the wrong way at first and one of the boards broke and we had to replace it. So piece of advice:
We added a third axis to the two axis script that we had. It worked! Next day, we met to add the fourth axis.
We finally got all the stages to work. Logan wrote a script to make the four axis move on the proper direction. [GITHUB REPO]. We finished assembling the machine and glued it all up. Logan tried with his software and the four axis were moving properly.
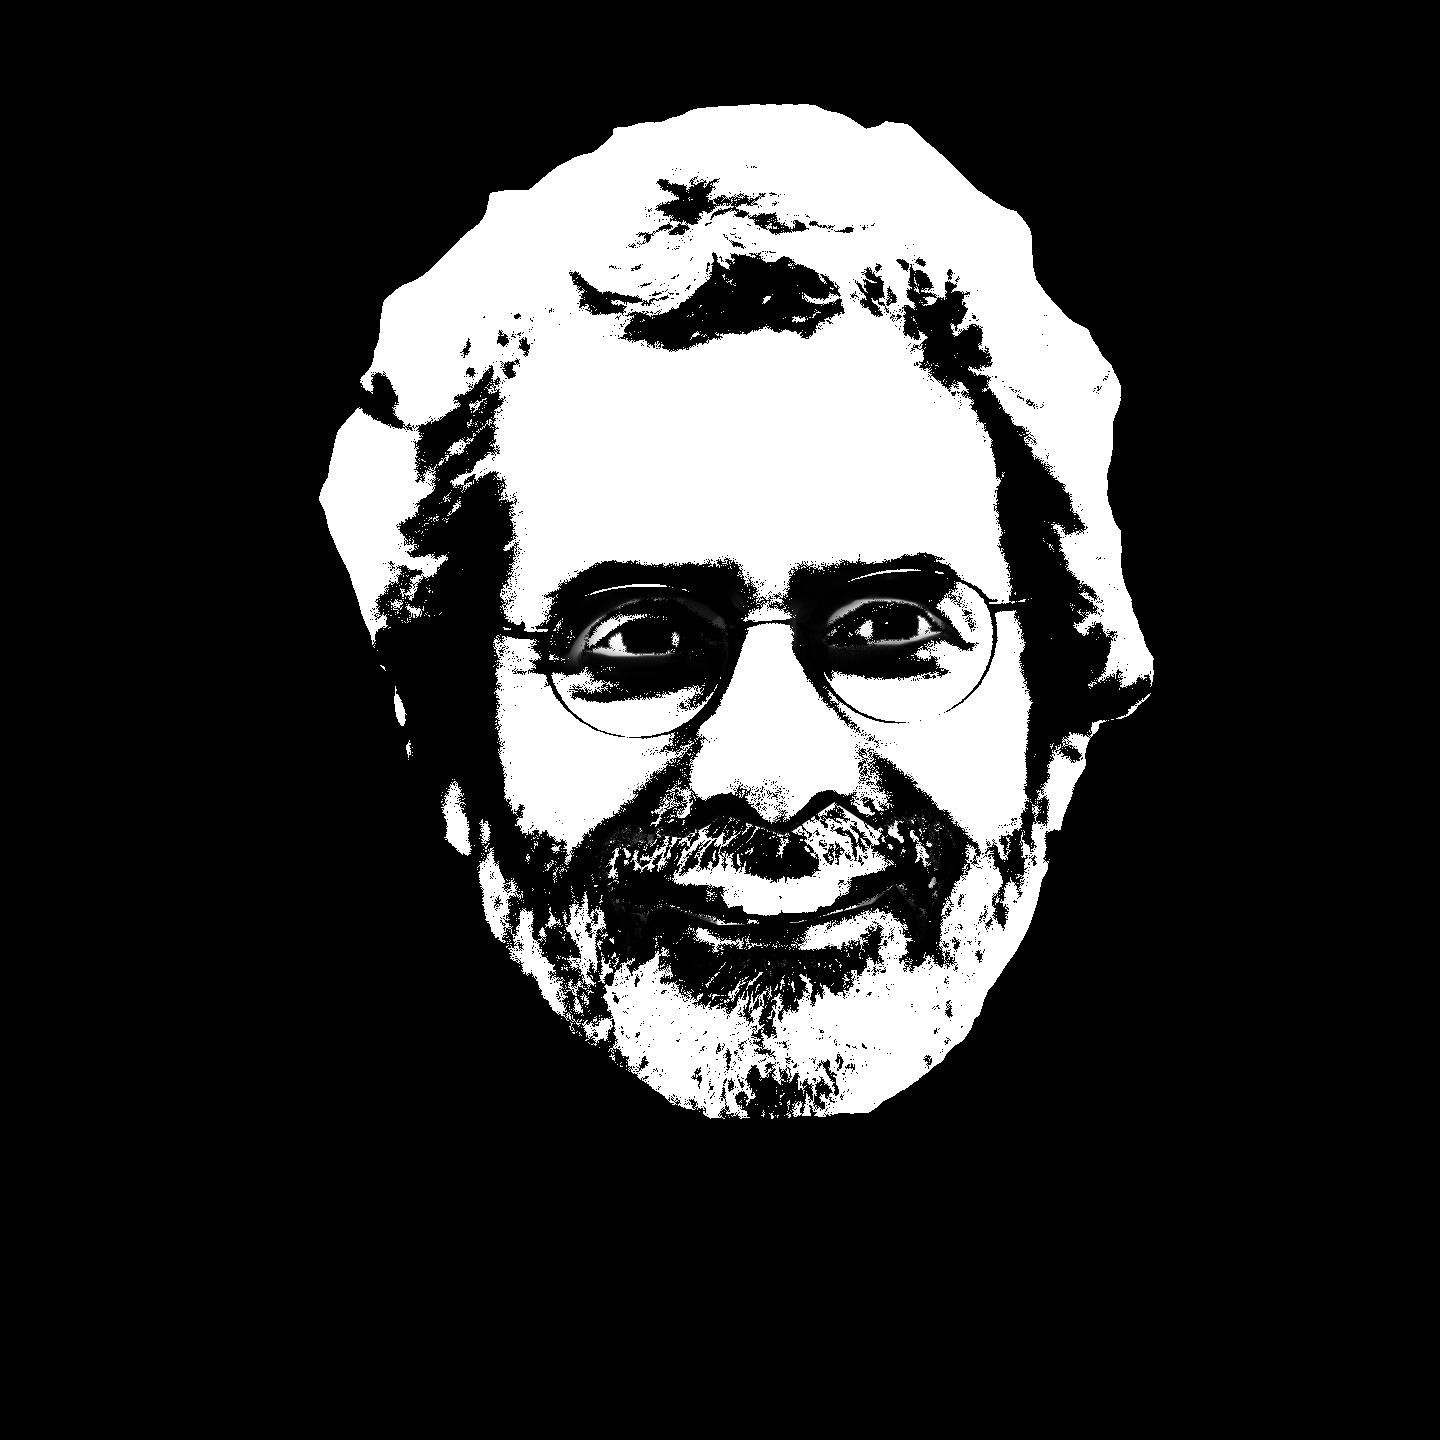
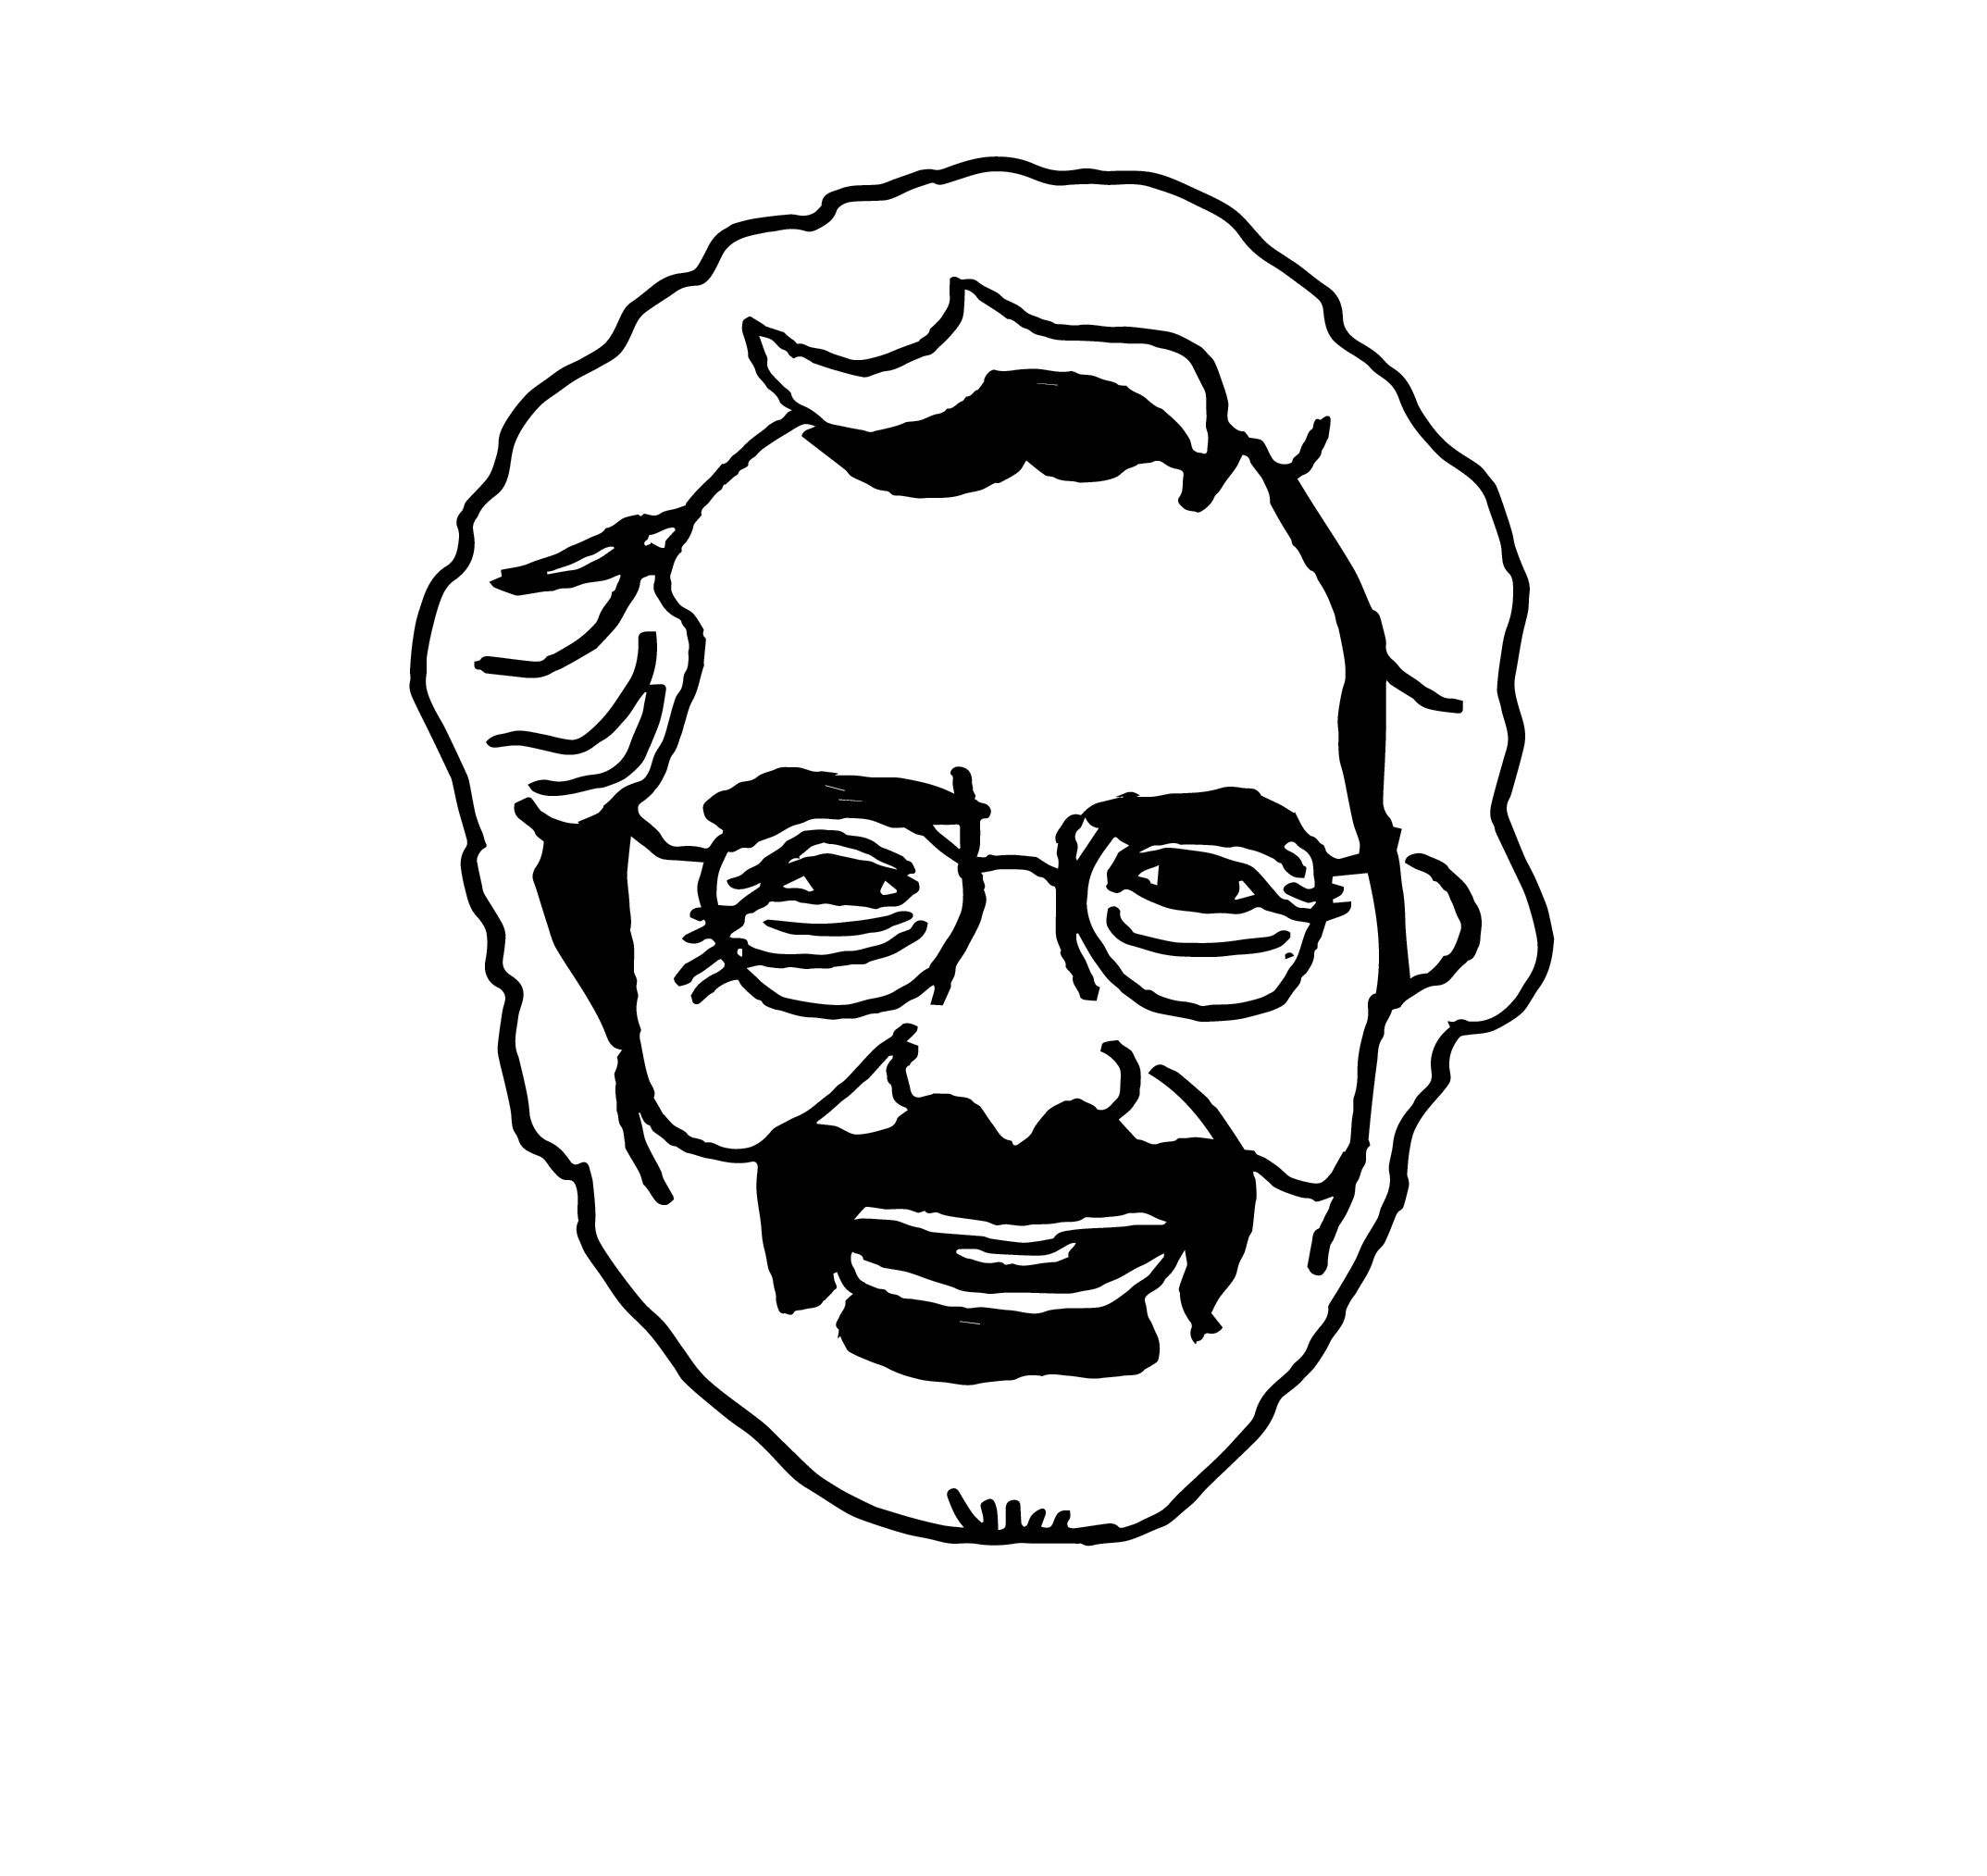
We wanted our machine to be able to toast Neil's face on a piece of bread so we took a picture of Neil and did some image processing to simplify it to two colors. We first tried with a shaded image but we had to convert later to line drawing.