The third session of the course is about electronics production. We are supposed to get familiarized with concepts like PCB fabrication, machining, PCB materials, components, soldering, etc.
The assignment for this session is to make an in-circuit programmer. So, first of all, I had to get the PCB ready. To prepare the PCB, we use a process called milling.
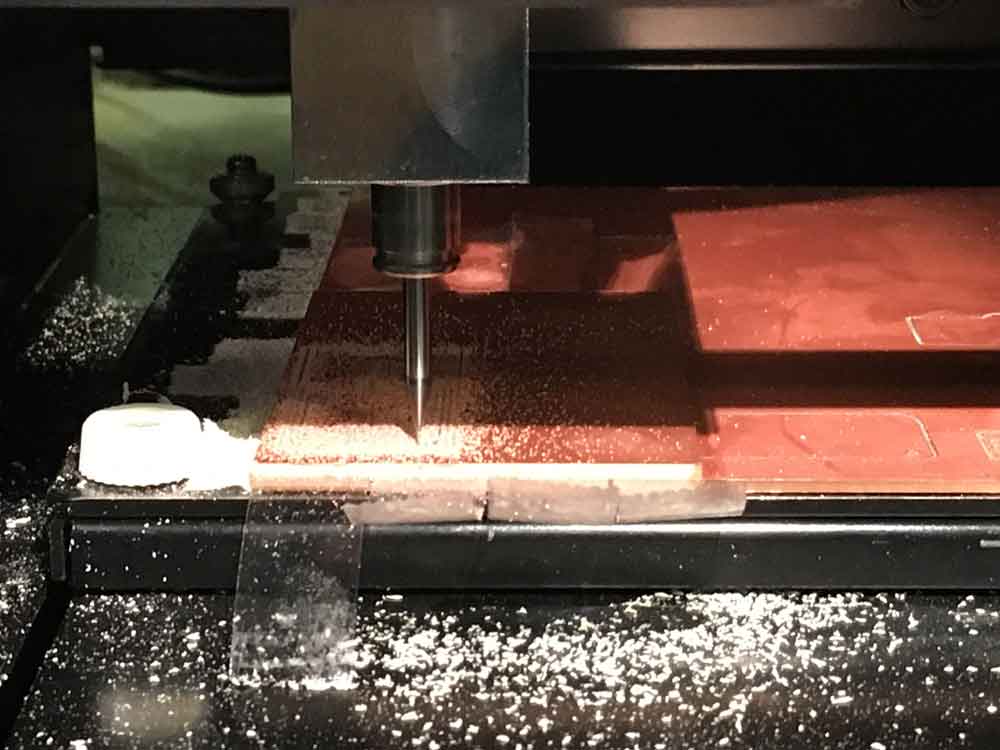
It was the first time milling a board for me so I was a bit nervous at first. The machine and the end-mills look a bit delicate. I tried to write everything down on the training session but I wasn't sure I was ready to do everything by myself. Luckily, Kreg was there when I arrived and he helped me with the little bits I missed out.
First I tried to make the traces. However, the end-mill was not going down enough so the circuit ended up not being perfectly milled. The main reason was the fact that the end-mill was worn out and I had to replace it with a new one.

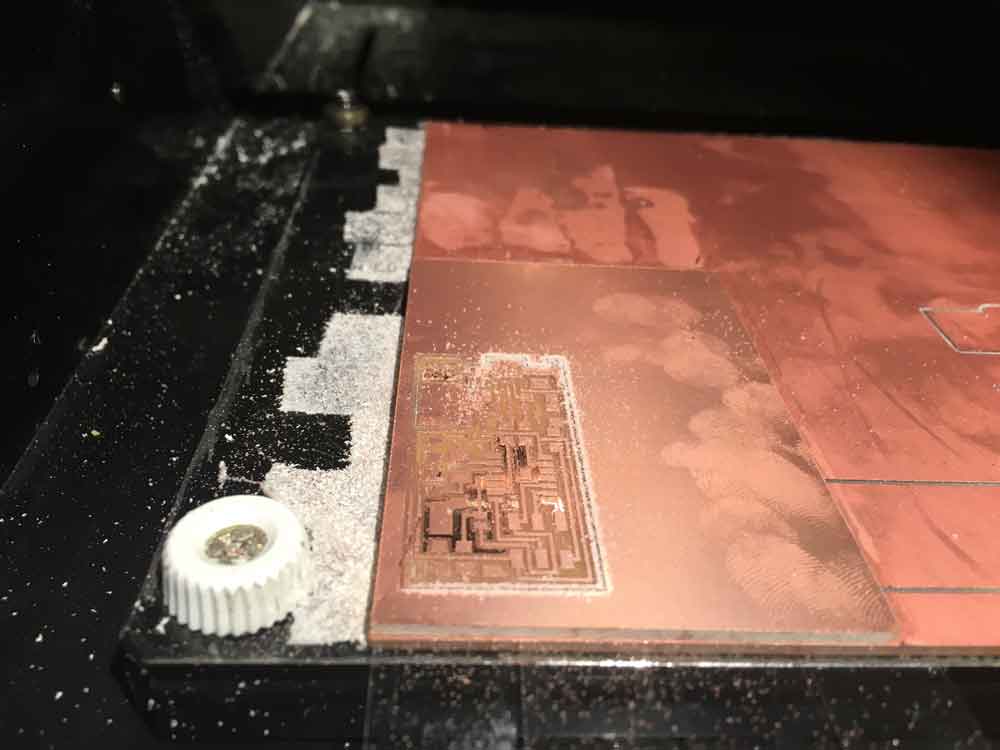
I cancelled the operation, changed the end-mill and modified the depth value on the software. I then tried to move the end-mill to the origin but the end-mill scratched the whole board in the middle when going back to the origin point. This was because I didn't set the depth value properly with the new end-mill.
Also, in theory, the machine is supposed to make a smooth transition from the view mode position to the origin point. In practice, the machine, sometimes, gets stuck or does unwanted movements. That is why we have to be patient, wait for the machine to finish the tasks and not rush things pressing random buttons (and this is my advise for the week ;) ).
It is very important to check if the depth value is set to the proper one. Over time, a change of the depth value may be needed as the end-mill wears away. Also, if the end-mill is too worn out, you will have to change it for a new one.
I used the same copper board for my second attempt. I only changed the origin point so it started in the middle. Luckily, this time, the board was milled properly.
After doing the traces, it is time to proceed with the outline in order to cut the PCB. You don't want to move the board as you want the same origin point as the reference. It is important to change the end-mill to the proper one. We were using a 1/64 for the traces and we use a 1/32 for the outline.
I was taught how to solder some years ago (maybe 6?). Since then, I have never soldered again. So exciting! On top of this, I soldered with wholes on the board which was way easier. But I really enjoyed the challenge so... Hands on!
First of all, I prepared the place. I got familiarized with the components, I made sure the table was clean and I cleaned the board as well with soap and water to make sure there was no oil left. If the board has a bit of oil, it will prevent the solder to stick to the traces so it is important to clean it first.
I started with the USB adapter. I was told the best way to do it is bottom top and inside to outside. However, I saw the tiny connections on the USB adapter and I thought I would do that first as it looked more difficult and the chances of screwing up were higher.
Well, I was right. I soldered two traces together. Good start! So I took the braid and desoldered both pins. It worked and I could solder the component properly.
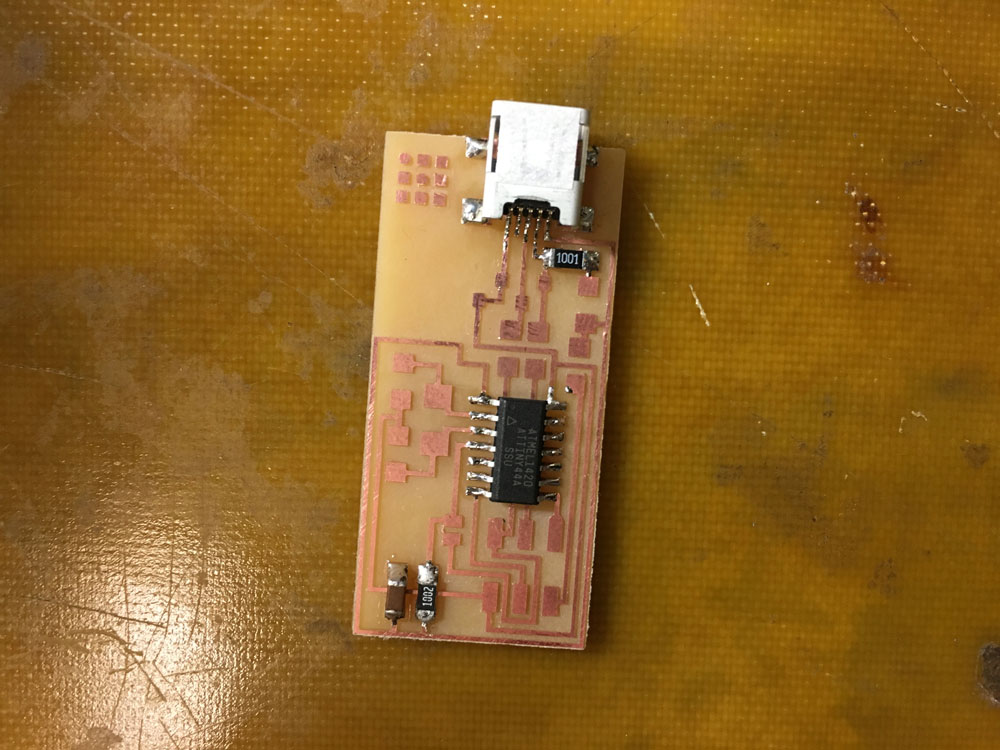
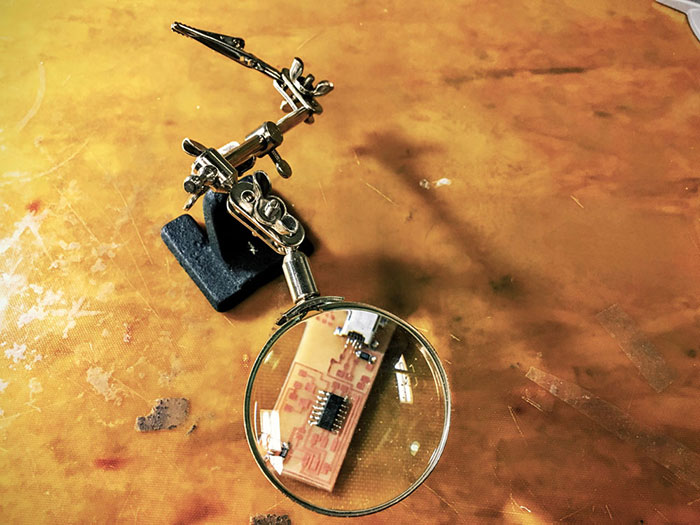
I kept on going adding component by component till I got all components soldered. To be honest, I thing I did a pretty good job. I ended up very proud of myself. But I still had to test it to see if it worked properly...
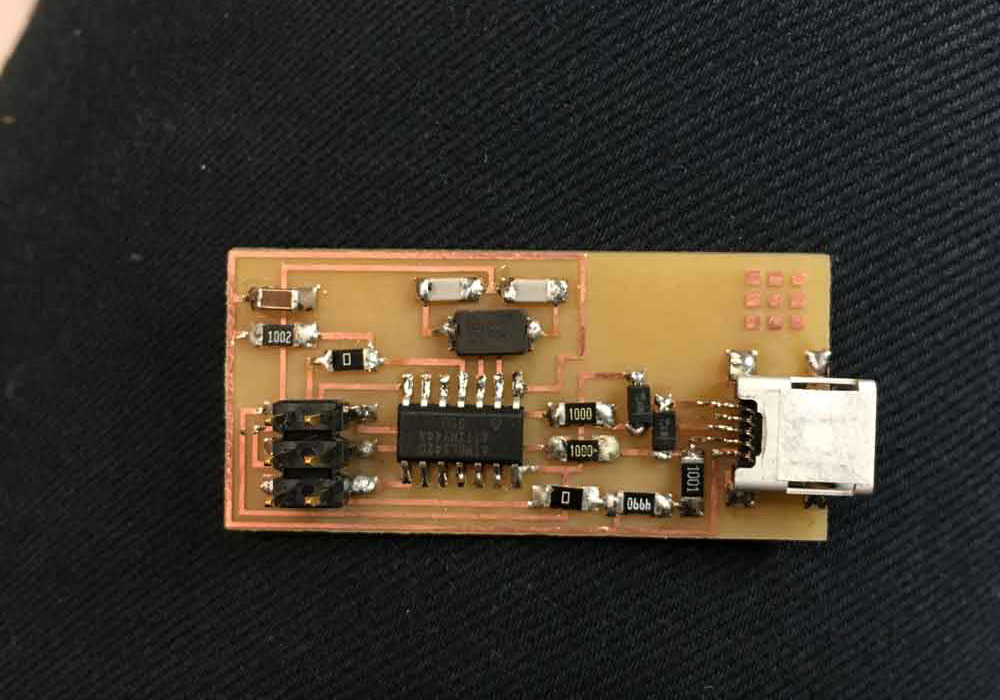
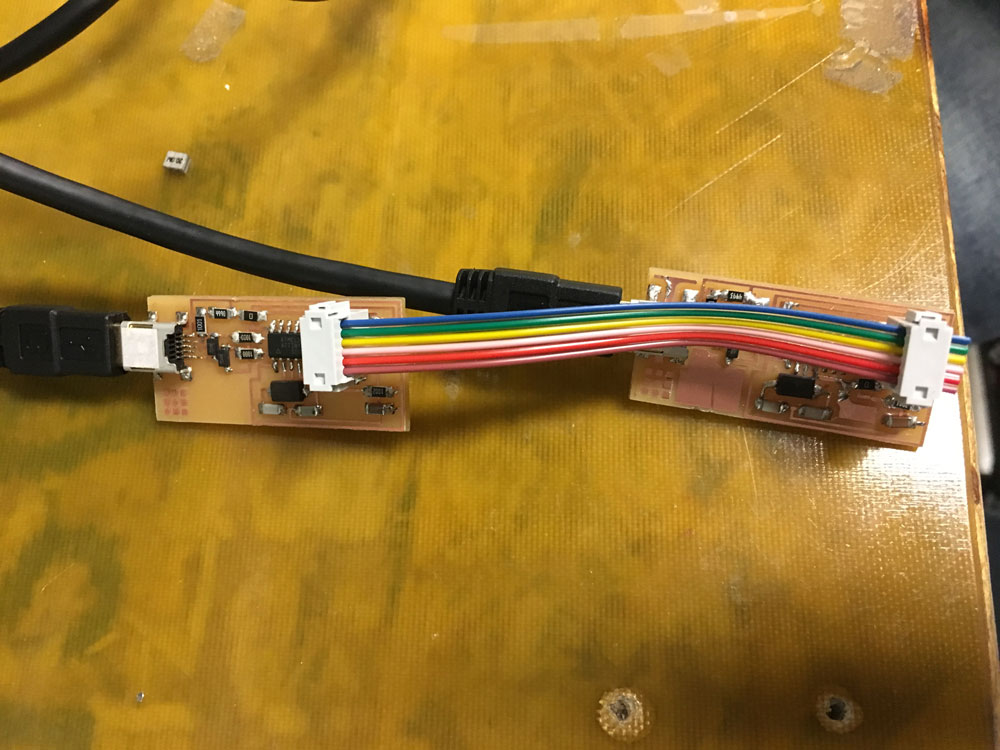
I finally connected my board to the programmer and it got programmed properly. I then desoldered the two jumpers (0 Ohm resistors). I tried to program Mina's board with mine and it also worked. Success! :)