This session of the course is focused on electronics design. We are asked to:
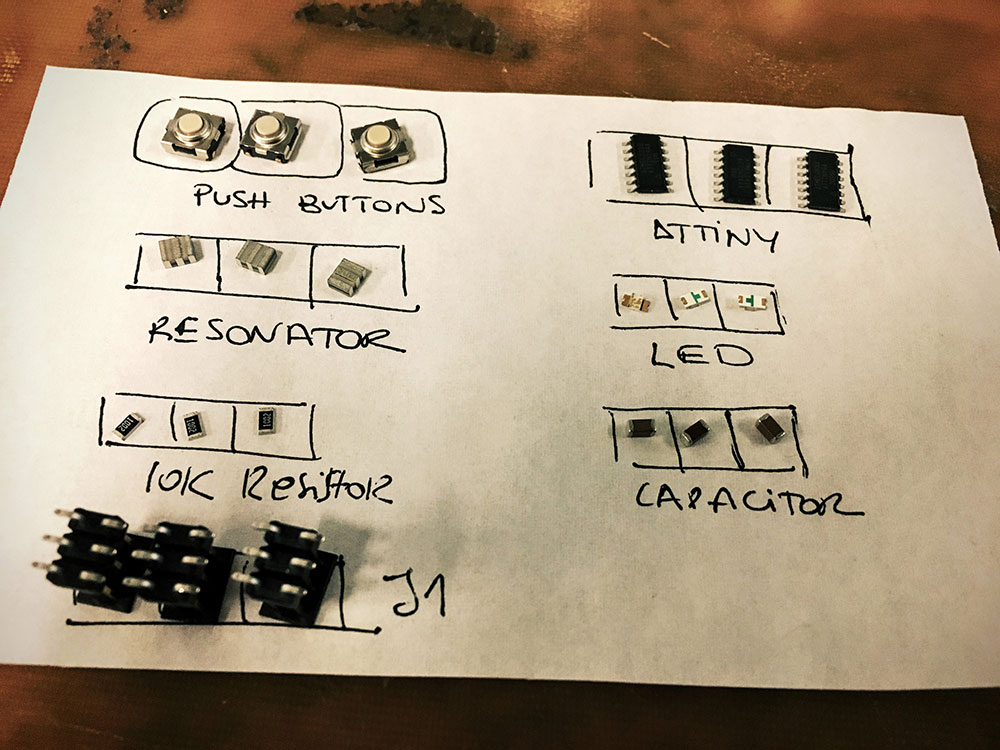
First of all, I designed the board using Eagle. I installed the FAB library with all the components and I added them to the schematic. I followed the design given for the helloworld board. I then added a button and an LED with the corresponding resistor.

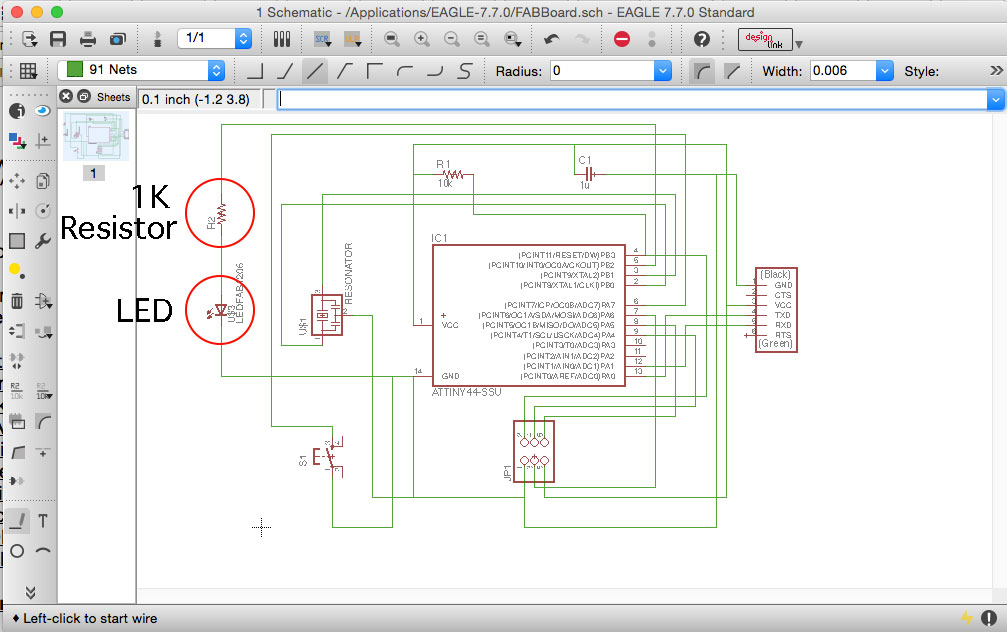
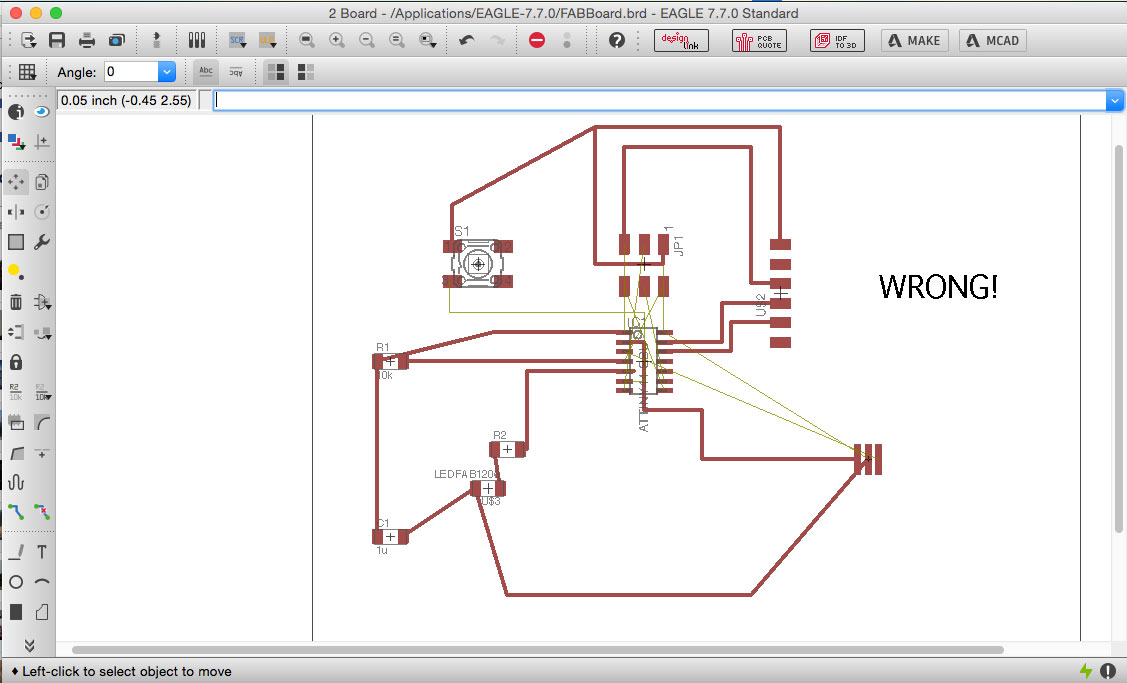
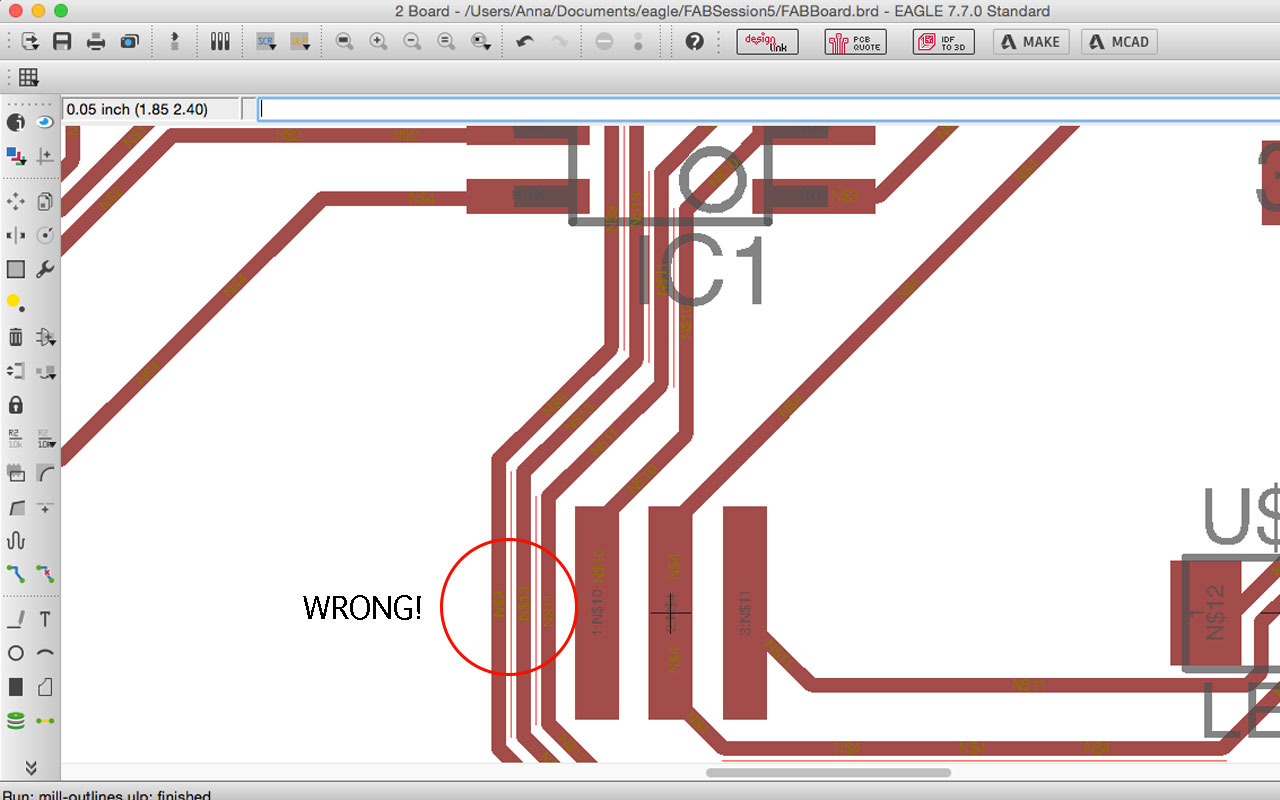
I then had to make the routing. This was hard. I started doing it manually and I got very frustrated. I couldn't find a way to route the traces without making them cross each other.
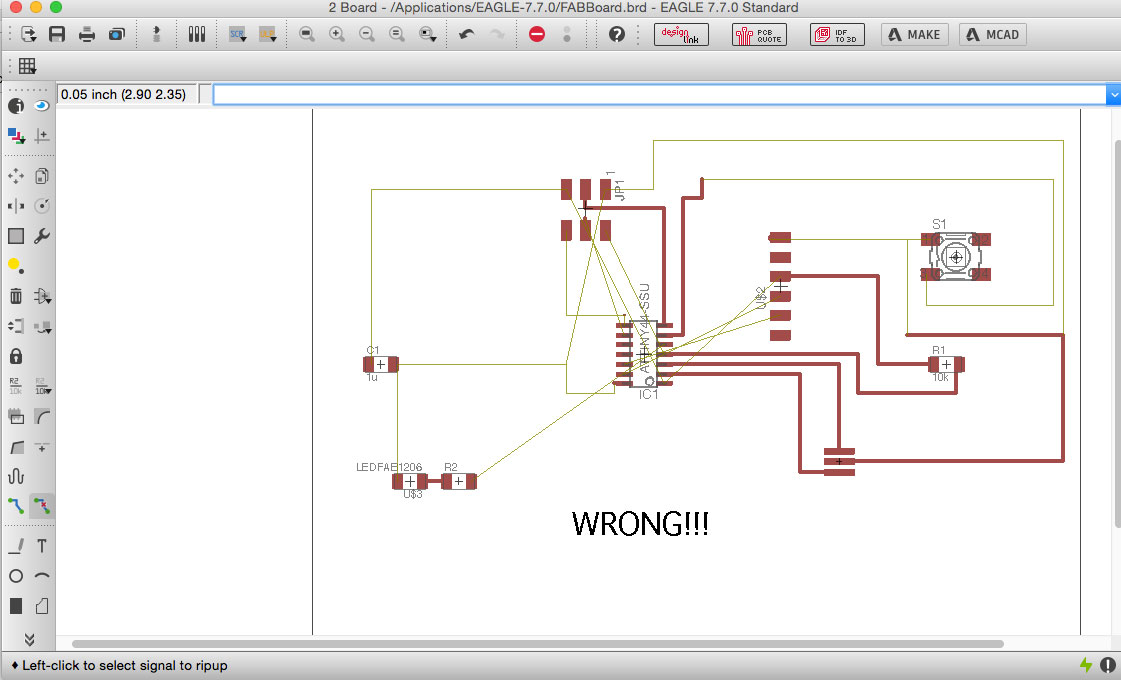
FRUSTRATION LEVEL 100.
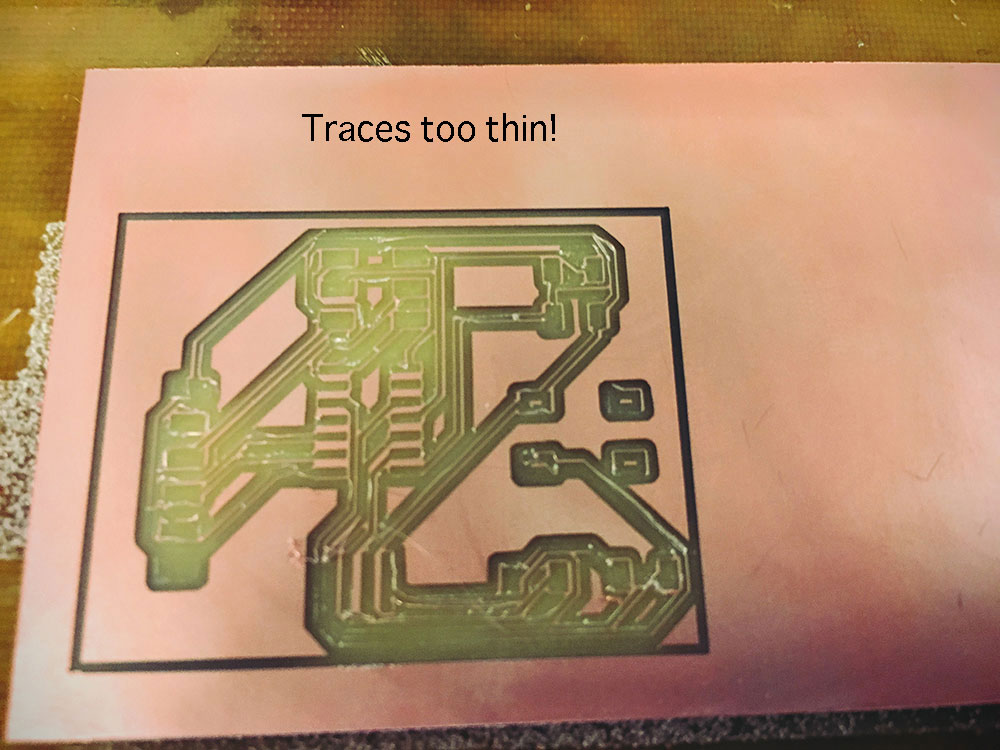
I then tried routing it automatically with the Eagle autorouter tool. But it always gave me wrong results. It always left some traces open. I started playing around with the trace width. I tried using 0.01. And I managed to get the routing done with the autorouter tool. But later on, when I checked the design rules, the traces where too thin.

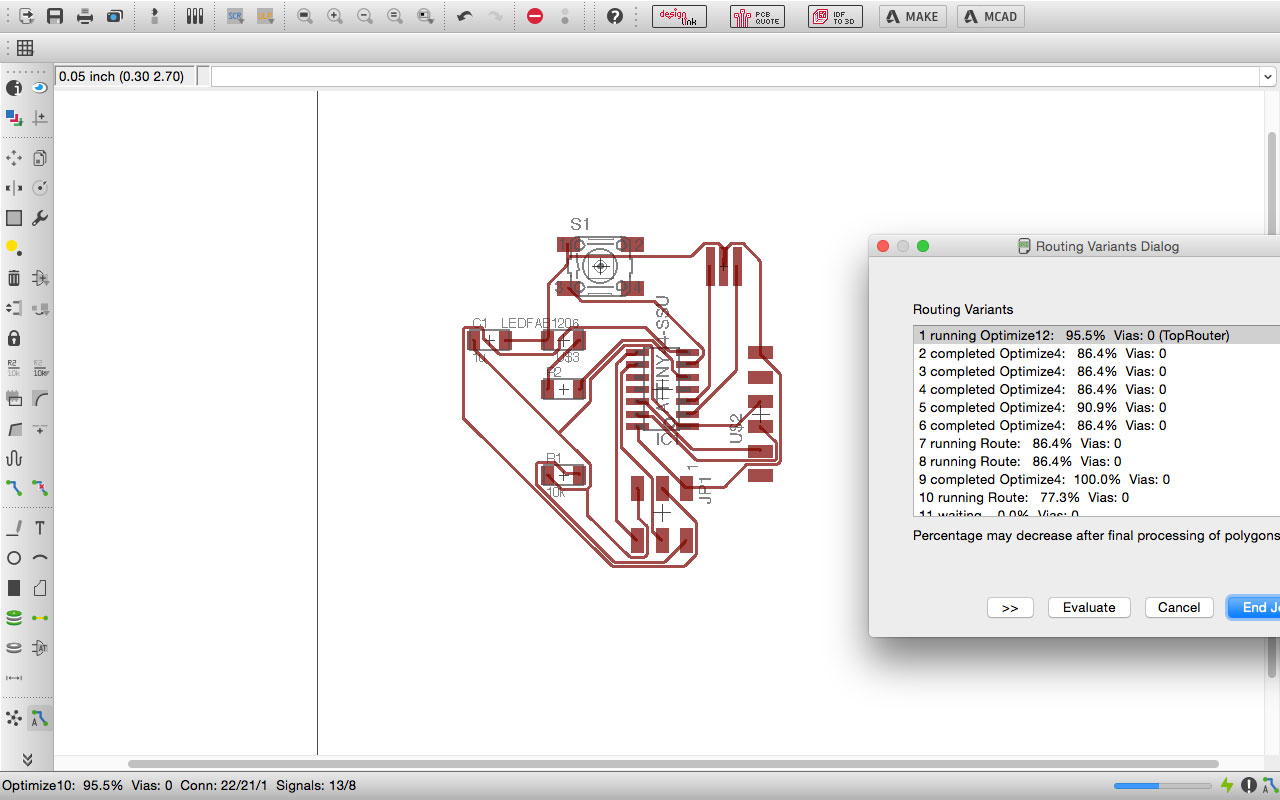
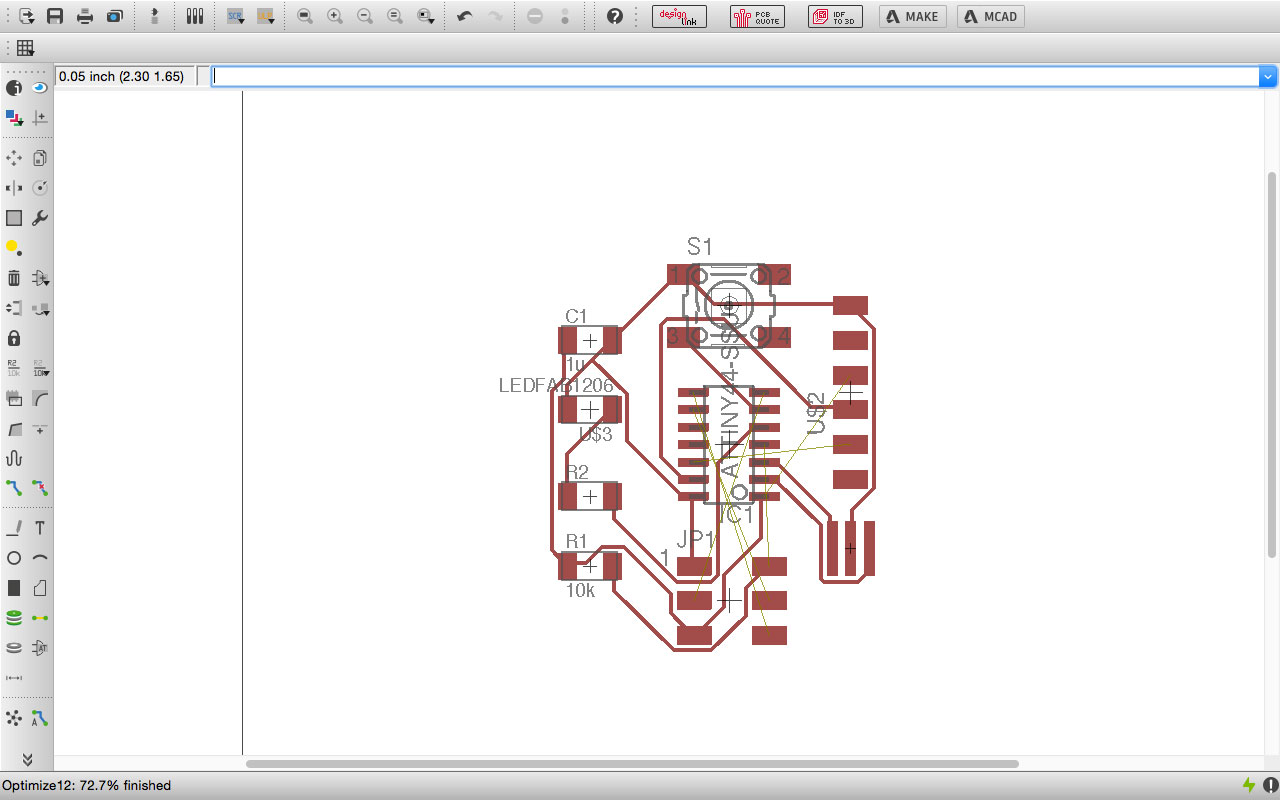
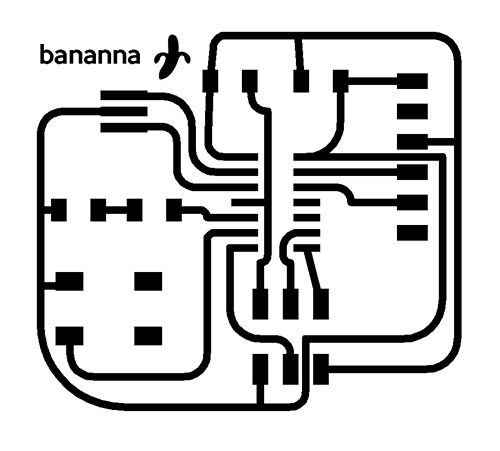
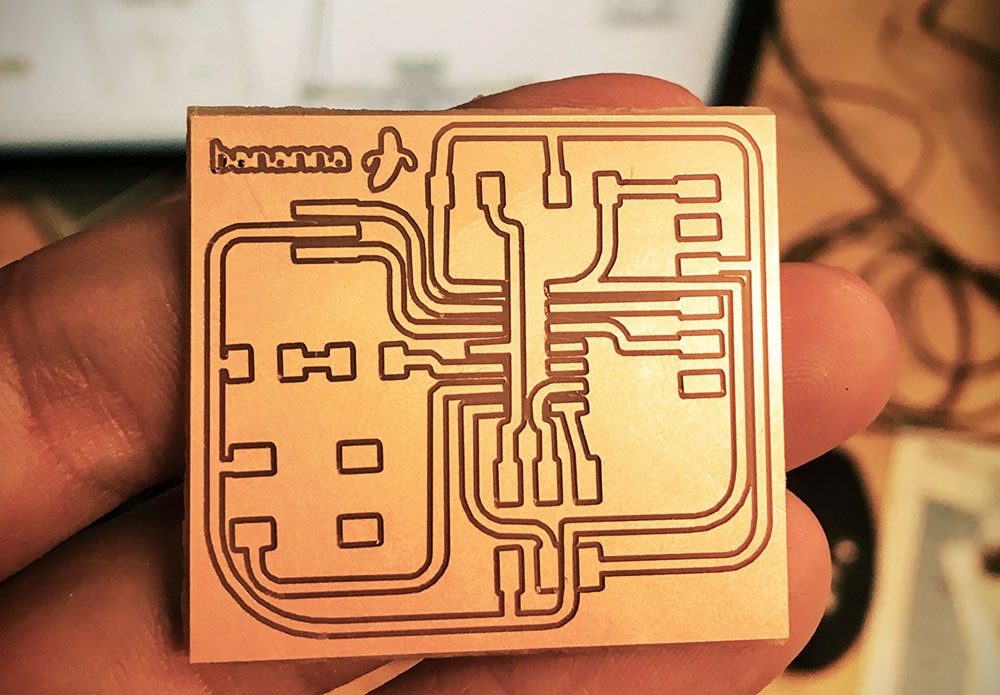
After all this struggle, I kind of gave up and I decided I would follow the design provided on the Fab website. I made the routing following that design but using curved routes. I then added a name and an image with Photoshop.
So, when designing your boards make sure to:
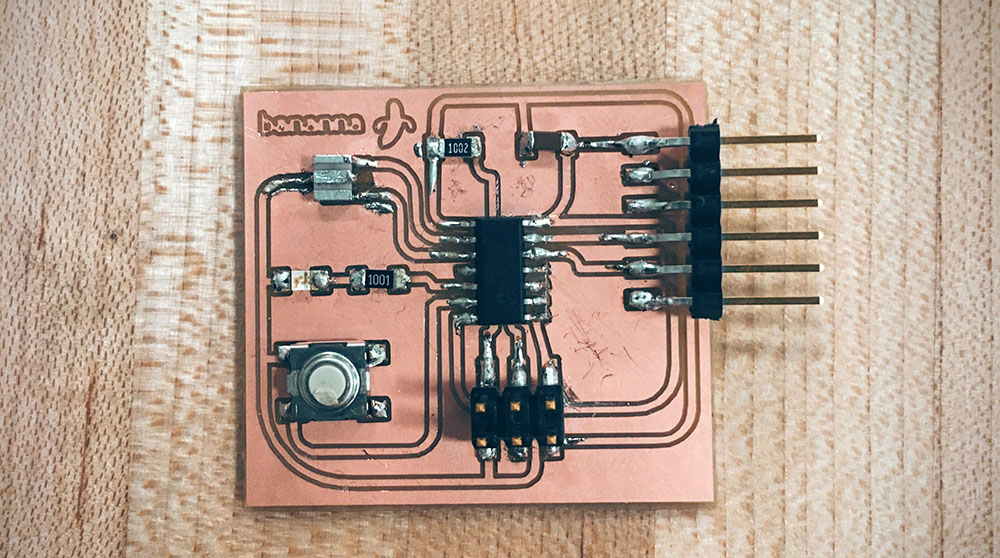
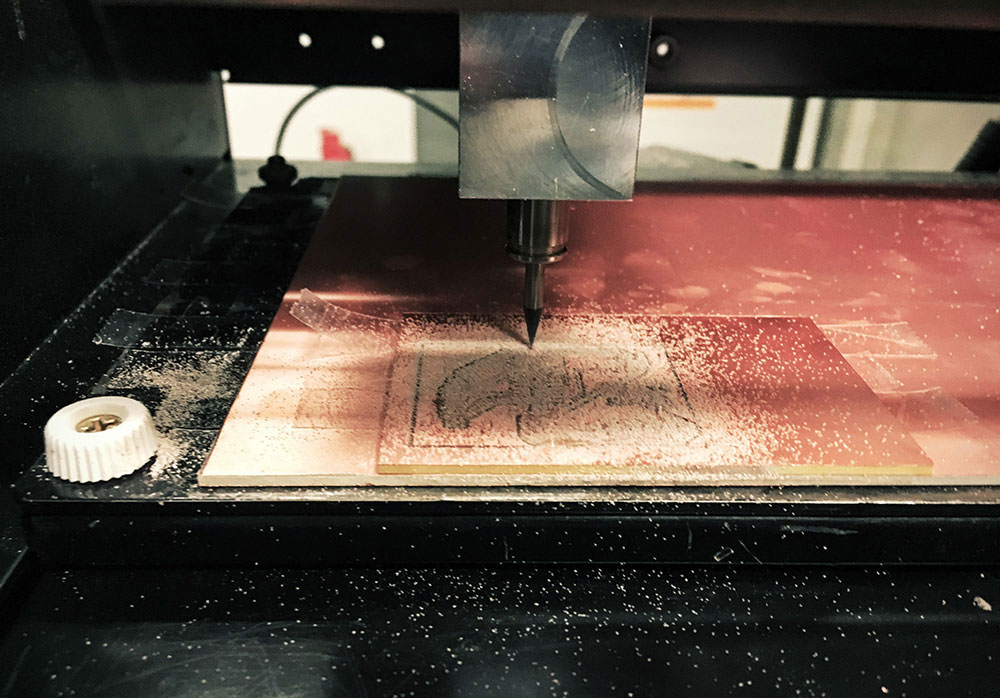
The design and the milling happened more or less at the same time. So when I had the bad designs I did at the beginning, I tried milling those and, obviously, the result was not good.
Also, when I managed to get a more decent design (not the best), I didn't stick the board hard enough to the surface of the machine, so it started moving and the machine scratched it all.
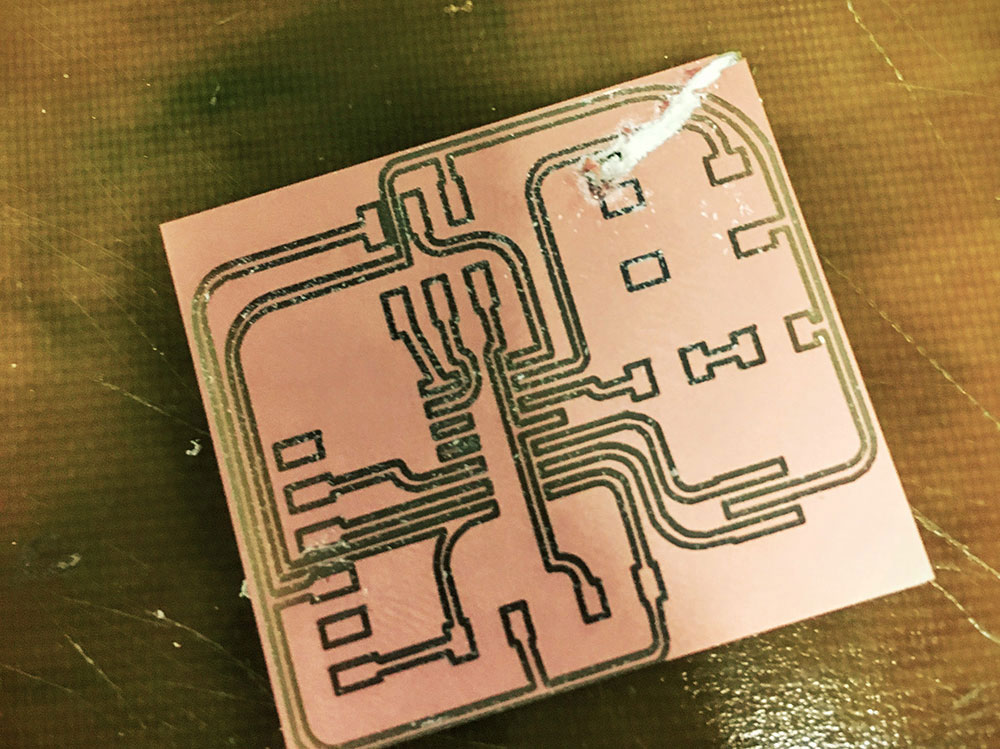
My colleagues (Mina and Pedro) and I had a really hard time trying to mill the boards. We spent loads of time trying to mill them wrong as we were not inverting the colors in the image and the machine was milling the wrong way around. Joining efforts, we managed to get the milled and looking awesome :)
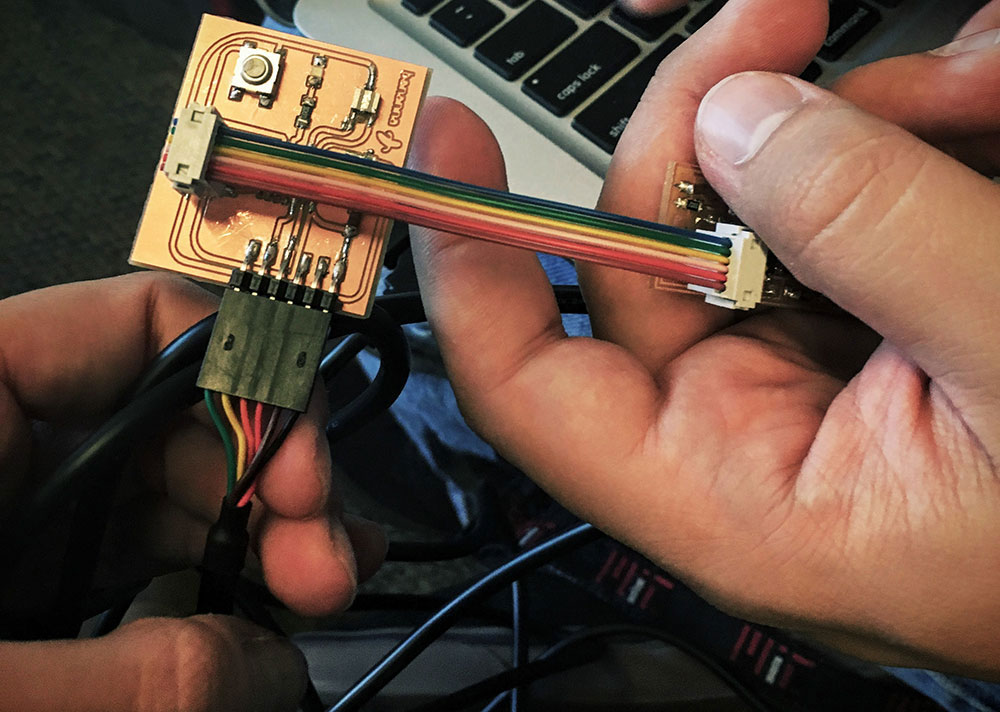
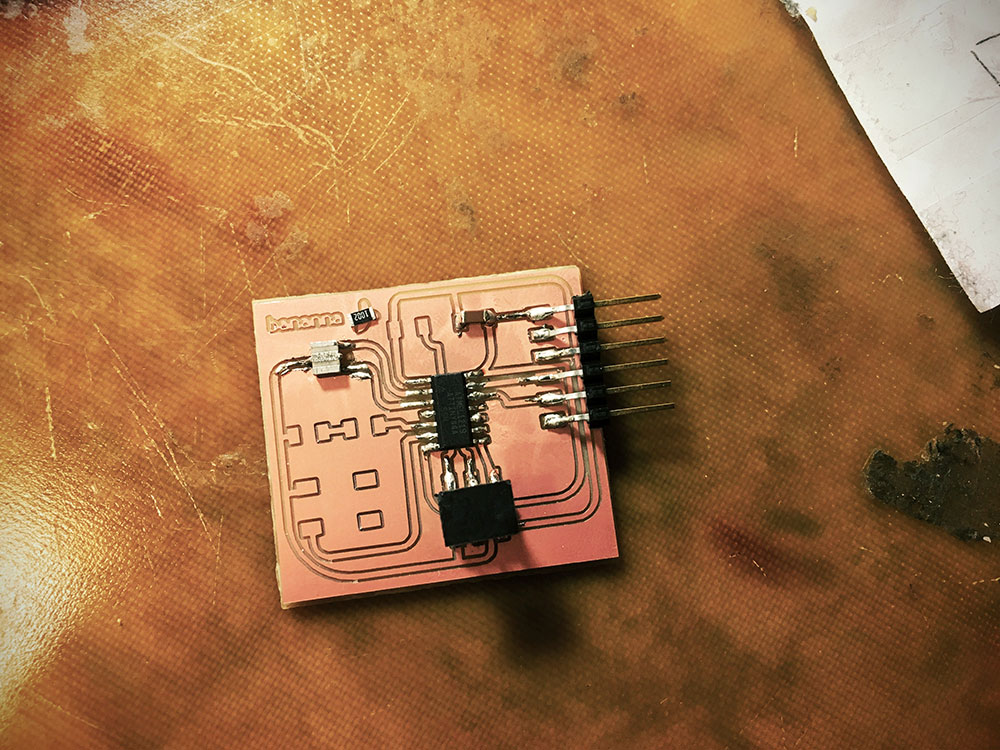
The soldering was a bit frustrating as well. But as there were not many components I could finish quickly. I then checked with the multimeter to see if I had any short. And I realised the 10K resistor was soldered to a wrong trace. So I desoldered and soldered it again.
Important!
We finally managed to program the board following the Fab website instructions.