For this week, the assignment was to learn how to cast and mold something out of machineable wax. Molding and casting is a really cool process - and it can be used to make chocolate truffles, which I will hopefully have experimented on by next week!
I decided to design what my chocolate would look like, and do a test run with Oomoo 25, an easy to use Silicone Rubber mold that we had available in the lab.
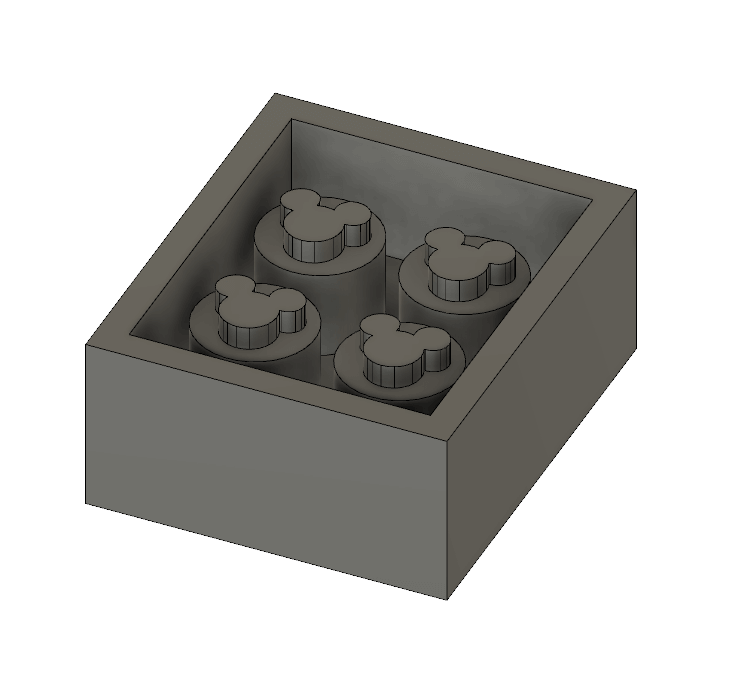
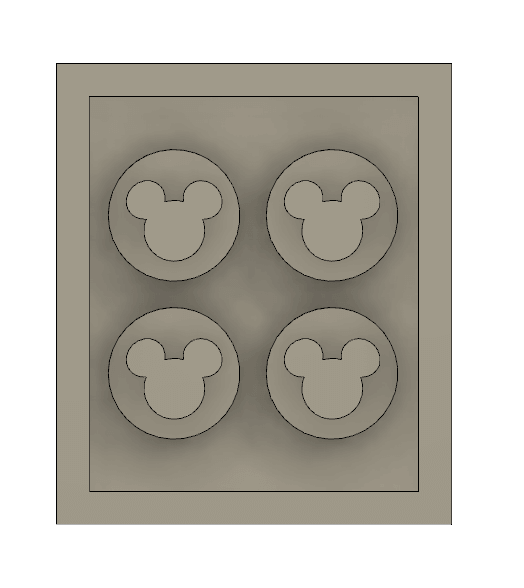
Designing a model
To begin, I needed to design a model. My CAD skills are not great, and so I decided to just continue using Fusion 360 to try to speed up the process. There were a lot of issues I faced with Fusion 360 like how to align and place objects together, but I’m slowly learning more with the help of others in the class. As I had mentioned in Week 1, I was a part of Camp Kesem, a student run non profit at MIT and my camp name as a part of the organization was Mickey! I decided I wanted my chocolate to have Mickey Mouse faces, however, since we were using a 1/8” bit, I wasn’t going to be able to get a lot my fine details of the face in my design so I kept it fairly simple.
Machining the Wax
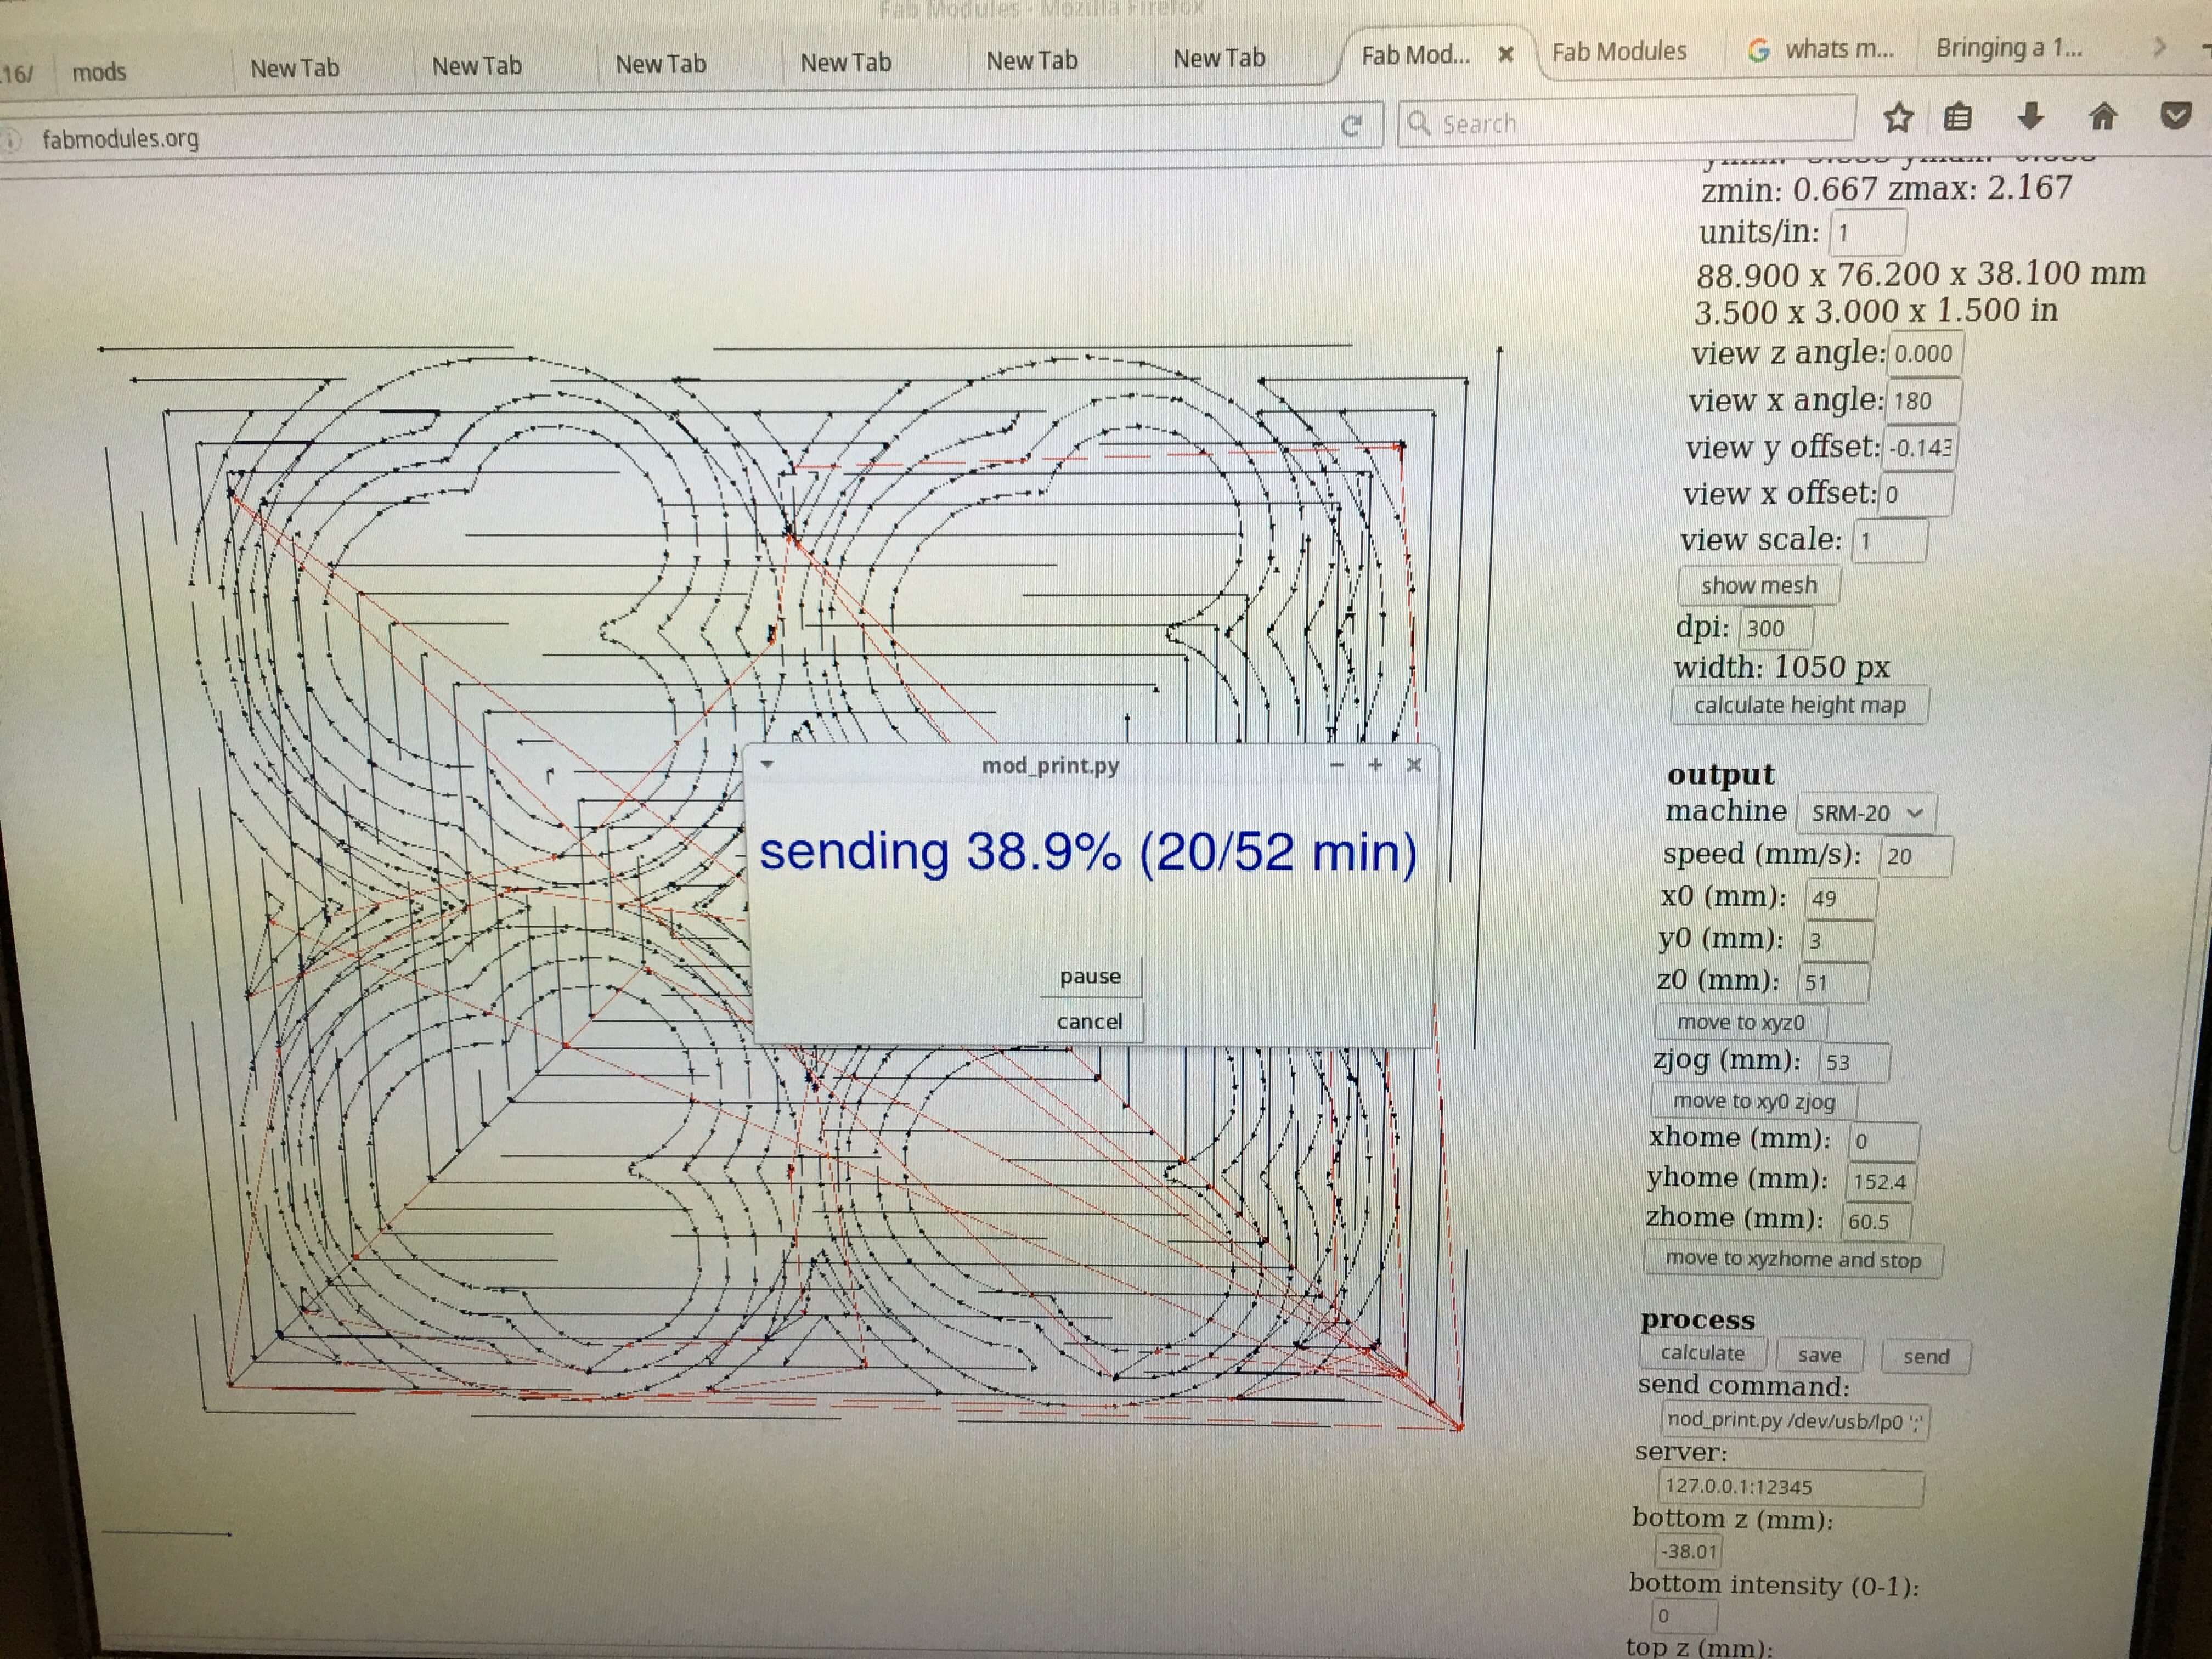
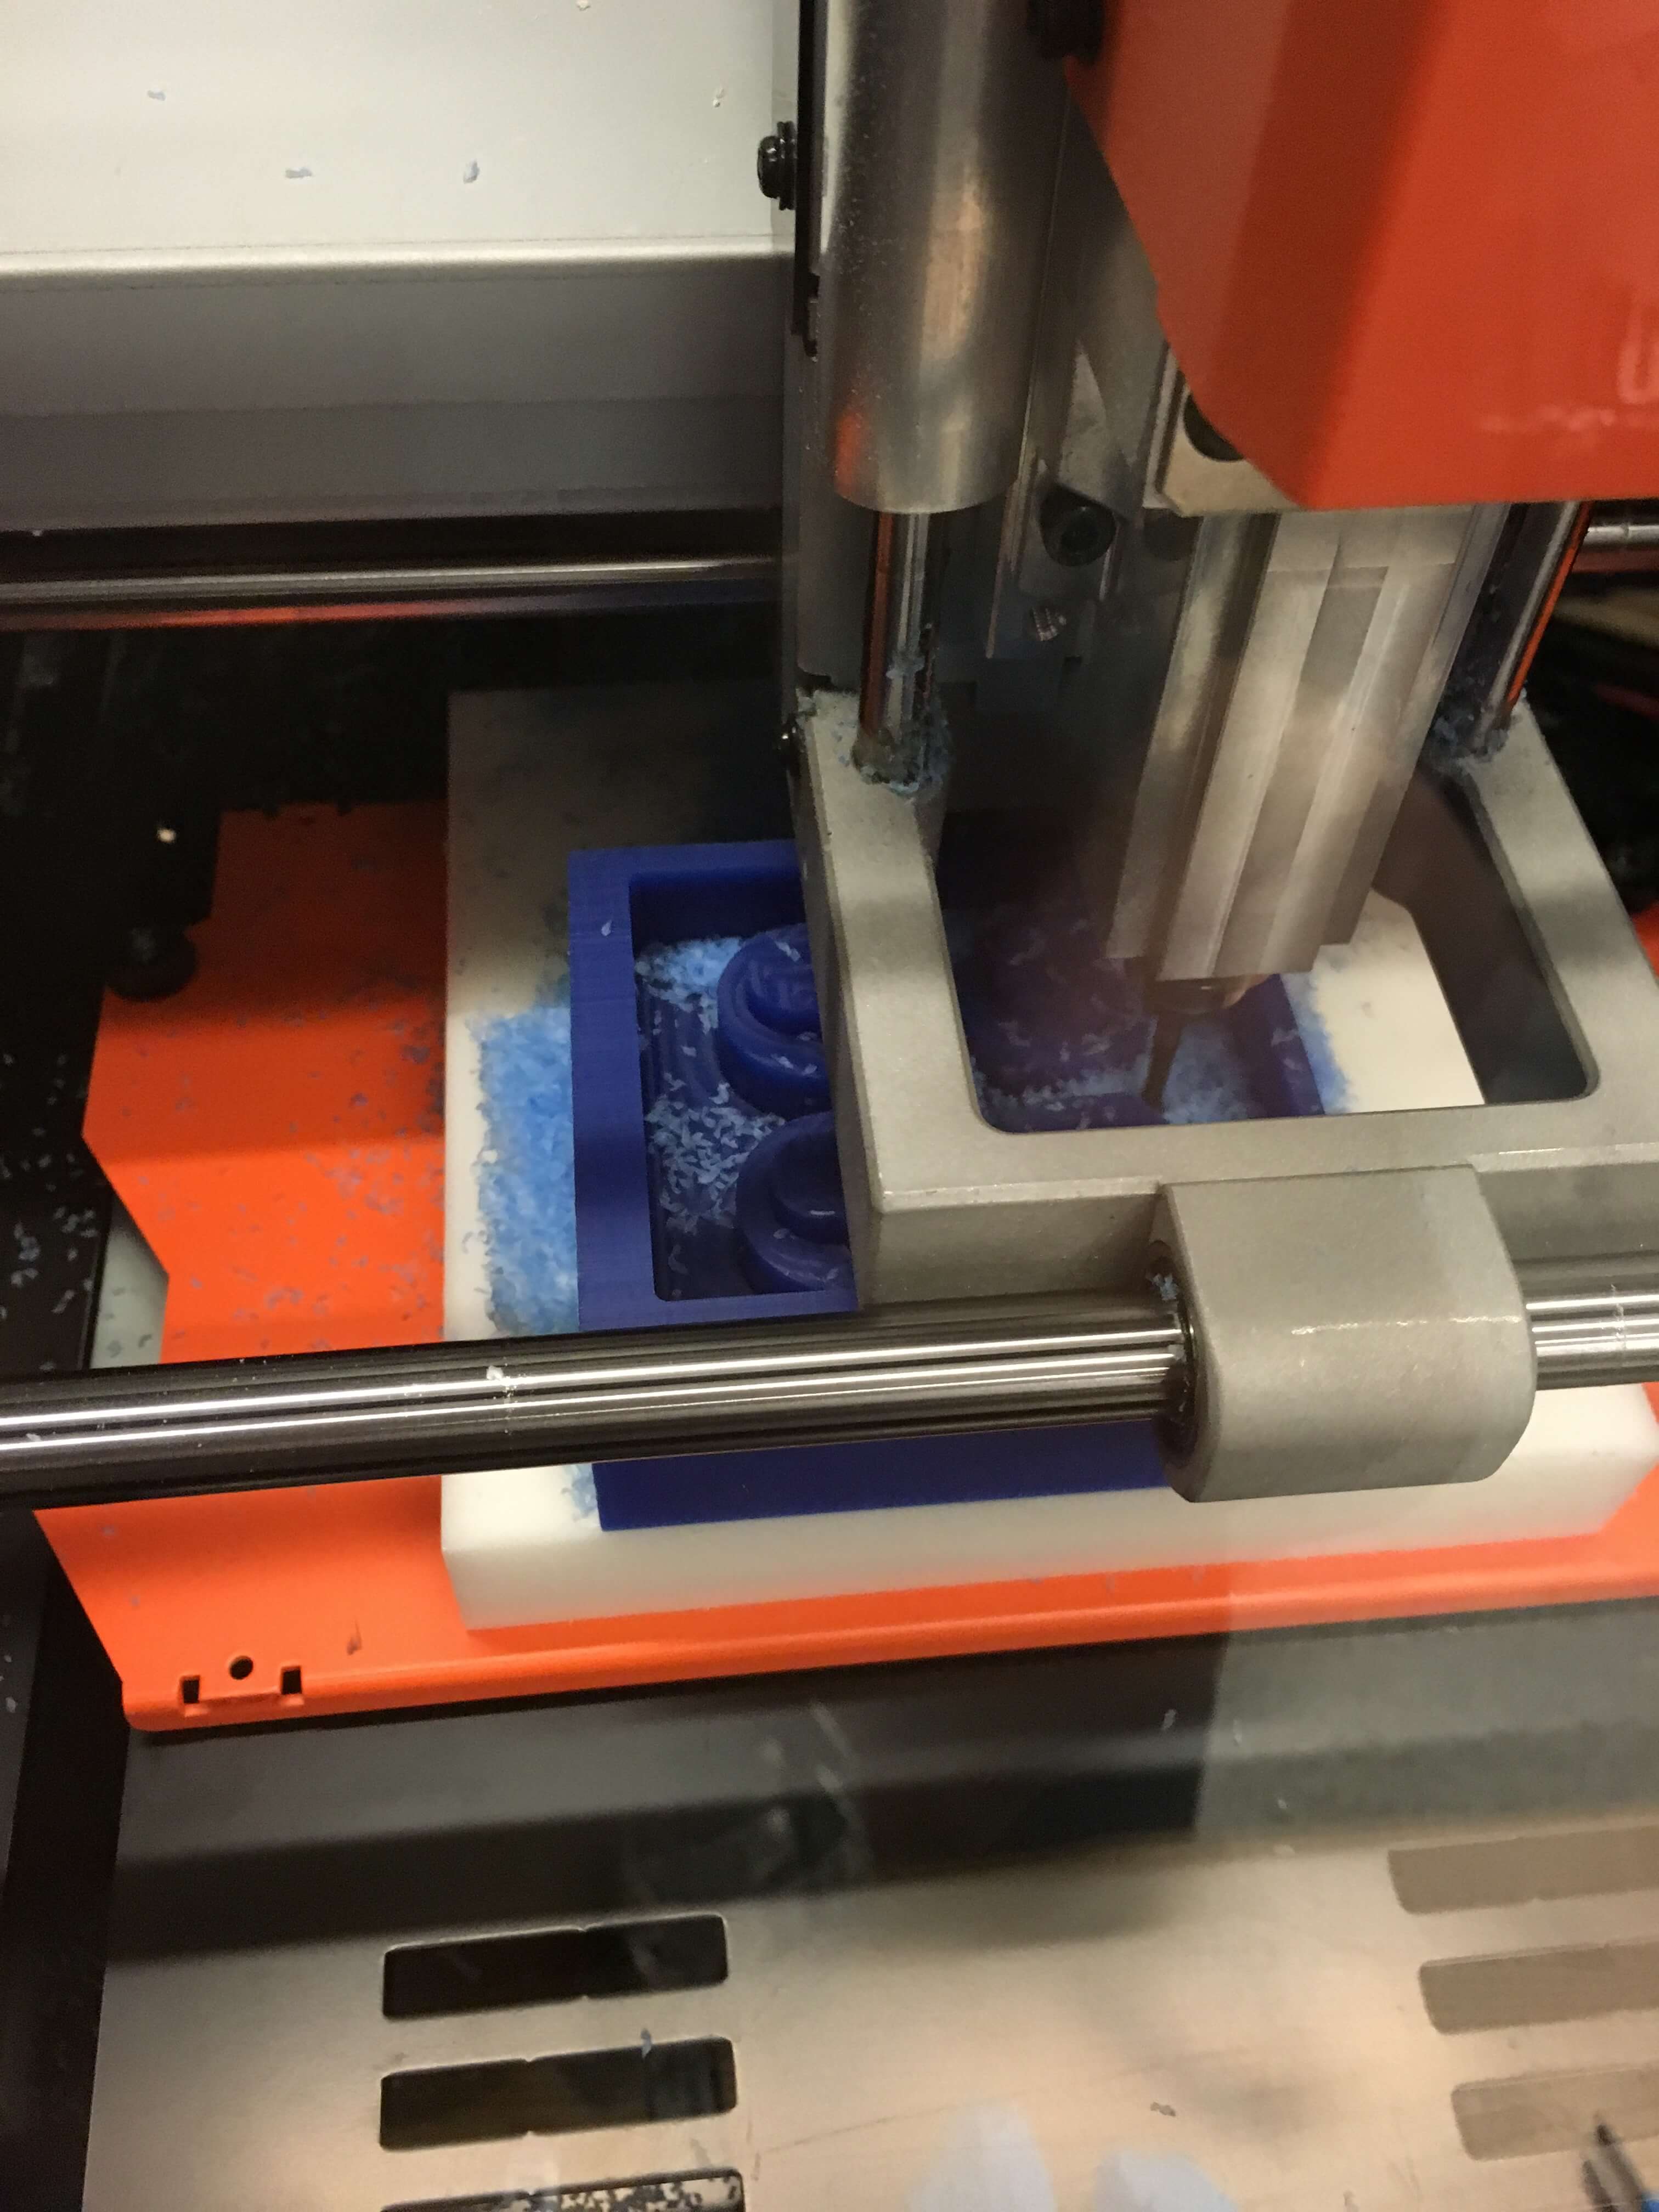
Once you have a model, you need to machine the wax as a positive. To machine the wax, we had the option of using the SRM-20 again, or the Othermill. Both of these have their advantages/disadvantages. The SRM-20 seemed to take longer on each job than the Othermill, however, the Othermill requires more steps to prepare as you have to generate GCode and then import it into the Otherplan software.
I used the SRM-20 as it was the one that was easiest available. One thing to note when using the SRM-20 is that the maximum cut depth is just above 1.05”. This is because the bit only has that much extra room while fitting in the collet, and if you try to cut too much deeper than that, the collet will hit the top of your design and the mill will stop.
Here are some shots of the wax being created:

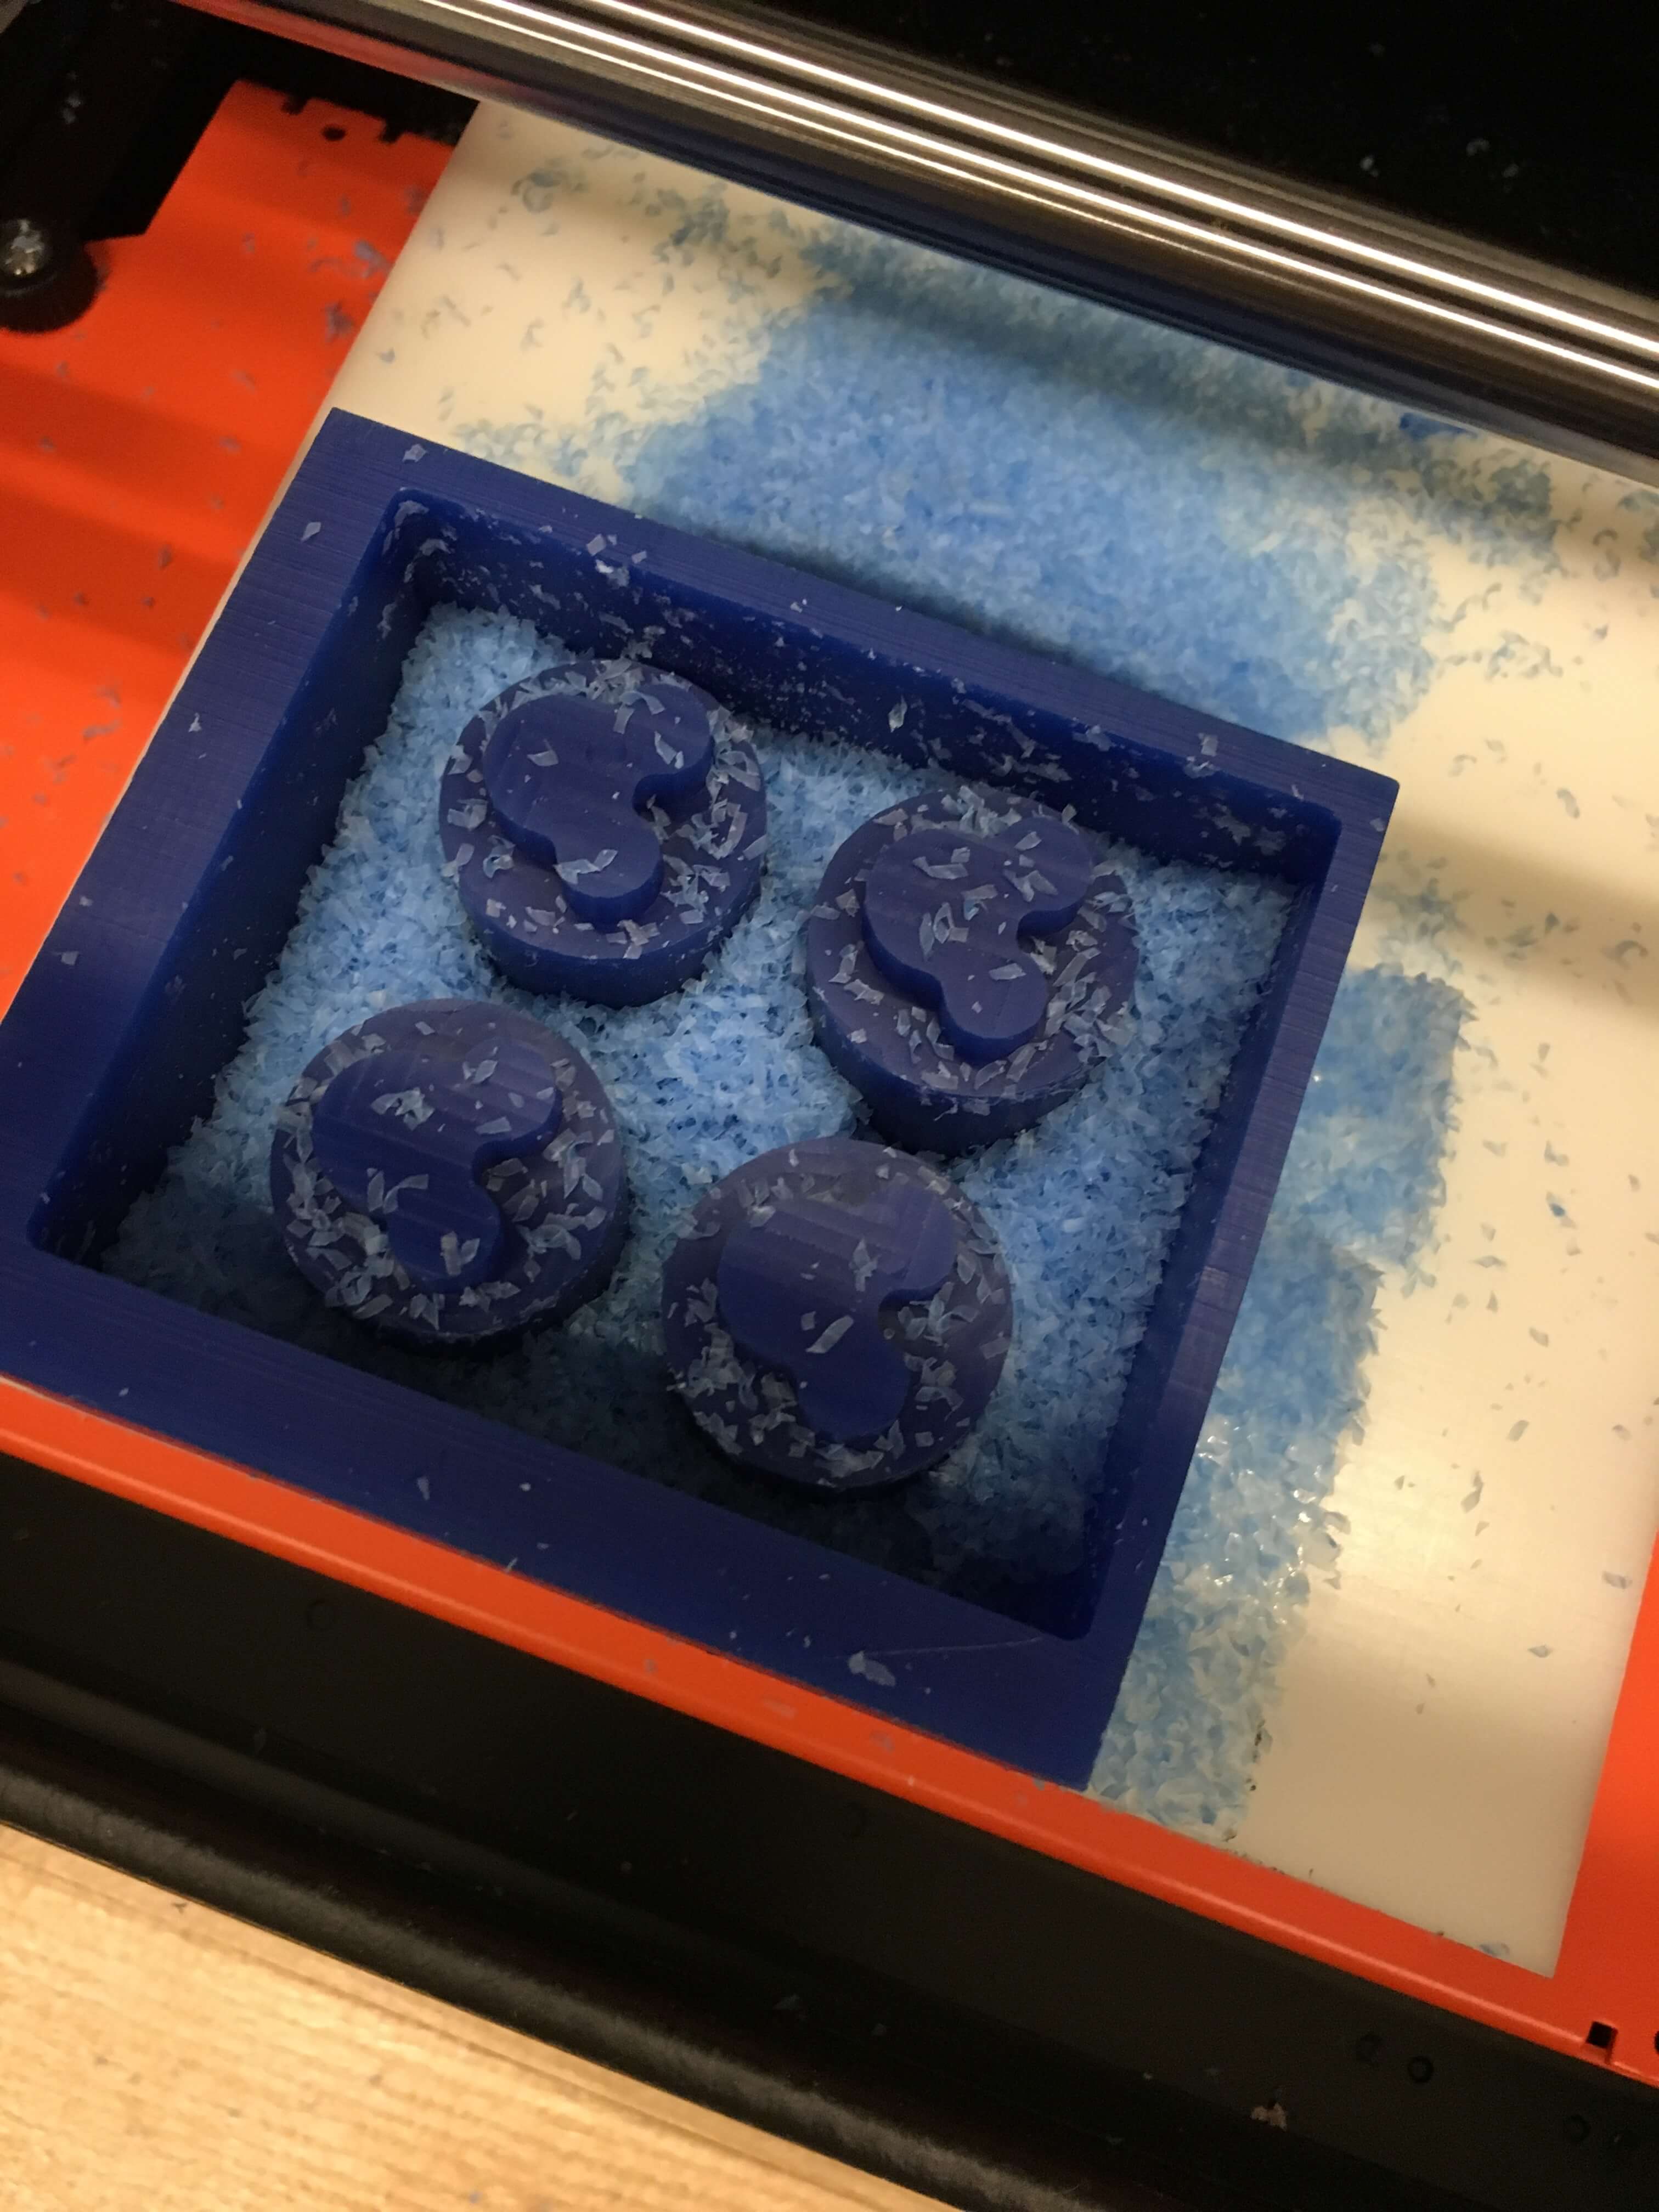
The finished output (before cleaning):
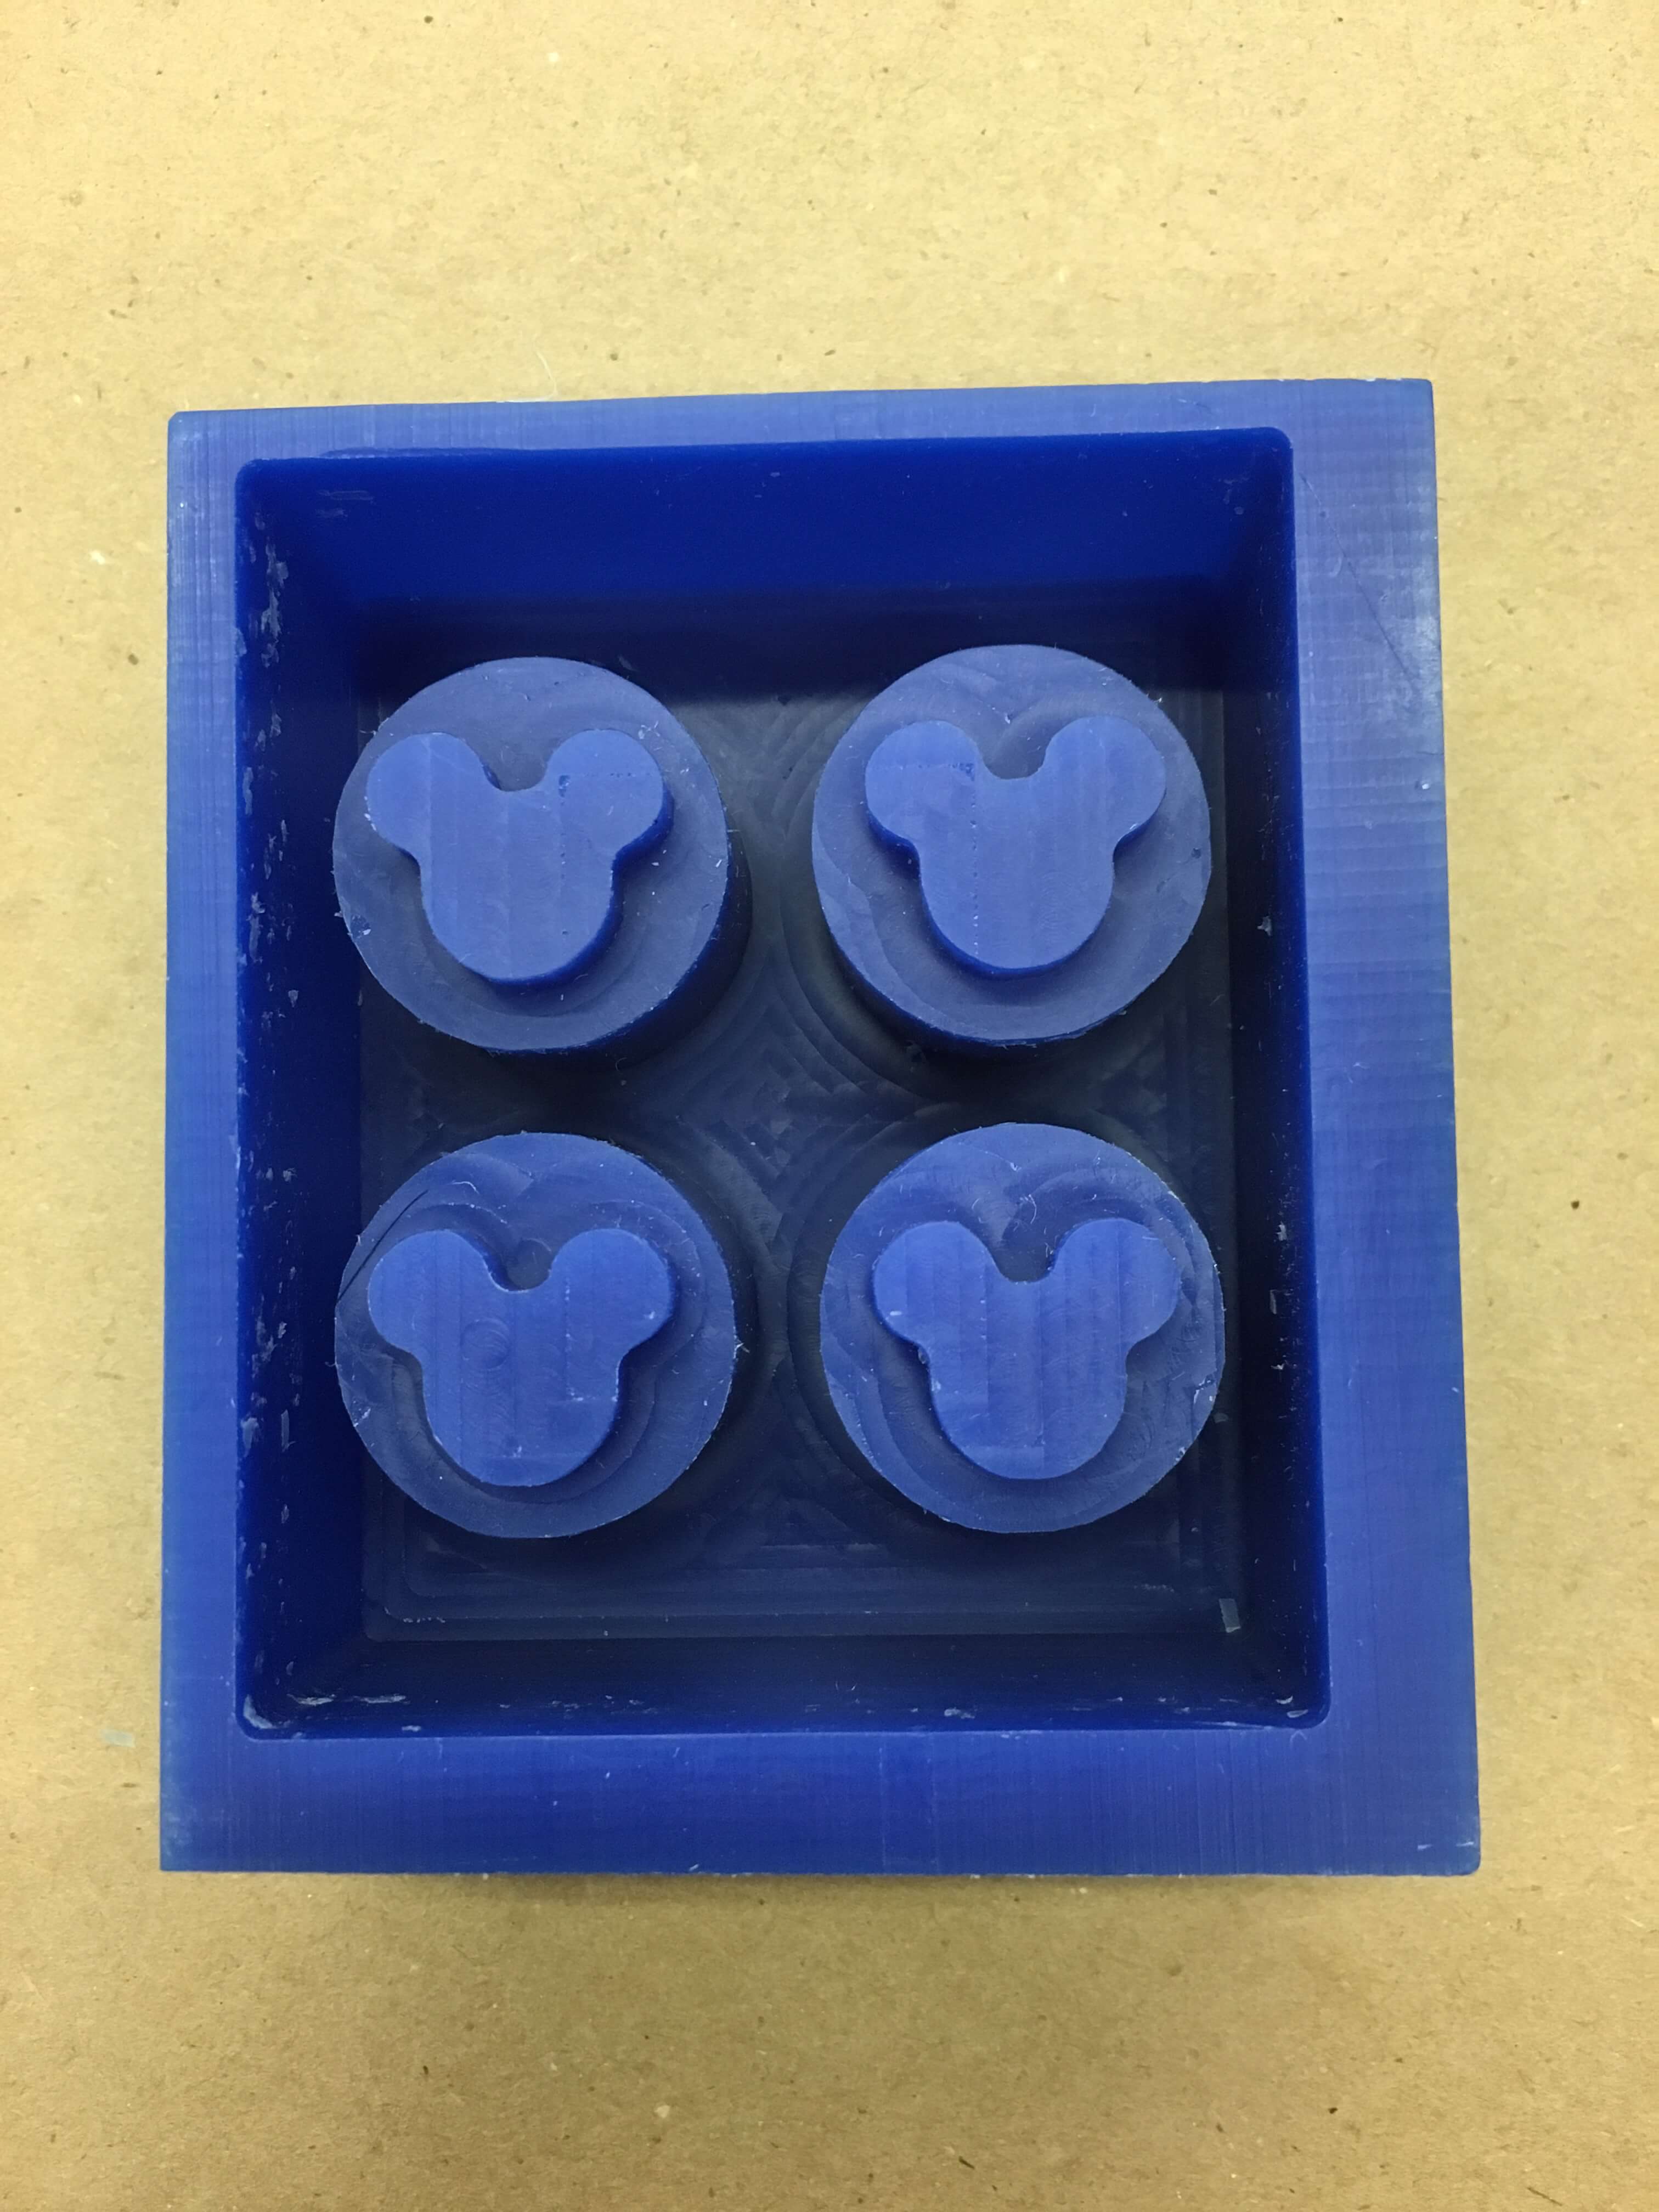
After cleaning:
Creating the Oomoo Negative
Once we create the machined wax, we need to pour the Oomoo into the mold. We have to be really careful mixing the Oomoo, it will stain our clothes / not be good for us to get on our hands so we wear gloves and use disposable materials to mix with. Once we mix the Oomoo, we want to pour in a really thin stream to get rid of any bubbles that are in our mixture, as this will ruin our final models.
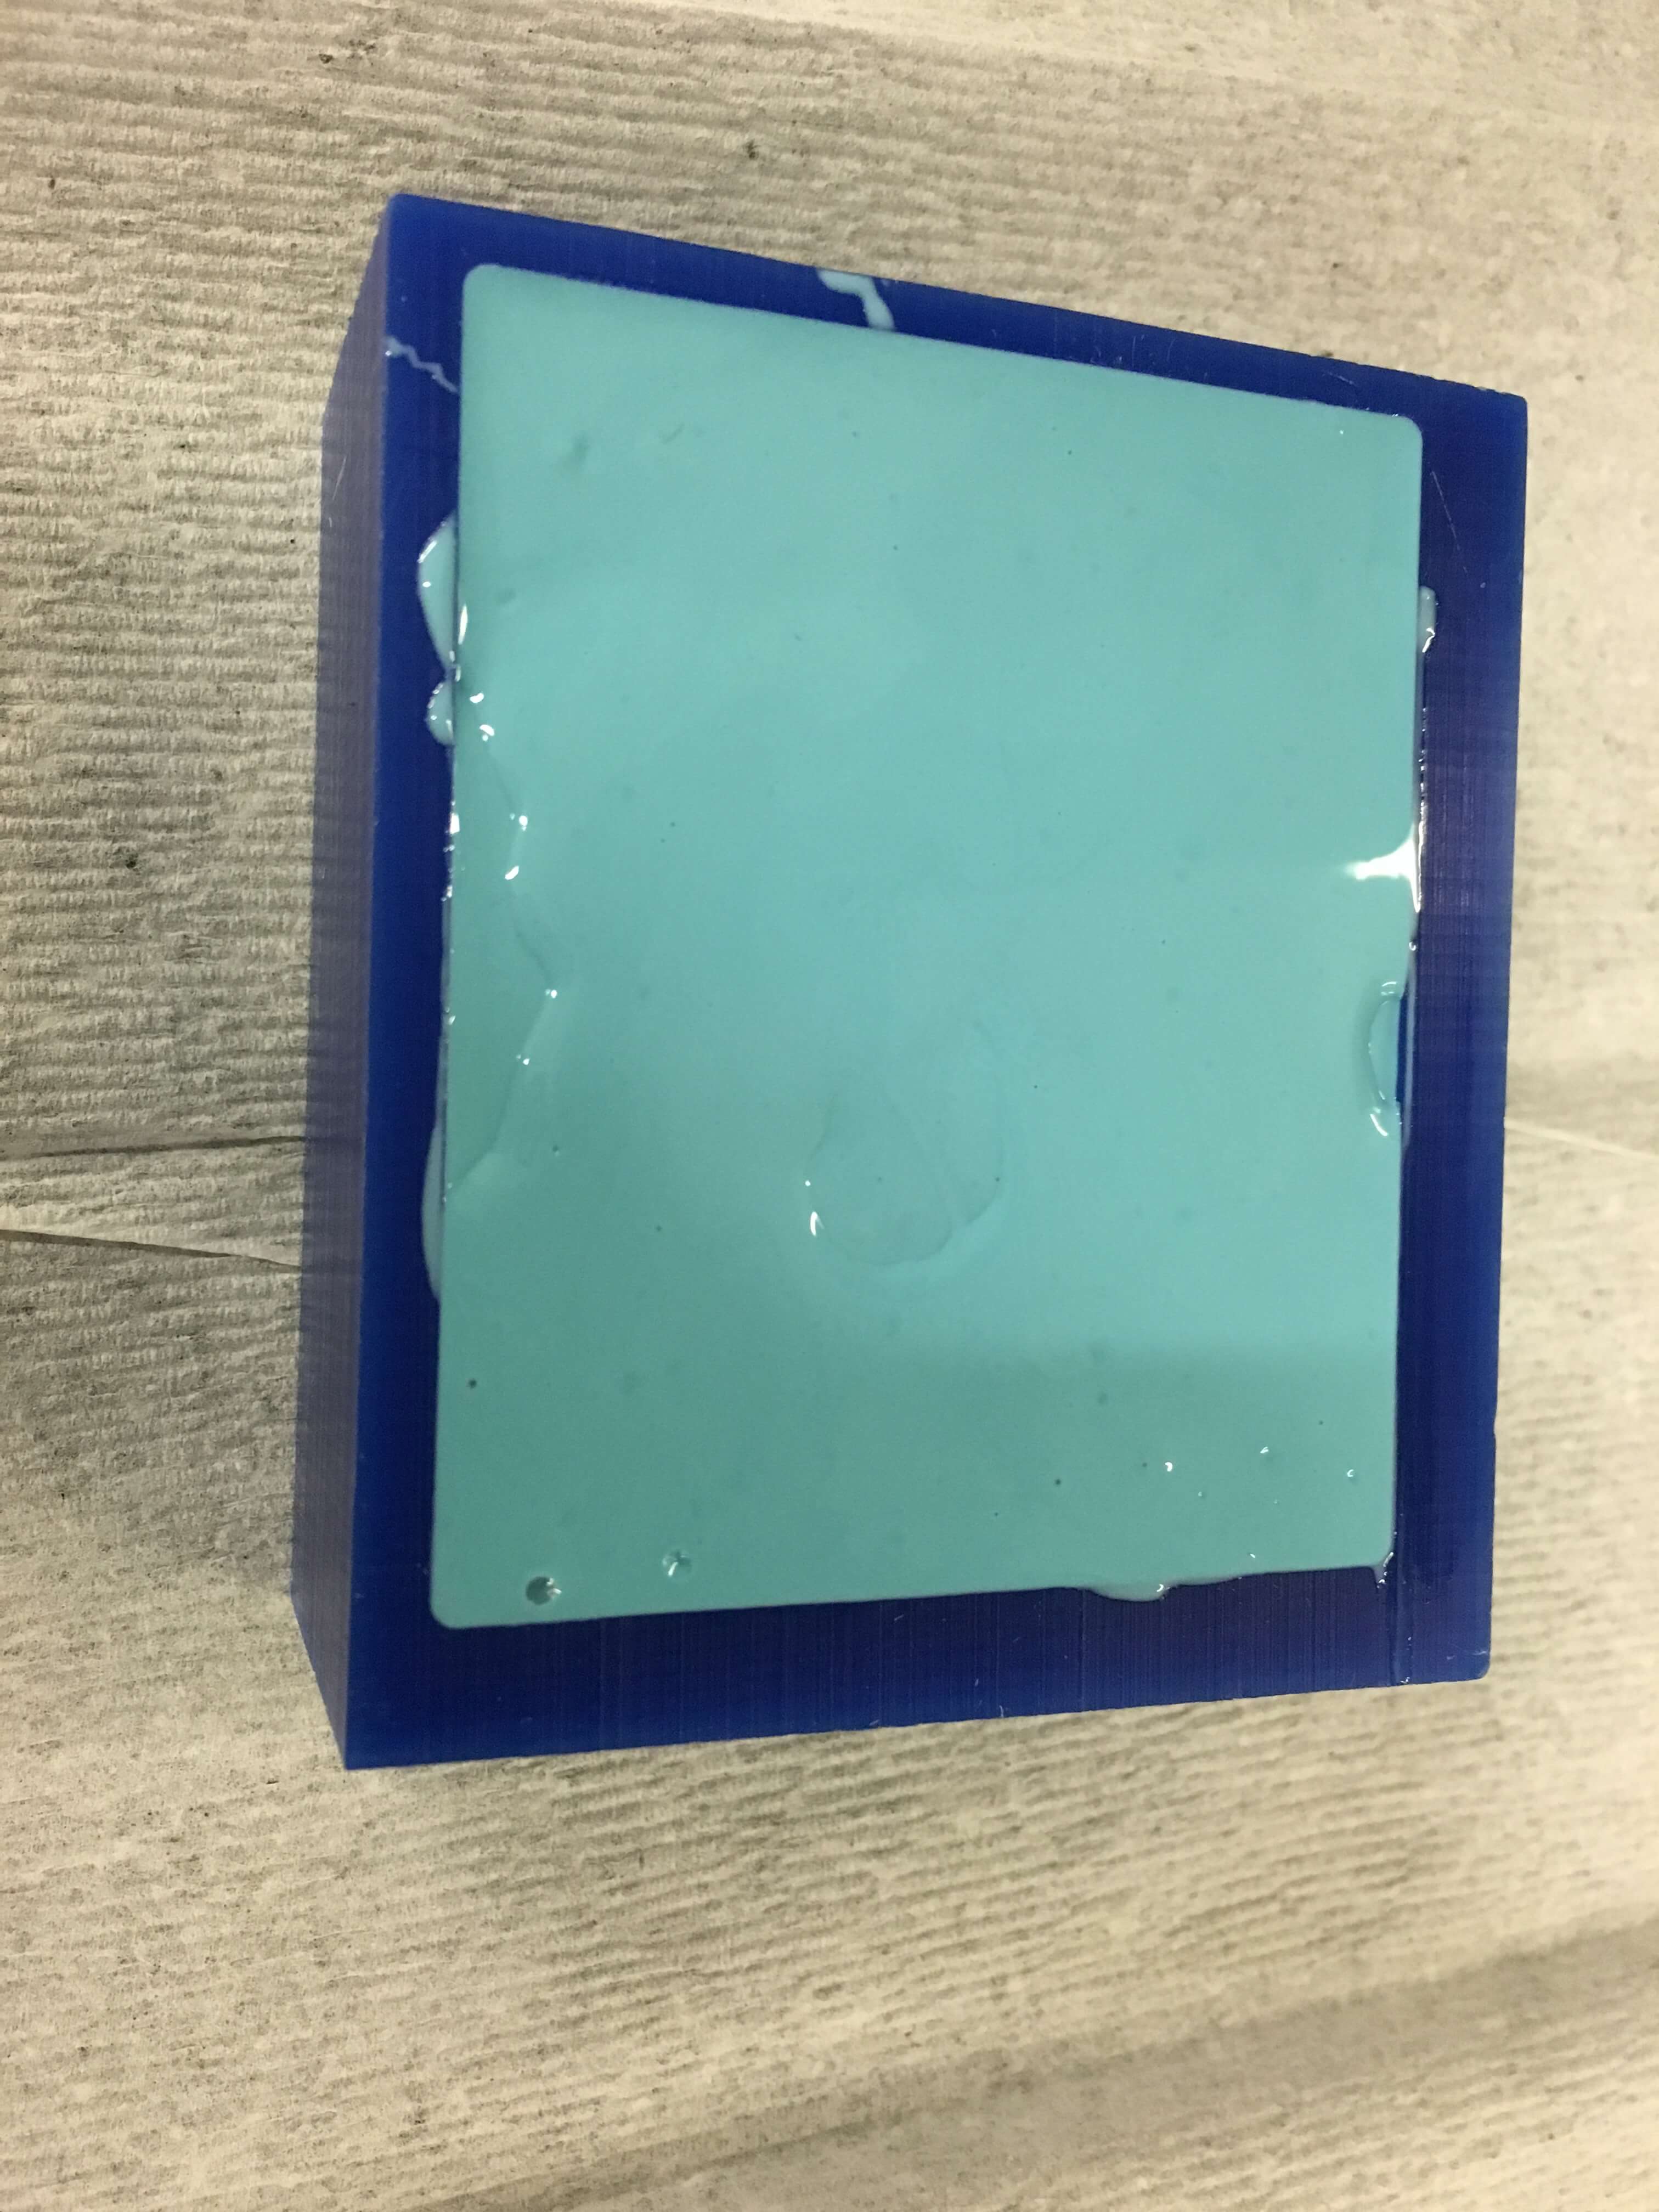
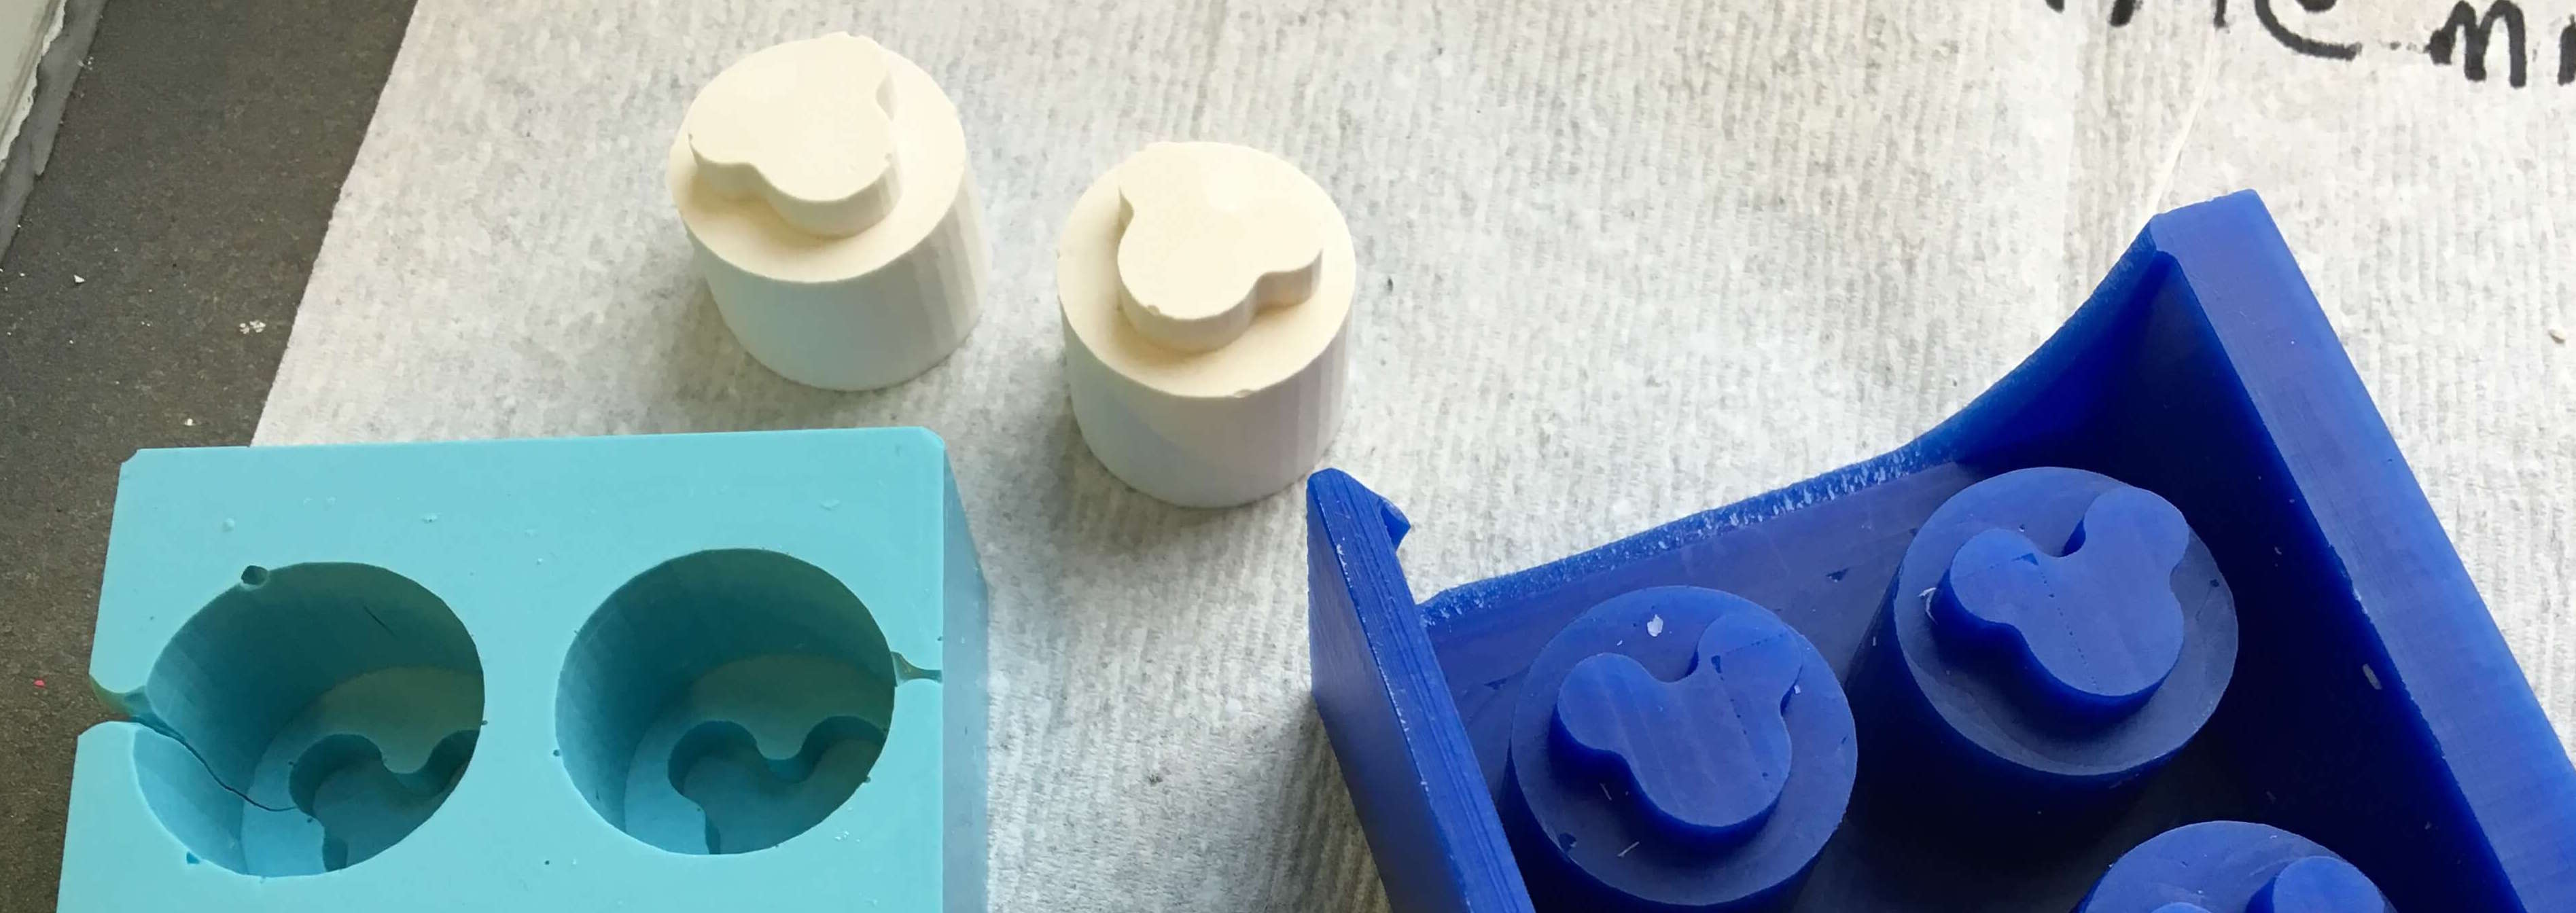
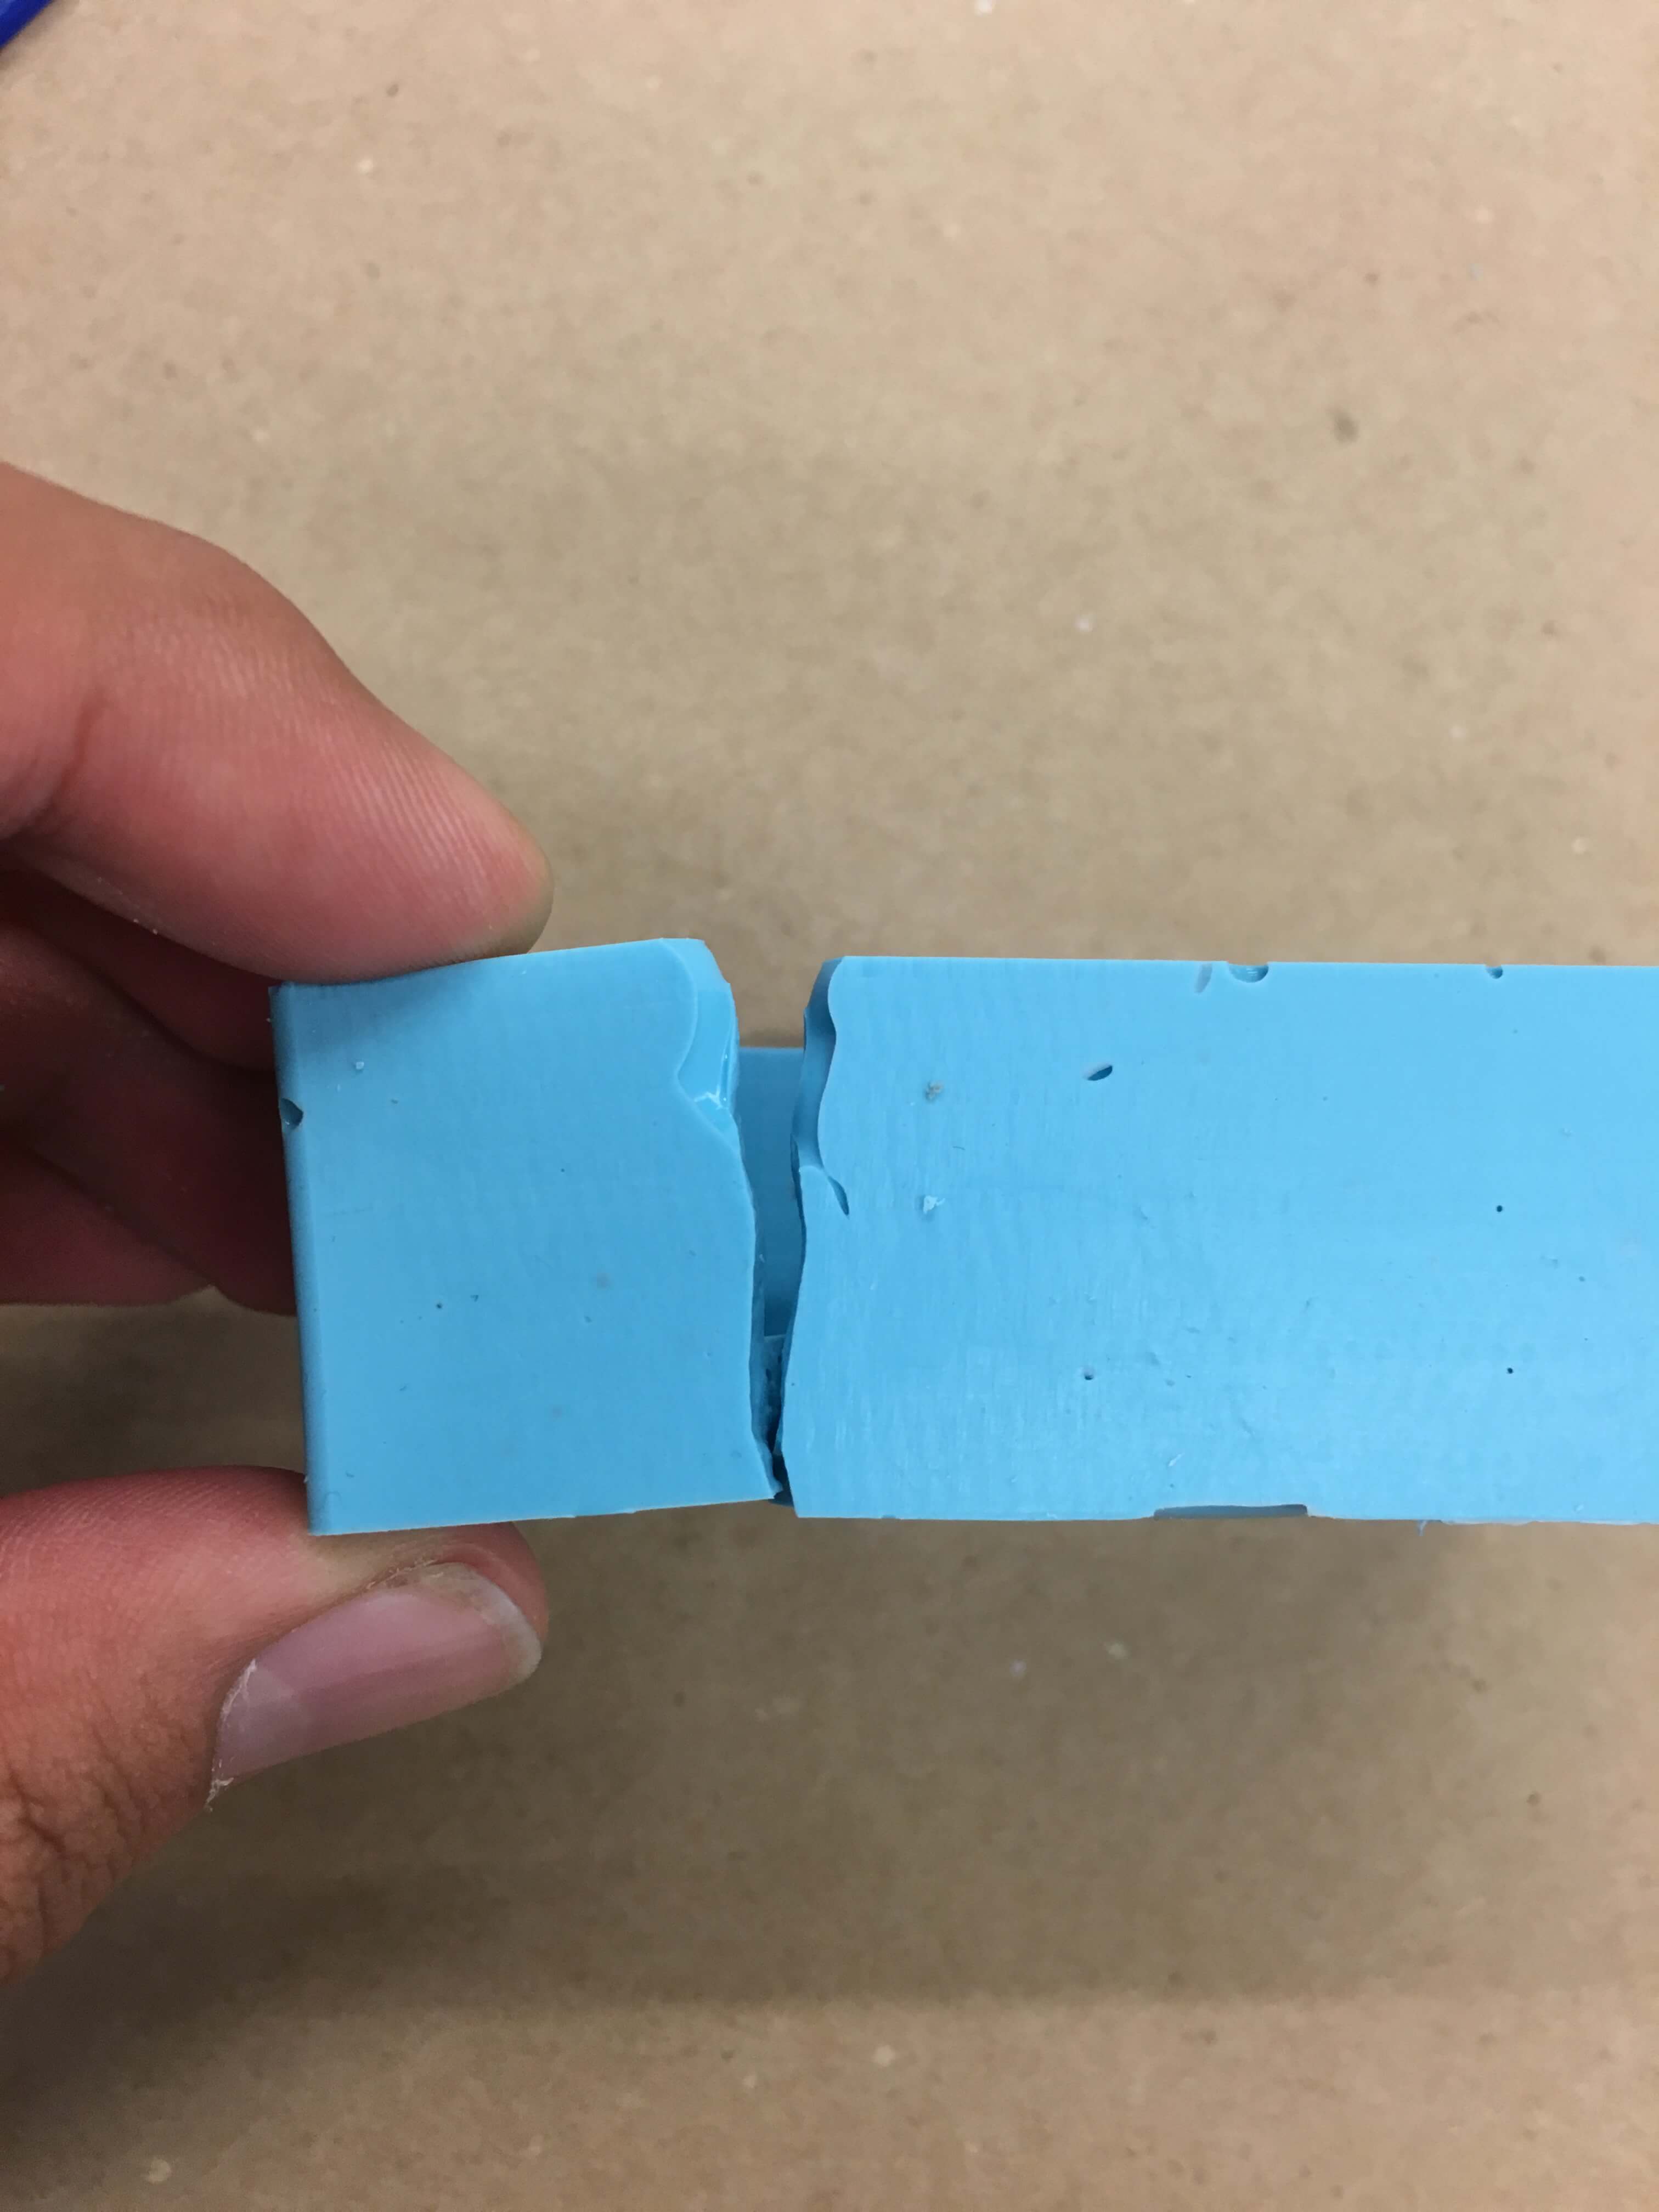
After it’s done, we can pry it out of the mold and get the following:
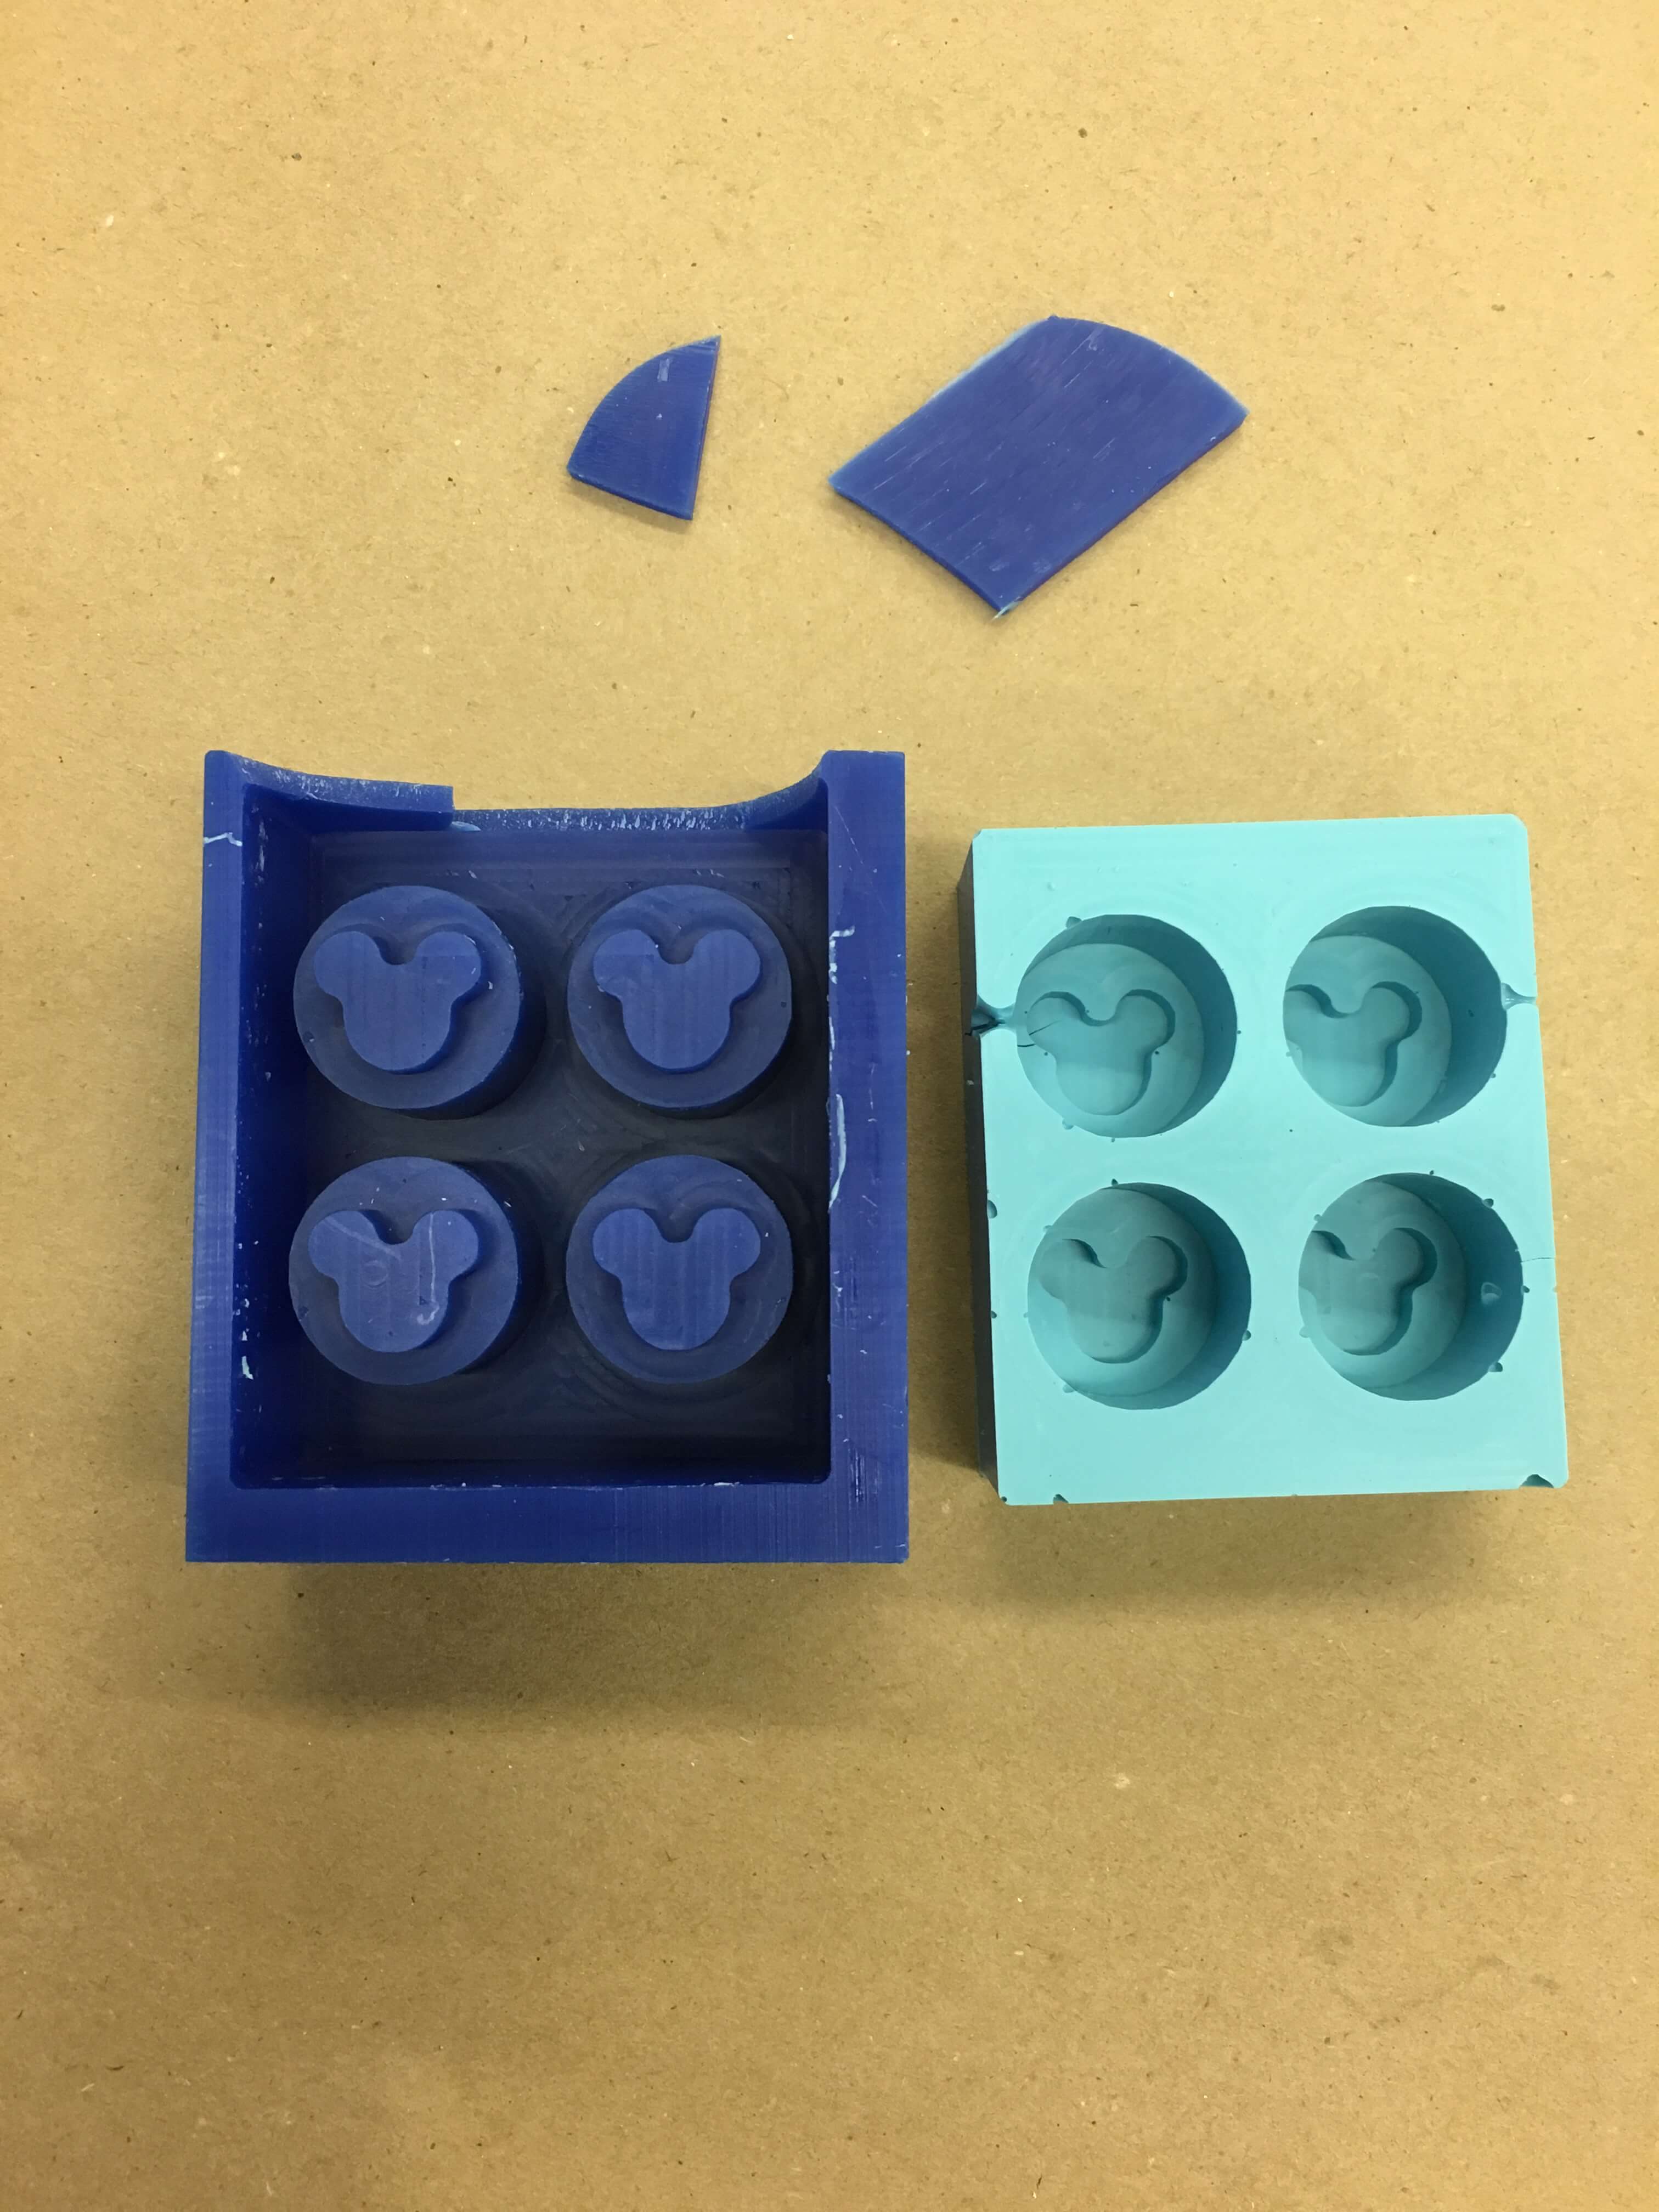
My Oomoo was really hard, and so the mold broke a few times on the way out, as well as destroying part of the wax mold as can be seen above.

Despite this, I was still left with two molds that were usable and could continue onto the next step!
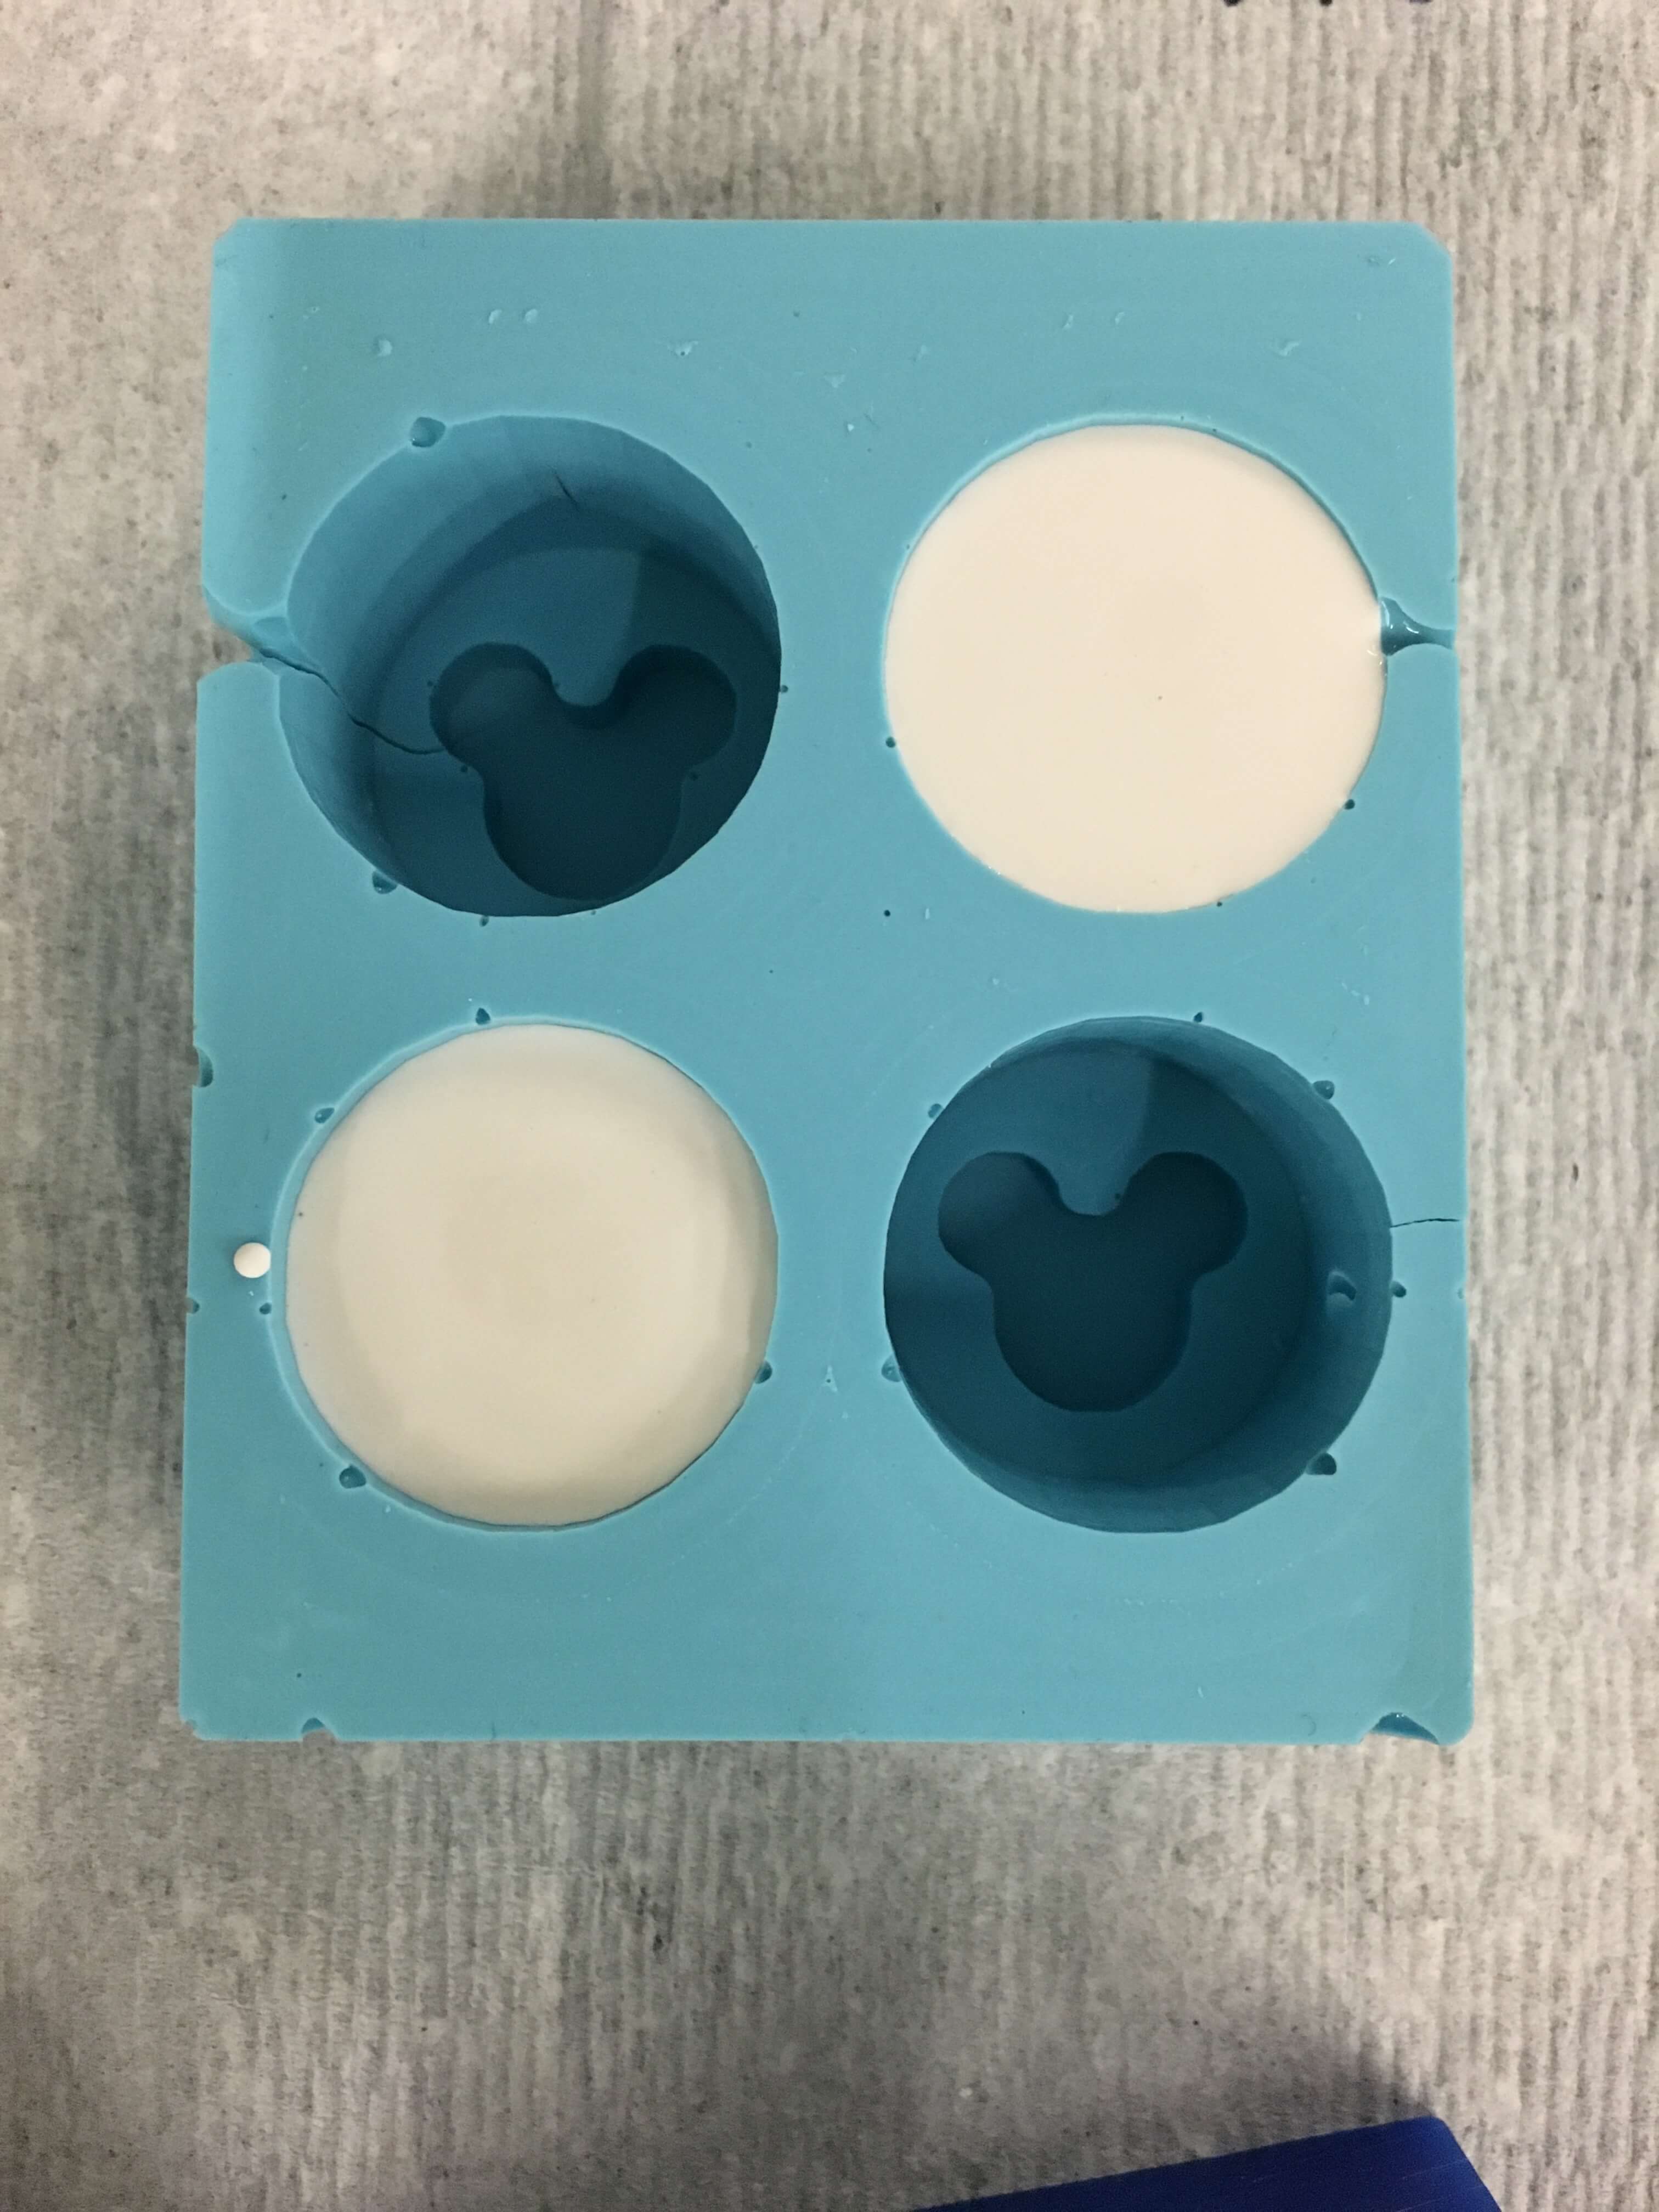
Creating a positive with HydroStone
I finished the week off by creating a positive with the HydroStone. We follow similar procedures as when we mix the Oomoo but the cure time for the cement is only 30 minutes! It’s currently in the mold and I’ll update when it comes out :)
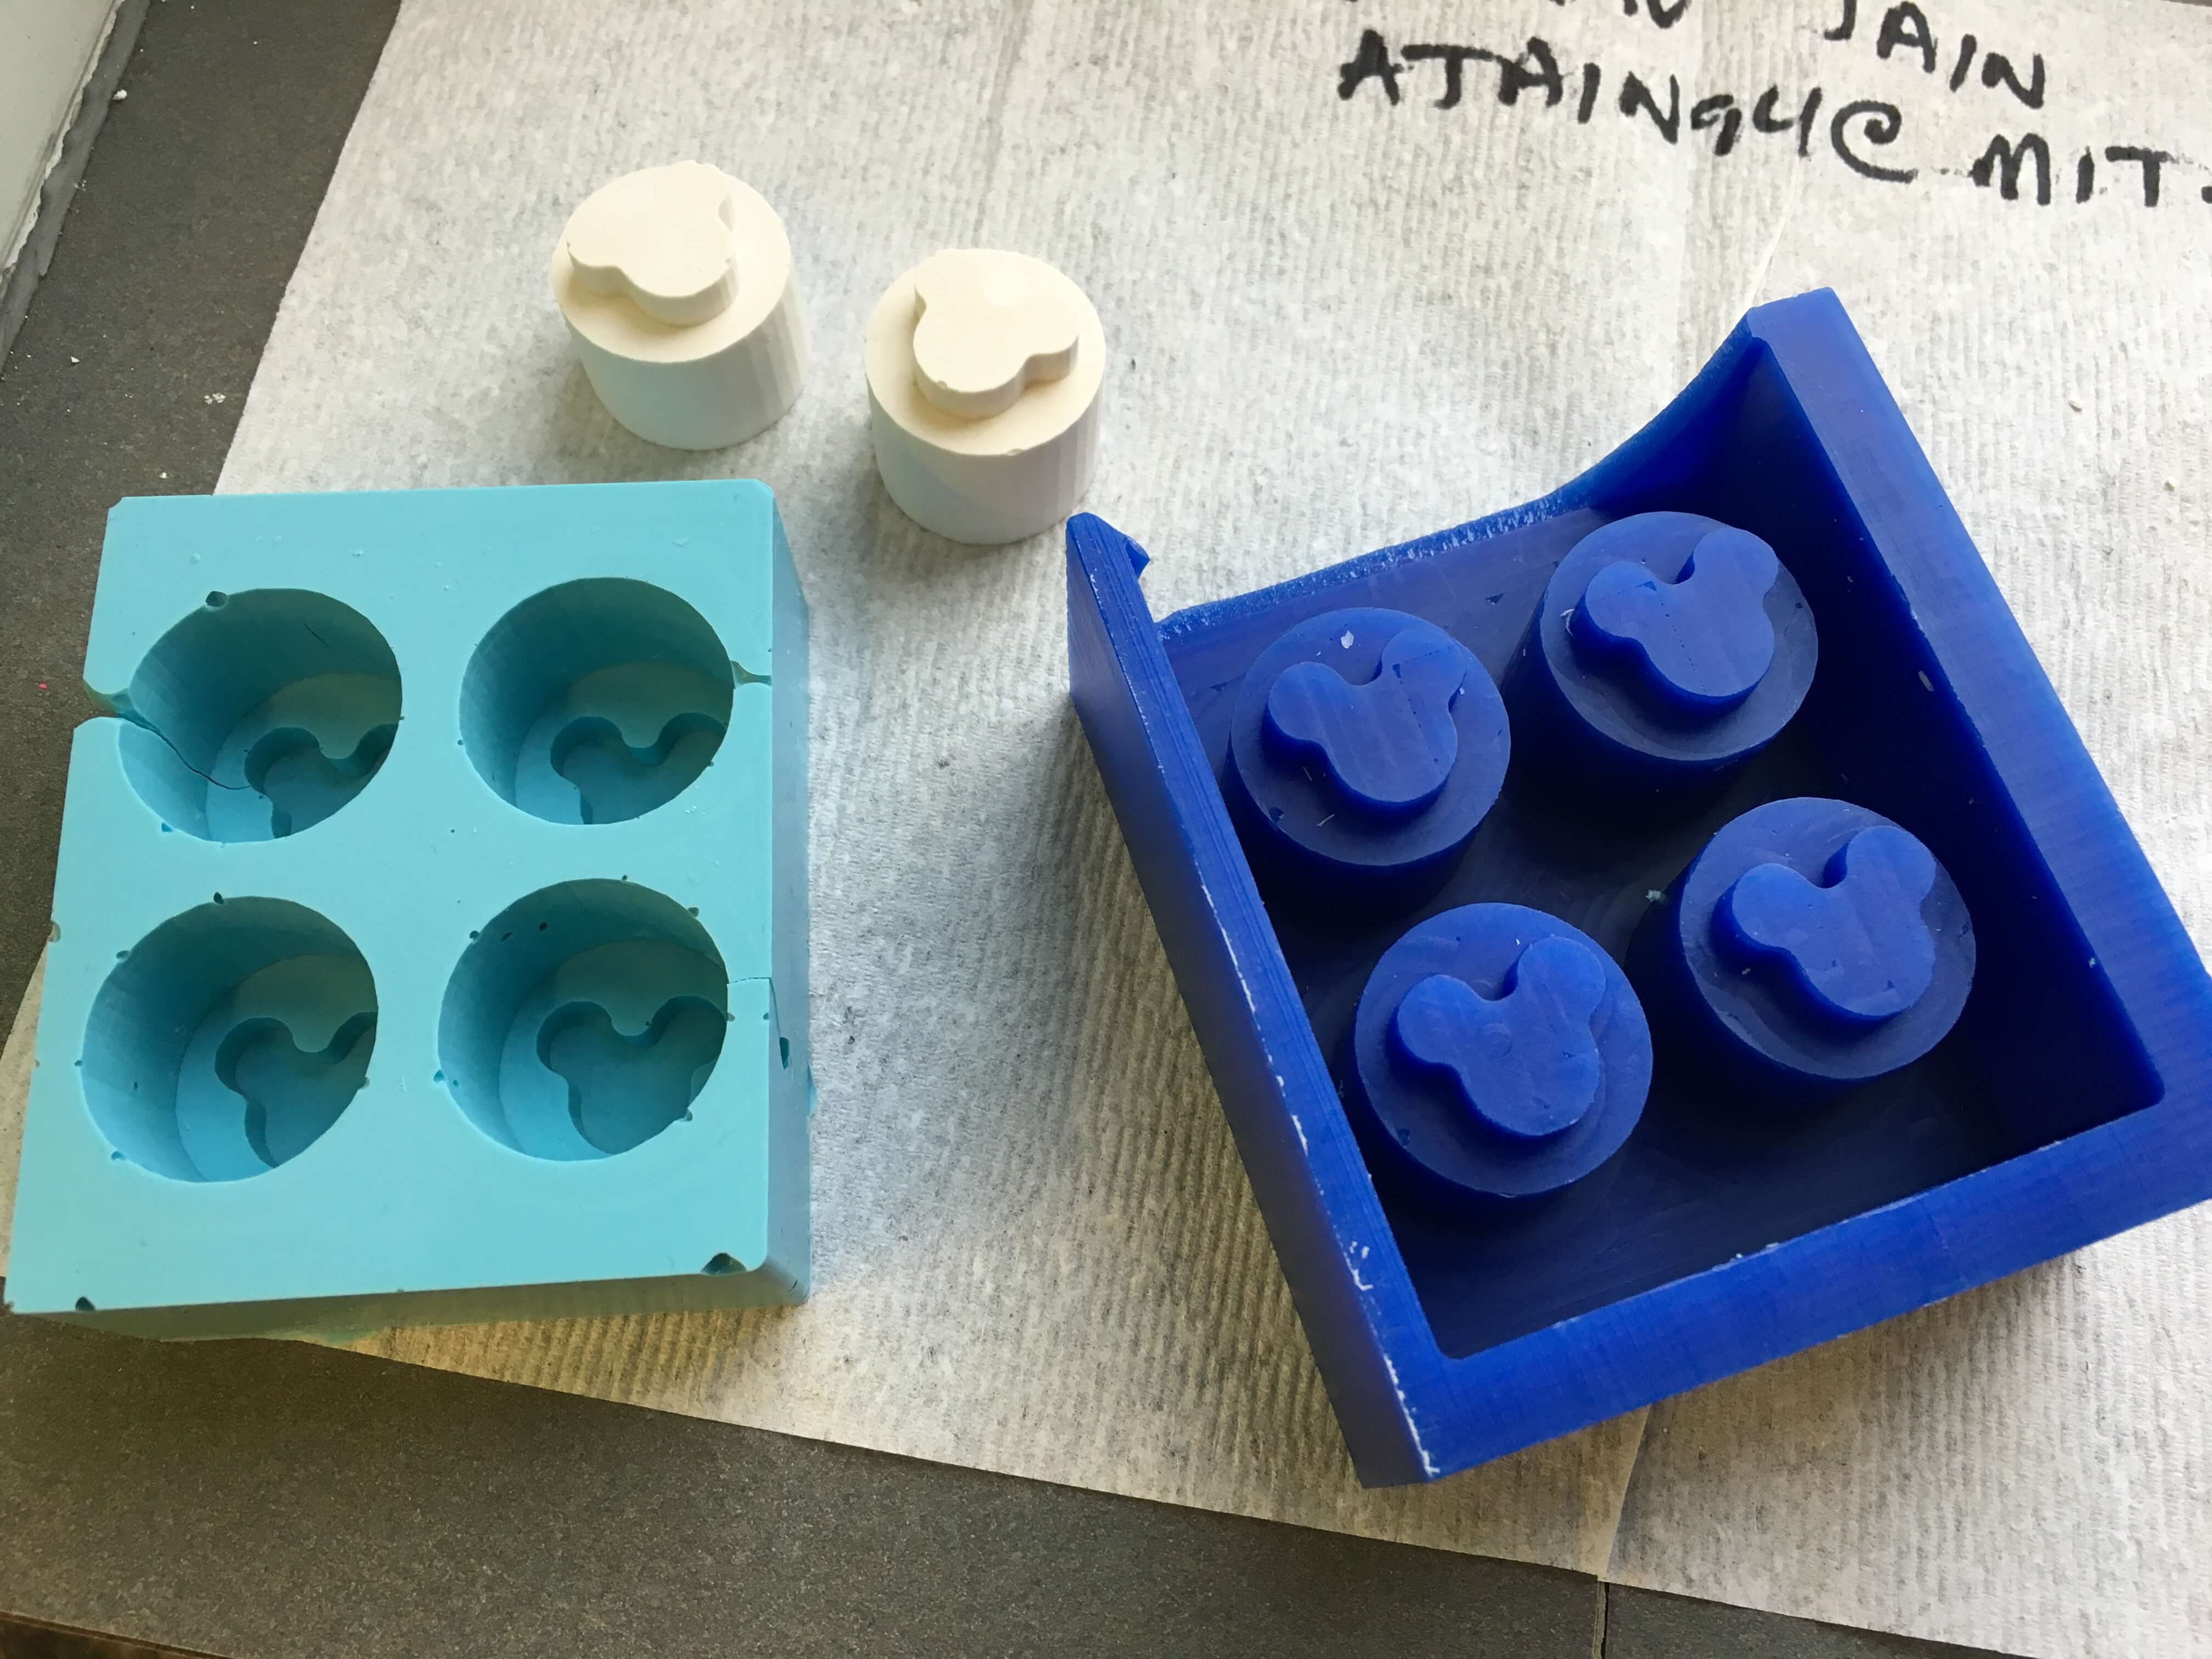
Final Product
Here’s the final product - it turned out really nicely in my opinion :)
Lessons and future steps
Overall, this week was super interesting and exciting. Some learnings - make sure the molds have some sort of lofts to help remove the oomoo from the mold. We also don’t really want to make them that deep and steep because it becomes nearly impossible to remove the mold without breaking the Oomoo or the wax. Finally, we can also make metallic versions and food safe molds (hopefully to come soon!).